What is openCV?
OpenCV means Open Source Computer Vision. It is this library that will allow use to detect faces and then recognise the person.
In this step, we will need to run three scripts:
• The first script will allow to capture pictures using the Raspberry Pi camera and save it with the right colours and dimensions
• The second script will train the OpenCV algorithm using the EigenFaces method
• The third script will allow us to test the results and eventually adapt different parameters
I adapted under the opencv/ folder some parts of Tony DiCola's code from his Treasure Box tutorial: https://learn.adafruit.com/raspberry-pi-face-recog... Install OpenCV
We are going to use the OpenCV python libraries. At first, I tried to compile it myself but I couldn't really make it. I spent hours trying different tutorials but with no success.
Finally, I found that OpenCV could be installed using apt-get. I read that few features are missing but at least it is enough for what we want to do!
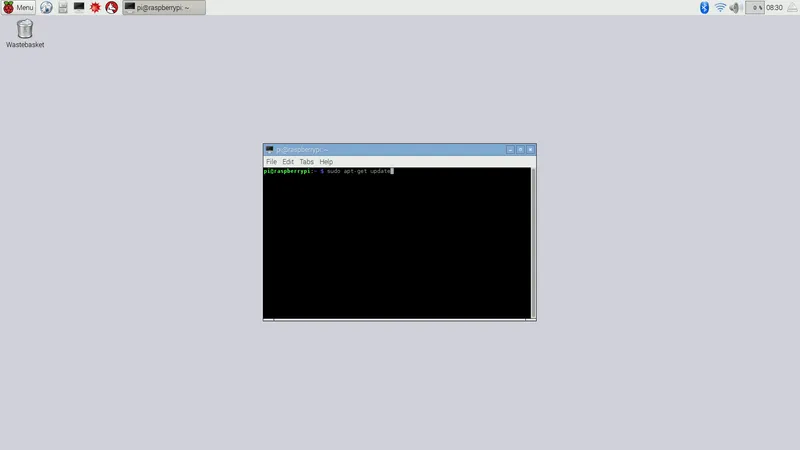
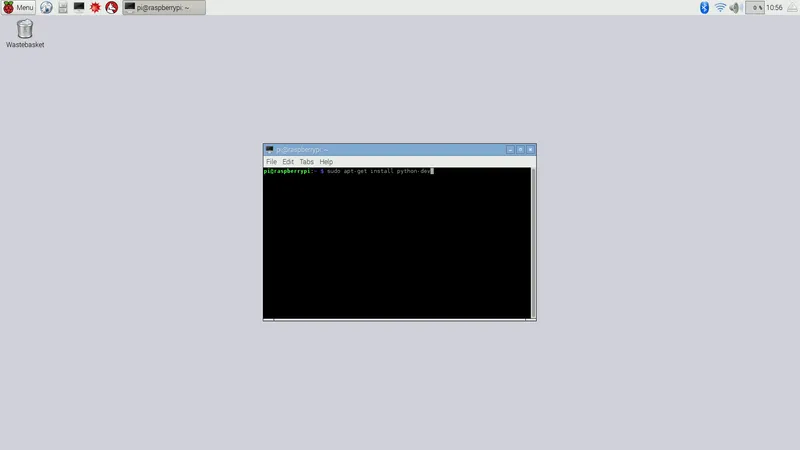
Open your terminal again and run:
$ sudo apt-get install python-dev
$ sudo apt-get install python-opencv
$ sudo apt-get install libopencv-dev
$ sudo pip install imutils
$ sudo pip install numpy
However, if you wish to compile it yourself, feel free to have a look at pyimage website: http://www.pyimagesearch.com/2015/02/23/install-op... It can be a bit long, though.
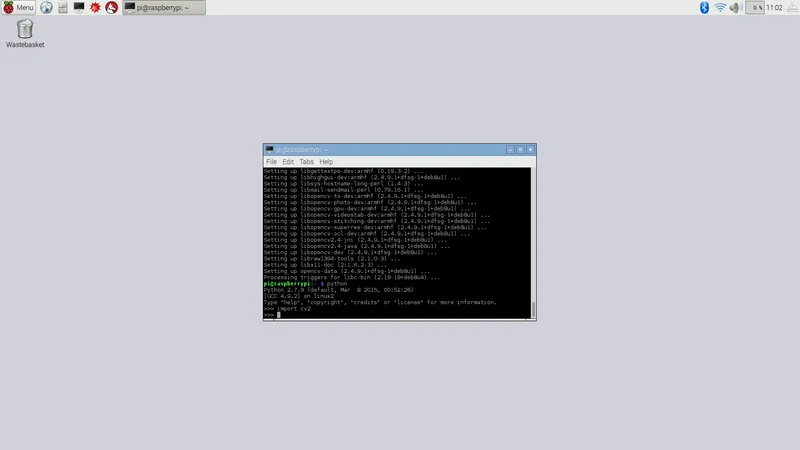
Test the installation
In your terminal run:
pi@raspberrypi:~ $ python
Python 2.7.9 (default, Mar 8 2015, 00:52:26) [GCC 4.9.2] on linux2 Type "help", "copyright", "credits" or "license" for more information.
>>> import cv2
>>>
If you don't see any errors, OpenCV has been installed correctly.
Now press ctrl + d to exit
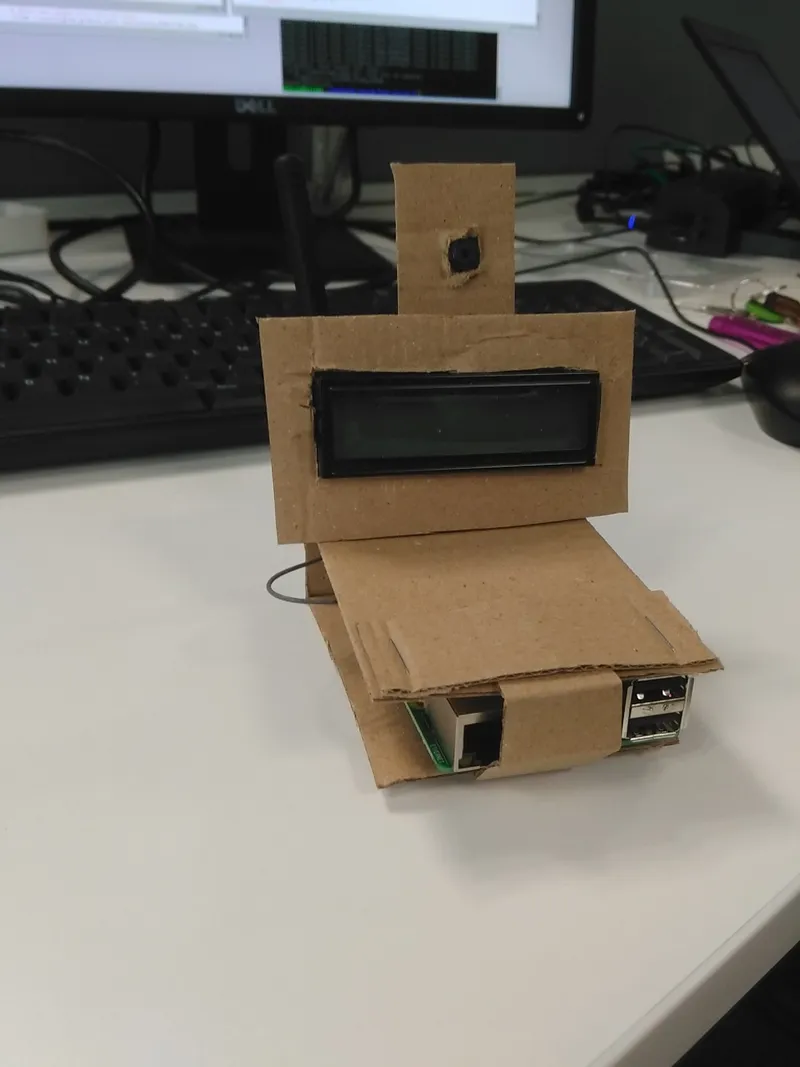
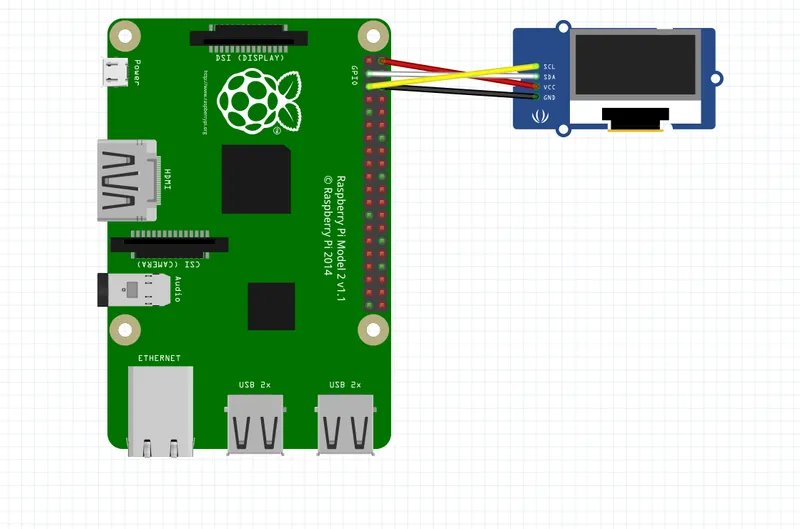
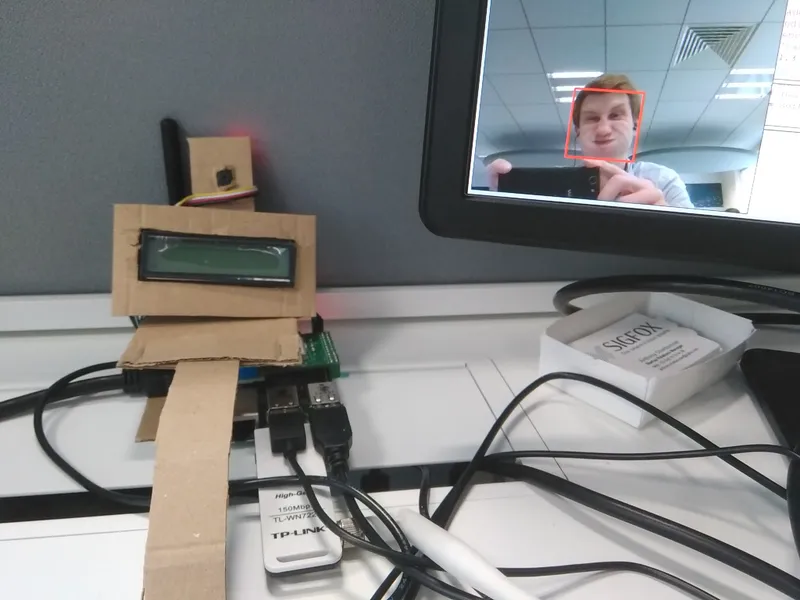
Capture pictures to be recognise
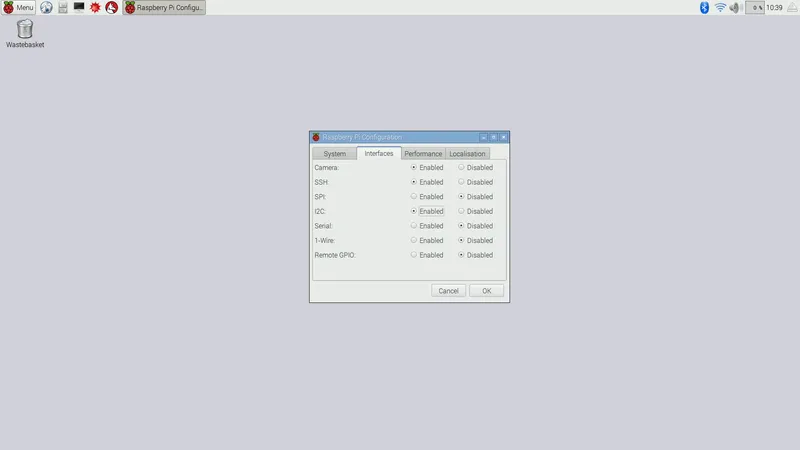
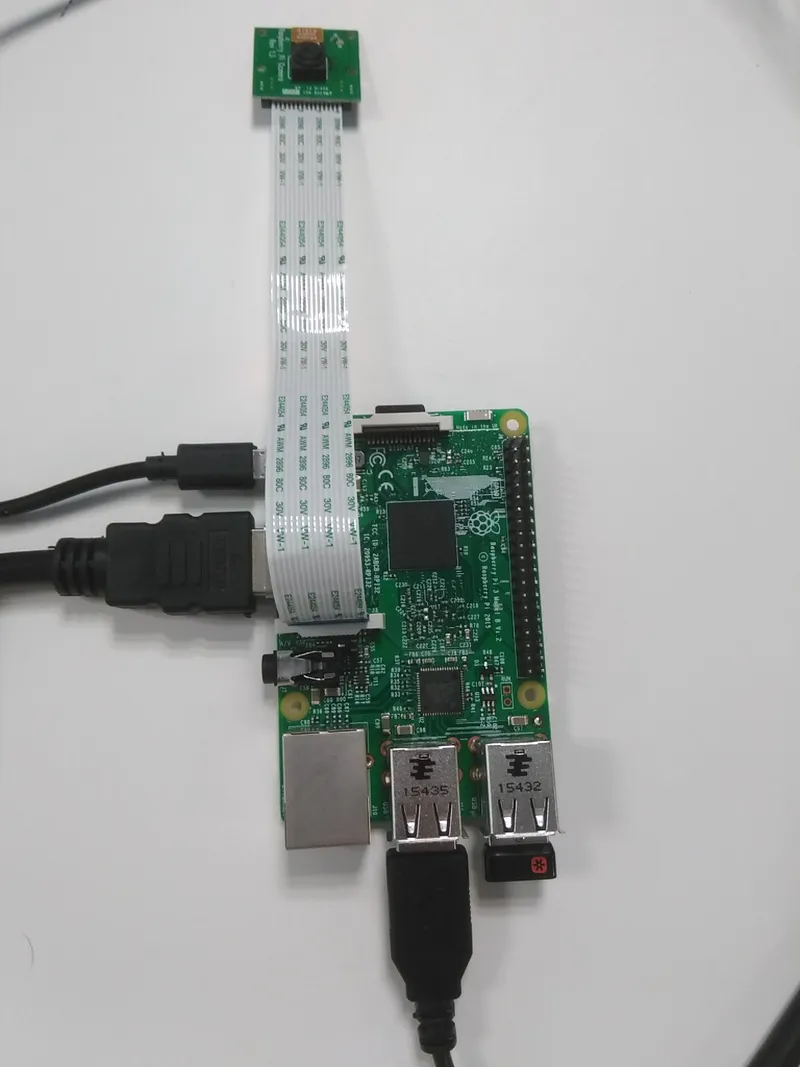
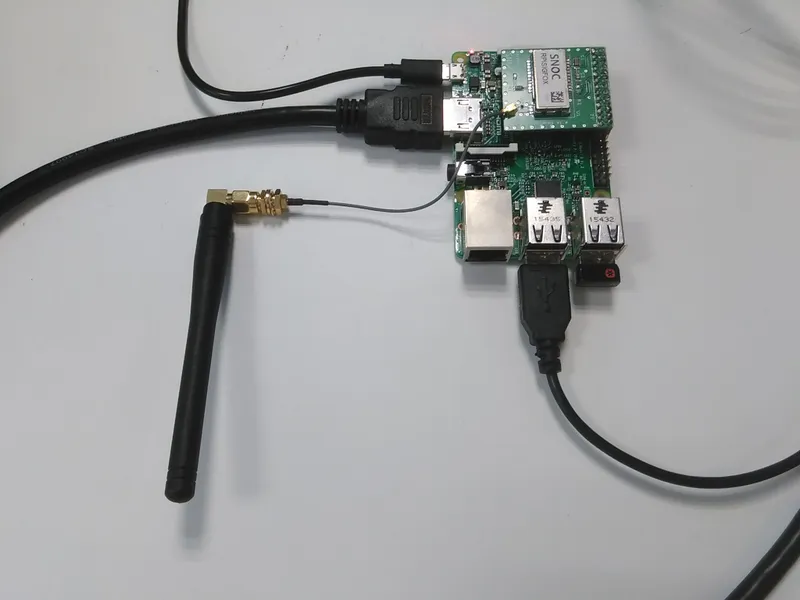
First, plug the Raspberry Pi camera in the RPI.
Go to opencv/ directory.
Then, open the capture_positive.py file and replace the POSITIVE_FILE_PREFIX = 'username_' by your name.
Save the file.
Run the script: $ python capture_postive.py
Fix the camera and press "c" and "Enter" to capture an image. If your face is detected and is the only one detected in the picture, the script will convert it with the right format (cropped + in grey scale + good dimension) in the training/positive folder.
Try to take around 10 pictures for each person. You may want to take it at different moments of the day to take into account the brightness evolution and to take different angles of your face.
Press "ctrl + c" to exit the script if you want to change the person name.
Note that if the script has trouble to detect your face you can change the value of the HAAR_SCALE_FACTOR in config.py
Prepare the training
Now open the config.py file and replace the provided USERNAME_LABEL by the names you used to take pictures.
Run the training script
Open the train.py script in the main function and replace the if(path='username'): by your name as you wrote it in the capture_positive.py file and the config.USERNAME_LABEL by the one you wrote in the config.py file.
Do it for each people, save the file and then run it:
$ python train.py
Depending on how many people you want to train, the script can take some time to run.
Once it is finished, you should see the training.xml file, the positive eigenface image, the negative eigenface image and the mean one.
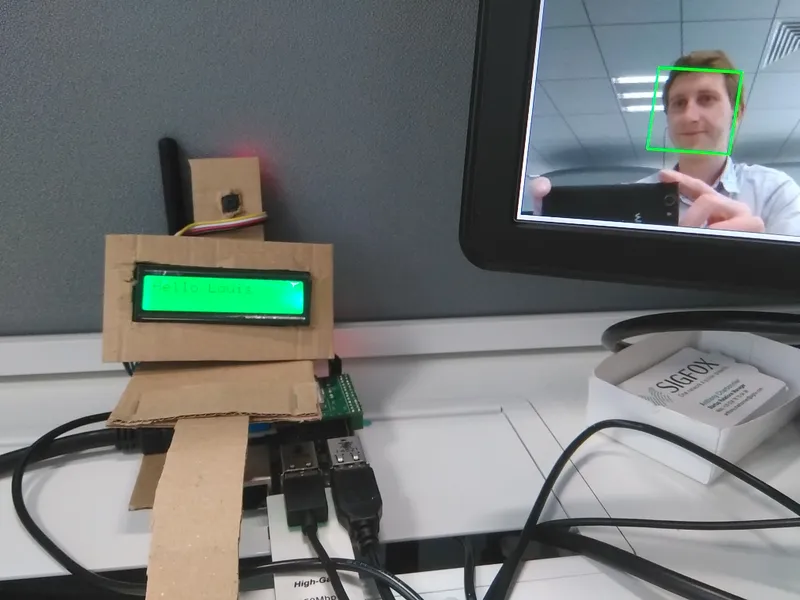
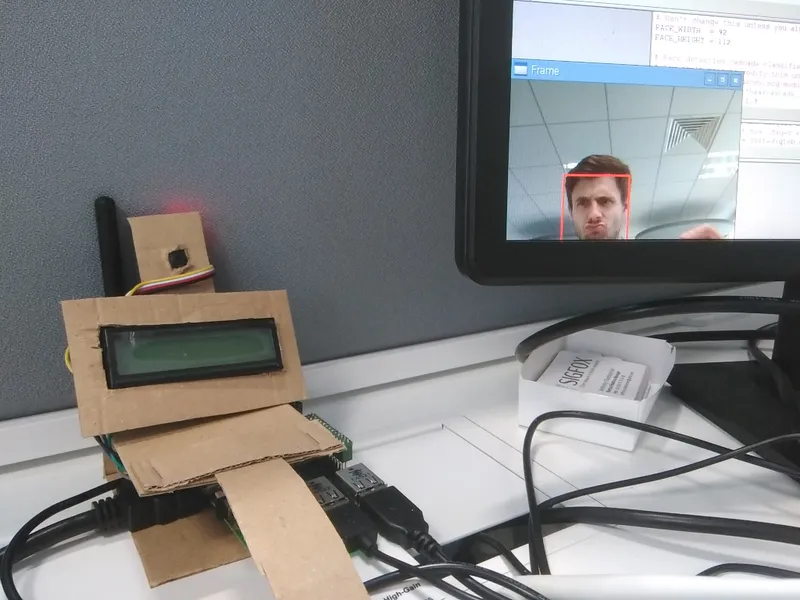
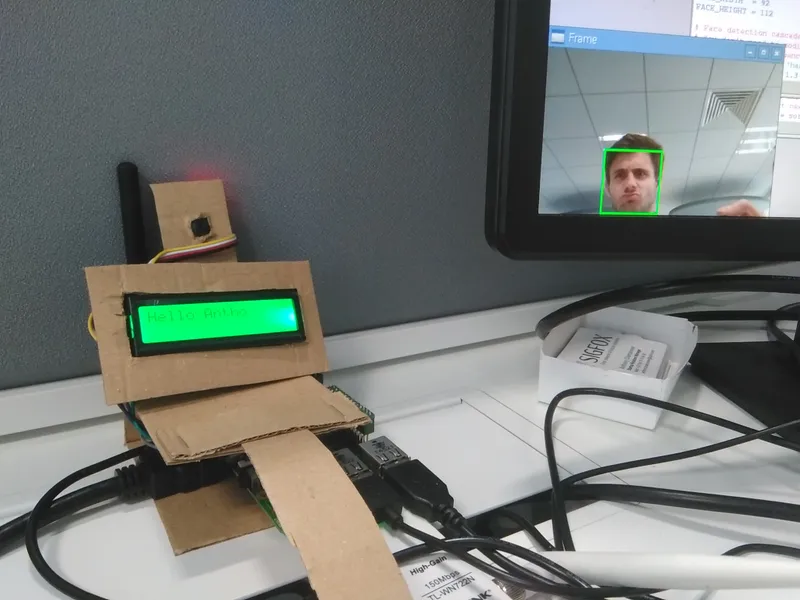
Test the facial recognition
Go back to the project's root folder and run the test.py
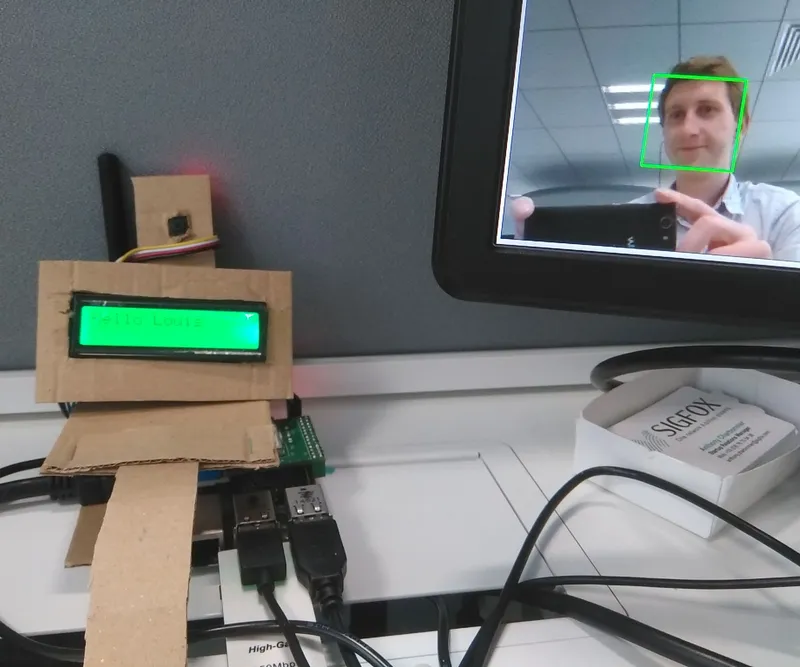
The LCD display should write "Hello [your-name]". Depending on the pictures you took, errors might occur. You can put a lower confidence to have better results.