advancedSmart Home & IoT5-Mar-2020
Voice control of lights through Alexa

Anton Shagaev
Tashkent, UZ
1 day
--
4
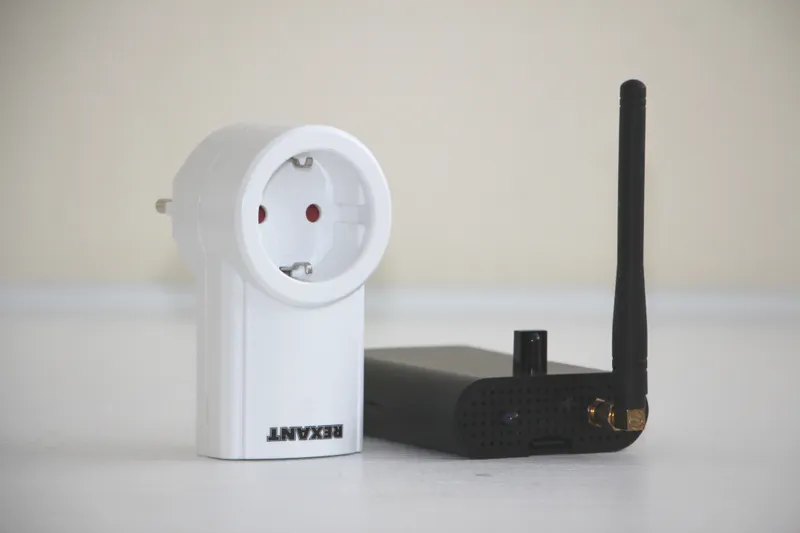
Friends, spring has arrived, which means it's time to hack radio-controlled sockets and add Alexa voice control to them. :) As you know, I don't use wireless connections at home, so WiFi sockets are automatically out of the question. We'll use 433.92MHz radio-controlled sockets, scan the codes from their remote, and then connect it all to Alexa. At this stage, you should already have the operating system installed Raspbian Buster Lite and Alexa compiled from AVS SDK. How to do this can be read in the guide "Voice Assistant Alexa on Raspberry Pi".
What you'll need
Materials
- 3 pcs
- 1 pc
- 1 pc
- 1 pc
- 1 pc
- 1 pc
- 3 pcs
- Thermal glue1 pc
Tools
- Electric drill1 pc
- Drill bit diameter 6.5mm1 pc
Steps
1
Remote control codes scanning
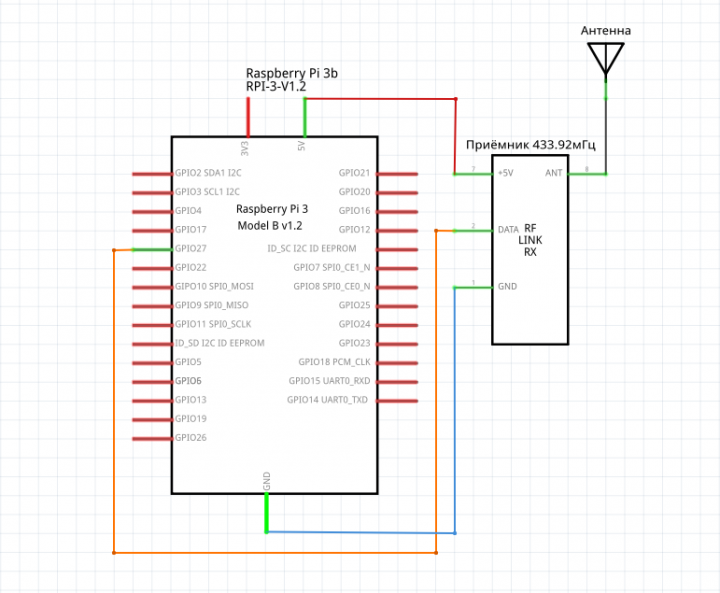
Receiver connection diagram to RPi
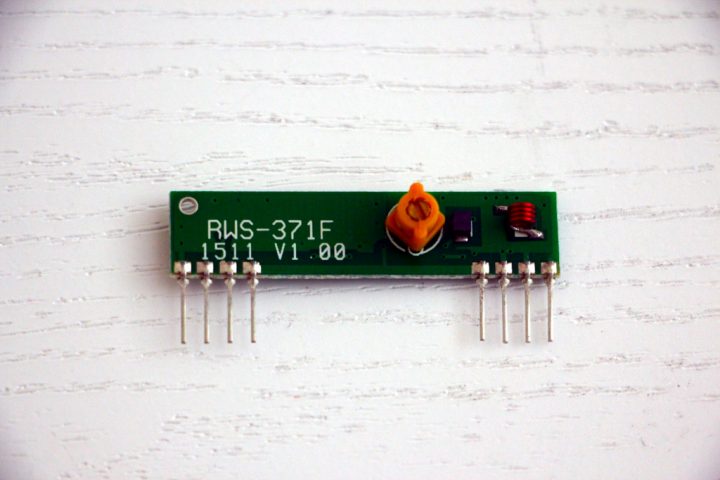
433MHz receiver. Model RWS-371F V1.00
Connect the receiver to the RPi according to the diagram:
Turn on the RPi and access it via SSH:
tinkster@almalinux:~#
1
Next, install the program rpi-rf. In the terminal, enter:
tinkster@almalinux:~#
1sudo pip3 install rpi-rf
By default, the program uses GPIO17 for the transmitter and GPIO27 for the receiver.
Launch the program to receive remote control codes:
tinkster@almalinux:~#
1rpi-rf_receive
It will say:
tinkster@almalinux:~#
1[INFO] rpi-rf_receive: Listening for codes on GPIO 27
Point the socket remote at the receiver and press the buttons On и Off for each socket, recording their codes. In the terminal, you should see something like:
tinkster@almalinux:~#
1[INFO] receive: 5330691 [pulselength 174, protocol 1]
Copy this data for each socket and save it to a file.
That's it, the scanning of socket codes is now complete, turn off the RPi and remove the receiver. We won't need it anymore.
2
Installation of 433.92MHz transmitter
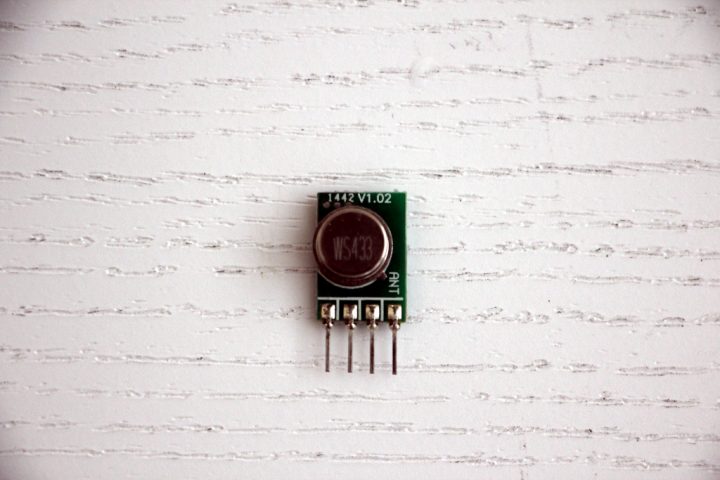
433.92 MHz transmitter. Model — TWS-BS V1.02
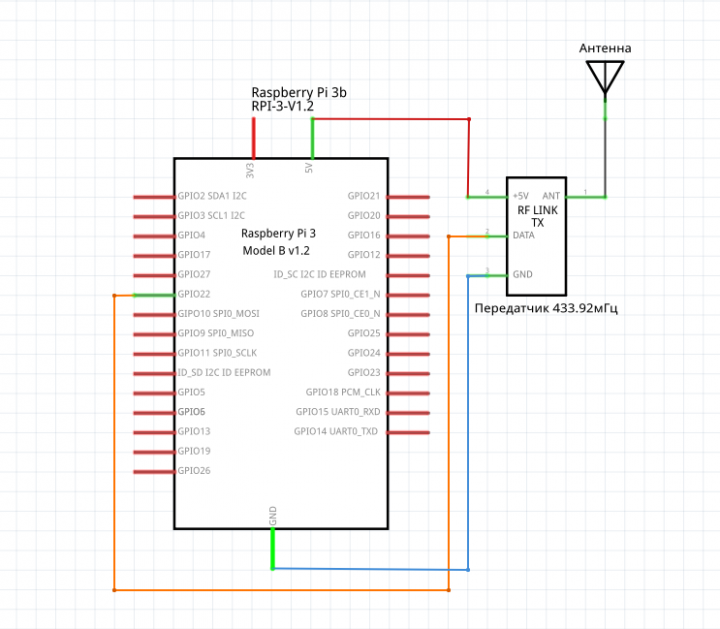
Transmitter connection diagram to RPi
Connect the transmitter according to the diagram:
Also, in the side grill of my RPi case, I drilled a 6.5mm diameter hole and secured an SMA connector in it. Next, cut an RG316 cable to the required length and solder one end to the SMA connector and the other to the antenna output on the transmitter. The transmitter chip itself can be glued to the inside of the RPi case with thermal adhesive, and the wires can be tied with cable ties. Also, apply thermal adhesive to the soldering points of the antenna cable. Carefully close the RPi case and screw the antenna onto the SMA connector. Turn on the RPi and access it via SSH:
tinkster@almalinux:~#
1
By default, rpi-rf uses GPIO17 for the transmitter, but mine was already occupied, so I changed it to GPIO22. To do this, enter the command in the terminal:
tinkster@almalinux:~#
1sudo nano /usr/local/bin/rpi-rf_send
And replace this line:
tinkster@almalinux:~#
1parser.add_argument('-g', dest='gpio', type=int, default=17,2help="GPIO pin (Default: 17)")
with
tinkster@almalinux:~#
1parser.add_argument('-g', dest='gpio', type=int, default=22,2help="GPIO pin (Default: 22)")
Plug the radio-controlled socket into the 220-volt outlet and connect a desk lamp to it. Try turning it on with the command in the terminal:
tinkster@almalinux:~#
1rpi-rf_send -p 174 -t 1 5330691
Where 174 is the pulselength, 1 is the protocol, and 5330691 is the socket's code for turning on.
After pressing Enter, the socket should turn on.
Let's check turning off the socket. Enter in the terminal:
tinkster@almalinux:~#
1rpi-rf_send -p 174 -t 1 5330694
Do the same for the 2nd and 3rd sockets to make sure everything works.
3
We are linking voice control with Alexa
For the first socket, I assigned control to the desk lamp and wrote this code in PHP:
tinkster@almalinux:~#
1<?2if (isset($_POST['code'])) $code = $_POST['code']; else $code = "";34$code_lamp_light_on = "UKfX1aAC";5$code_lamp_light_off = "zPEGnFPz";67$cmd_lamp_light_on = "rpi-rf_send -p 174 -t 1 5330691";8$cmd_lamp_light_off = "rpi-rf_send -p 174 -t 1 5330694";910if ($code == $code_lamp_light_on) exec($cmd_lamp_light_on);11if ($code == $code_lamp_light_off) exec($cmd_lamp_light_off);12?>
Next, go toIFTTTand create personal applets for controlling the sockets. You can read about how to do this in the instructions "I am a universal IR remote with Alexa voice control".
Now the lamp can be turned on with the command: "Alexa, trigger light on…»
Profit :)
Discussion (0)
No comments yet. Be the first!
Maker
Anton Shagaev
Tashkent, UZ
Anton is the Founding Engineer at Tinkster. He translates industrial reliability into software architecture, ensuring the platform's core is built to last. Anton studied oil and gas engineering in the United States and also holds two honors degrees from Tomsk Polytechnic University.

AI Project Assistant
Tinkster Neural Core
Hi! I am the AI assistant for this project. Ask me any questions about the assembly, code, or components.