The Final Touches:
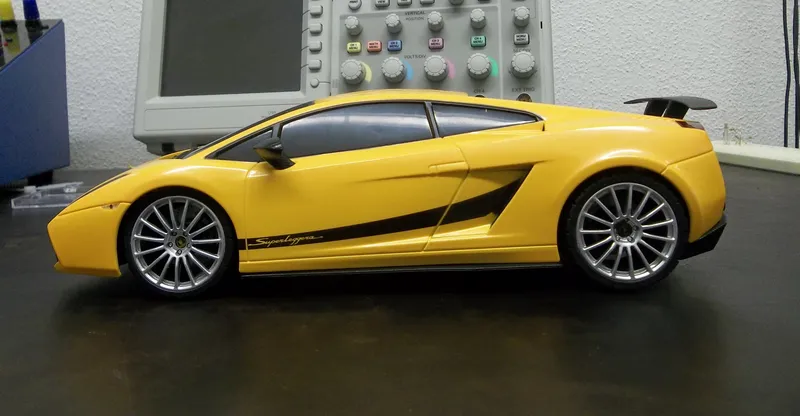
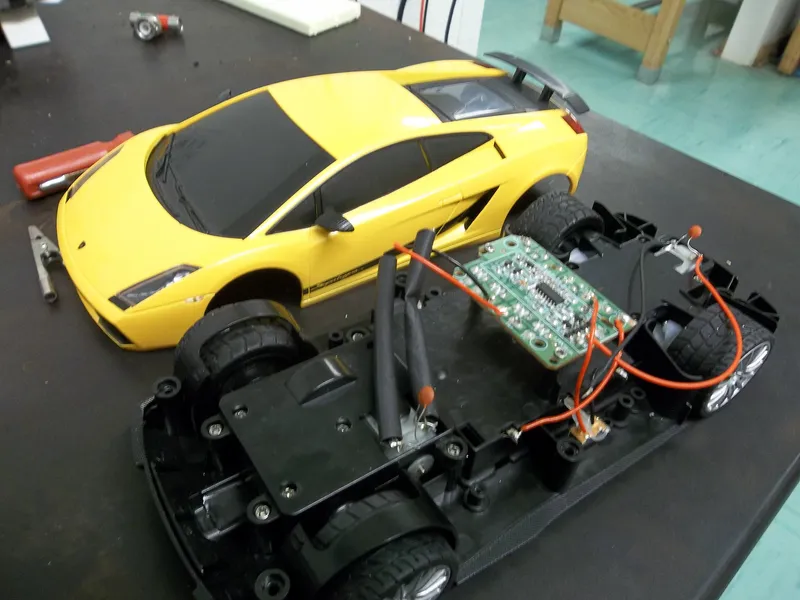
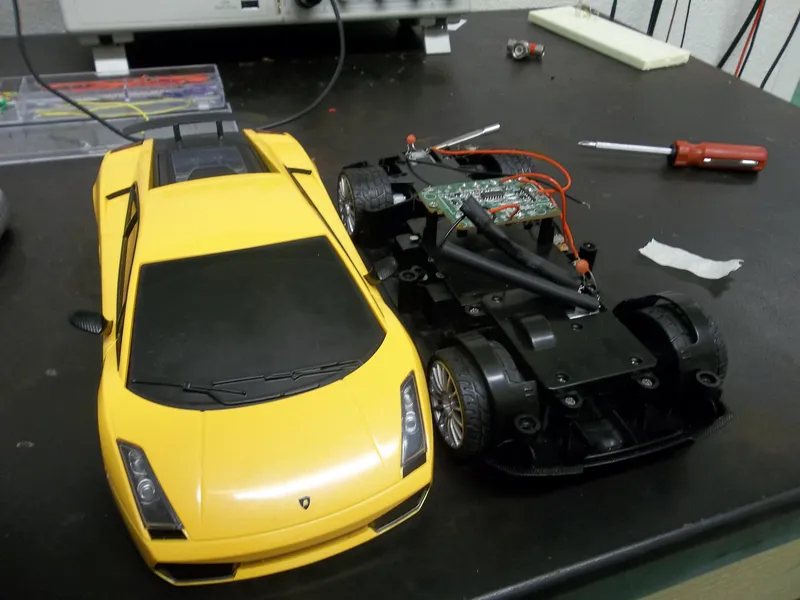
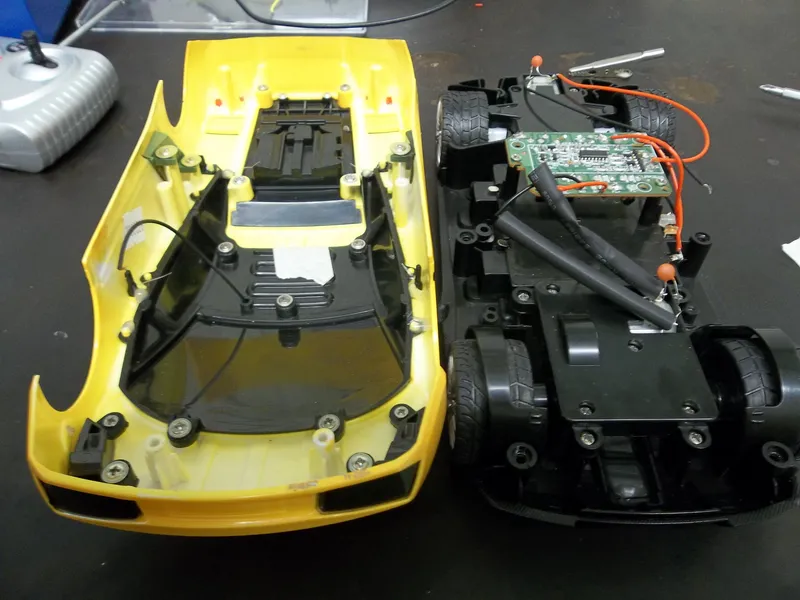
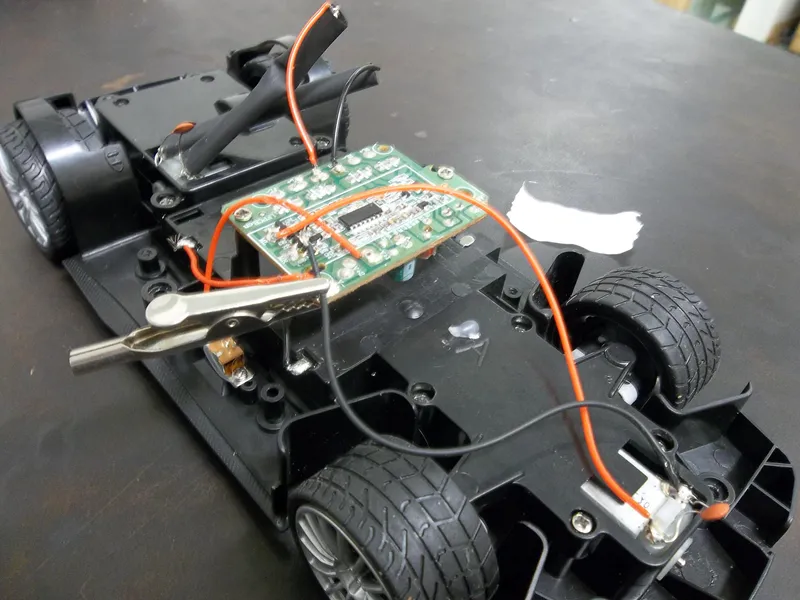
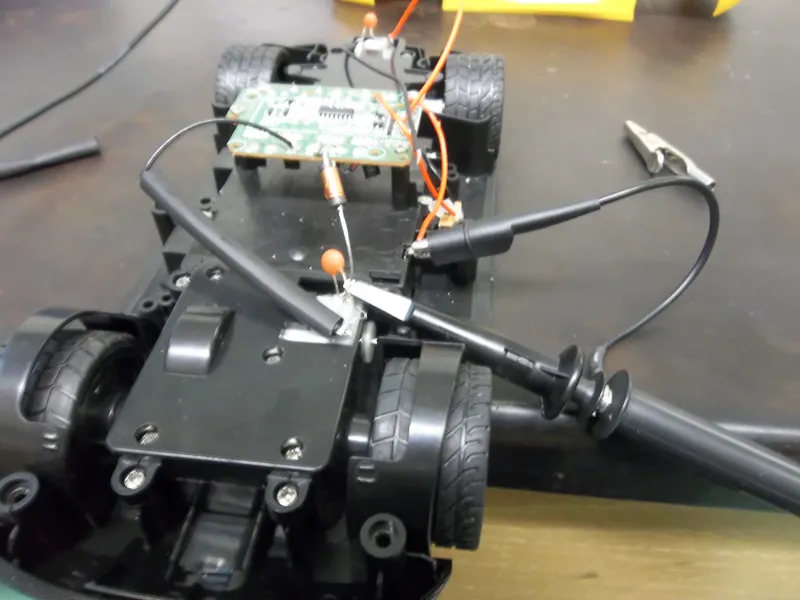
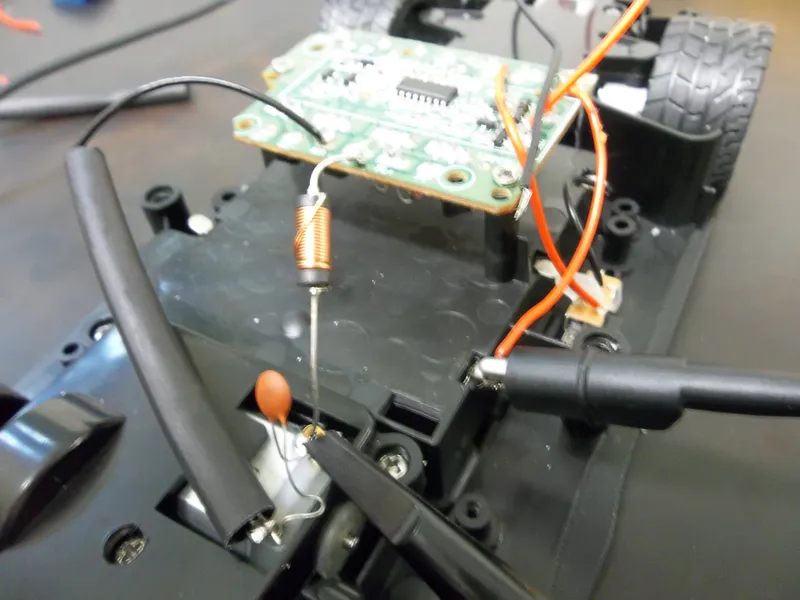
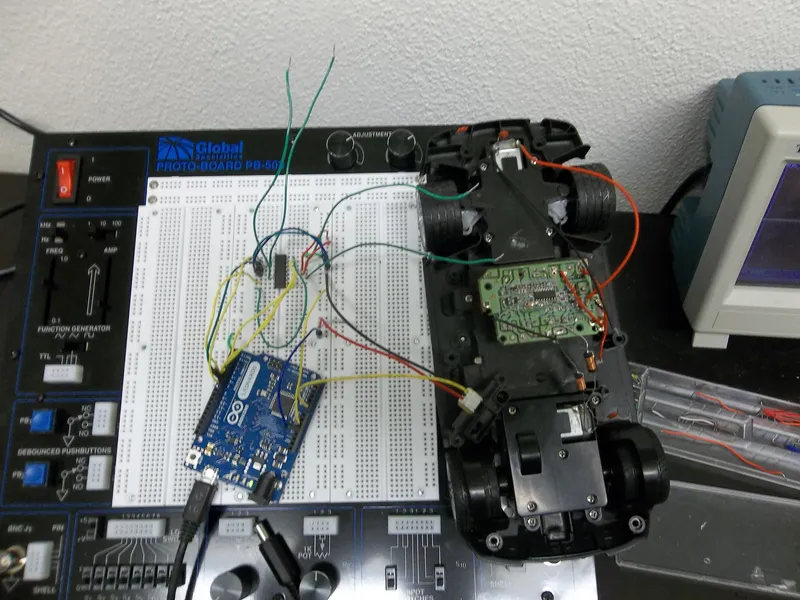
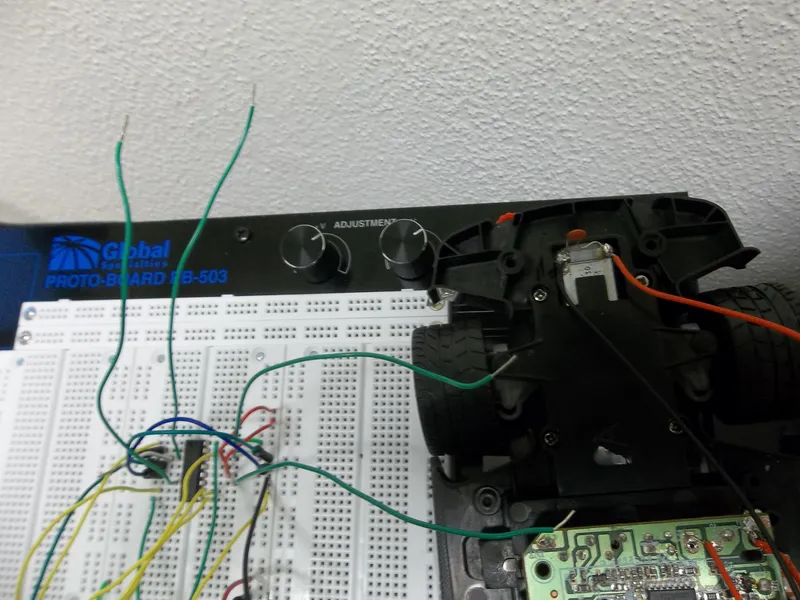
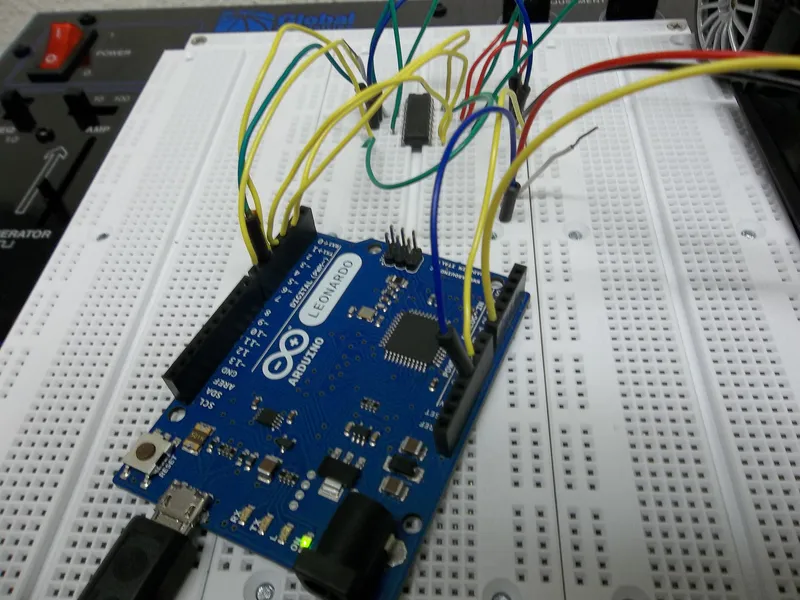
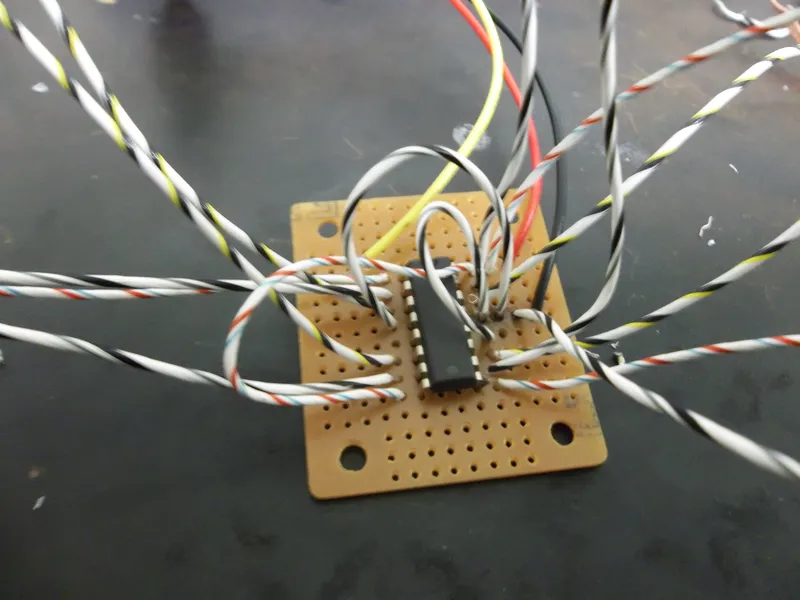
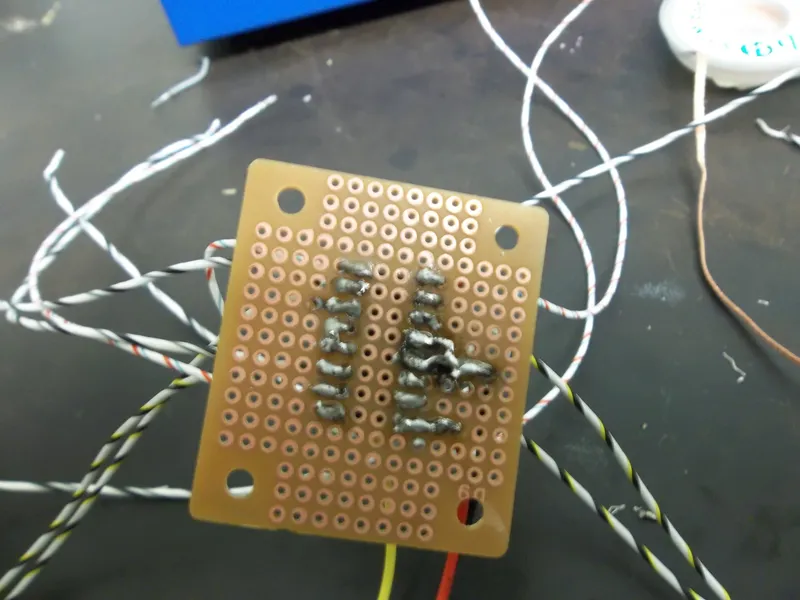
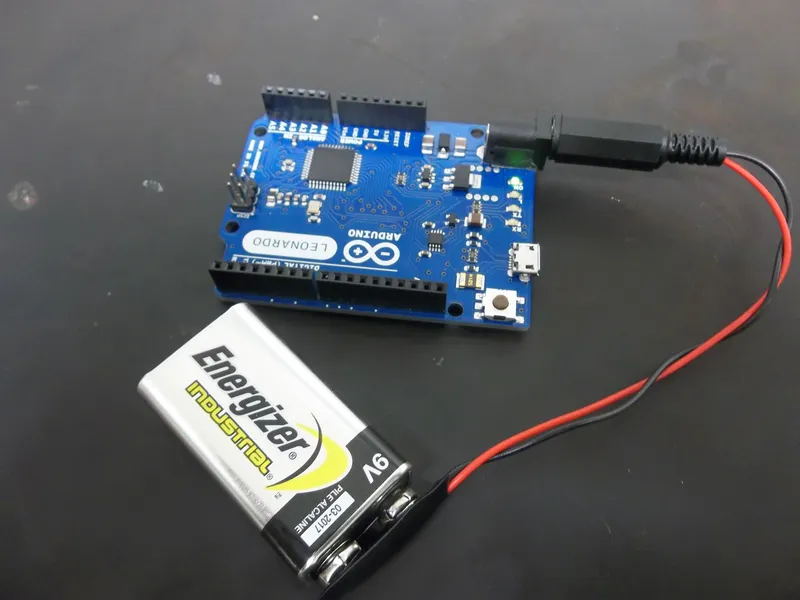
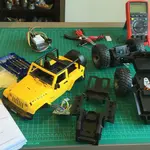
Once I finished my final circuit and obtained power for my Arduino, I set up the components inside the car. I used a hot glue gun to keep the perfboard and battery holder in place. In order to place the sensor in front I unscrewed the car's windshield a bit and fed the sensor through a little gap. I then hot glued it in place at the front. Once I had all the components in place, I uploaded some code into the Arduino, connected the power supply, and screwed in the plastic covering back into place.
Where We're At Now:
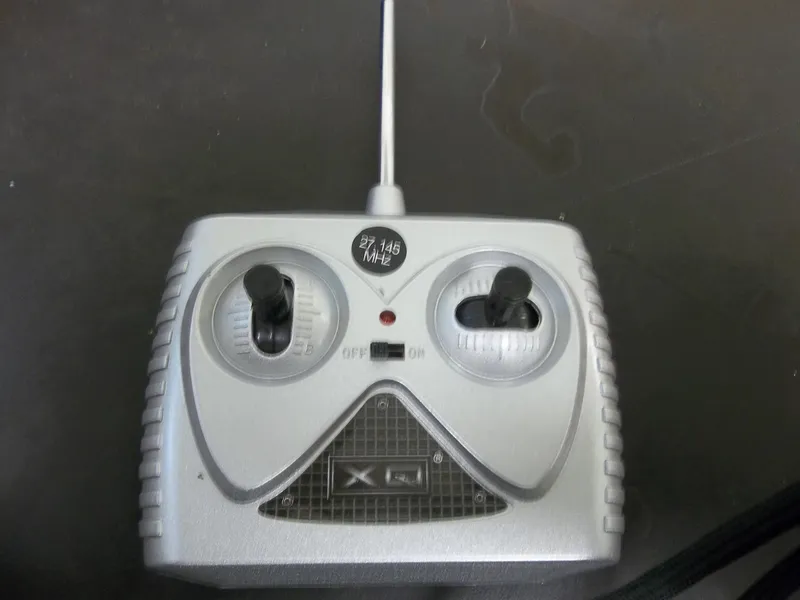
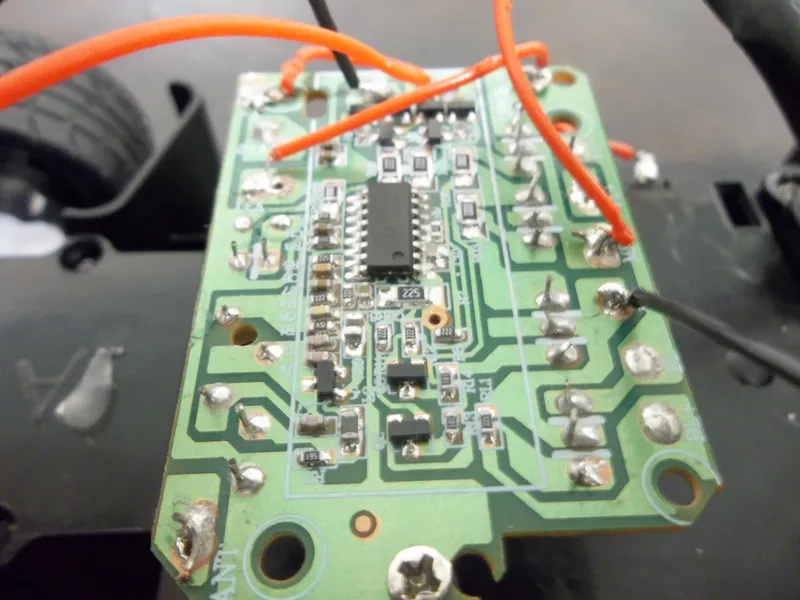
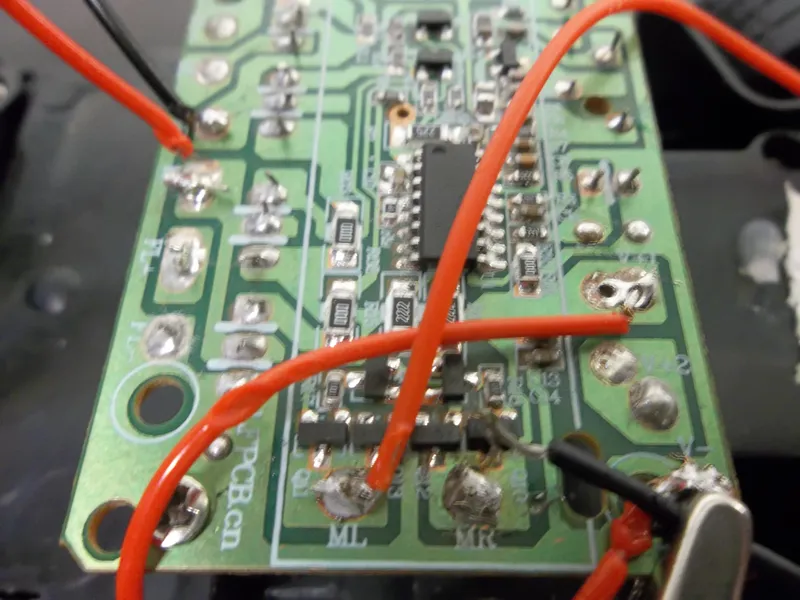
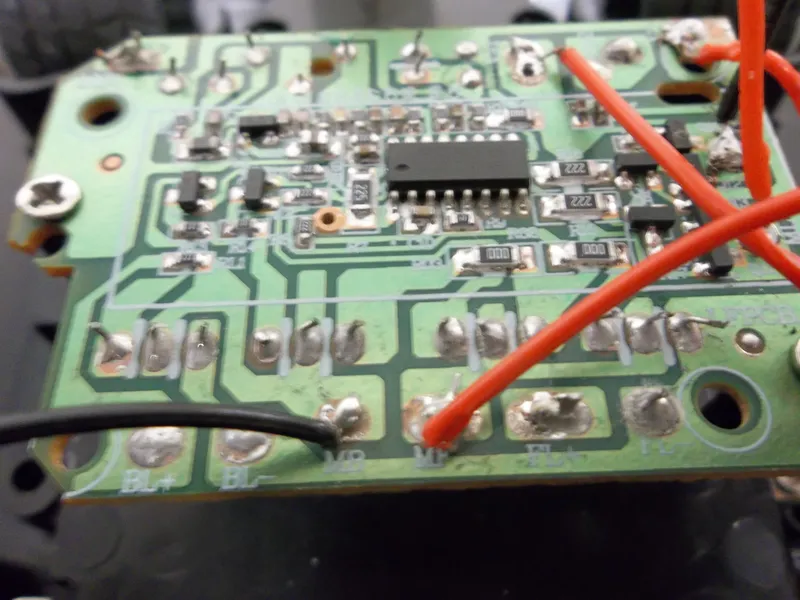
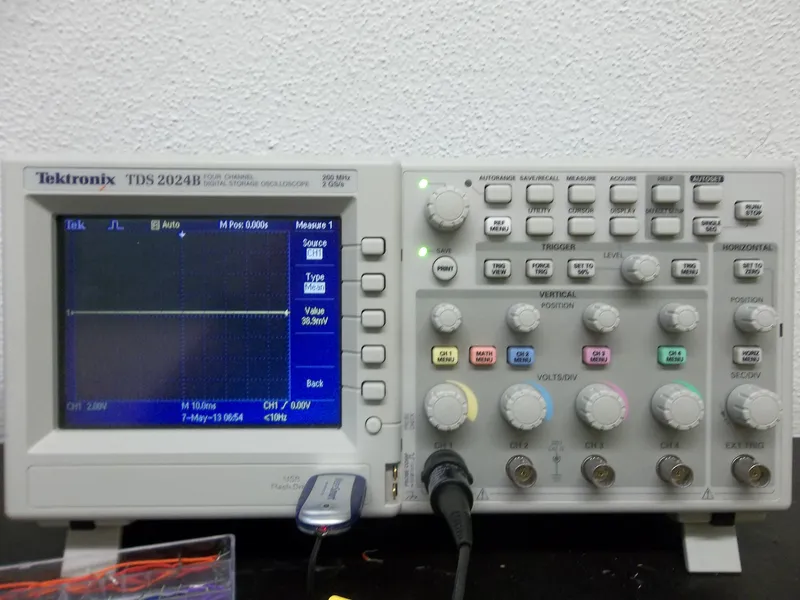
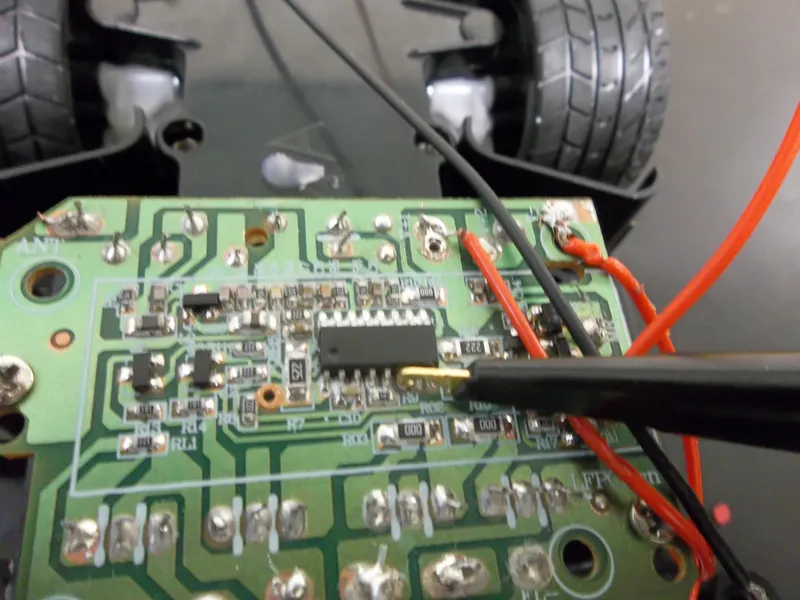
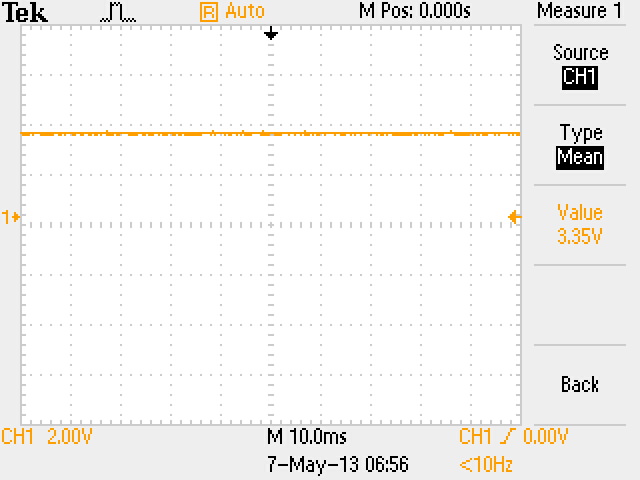
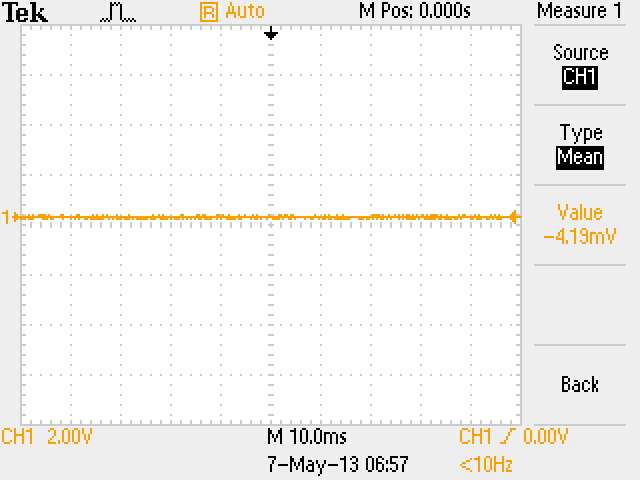
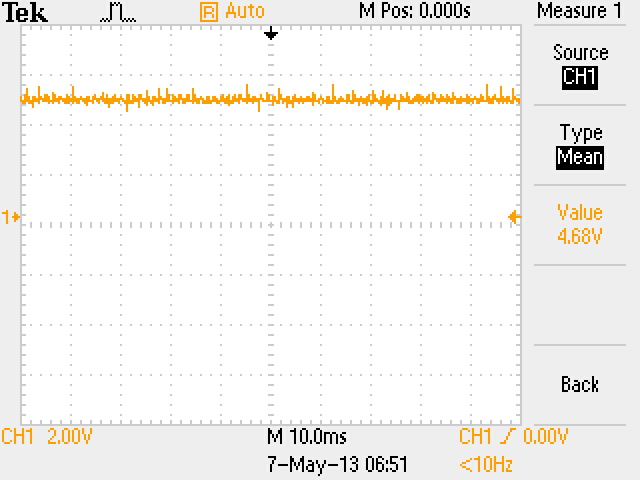
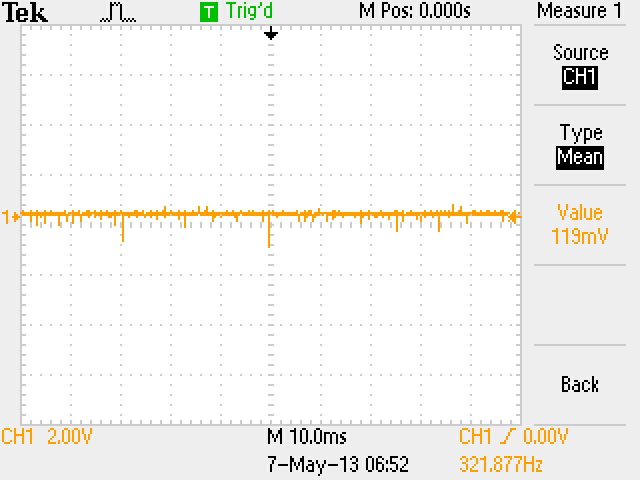
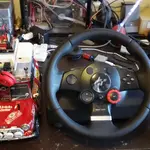
Okay, the original plan was to connect the receiver output to the Arduino so the car would run normally until it got too close to a wall.However...when I tried soldering connections to the receiver's pins the receiver gave up on me. I actually got it to the point where I could read the correct voltages from the connections I soldered to the receiver but, the pins broke off after a while.
Plan B:
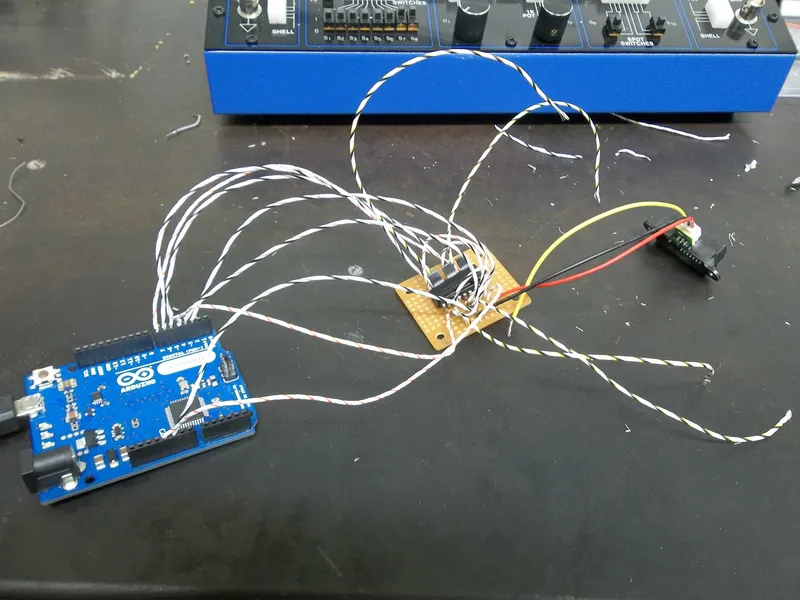
So now that I can't control the car using the remote control I decided to program the car and make it autonomous. I'm still in the process of making it completely autonomous (sort of like a Roomba) but, I have at least gotten it to the point were it senses a wall and it stops. I can also make the front tires turn based on commands from the Arduino. I'll include the snippet of code that I know works for sure below.
Possible Things for the Future:
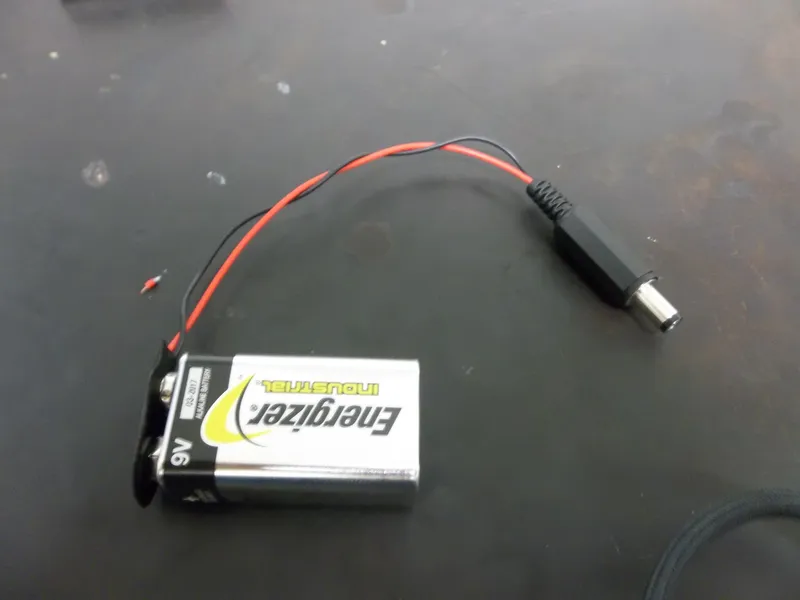
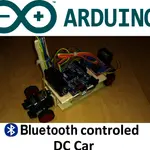
I hope to get the car to the point where it is completely autonomous. Also, I believe there's a way to return remote control capabilities to the car using a Bluetooth module like the BlueSMiRF Silver. Such a module would allow me to control the car from a Bluetooth enabled computer or phone which would be cool. Something else that I noticed is that the batteries I've used have been drained quickly. This means that I might have to change the way I'm powering the circuit. In other words, I'd have to use something other than a 9v battery.
If I can, I'll post any further developments I make. But for now, I'm just glad It can sense walls and stop accordingly.
Thanks for reading and I hoped you've found this informative.
Code:
//Label the pins we will be using
int enable12=7;
int input1=6;
int input2=5;
int enable34=4;
int input3=3;
int input4=2;
void setup(){
Serial.begin(9600); //Set baud rate
//Set up the necessary pins as outputs
pinMode(enable12,OUTPUT);
pinMode(input1,OUTPUT);
pinMode(input2,OUTPUT);
pinMode(enable34,OUTPUT);
pinMode(input3,OUTPUT);
pinMode(input4,OUTPUT);
//Set the Enable pins to HIGH
digitalWrite(enable12,HIGH);
digitalWrite(enable34,HIGH);
}
void loop(){
int sensorValue=analogRead(A2); //read in the sensor value
Serial.println(analogRead(A2)); //allow us to see the
//sensor value for troubleshooting
delay(1); //small delay for stability
if (sensorValue < 150){
goForward();
}
else {
stopMovement();
}
}
//Functions used to control the car's movement
void goForward(){
digitalWrite(input1,HIGH);
digitalWrite(input2,LOW);
}
void goBack(){
digitalWrite(input1,LOW);
digitalWrite(input2,HIGH);
}
void stopMovement(){
digitalWrite(input1,LOW);
digitalWrite(input2,LOW);
}
void goLeft(){
digitalWrite(input3,HIGH);
digitalWrite(input4,LOW);
}
void goRight(){
digitalWrite(input3,LOW);
digitalWrite(input4,HIGH);
}
void stopTurning(){
digitalWrite(input3,LOW);
digitalWrite(input4,LOW);
}