Wall‑Mount Support for Raspberry Pi with 7‑Inch Display – Compatible with E503 Vertical Box

Description
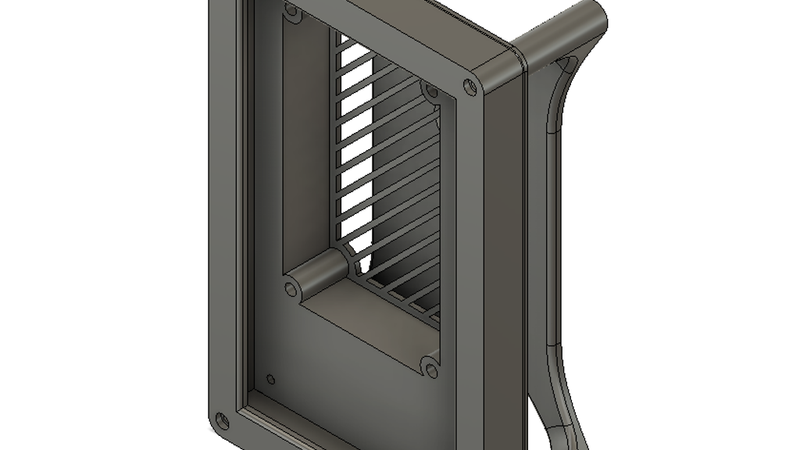
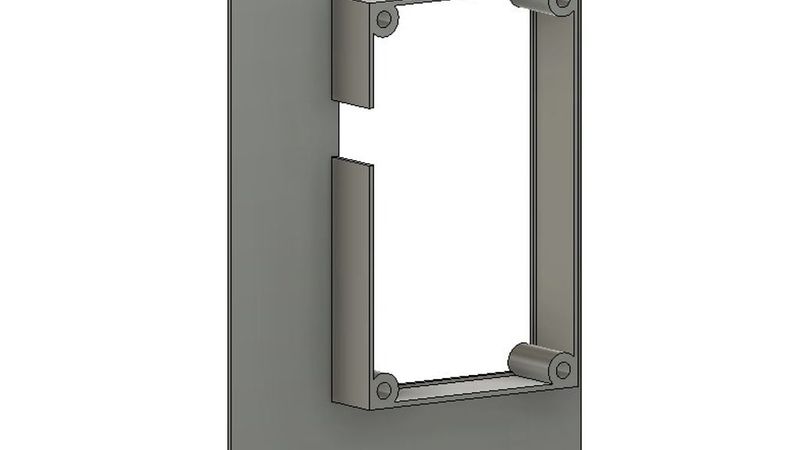
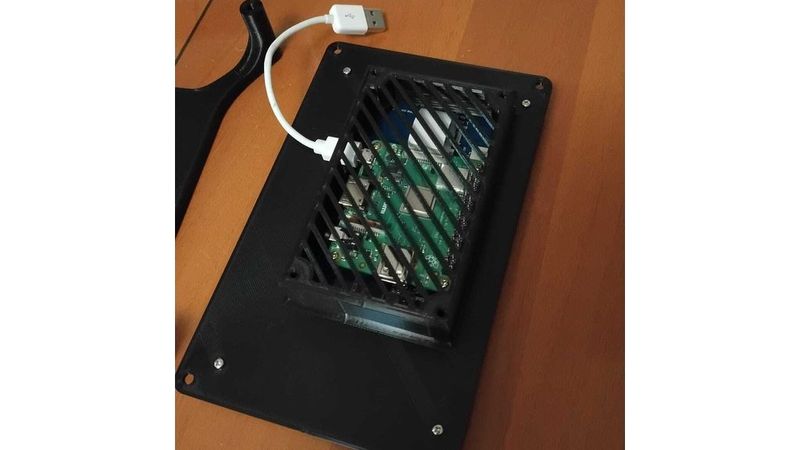
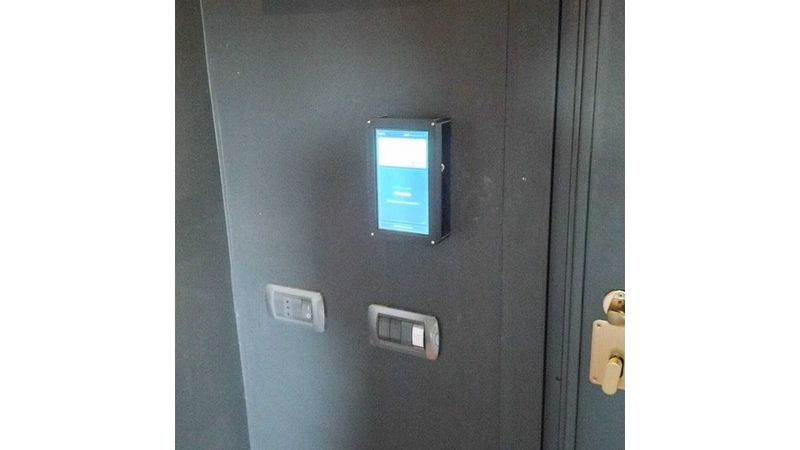
This project provides a complete 3D‑printed wall‑mount system designed to house a Raspberry Pi connected to a 7‑inch display, replacing the front cover of a vertical E503 electrical box.
The assembly consists of four printed parts, engineered for easy installation, secure fastening, and clean cable management.
Included STL Files
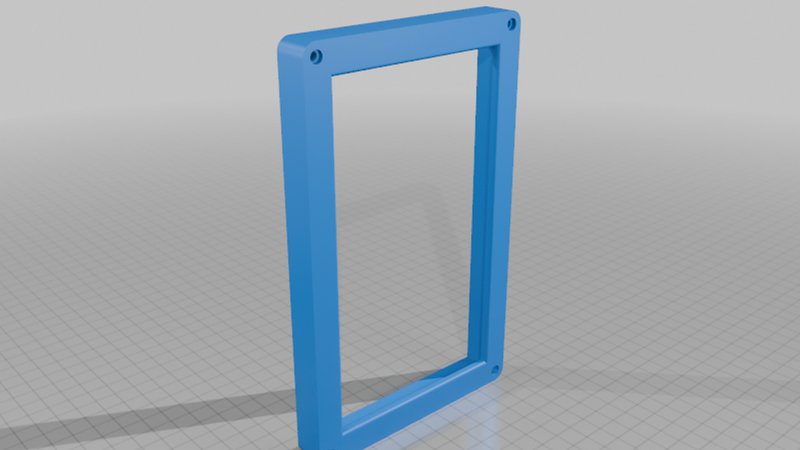
1) Cornice.stl
A front bezel that frames the 7‑inch display.
Designed with four screw holes for fastening
Only part requiring print supports (supports needed around the screw holes)
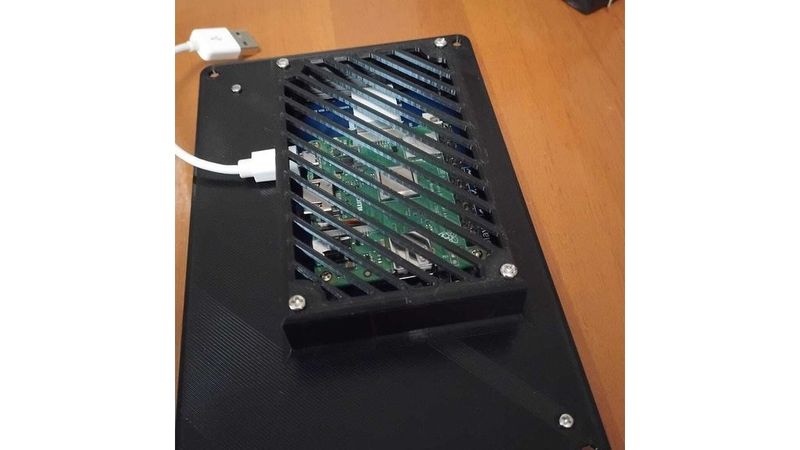
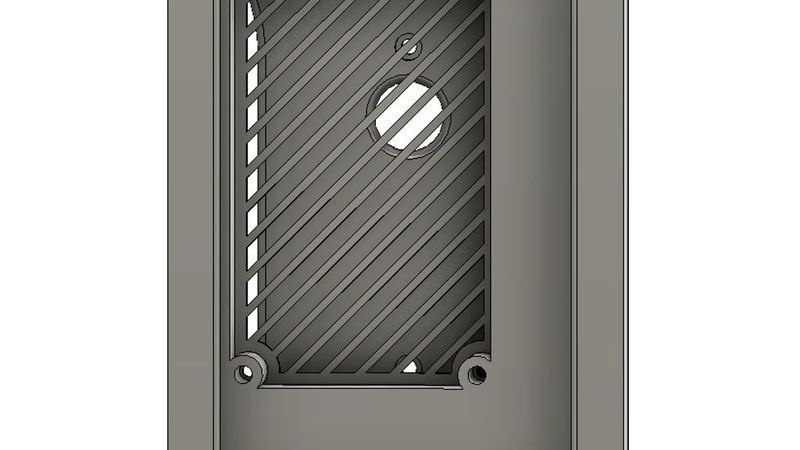
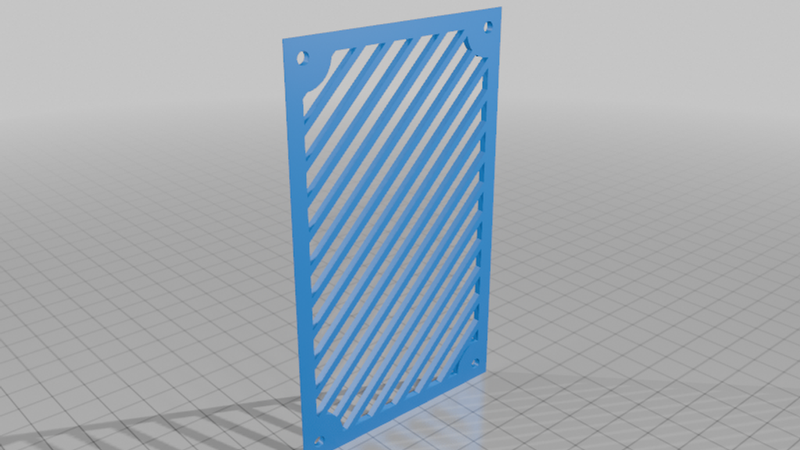
2) Griglia.stl
A rear ventilation grid that closes the back of the assembly.
Ensures airflow for the Raspberry Pi
Snaps or screws into the main structure depending on your build preference
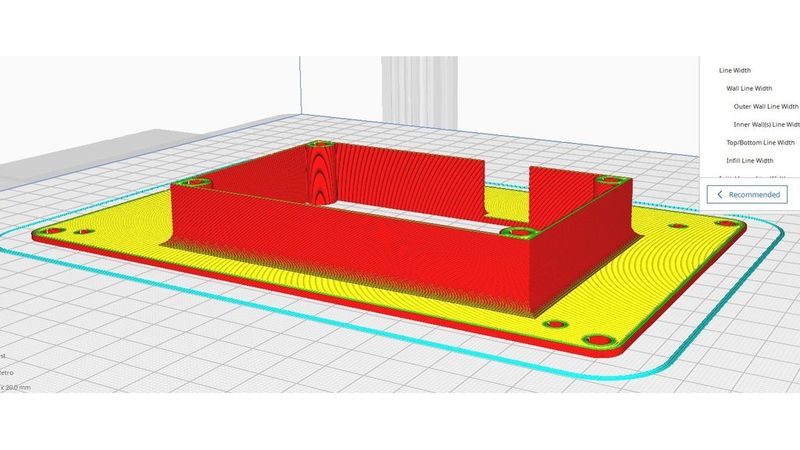
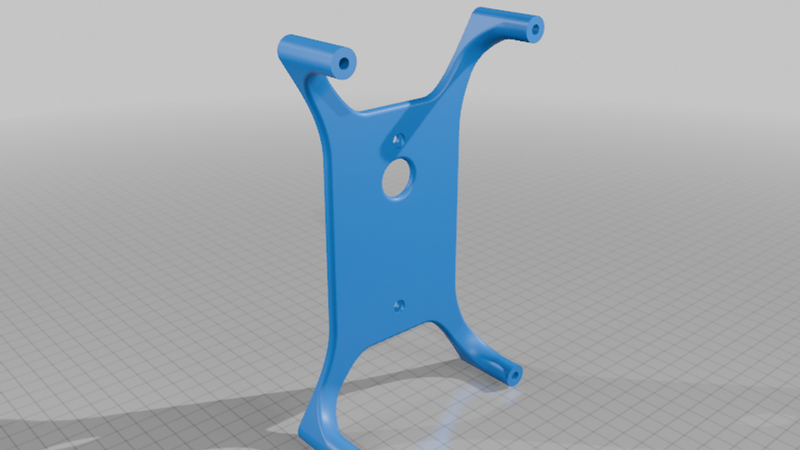
3) Retro.stl
The internal mounting plate that attaches directly to the 7‑inch display.
Fastened using M2.5 screws
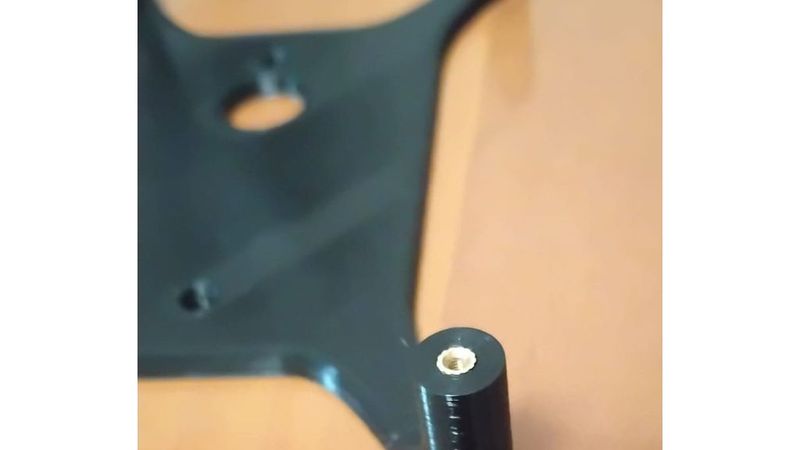
Includes 4 holes for brass threaded inserts
Inserts were installed using a soldering iron at 200 °C
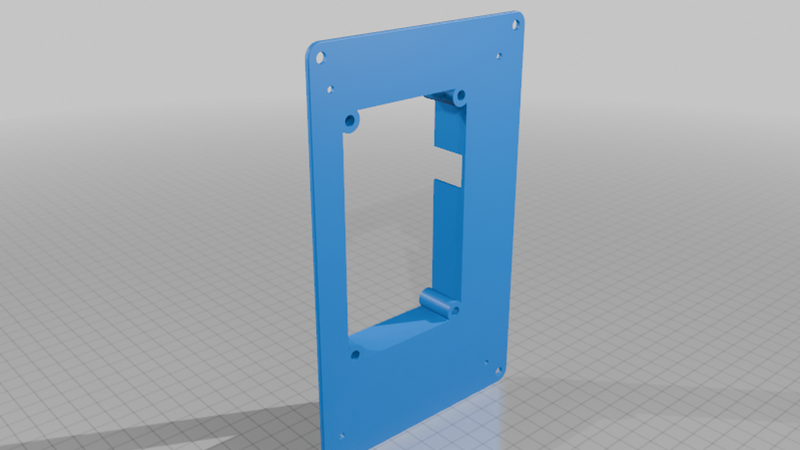
4) Piastra.stl
The replacement cover for the E503 vertical box.
Matches the box’s dimensions and fastening points
Also features 4 holes for brass threaded inserts, identical to Retro.stl
Once inserts are installed, the assembly can be mounted using M3 screws of appropriate length
Hardware Used
Raspberry PI model A+ available on Amazon - https://www.amazon.it/dp/B07KKBCXLY?ref=fed_asin_title
Freenove 7-inch display available on Amazon - https://amazon.it/dp/B0BPP6MFFJ?ref=fed_asin_title
M3 screws for the brass inserts and M2.5 screws for fastening the display to Retro.stl (available on Amazon — https://www.amazon.it/dp/B0GKWPNGHD?ref=ppx_yo2ov_dt_b_fed_asin_title&th=1)
Brass threaded inserts M3 xD5.0 x L5.0, installed with a soldering iron at 200 °C https://www.amazon.it/QUARKZMAN-Filettati-Zigrinati-Incorporamento-Componenti/dp/B0FT1R1DCQ/ref=sr_1_40?__mk_it_IT=%C3%85M%C3%85%C5%BD%C3%95%C3%91&crid=2QK1OBTMJK6FE&dib=eyJ2IjoiMSJ9.0PQSMvJ-sdsEu8FJ6oxAZKflGgl2dK-X6FZJMSckZyLXGx_Mb_F8QyKlt7xsNELVtO9oX-qk-rzYvAf4kjUJNCot5t9jN0ZnRXZW-EmTsE0b2JNi8fKOayXPofCdyHQF0xPXSE4QfUjN14d1SRvhWxtcuev3i9b-2nqoMBHNLBp8zS9OLGs49X45LmqUNIdPERXWFE3NgJ4-0yZUUQUzBjrb8awTHSLN0QkVvlhgcnYVogjfkWVMSor4_FqL6ySygA_499bP4-WXxqZRpM6jdSjPKwlbsjF_Ls0Zr3wgC78.V6VF1wSRax1gib39Oq-ImneitsoiPV-JbmITdwCg33Q&dib_tag=se&keywords=Brass%2Bthreaded%2Binserts%2BM3%2Bx%2B5%2Bx%2B5&qid=1790505808&sprefix=brass%2Bthreaded%2Binserts%2Bm3%2Bx%2B5%2Bx%2B5%2Caps%2C112&sr=8-40&th=1
Printing Notes
Cornice.stl requires supports due to the vertical screw holes
All other parts print cleanly without supports
Recommended material: PLA
Suggested infill: 20–30%
Layer height: 0.2 mm works well for all components
Assembly Overview
Install brass threaded inserts into Retro.stl and Piastra.stl using a soldering iron at 200 °C.
Fasten the 7‑inch display to Retro.stl using M2.5 screws.
Mount Piastra.stl onto the E503 box.
Attach the display assembly to the wall plate using M3 screws.
Close the back with Griglia.stl for ventilation and protection.
Snap or screw the Cornice.stl onto the front to complete the installation.
Summary
This modular 4‑piece system provides a clean, robust, and easily printable solution for mounting a Raspberry Pi and 7‑inch display inside an E503 vertical box. The use of brass threaded inserts ensures long‑term durability and repeated assembly without wear.