Yaesu FT-7900R Skinny .30-Cal Ammo Can Mount
Description
This is yet another radio mounted in an ammo can.
There are many like it, but this one is mine.
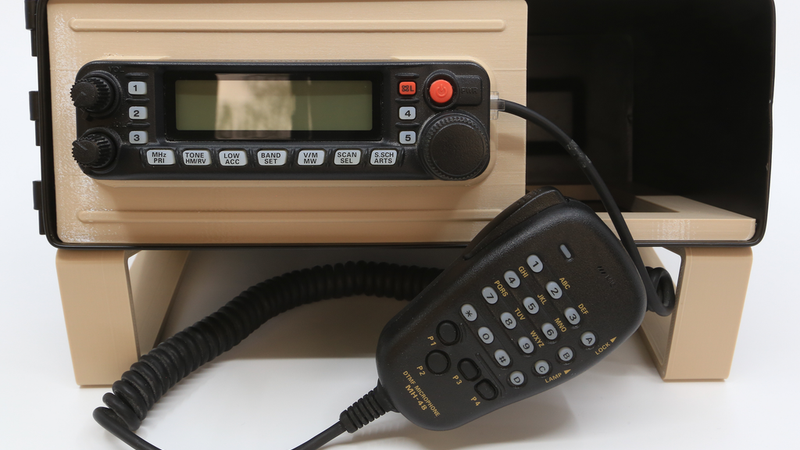
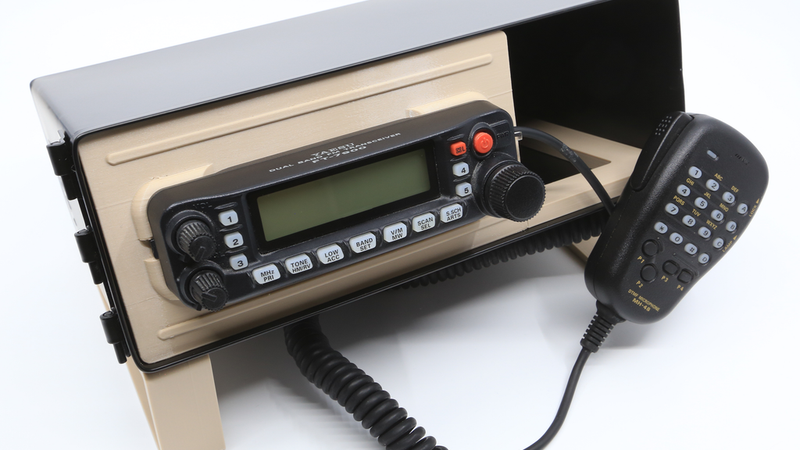
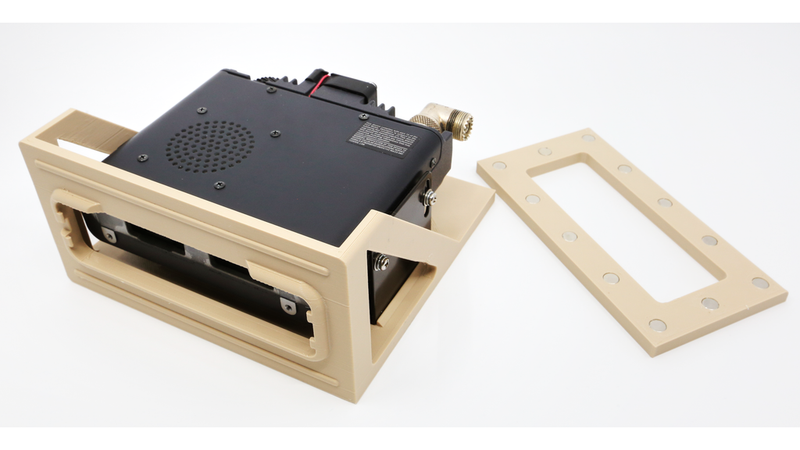
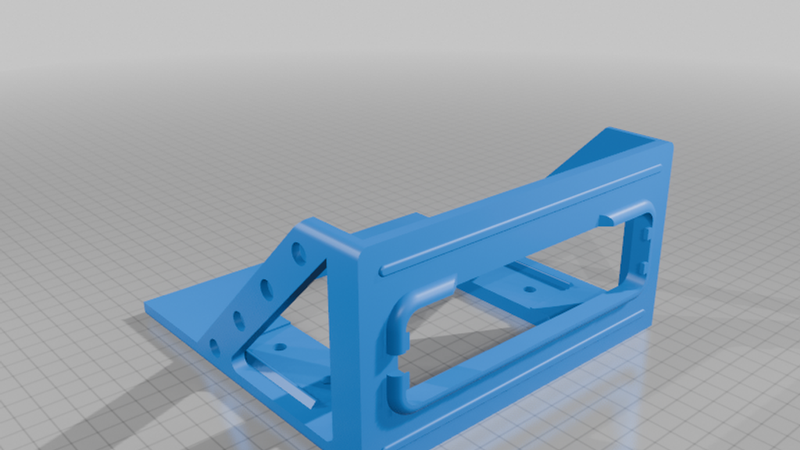
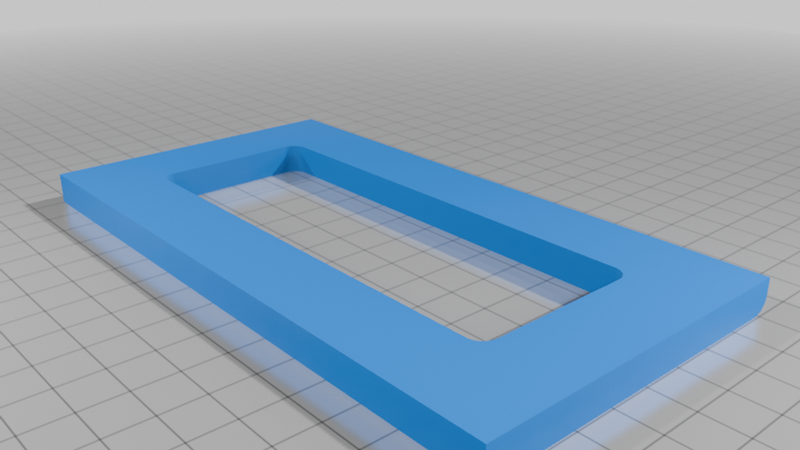
The goal was to stuff a Yaesu FT-7900R into a skinny .30-cal ammo can—a volume far too small for this radio. I also wanted to keep it simple: just two printed parts, the chassis and a parametric wedge. The wedge is adjustable, and its job is simply to lock the chassis to the left side of the ammo can while preserving space for storage during transit and airflow during use. And of course, I wanted no modifications to the ammo can whatsoever. No punching. No drilling.
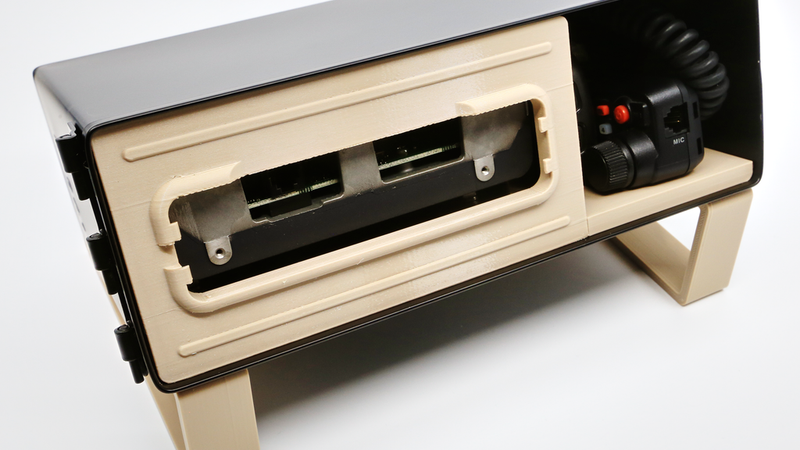
In order to make this work, I had to accept one major compromise: the radio head has to come off during transit. When in use, it attaches to the front of the chassis and extends almost entirely beyond the lip of the ammo can.
The other, minor compromise has to do with heat. To keep a potentially hot radio away from the plastic chassis, I integrated the Yaesu MMB-36 metal C-mount that came with the radio directly into the design.
On the plus side, I didn't have to worry about adding a battery. I wasn't trying to make an all-inclusive "go box," since I already have portable ammo-can power supplies.
Beyond that, the design is basically the usual set of compromises between:
Make it work.
Make it graceful.
Make it actually printable.
The cool part is that the radio head interface bits are built directly into the chassis rather than being a separate adapter. That gives the finished assembly a much cleaner look, and makes the whole thing feel like a purpose-built chassis rather than a radio bolted onto a printed bracket.
You might ask—as I did—why not just create a cutout in the front panel, extend the radio through it, and use the stock Yaesu interface on the radio itself?
Separating the radio head from the radio allows me to isolate the radio (and its heat) from the plastic chassis. It also allows me to center the radio head independently of the radio. Finally, I think it just looks more graceful to have the interface integrated directly into the front panel.
Both parts have plenty of pockets for common 8×3 mm round magnets. There is also enough space behind the radio for a right-angle BNC connector and some airflow.
What's missing are panel mounts for the radio connectors. They would take up too much space, and we need that space for storage, airflow, and to let sound actually reach our ears!
Print Recommendations
If you decide to print this, I recommend the following settings:
* 0.6 mm nozzle
* 0.25 mm layer height
* 4 perimeters
* 20% gyroid infill
* Supports everywhere
* Use a generous brim
Print the chassis with the base magnet pockets facing down, as it appears in the previews. For the wedge, do the exact opposite: print it with the magnet pockets facing up.
If you end up with any corner curling or warping, you can temper the part back to flatness after printing. Place the base on a sufficiently heated build plate and add some weight to hold it flat while it reheats. Let it cool completely while still under weight.