Gridfinity Custom Grid Spacers

Description
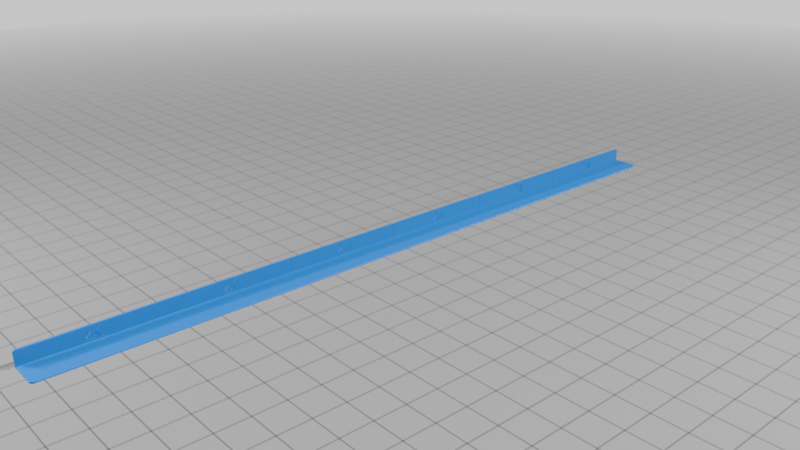
The "Now It Actually Fits The Drawer" Gridfinity Drawer Spacers 📏
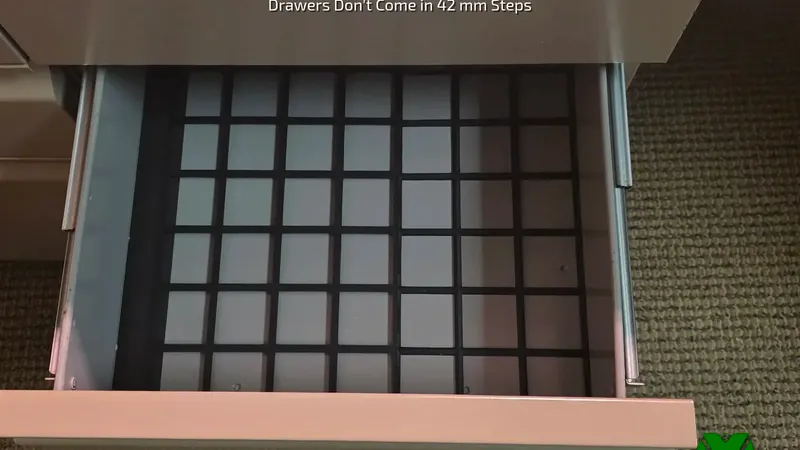
You measure the drawer, do the math, and print a perfect array of baseplates. Then you drop it in and find a 17mm canyon down one side, because drawers are not built in 42mm increments. Every time you open it, the whole grid slides. That strip is what these close.
🟩 𝗪𝗛𝗔𝗧 𝗠𝗔𝗞𝗘𝗦 𝗜𝗧 𝗪𝗢𝗥𝗞
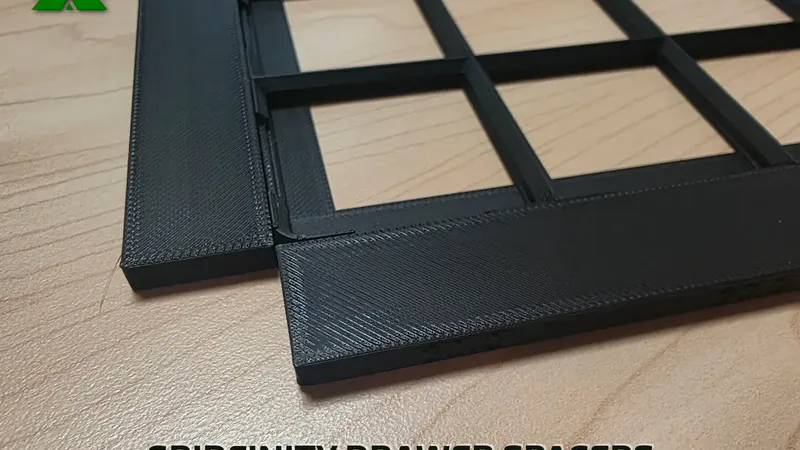
▸ 𝗖𝗹𝗼𝘀𝗲𝘀 𝗧𝗵𝗲 𝗟𝗲𝗳𝘁𝗼𝘃𝗲𝗿 — A 14-square row is 588mm. The drawer I built this for is 605mm. That 17mm is the whole reason this model exists: drop a 15 down one side and a 1.2 down the other, and the grid stops moving.
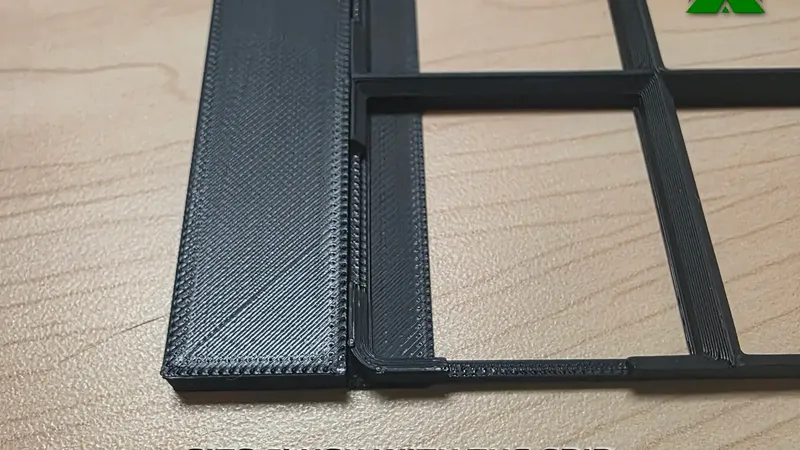
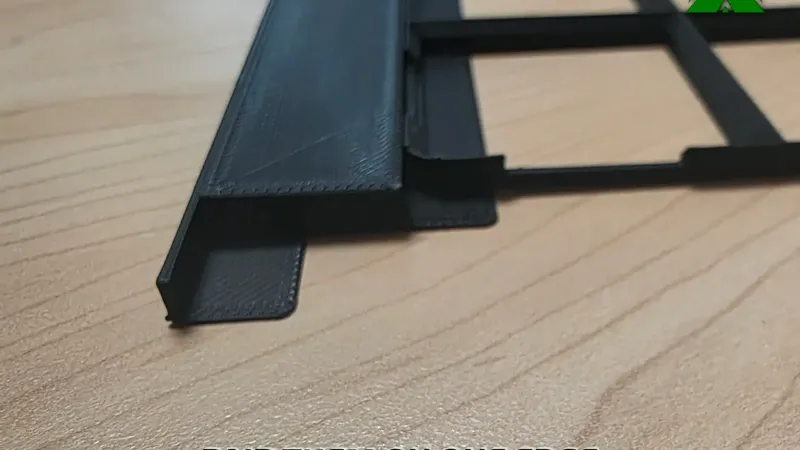
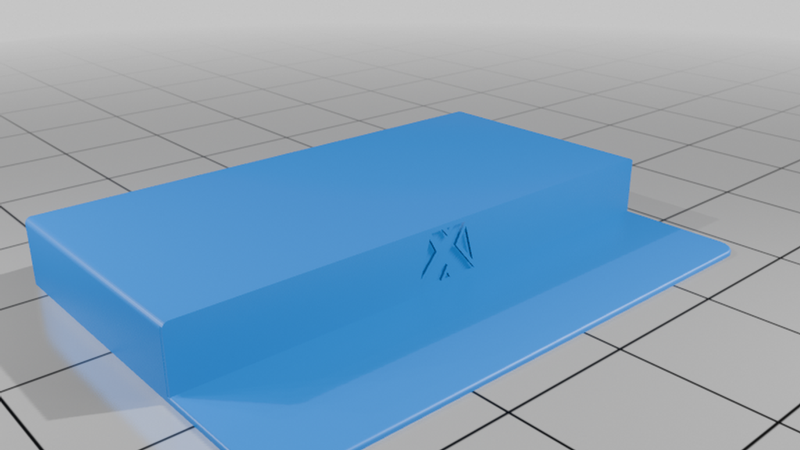
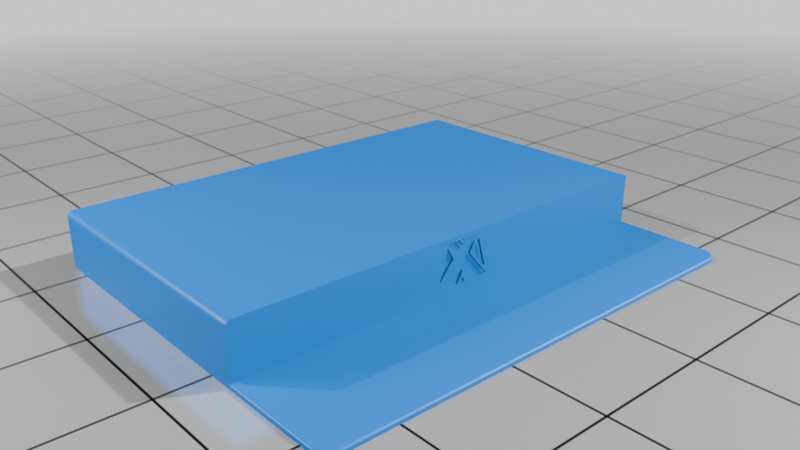
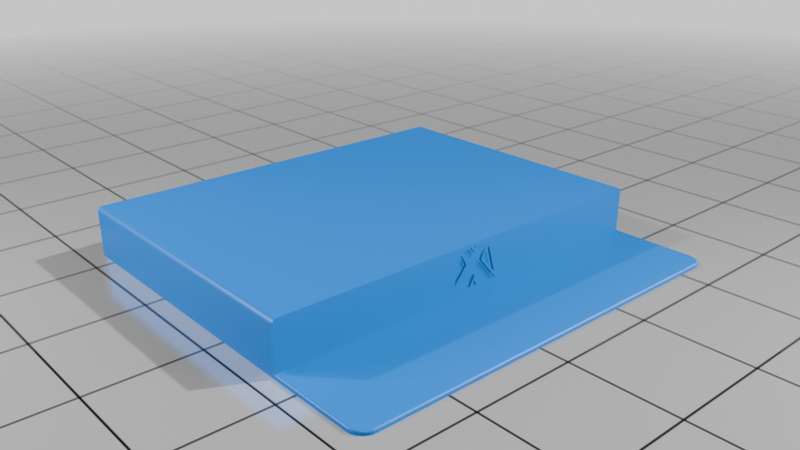
▸ 𝗧𝗵𝗲 𝗡𝘂𝗺𝗯𝗲𝗿 𝗜𝘀 𝗧𝗵𝗲 𝗚𝗮𝗽, 𝗡𝗼𝘁 𝗧𝗵𝗲 𝗣𝗮𝗿𝘁 — A 40 fills a 40mm gap. It takes up 50mm of drawer, because the retaining lip tucks under your baseplate rather than sitting in the gap. Measure the empty space and print that number.
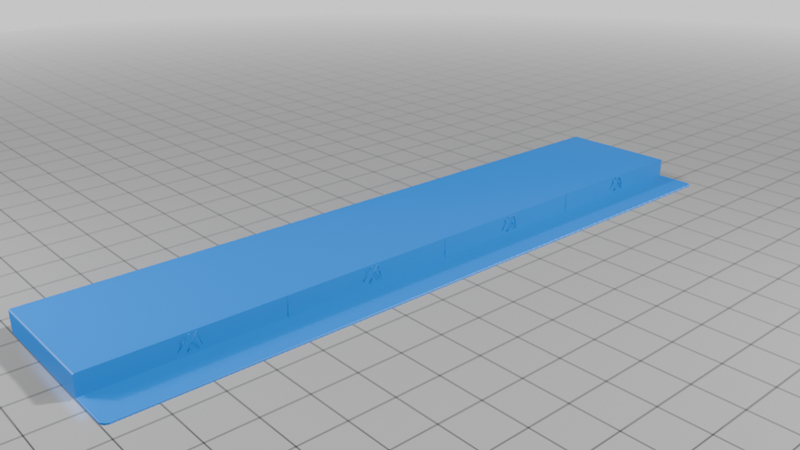
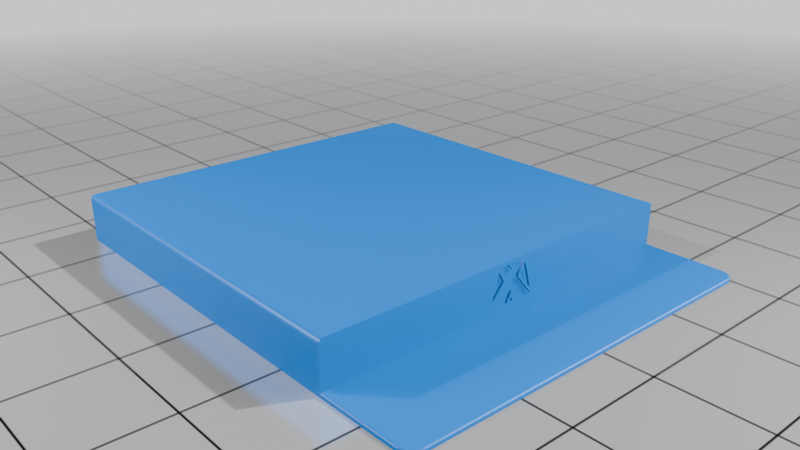
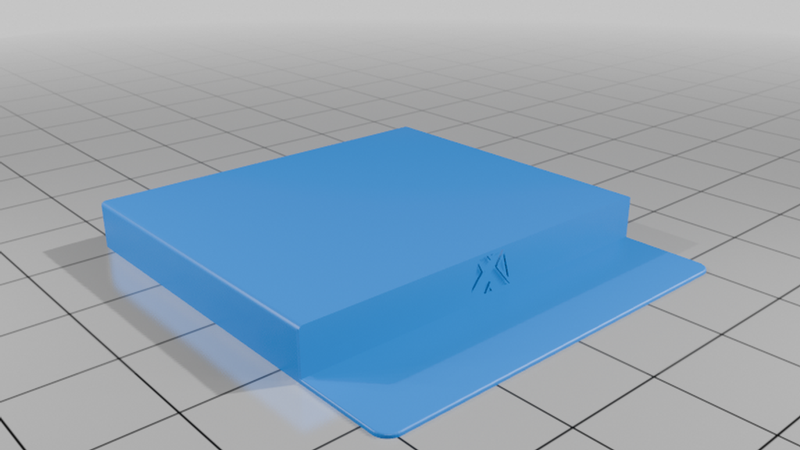
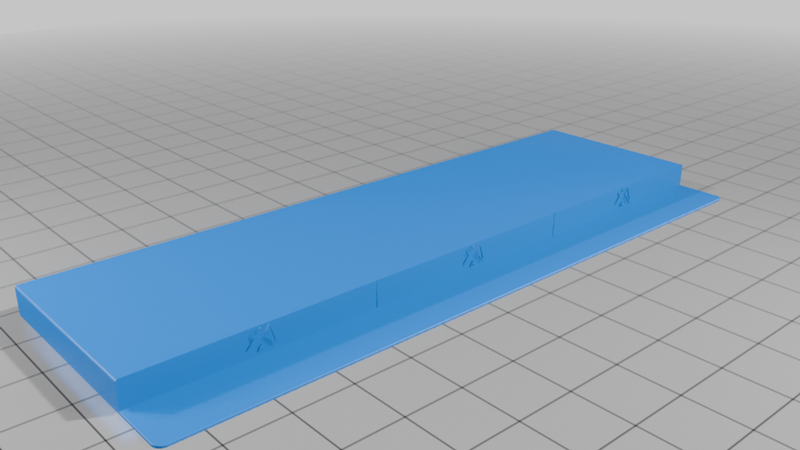
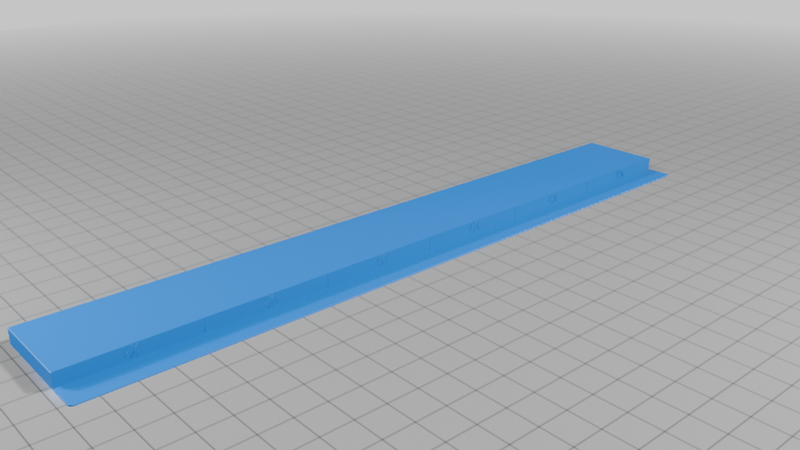
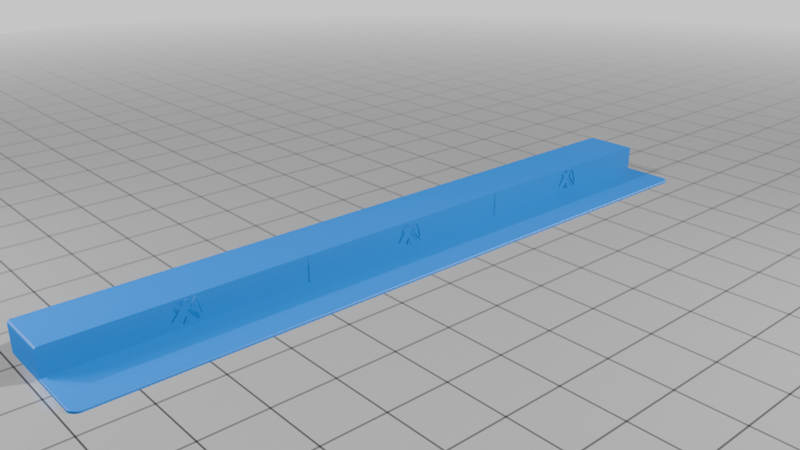
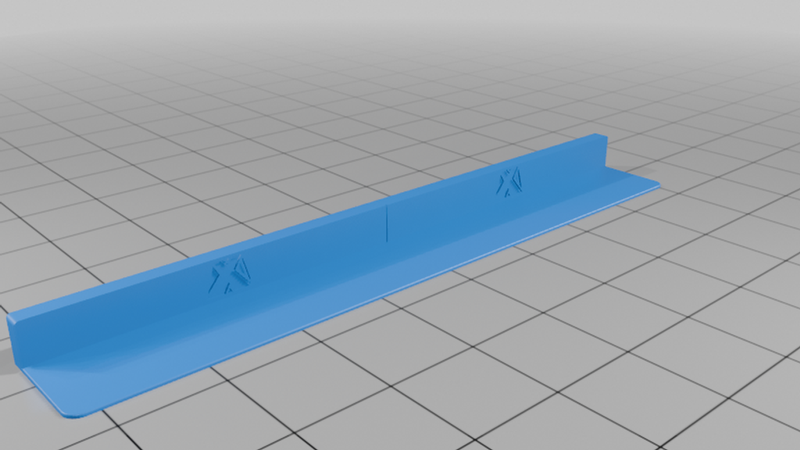
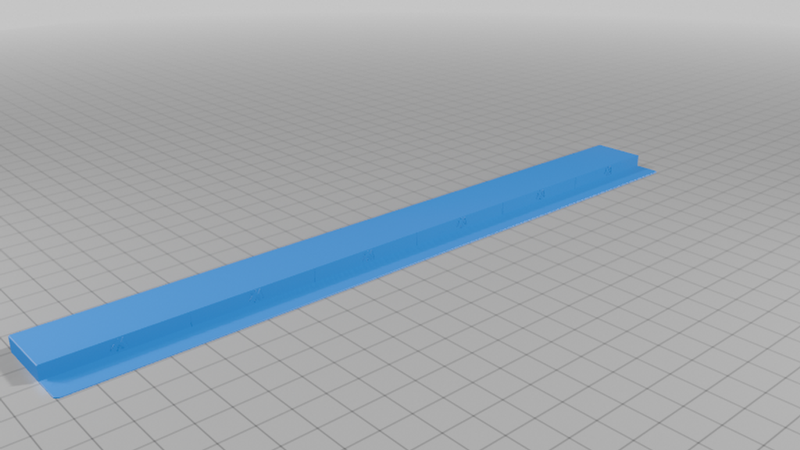
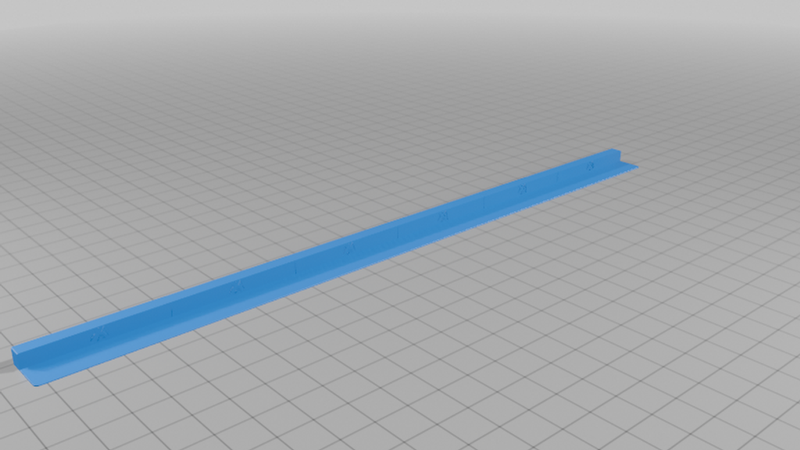
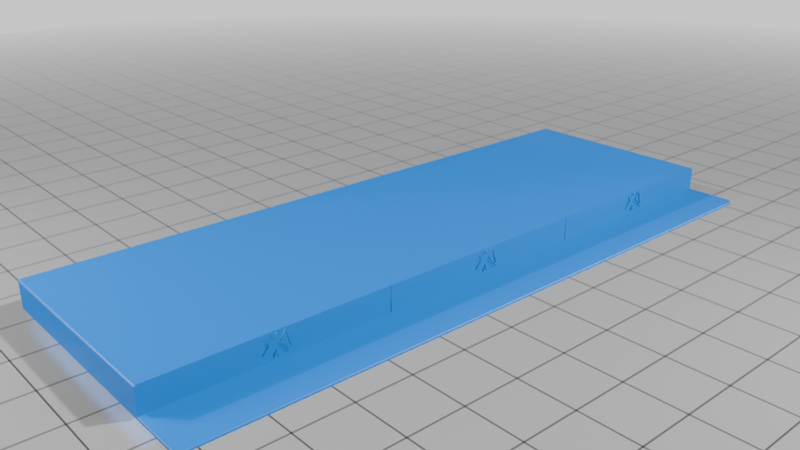
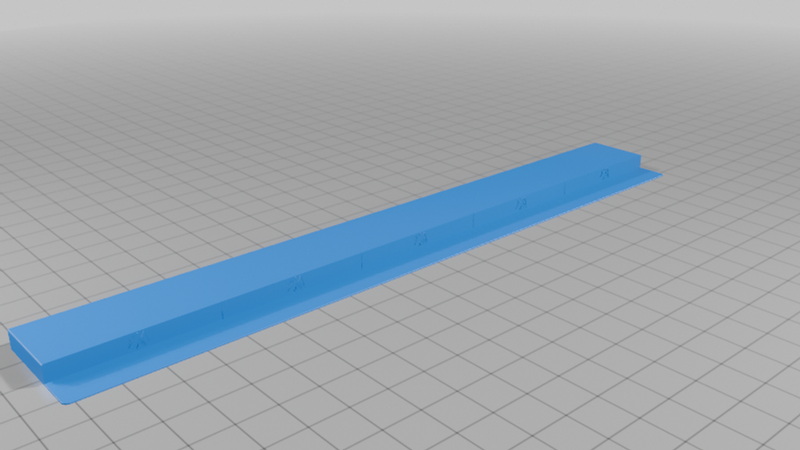
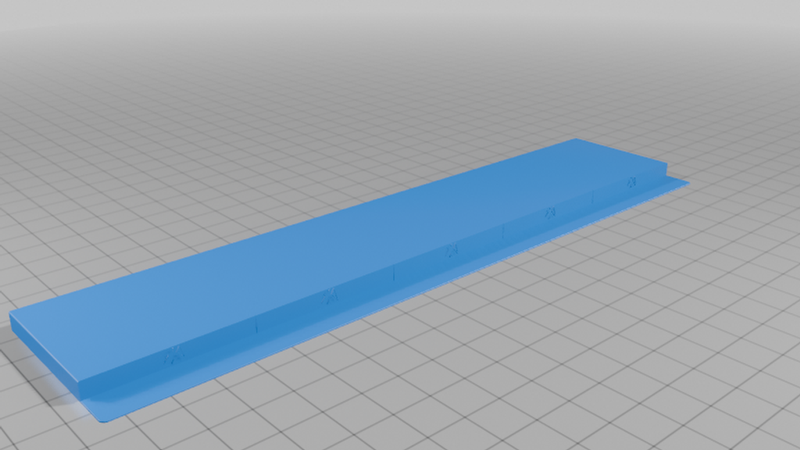
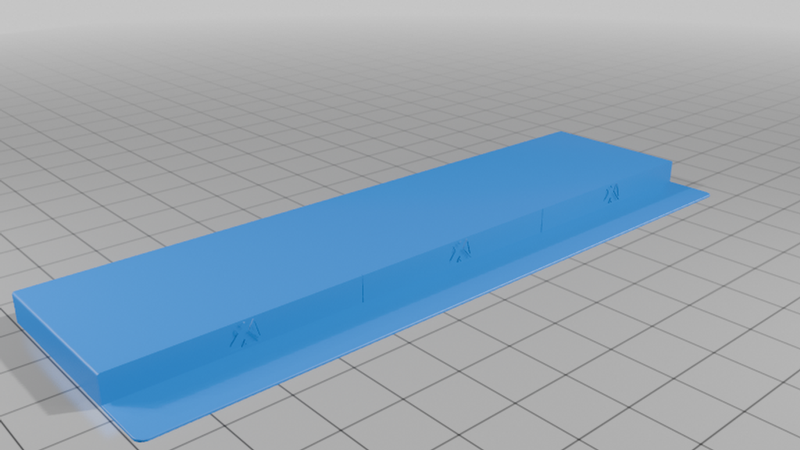
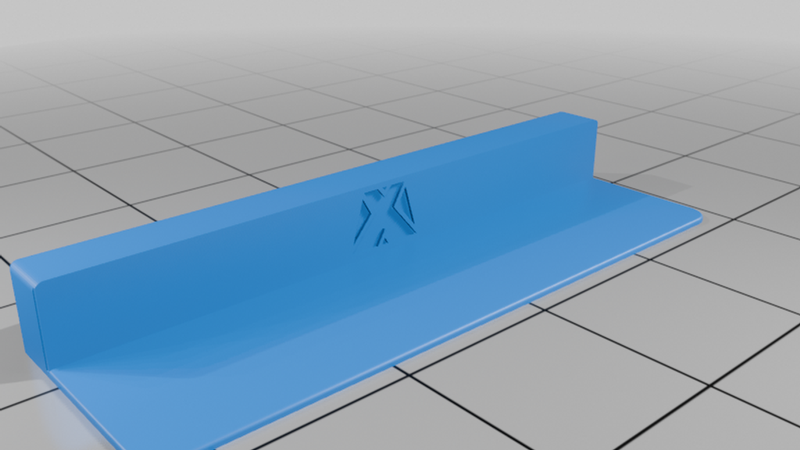
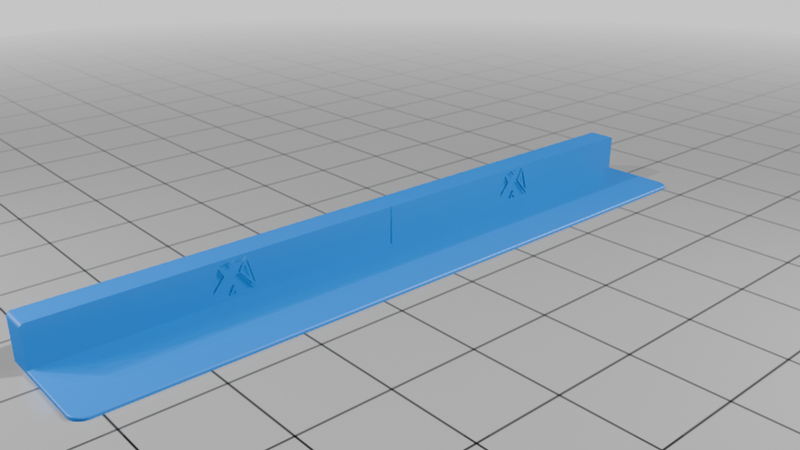
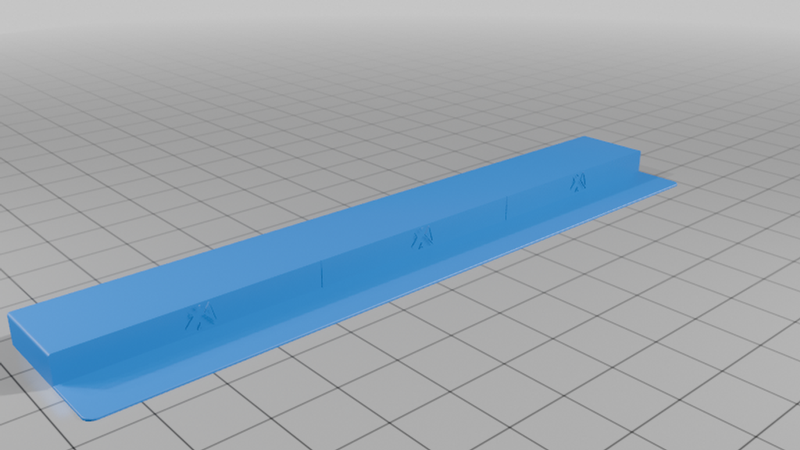
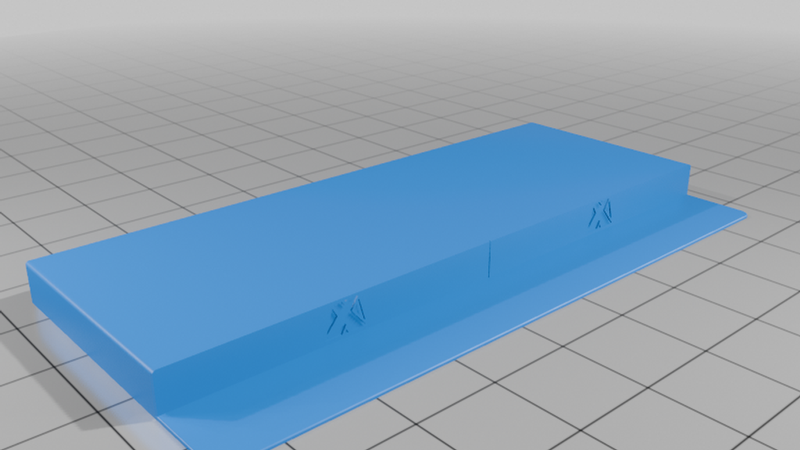
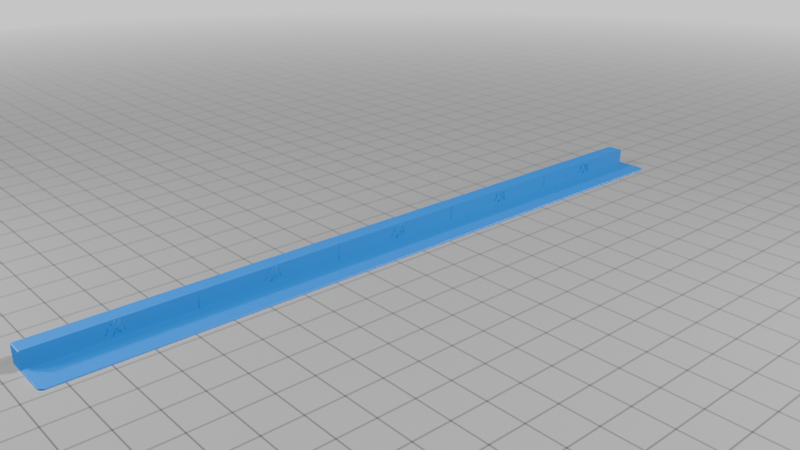
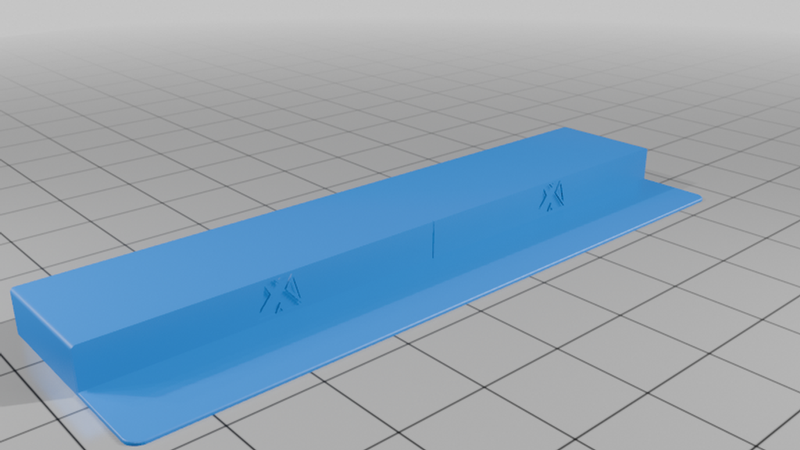
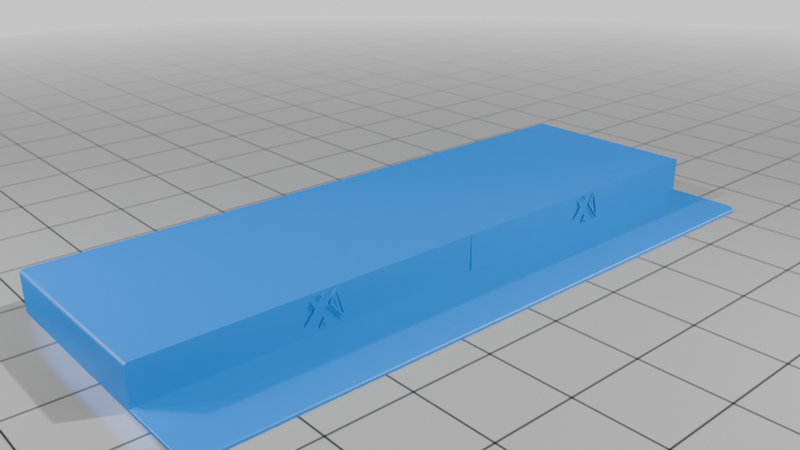
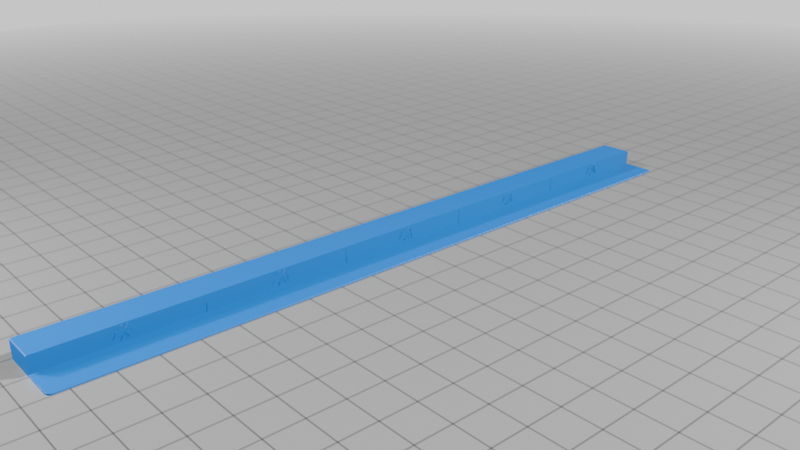
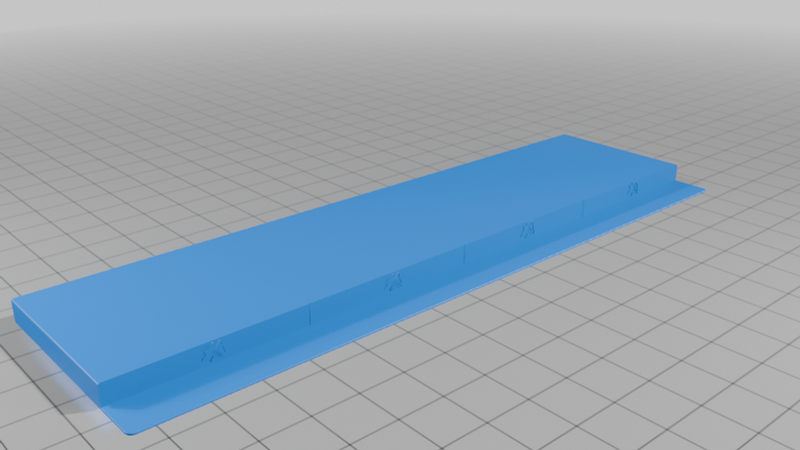
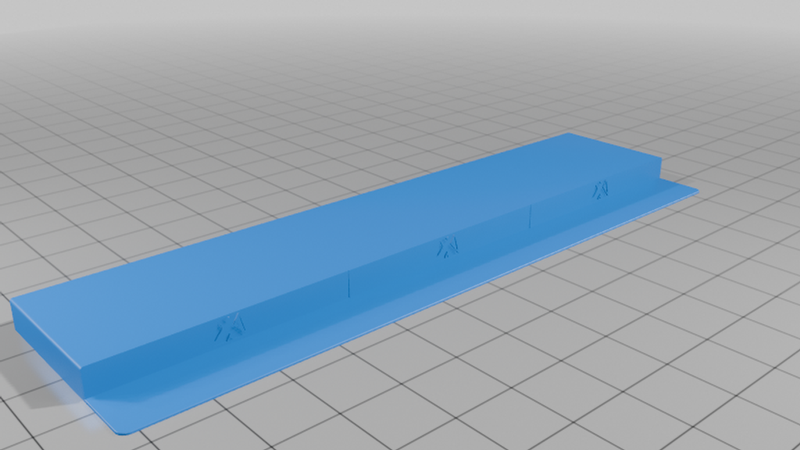
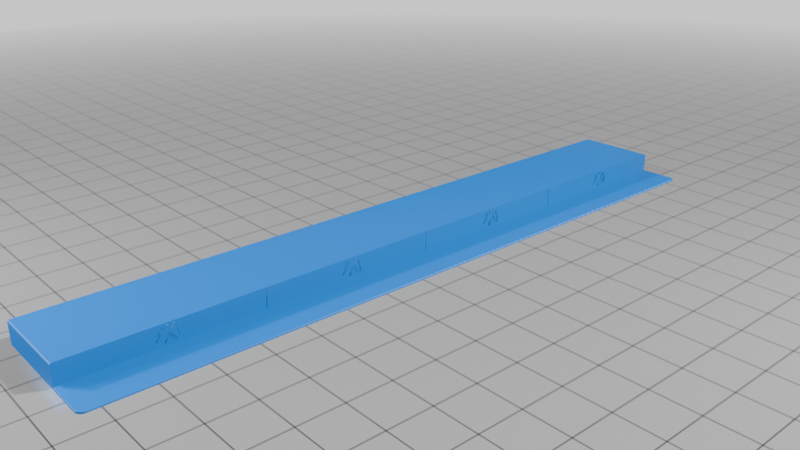
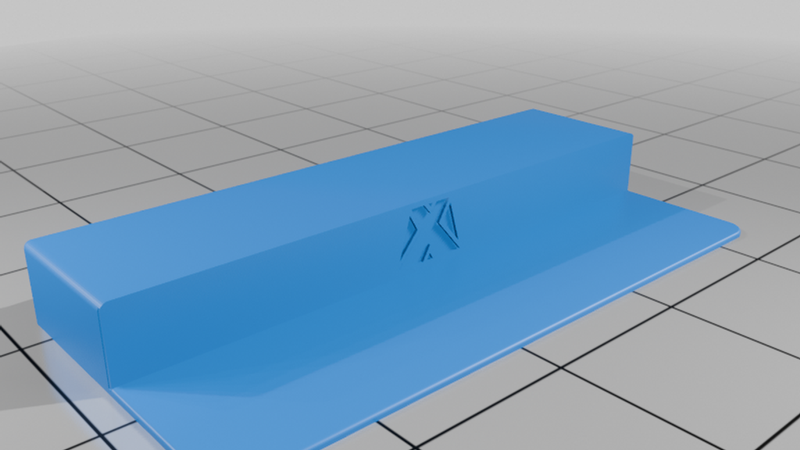
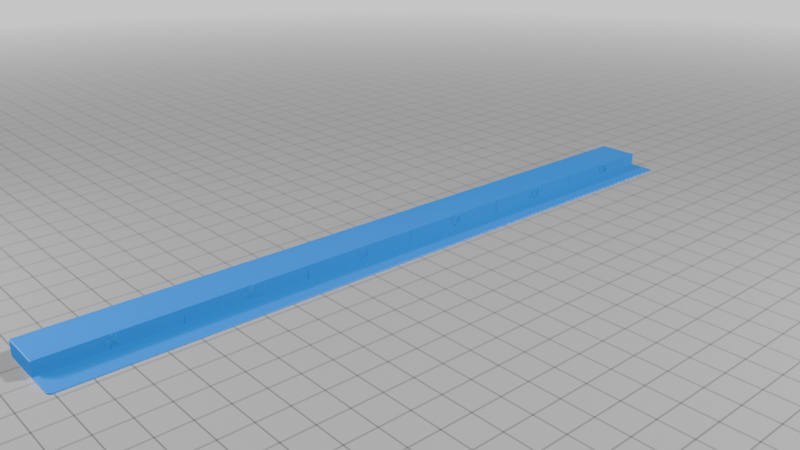
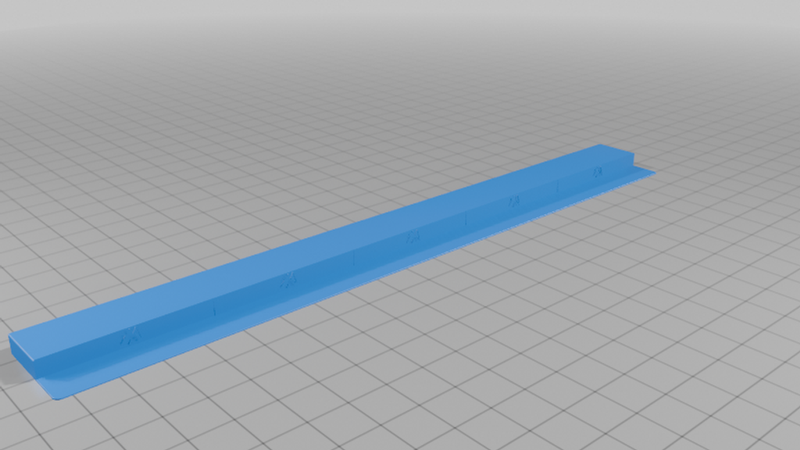
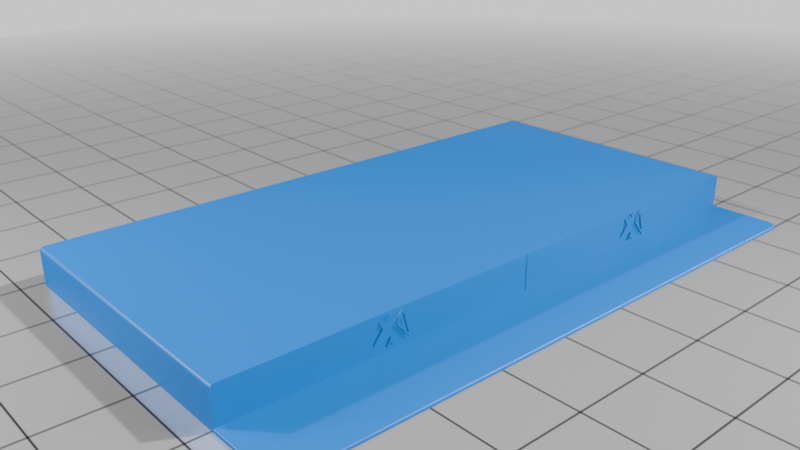
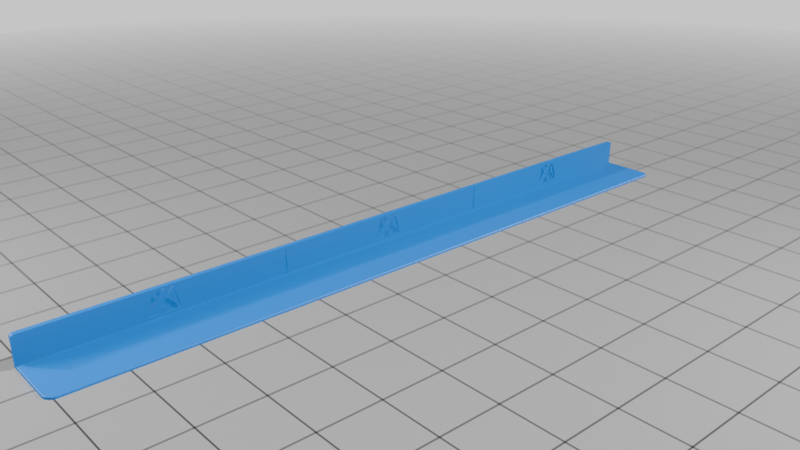
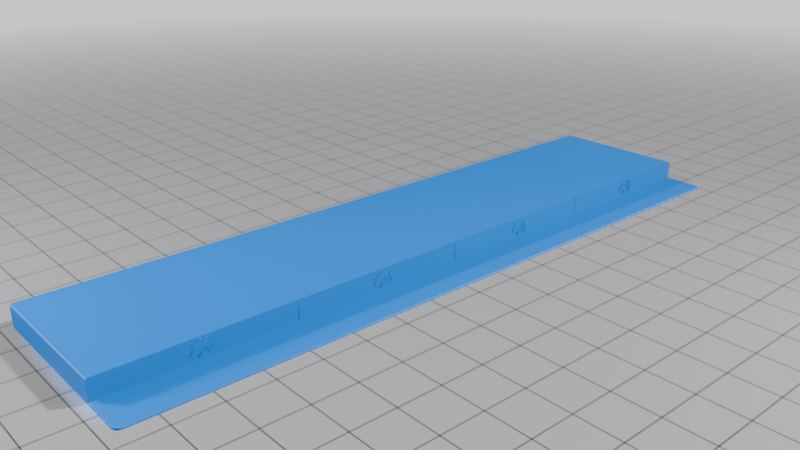
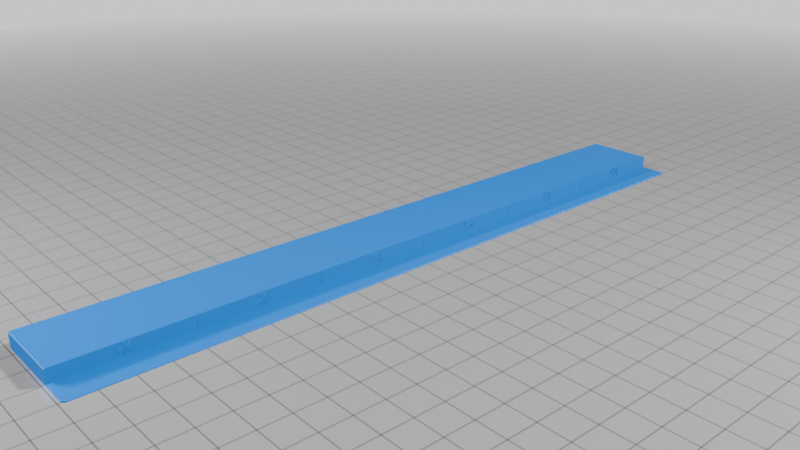
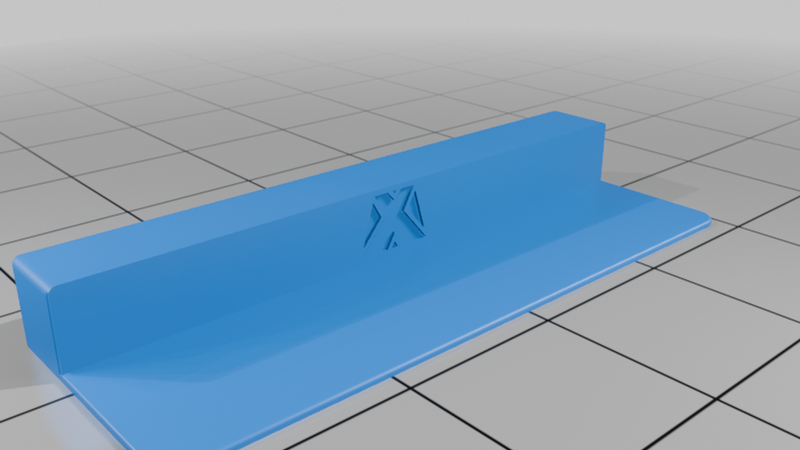
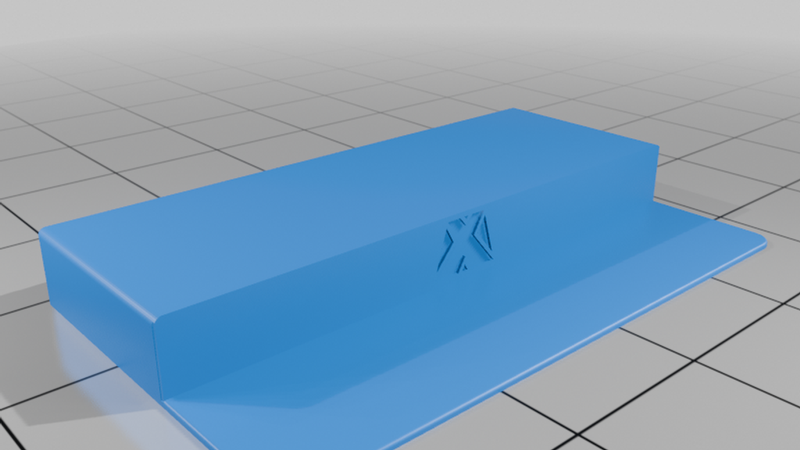
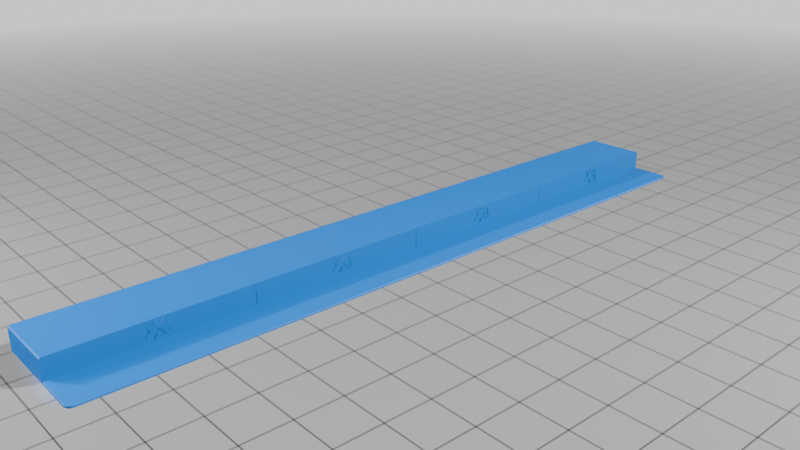
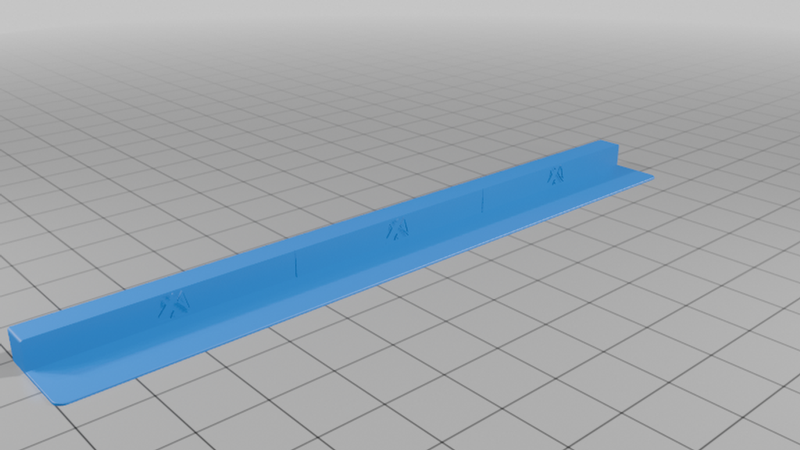
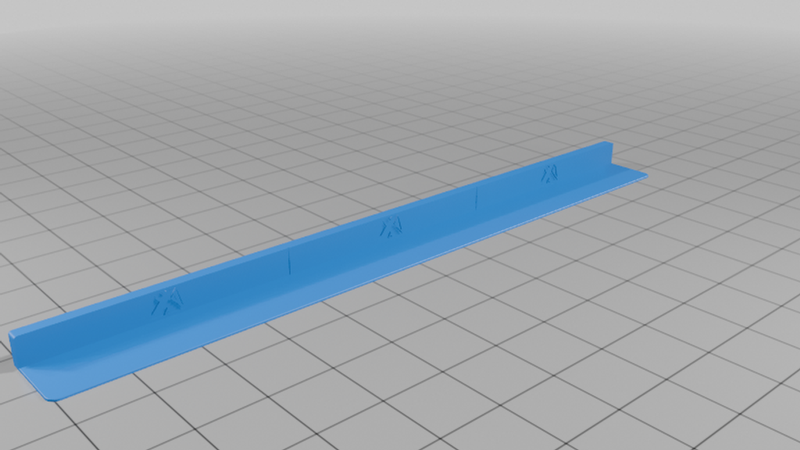
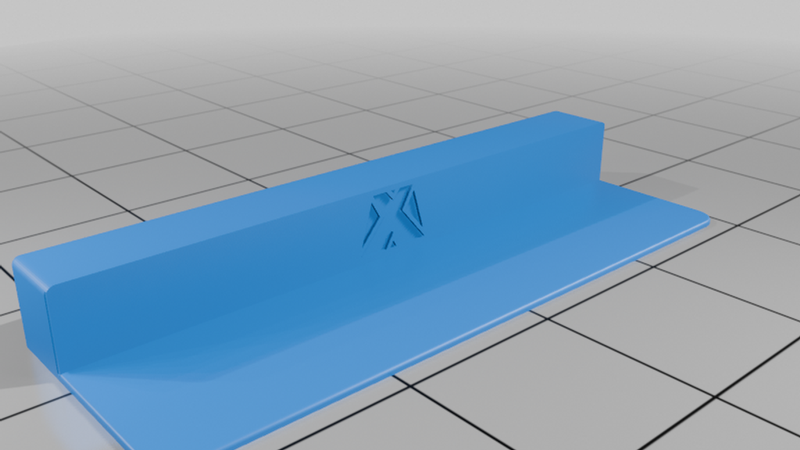
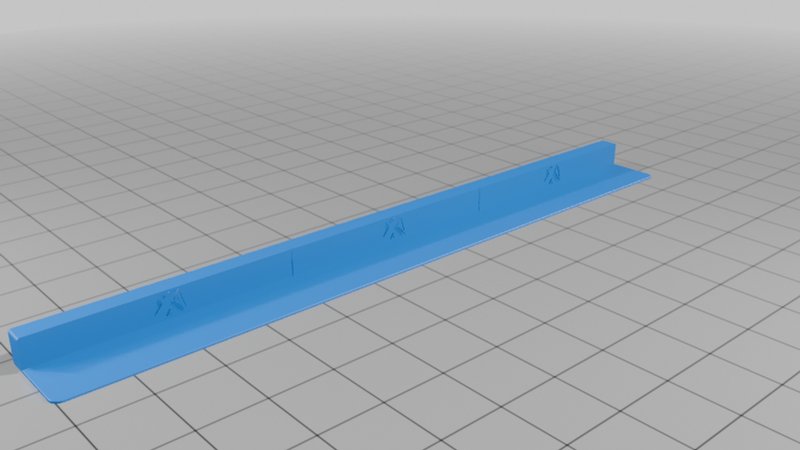
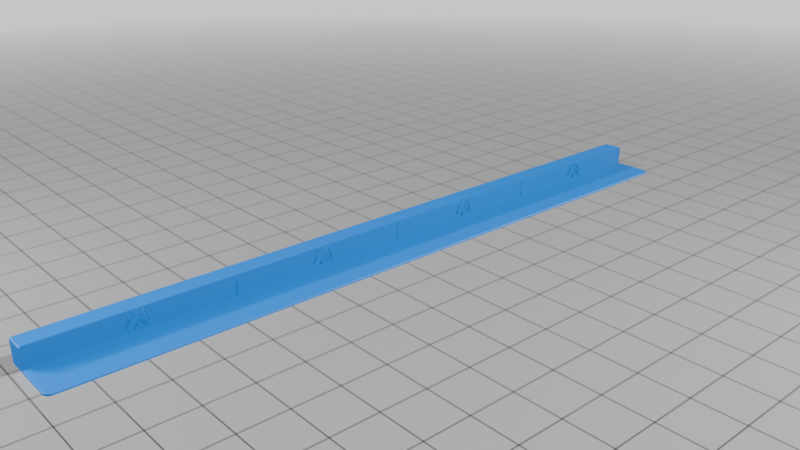
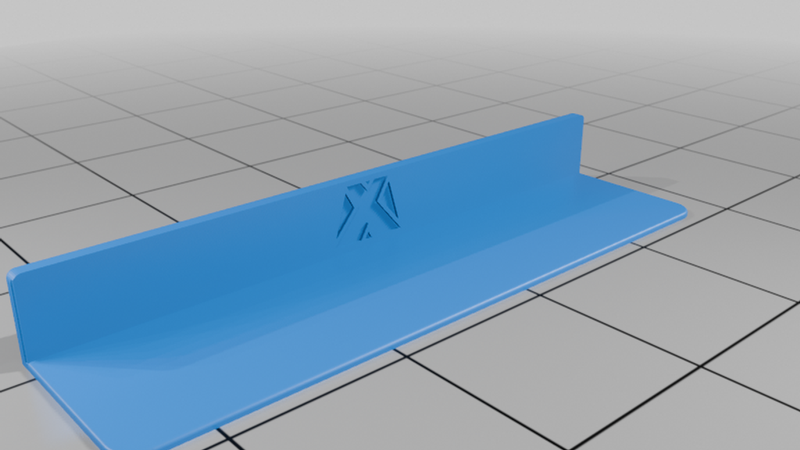
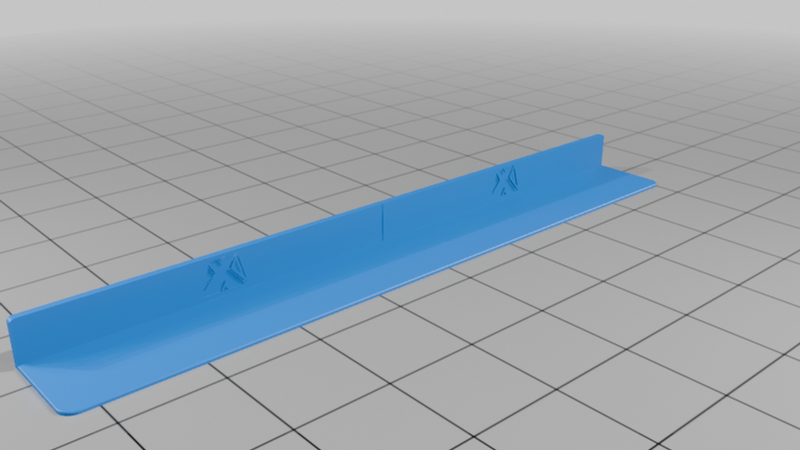
▸ 𝗦𝗶𝘇𝗲𝗱 𝗙𝗼𝗿 𝗔 𝟰.𝟲𝟱𝗺𝗺 𝗕𝗮𝘀𝗲𝗽𝗹𝗮𝘁𝗲 — The body is 5.00mm tall and a 0.4mm lip slides under the edge of your plate, so the spacer lands flush and stays captive. Thicker magnet or screw baseplates will leave it sitting low.
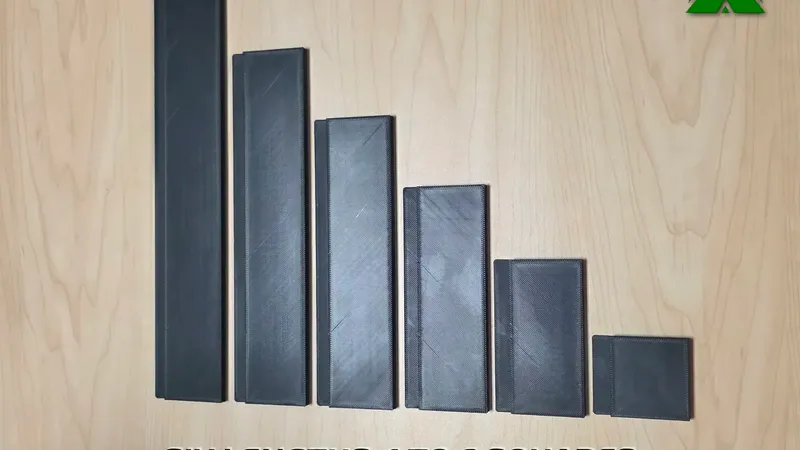
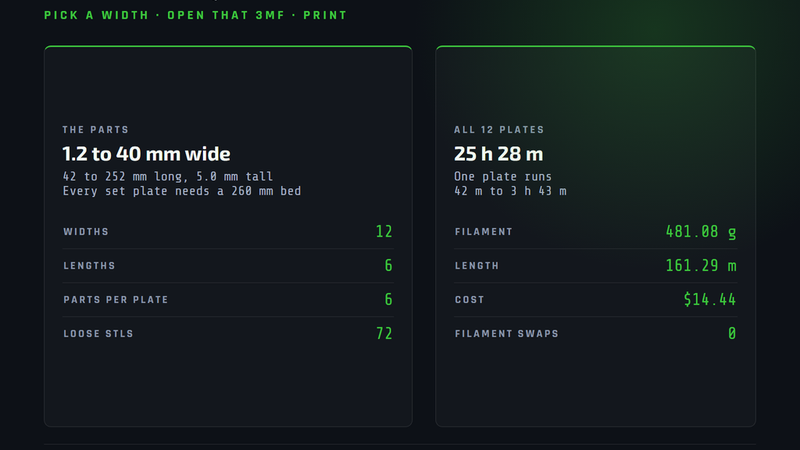
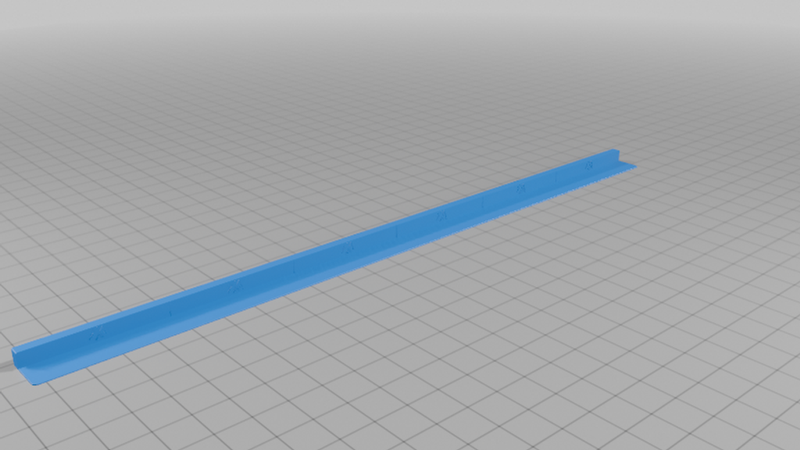
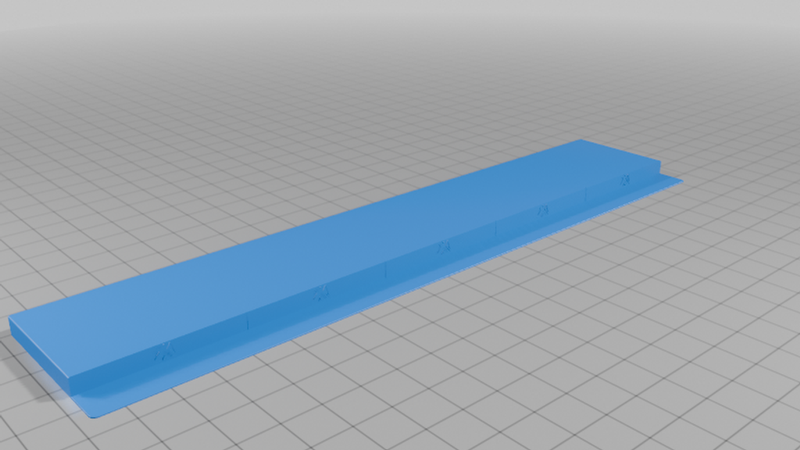
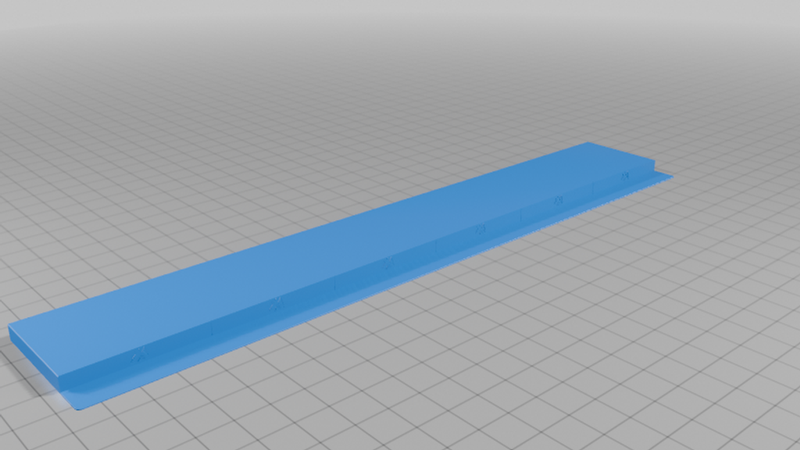
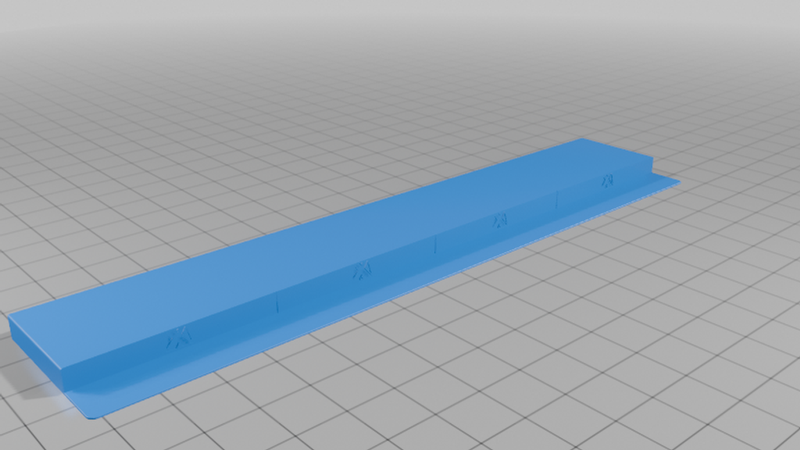
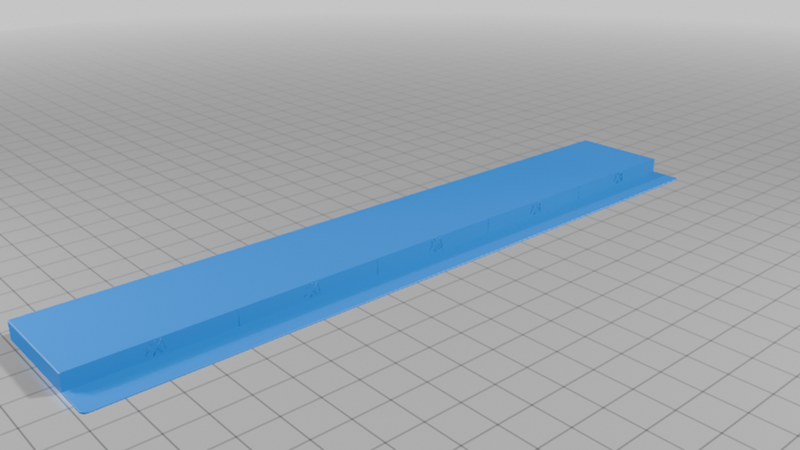
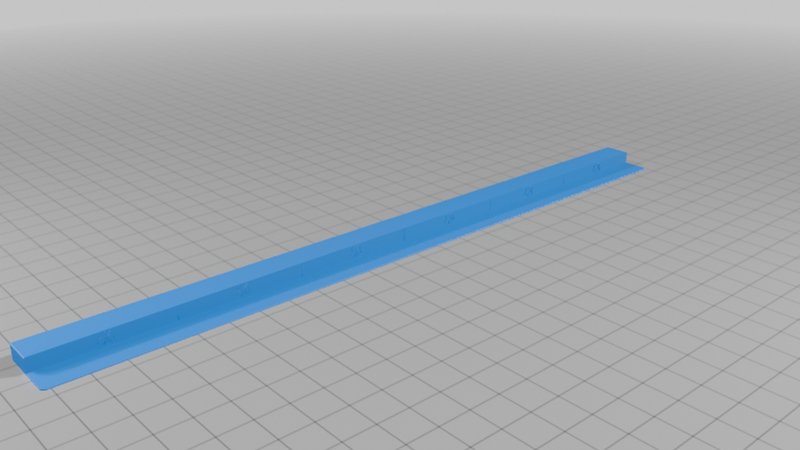
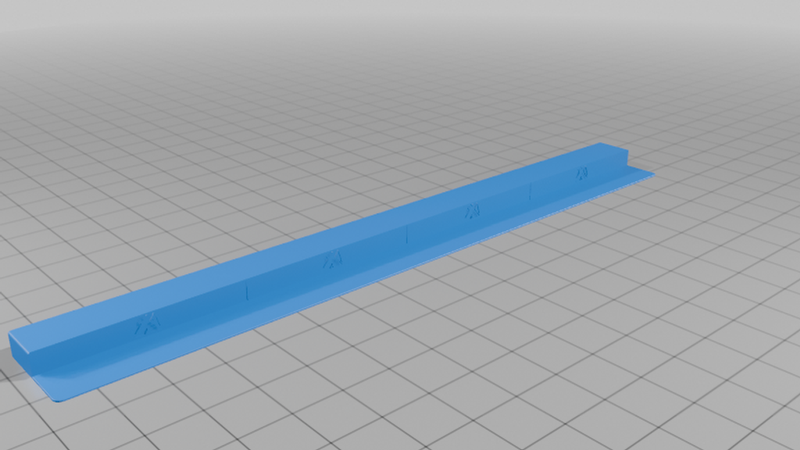
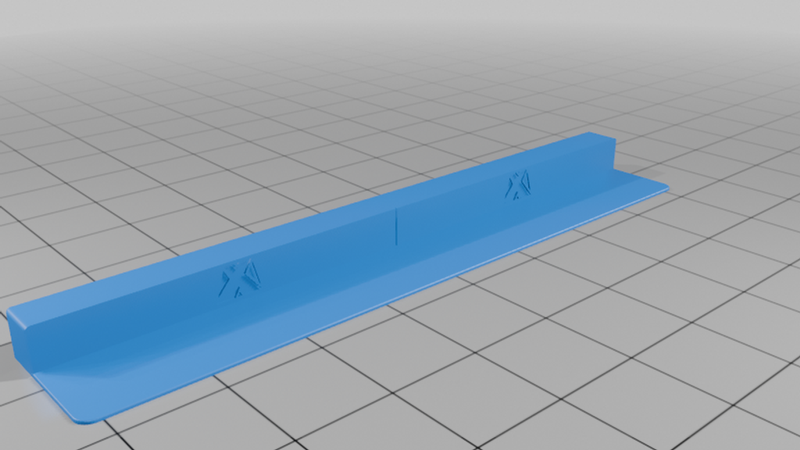
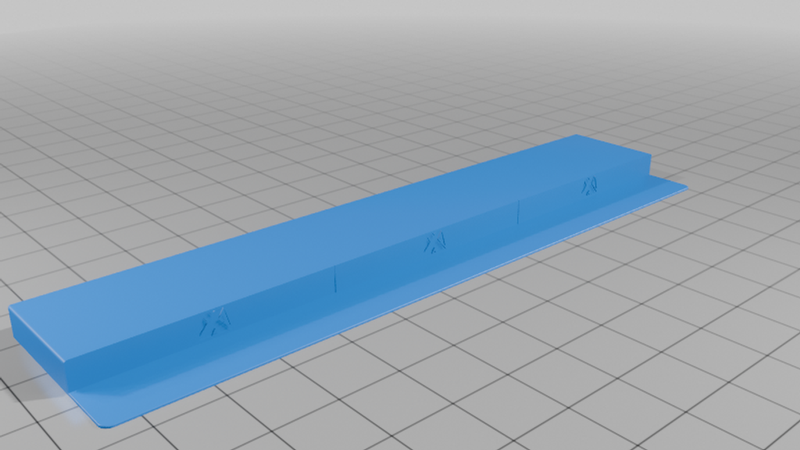
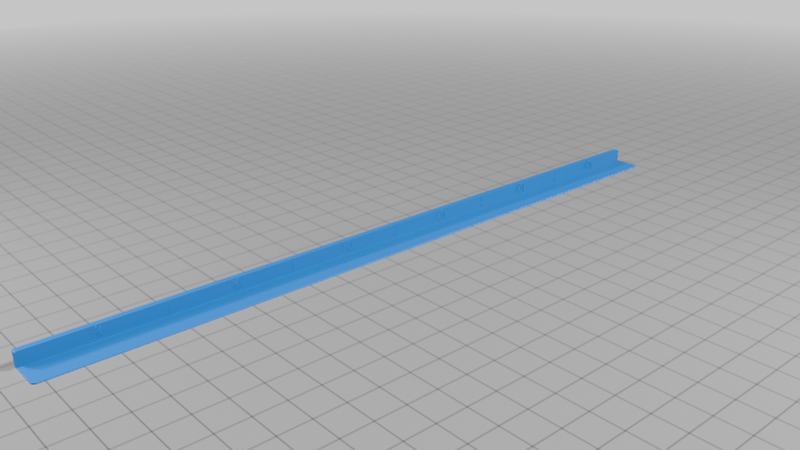
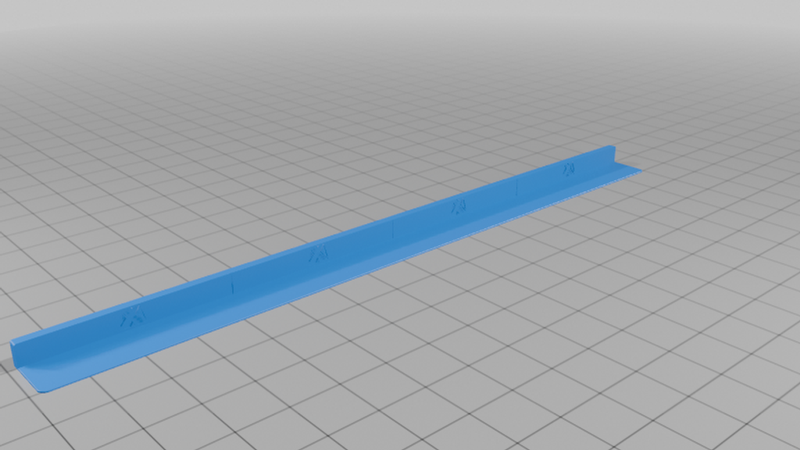
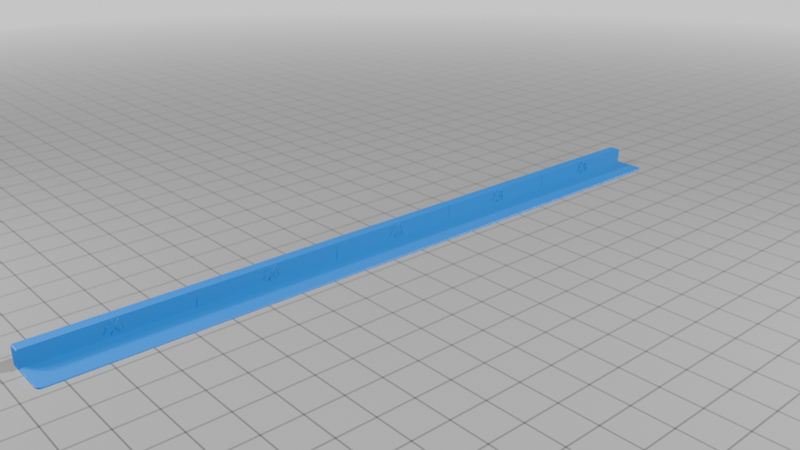
▸ 𝟭𝟮 𝗪𝗶𝗱𝘁𝗵𝘀, 𝟲 𝗟𝗲𝗻𝗴𝘁𝗵𝘀 — 1.2, 2.4, 3.6, 4.8, 5, 10, 15, 20, 25, 30, 35 and 40mm, each in one through six grid squares (42 to 252mm). Sizes step in 1.2mm through the trim range, so any gap from 1.2mm up closes to within about a millimeter using one piece per side.
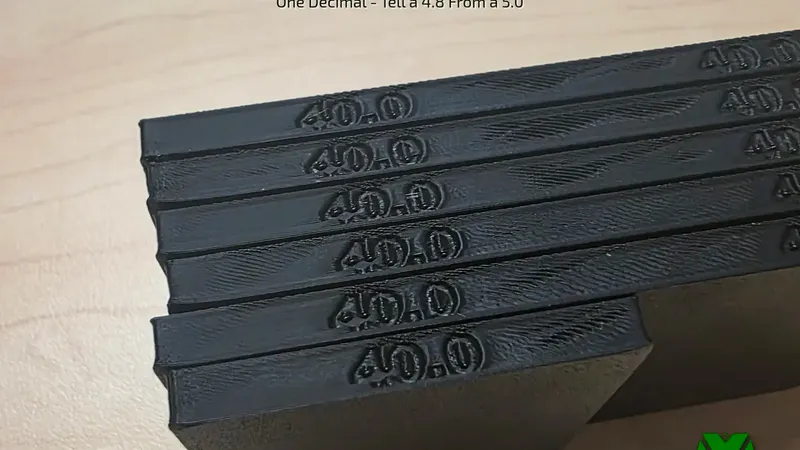
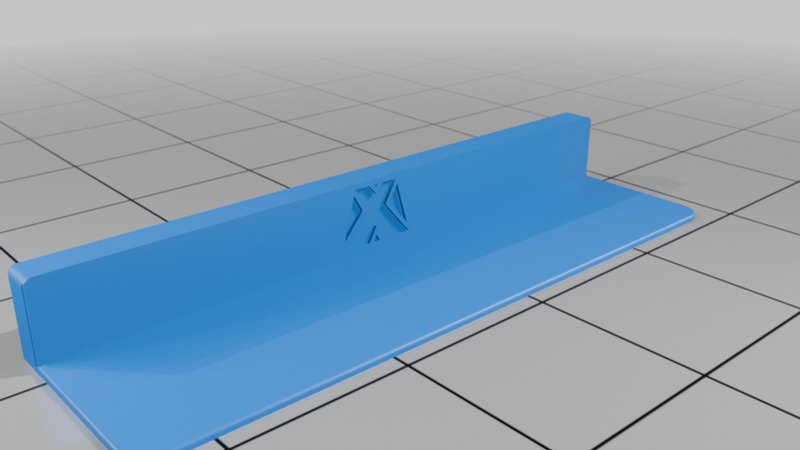
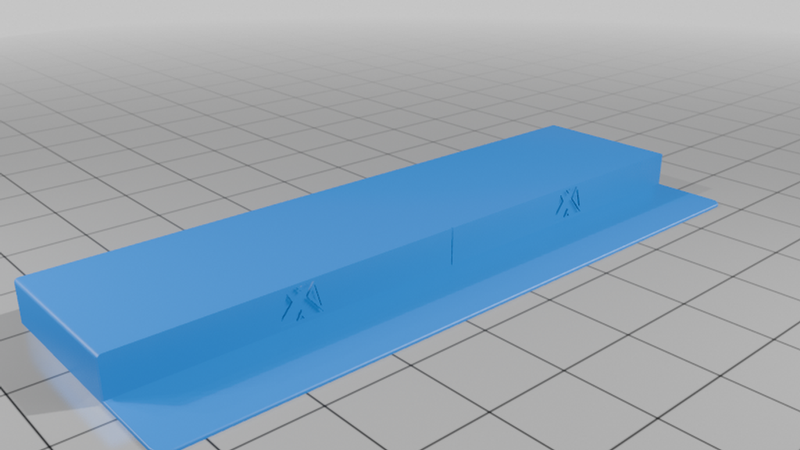
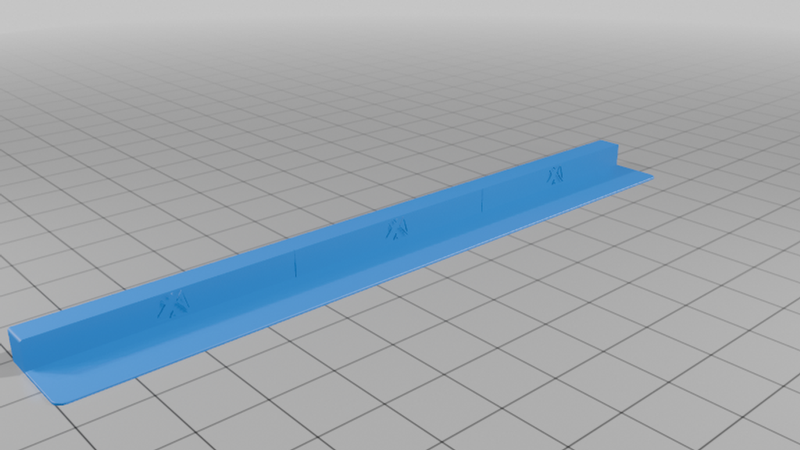
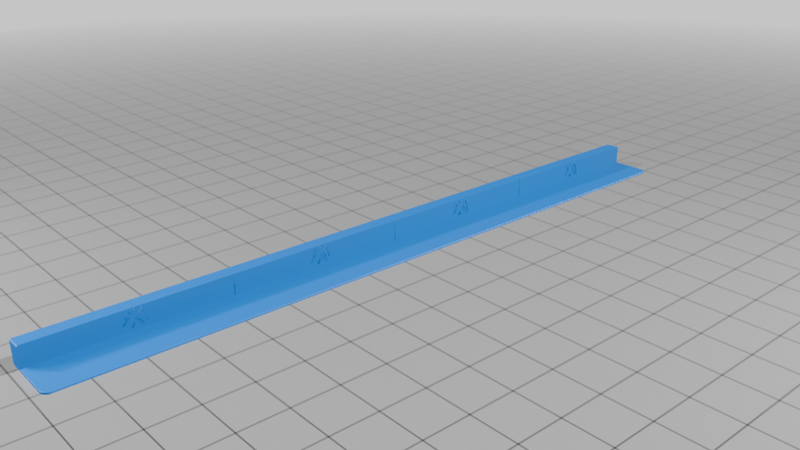
▸ 𝗧𝗵𝗲 𝗦𝗶𝘇𝗲 𝗜𝘀 𝗘𝗻𝗴𝗿𝗮𝘃𝗲𝗱 𝗢𝗻 𝗜𝘁 — Every piece carries its own width on the outer face, always to one decimal. A printed 5.0 and a printed 4.8 are 0.2mm apart and identical in the hand. "50" and "48" are not.
▸ 𝗧𝗵𝗶𝗻 𝗦𝗶𝘇𝗲𝘀 𝗧𝗵𝗮𝘁 𝗔𝗰𝘁𝘂𝗮𝗹𝗹𝘆 𝗣𝗿𝗶𝗻𝘁 — The 1.2 / 2.4 / 3.6 / 4.8 steps divide evenly on both 0.4 and 0.6mm nozzles, so the narrow trim pieces come out as whole extrusion lines instead of a wall the slicer has to fudge.
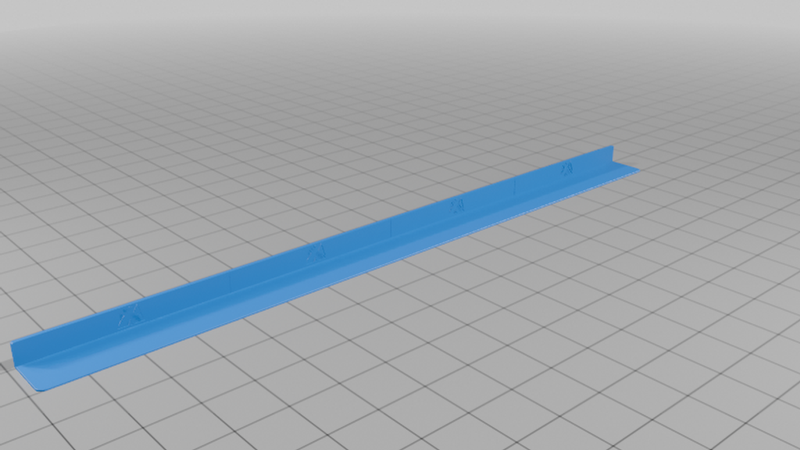
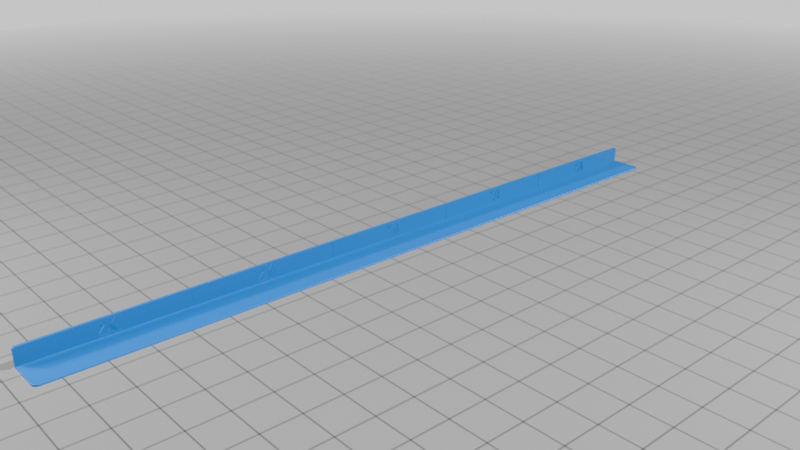
▸ 𝗢𝗻𝗲 𝗣𝗮𝗿𝘁, 𝗔𝗹𝗹 𝗙𝗼𝘂𝗿 𝗘𝗱𝗴𝗲𝘀 — The section is symmetrical, so a half turn puts the lip on the opposite side and a quarter turn serves the front and back. There are no mirrored files to sort through.
▸ 𝟳𝟮 𝗦𝗧𝗟𝘀 𝗣𝗹𝘂𝘀 𝟭𝟮 𝗥𝗲𝗮𝗱𝘆 𝗣𝗹𝗮𝘁𝗲𝘀 — Every size as its own STL, and a pre-arranged 3MF per width with all six lengths laid out. Open the width you need and print.
🟩 𝗛𝗢𝗪 𝗧𝗢 𝗦𝗜𝗭𝗘 𝗜𝗧
▸ Build your grid to the largest whole number of 42mm squares that fits, push it into one corner of the drawer, and measure the two gaps left along the open sides.
▸ Corner the grid rather than centering it. Centered, you need four spacers in four different sizes. Cornered, you need two.
▸ Round DOWN, always. A spacer wider than the gap will not go in. Worst case you leave about a millimeter, which is inside the error of measuring a drawer with a tape.
▸ Need more than 40mm on one side? Put two side by side. The inner lip goes under the plate, and the outer piece is captive between it and the drawer wall.
🟩 𝗣𝗥𝗜𝗡𝗧 𝗦𝗘𝗧𝗧𝗜𝗡𝗚𝗦
0.10mm layer height · 2 walls · 10% gyroid infill · 4 top / 3 bottom · no brim · no supports · PLA
Printed the whole set on a Creality Hi. The 40mm plate is the long one at about 3h 45m and 83g; the 1.2mm trim plate is done in 42 minutes and 10g. Print only the widths your drawer actually needs — shipping every size is the point, printing every size is not. Happy organizing! 📏