165 Drawing Pencil Cabinet Case

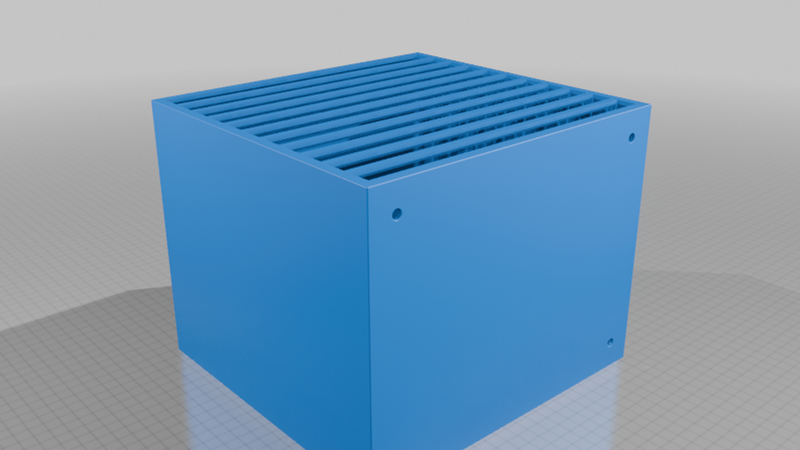
Description
165 Drawing Pencil Cabinet.
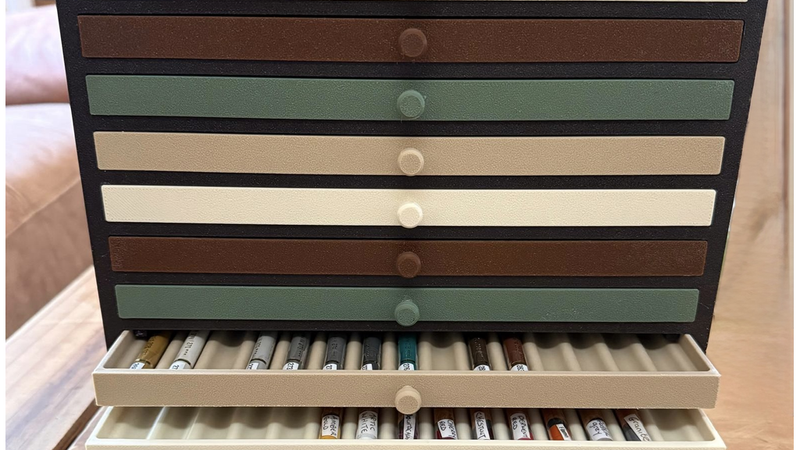
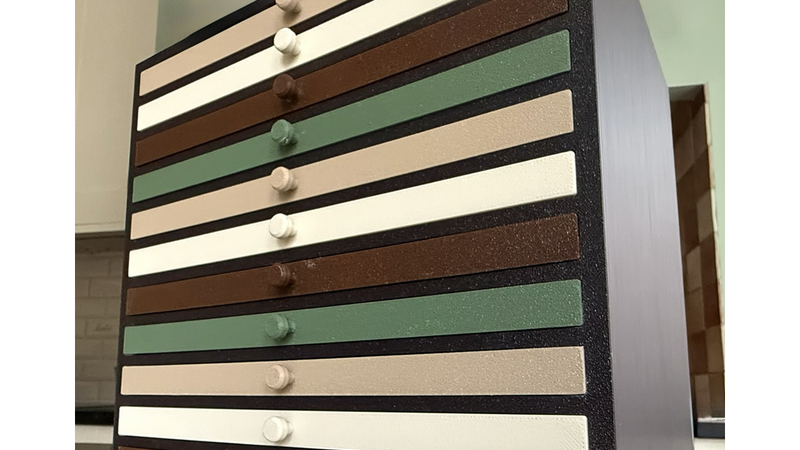
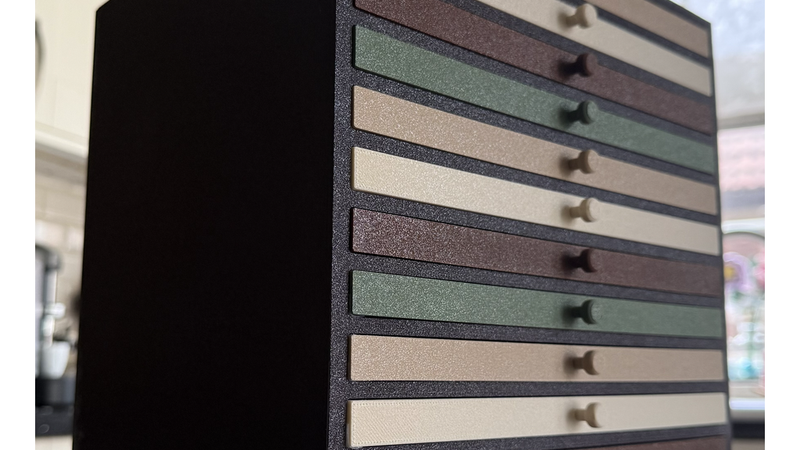
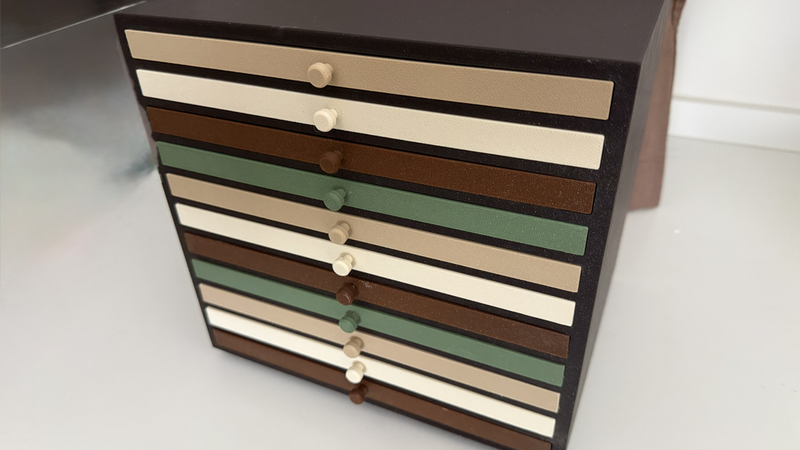
I originally designed this Pencil Drawer Cabinet for my wife to store her drawing pencils. She wanted the cabinet and drawers in a mixture of colours, and the colours she chose were:
Main Cabinet, Cabinet Backing & 4 Base Legs: Roasted Chestnut. Pencil Drawer, the Drawer Knobs & Drawer Backings: Olive Green, Bone White, Oak & Coffee Brown.
I've included four photographs of the finished cabinet so you can see how the colour combination turned out. Obviously, you can print yours in whatever colours you like!
Size & Capacity
The assembled cabinet measures approximately:
Height: 236mm Width: 250mm Depth: 198mm
I designed it to comfortably fit the print bed of my Qidi Q2. The cabinet contains 11 drawers, each approximately 189.9mm deep and designed to comfortably hold 15 standard drawing pencils. Total capacity: 165 pencils.
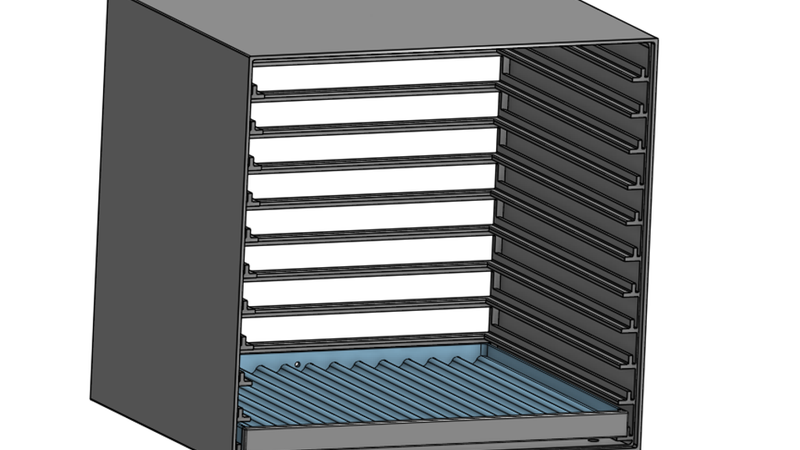
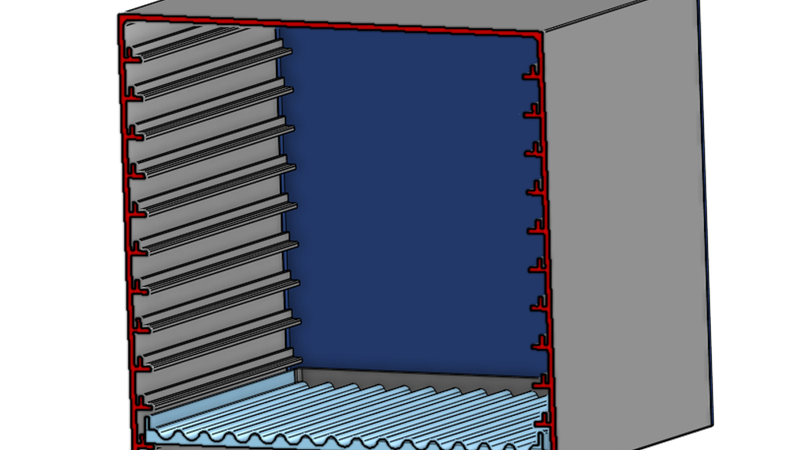
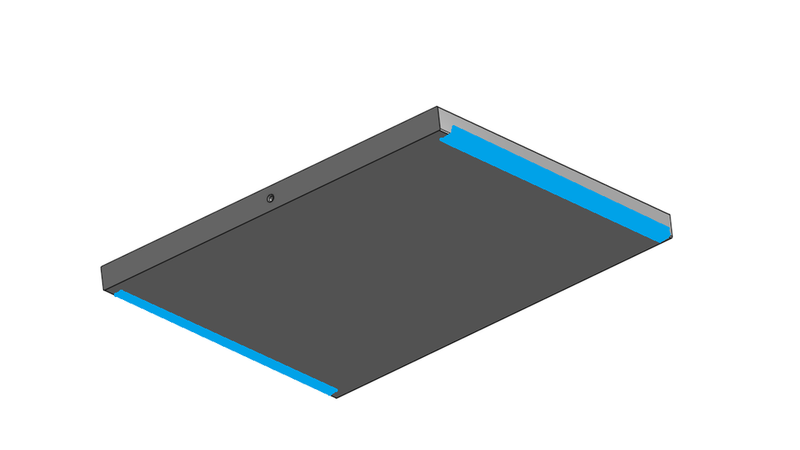
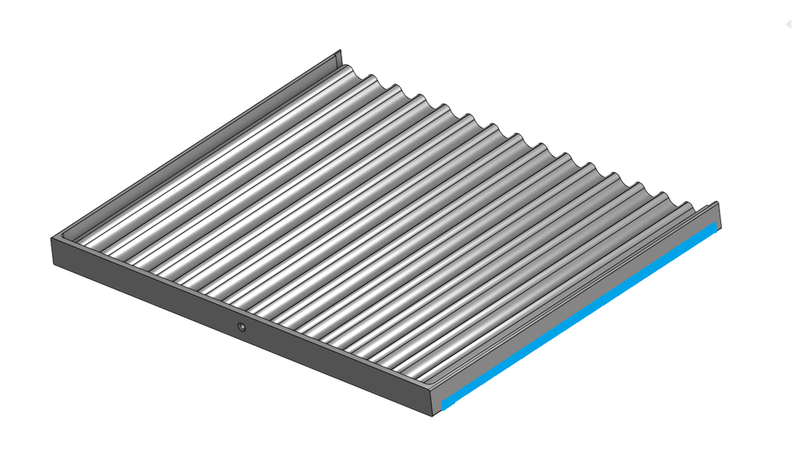
I've also included 10 CAD screenshot images showing details of the cabinet. These should help clarify how the various parts fit together.
Parts to Print
The design consists of 7 STL files and 61 individual printed pieces in total:
• 1 × Main Cabinet
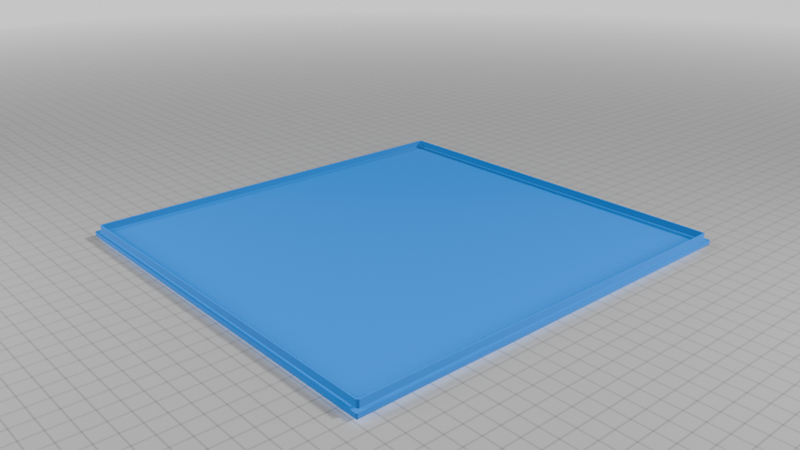
• 1 × Cabinet Backing
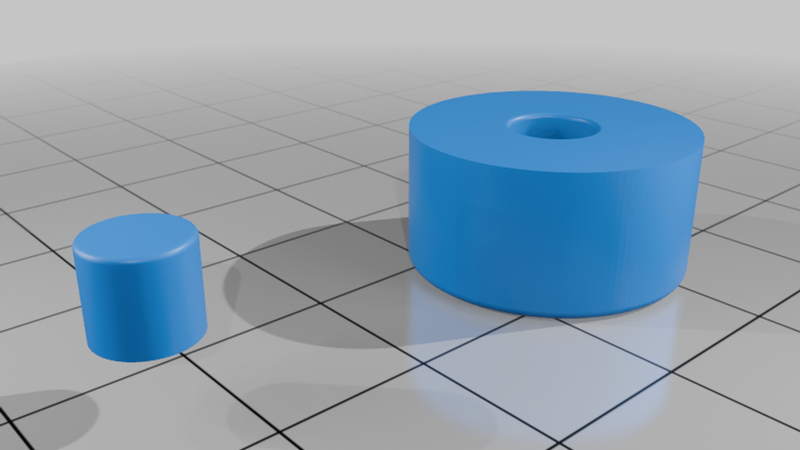
• 4 × Base Legs & Pins
• 11 × Pencil Drawers
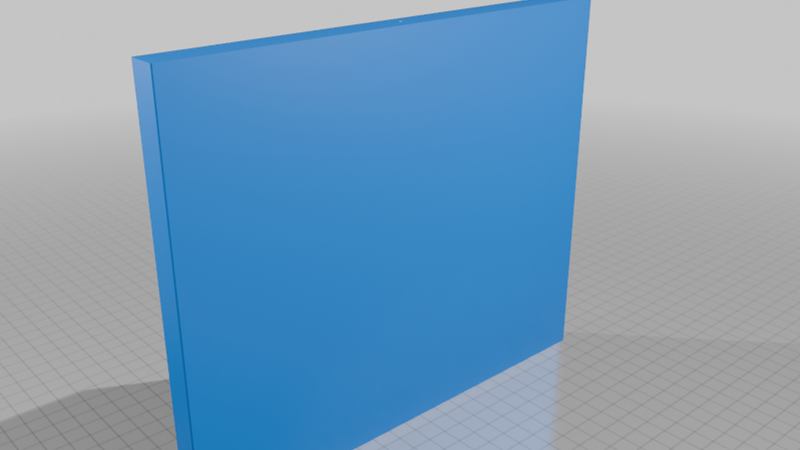
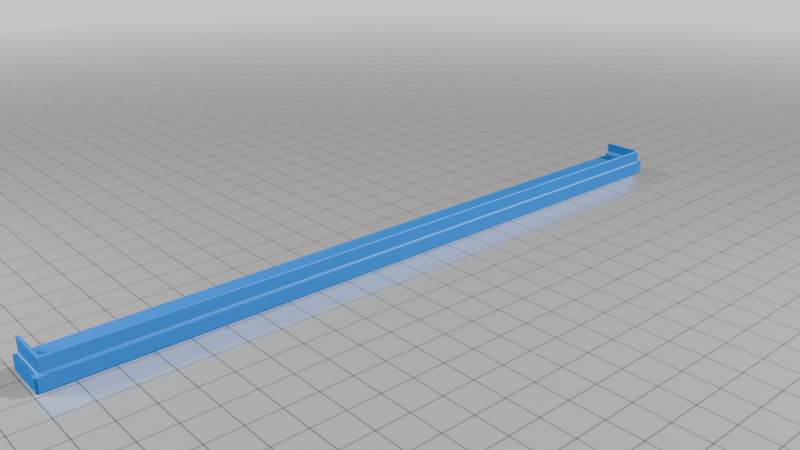
• 11 × Drawer Backings
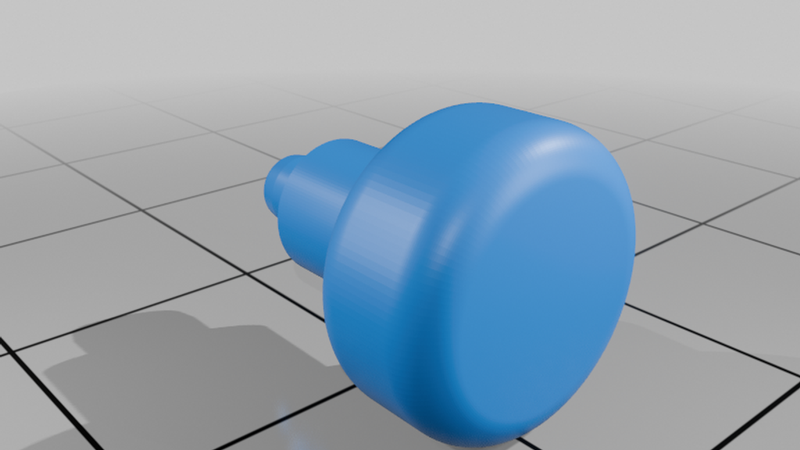
• 11 × Drawer Knobs
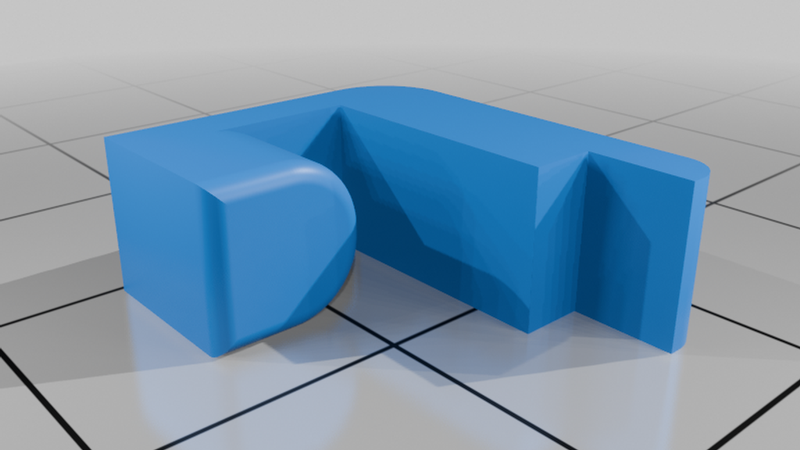
• 22 × Drawer Stops
TOTAL: 61 printed pieces
For convenience, I've included the required quantity at the beginning of each STL filename — for example, “Print 22 of Drawer Stops.stl” — so there's no need to remember how many of each part are required.
Printing: I wanted the cabinet to be printable without supports, so I designed it as a modular assembly.
On my Qidi Q2, printing all 61 PLA pieces at 0.16mm layer height / High Quality took approximately 1 to 1½ weeks.
I printed all of the pieces before starting assembly, although this isn't necessary.
To assemble the main part of the cabinet you initially only need: 1 Main Cabinet, 11 Pencil Drawers, 11 Drawer Backings and 22 Drawer Stops.
The Cabinet Backing, Drawer Knobs and Base Legs can all be fitted later.
Before Assembly – A Note About Drawer Noise
When I first assembled the cabinet, I discovered something I hadn't anticipated!
The tiny print lines on the cabinet runners rubbing against the print lines on the bottoms of the drawers produced an irritating scraping/rubbing noise when the drawers were opened and closed. To reduce this, I added thin, low-friction PTFE tape to the drawers. It doesn't make the drawers completely silent, but it makes a considerable difference. I purchased the tape from Amazon and have included a link below to the tape I used. One roll was enough to apply a strip to both sides of all 11 drawers.
Leave approximately 5mm without tape at both the front and rear of each drawer.
IMPORTANT: Fit the PTFE tape BEFORE installing the drawers into the cabinet.
Assembly Instructions:
Assembly is fairly straightforward, although the Drawer Stops are the most fiddly part, so take your time with those.
I used small amounts of superglue (CA glue) on the mating surfaces to prevent the assembled parts from coming apart.
I strongly recommend reading through the assembly instructions before applying any glue.
Step 1 – Apply the PTFE Tape:
Cut one strip of PTFE tape for each side of the drawer. Apply approximately half the width of the tape to the side of the drawer, then fold the remaining half around the lower edge so that it covers the small section of the bottom of the drawer that moves across the cabinet runner. Both surfaces that contact the cabinet runner — the side and the bottom edge of the drawer — should therefore be covered. Repeat this on both sides of all 11 drawers. Take care when applying the tape and try to keep it smooth. The thinner the PTFE tape, the better. The tape I used was thin enough to work well without making the drawers too tight.
Remember to leave approximately 5mm clear at the front and rear of each drawer.
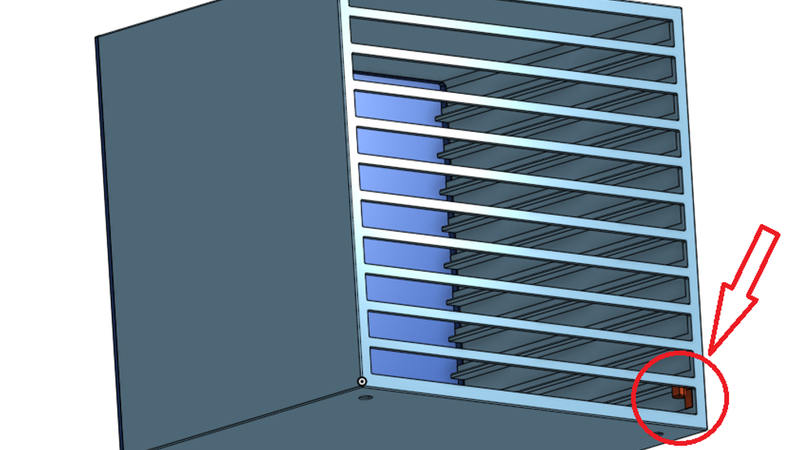
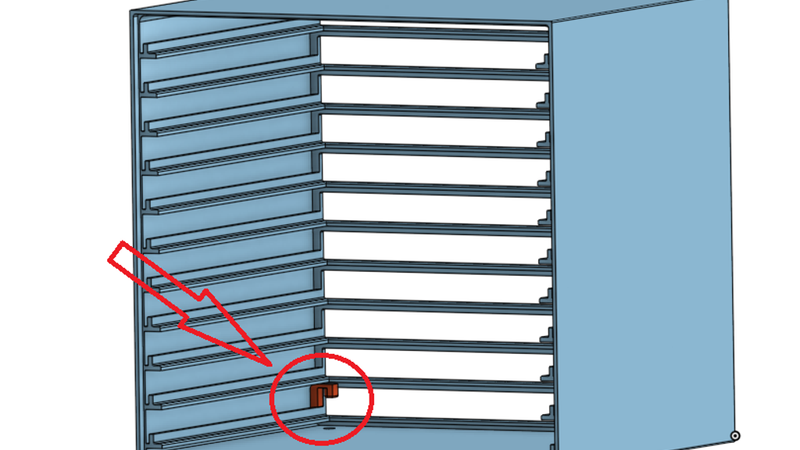
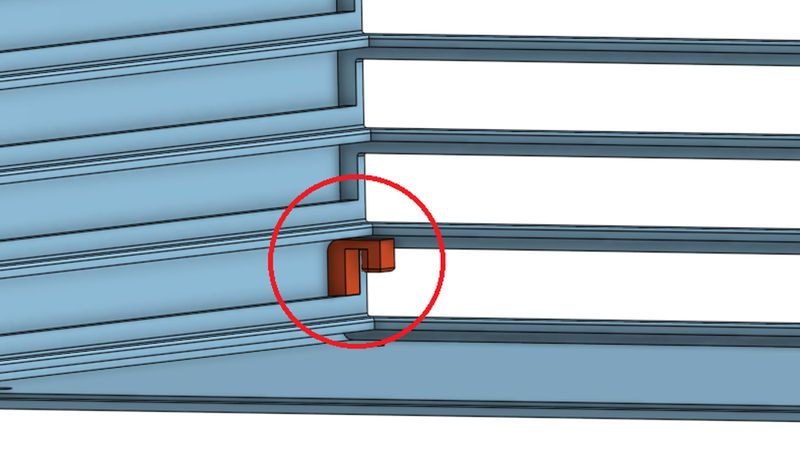
Step 2 – Fit the 22 Drawer Stops:
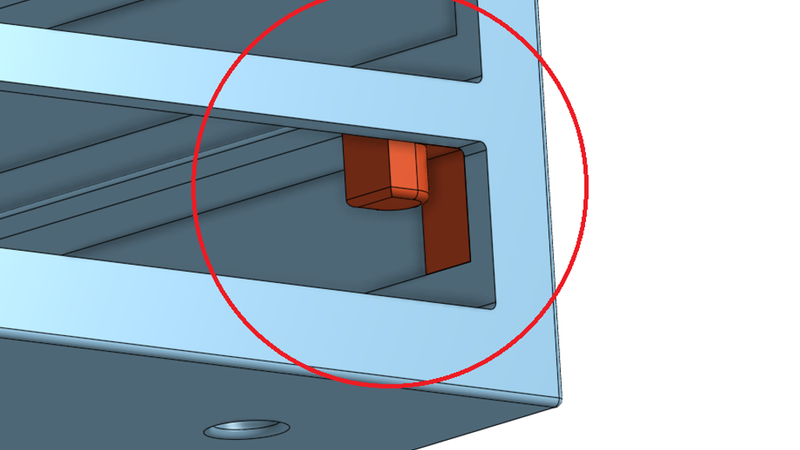
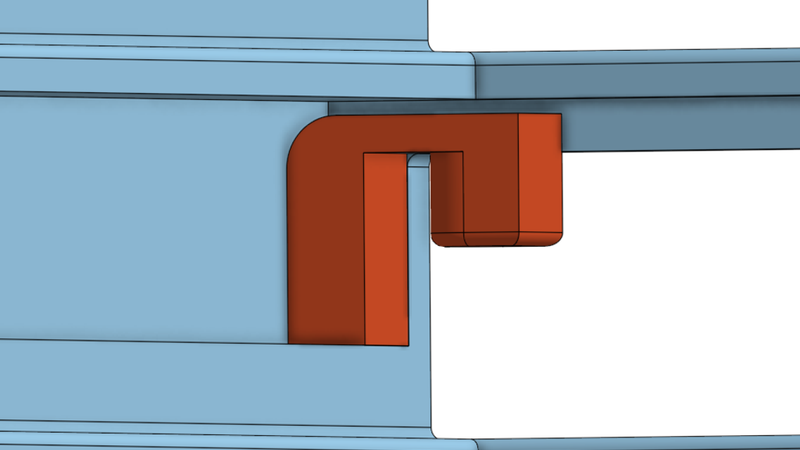
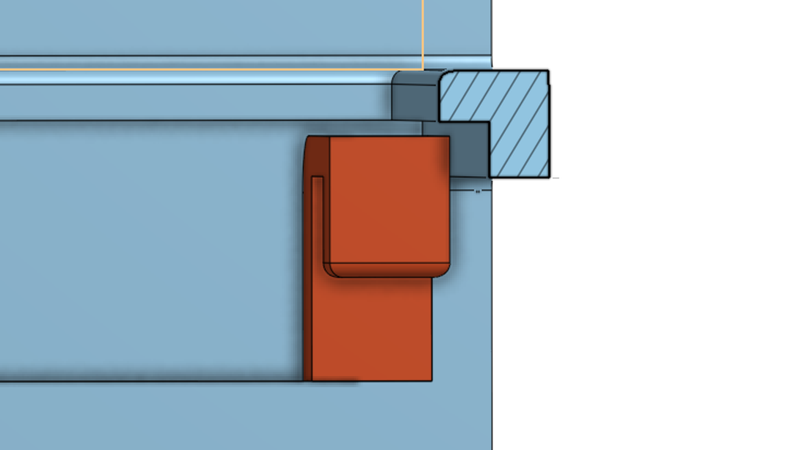
Please refer to the six photographs labelled “Drawer Stops 1” through “Drawer Stops 6” while carrying out this step. This is probably the most important part of the assembly to get right. The Drawer Stops perform two jobs:
1. They position the drawer fronts so that they sit flush with the front of the cabinet when closed.
2. They prevent the drawers from accidentally being pulled completely out of the cabinet.
IMPORTANT – DON'T GLUE THE FIRST STOP!
Before gluing anything, take one Drawer Stop and fit it into position dry (without glue).
Press the stop:
• firmly towards the front of the cabinet, and
• firmly down against the bottom of its slot.
There should be a slight gap above the stop. Now carefully slide one Pencil Drawer into that position. Take particular care when inserting the drawer so that you don't catch, peel or damage the PTFE tape. Gently close the drawer and check that the stop allows the front of the drawer to sit flush with the front of the Main Cabinet. If the drawer is not flush (goes to far into the hole), it's probably because the stop isn't all the way forward against the front of the cabinet..
Once you're satisfied that you understand exactly how the Drawer Stops need to sit, remove your test drawer and proceed with fitting the remaining stops.
Gluing the Stops:
I found it easiest to install all 11 Drawer Stops on one side of the cabinet first. I then placed the cabinet diagonally on its side, with the fitted stops towards the bottom, and applied a small amount of superglue along the seam between each Drawer Stop and the cabinet, allowing the glue to seep into the joint. Allow the glue to cure. Turn the cabinet over and repeat the process with the remaining 11 Drawer Stops on the opposite side. You should now have all 22 Drawer Stops installed and securely glued in position. Allow the glue to cure before installing the drawers.
Step 3 – Install the Drawers & Drawer Backings:
Once all 22 Drawer Stops are fitted and the glue has cured, install the drawers ONE AT A TIME. Carefully slide the first Pencil Drawer into its runners, taking particular care not to disturb or damage the PTFE tape. Once the drawer is correctly positioned in its runners, place the cabinet so that the front of the cabinet and the front of the drawer are resting against a flat surface.
Now fit the Drawer Backing. Apply a small amount of superglue and press the Drawer Backing firmly into position, keeping it pushed towards the flat surface. This helps ensure that the drawer is assembled squarely and that the front remains correctly positioned. Allow the glue to grab sufficiently before moving on to the next drawer.
Repeat this process one drawer at a time until all 11 Pencil Drawers and Drawer Backings have been installed.
IMPORTANT! The Drawer Backings MUST be fitted AFTER the drawers have been inserted into the Main Cabinet.
Step 4 – Fit the Cabinet Backing:
Once all 11 drawers have been installed, fit the Cabinet Backing. Apply a small amount of superglue around the mating surfaces/periphery of the Cabinet Backing and press it firmly into position. Make sure everything is seated correctly before allowing the glue to cure.
Step 5 – Fit the Drawer Knobs & Base Legs:
Finally, fit the 11 Drawer Knobs and 4 Base Legs & Pins, using a small amount of superglue where required. You'll notice that the bottom of each Base Leg has a recess. I designed these recesses so that you can glue in a small piece of non-slip material. This should help prevent the cabinet from sliding around when the drawers are opened and closed.
And that's it...
Job Done!
I hope you enjoy printing and assembling the 165 Drawing Pencil Cabinet, whether you're making it for yourself or, like me, for someone else to enjoy.
Happy Printing!
Link to the low friction tape purchased on Amazon in the UK (this is NOT an affiliate link). https://www.amazon.co.uk/dp/B0GZM359ZV?ref=ppx_yo2ov_dt_b_fed_asin_title&th=1