10" rack mount bracket for Aquario RP80 CB radio

Description
📻 Aquario RP-80 — 10" Rack Mount
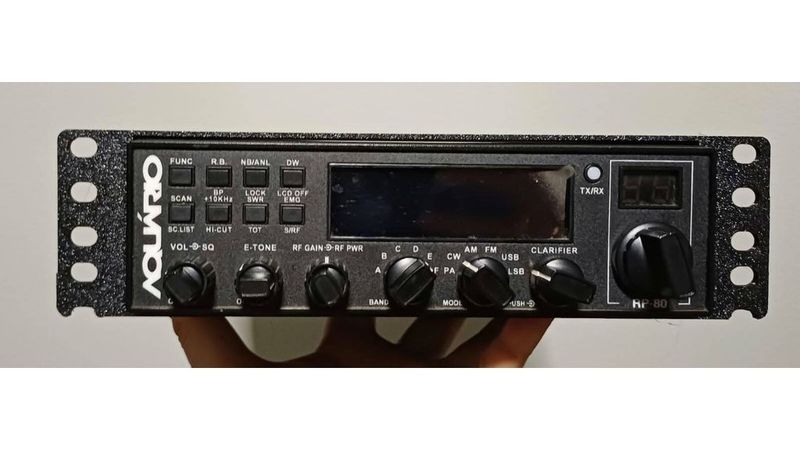
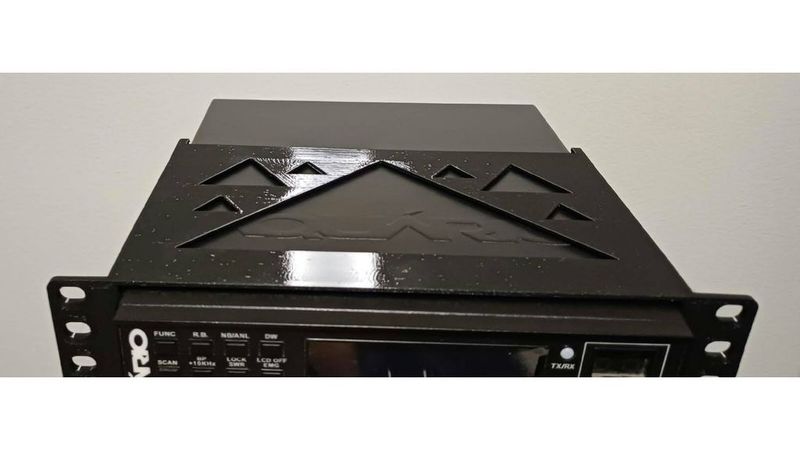
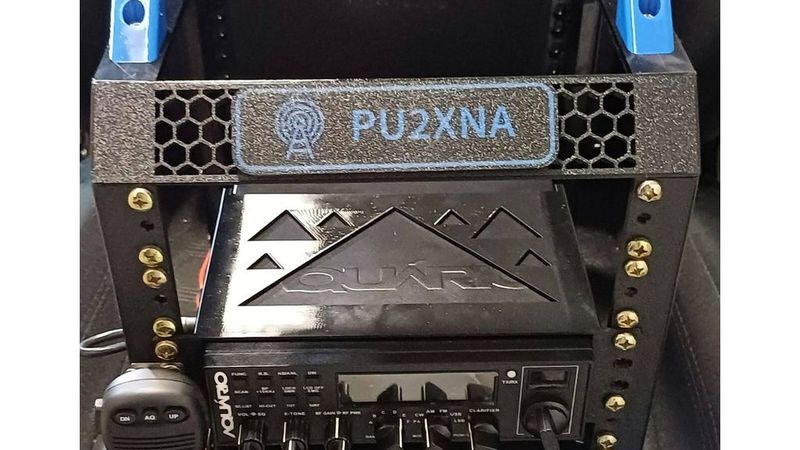
This is a hobby project designed to mount the Brazilian Aquario RP-80 CB Radio into a 10-inch rack (LabRax standard), creating a compact and portable radio station.
The bracket has a height of 1.5U.
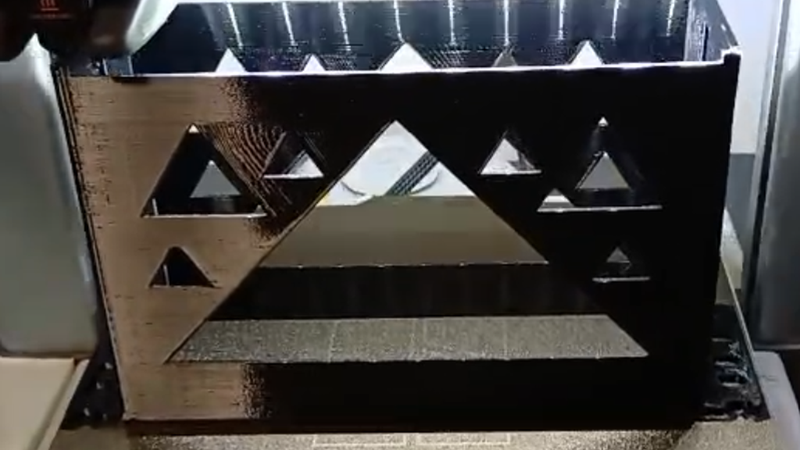
Since I couldn't find any ready-made mount or generator capable of creating a similar sturdy bracket with low filament consumption, I ended up designing my own based on a generic 10-inch rack blank panel.
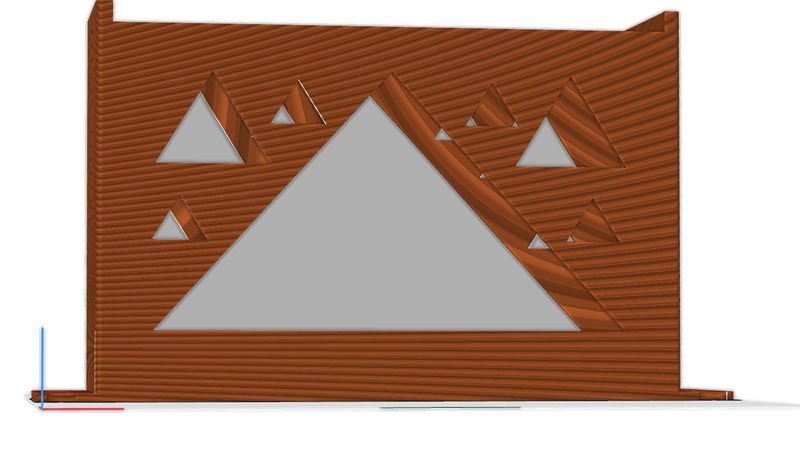
As I am not a 3D designer, I found it easier to do part of the work directly inside the slicer. This gives me the flexibility to tweak and alter the cutouts at the moment of printing, which also makes it easier to adapt the project for other radio models in the future.
📡 About This Project
As a ham radio operator and IT engineer, I've always been obsessed with standards and clean setups.
I'm no professional 3D designer (maybe one day...), but the existing mounts simply didn't work for my Brazilian CB radio.
So I decided to make it happen by adapting a blank panel to the 10-inch rack standard.
The result is exactly what I was looking for: a clean, sturdy and organized mobile station that I can easily pack up and carry wherever I go.
🖨️ Crucial Printing Requirements
For the best results, I strongly recommend the following settings:
Material: PETG
Perimeters / Walls: 6
Infill: 20%
⚠️ PETG is strongly recommended for flexibility and strength.
Why PETG?
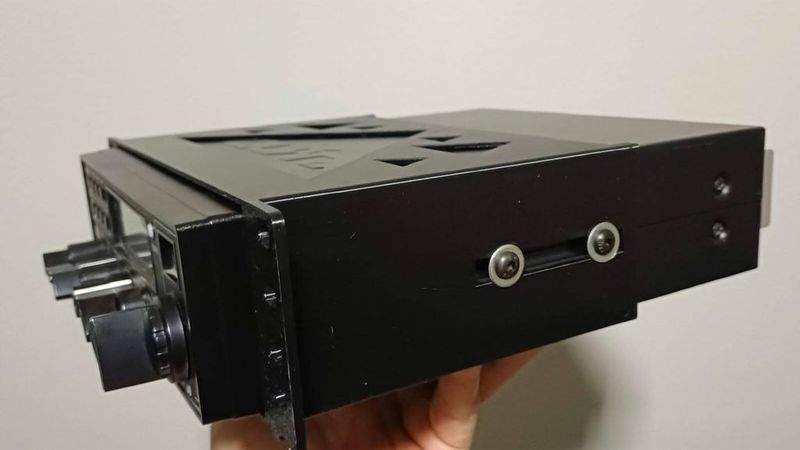
The bracket has a very tight fit to hold the radio securely.
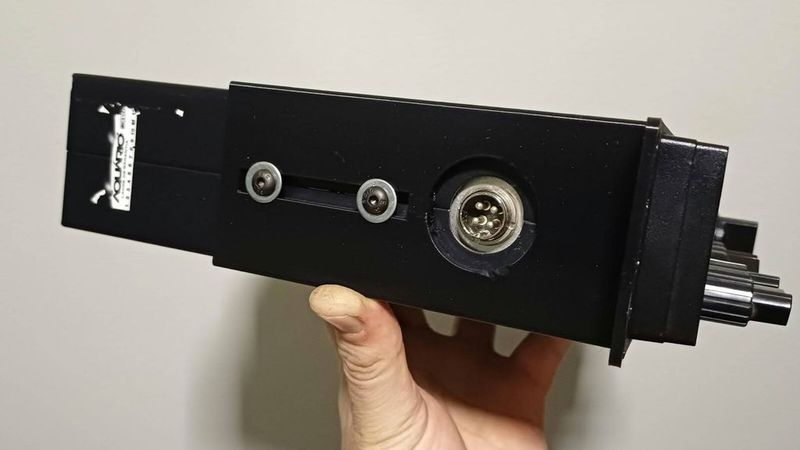
During assembly, you will need to gently flex the bracket open using a tool, such as a screwdriver, so the microphone/PTT connector, which protrudes from the side of the radio, can clear the bracket frame.
If printed in PLA or with too few walls, the bracket may crack or snap during this step.
🔩 Required Hardware
You will need:
4× M5 × 12 mm screws
4× washers
The screws included with the radio will not work for mounting it to this bracket.
🔧 Assembly Tips
Insert the Radio from the Back
Do not slide the radio in from the front.
Install the radio from the rear of the bracket.
This allows you to gently flex the bracket during installation without leaving visible tool marks on the front faceplate.
Take your time and open the bracket only as much as necessary for the microphone/PTT connector to clear the frame.
🧰 Rack Clearance
Keep in mind that the microphone cable protrudes from the side of the radio.
Depending on your rack design, the cable may become pinched if you use a fully closed enclosure.
For this reason, I highly recommend using an open rack layout.
Besides providing enough clearance for the microphone cable, an open rack also provides better ventilation for the radio.
⚠️ Disclaimer
This is a hobby project.
Print and assemble it at your own risk. I am not responsible for damage to the bracket or equipment during installation.
Take your time, handle the bracket carefully, and flex it only as much as necessary.
Avoid wasting filament and energy! ♻️
📡 73!
Enjoy your compact and portable 10-inch rack radio station!