SO 101 LeRobot AI Robot Learning Setup

Description
SO 101 LeRobot AI Robot Learning Setup
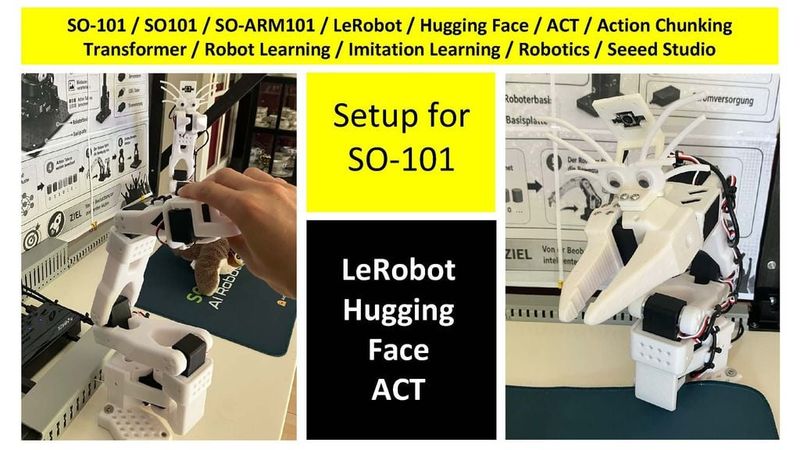
This is my complete setup for working with the SO 101 robotic arm, Hugging Face LeRobot and imitation learning.
SO-101 Robot Teleoperation
https://youtube.com/shorts/DMakG7JNT5Q
SO-101 + LeRobot: First AI Pick-and-Place Task
https://youtube.com/shorts/3AbB0EcswJs
Inference is still a little jerky, because it is running on an older laptop without GPU acceleration. The teleoperation itself is very smooth.
<iframe width="560" height="315" src="https://www.youtube.com/embed/pbd-qDRHLnM?si=535Uer2abnkFzXj8" title="YouTube video player" frameborder="0" allow="accelerometer; autoplay; clipboard-write; encrypted-media; gyroscope; picture-in-picture; web-share" referrerpolicy="strict-origin-when-cross-origin" allowfullscreen></iframe>
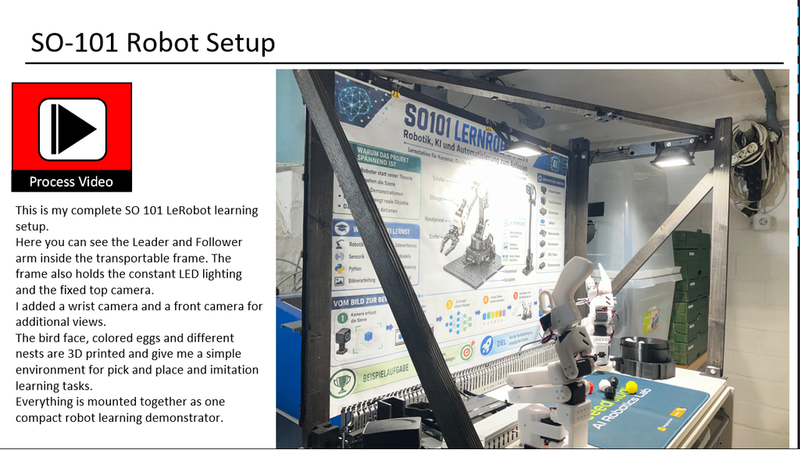
The idea was not only to build the robot arm itself. I wanted to build a complete small learning and demonstration system around it.
The setup includes a Leader and Follower arm, up to three cameras, constant lighting, a transportable frame, cable management, electronics and several additional 3D printed parts.
For me it was important that the complete setup can be used again and again under similar conditions. Camera positions, lighting and working area should stay as constant as possible.
The complete system is also designed to be transportable, because I want to use it as a learning and demonstration system.
The Bird
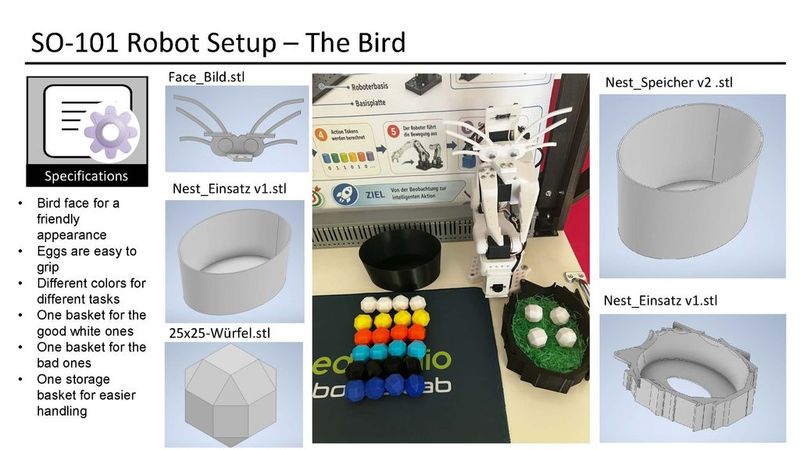
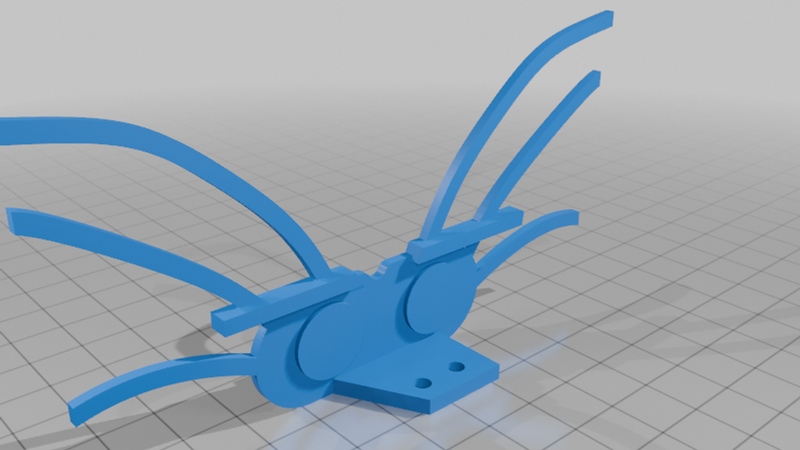
I wanted to give the robot a little more character, so I designed a simple bird face for it.
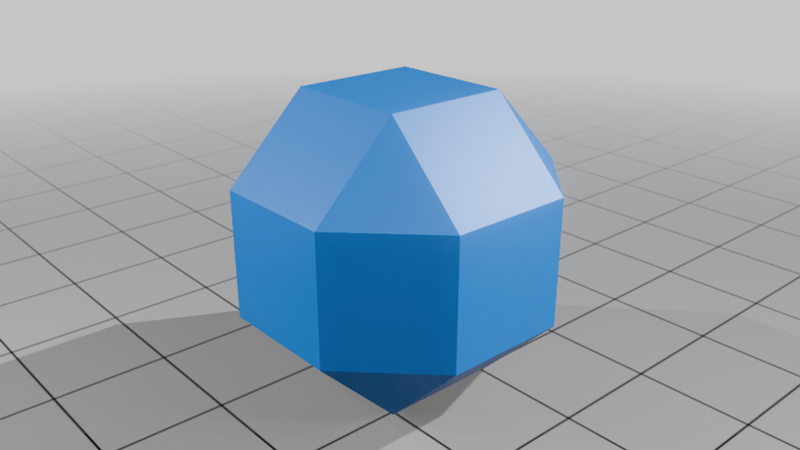
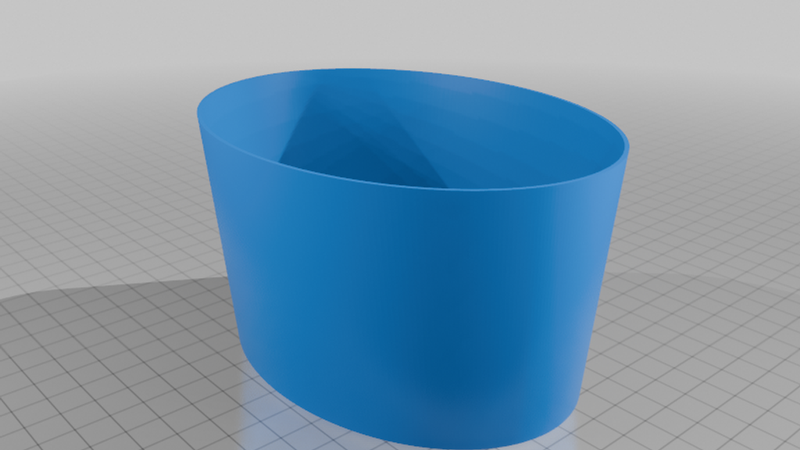
The small objects are designed like eggs. They are easy to grip and different colors can be used for different tasks.
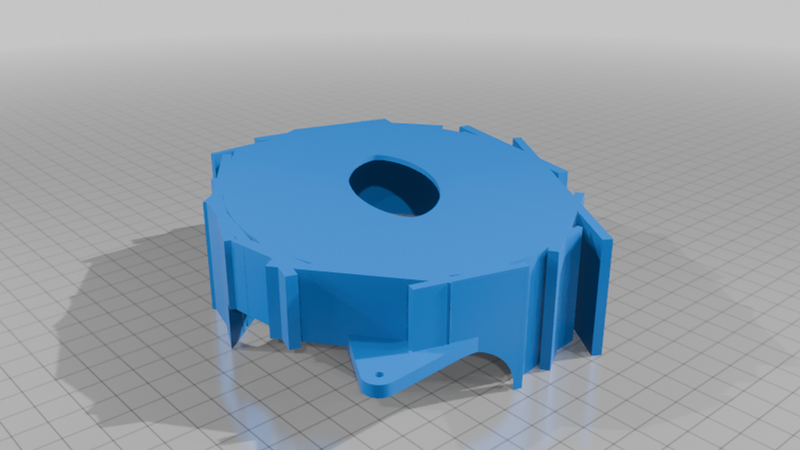
I also designed different nests.
* One nest for selected objects
* One nest for rejected objects
* One larger nest for storage
This gives me a simple environment for pick and place, sorting and imitation learning tasks.
Cameras
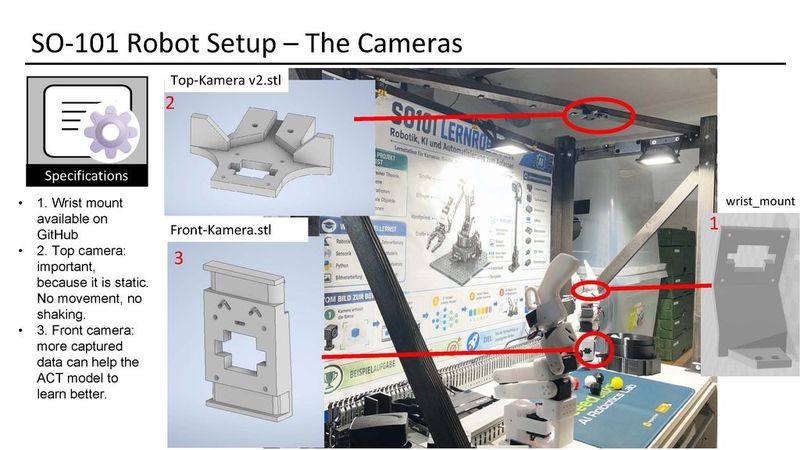
The setup is designed for up to three cameras.
Wrist Camera
The wrist camera moves together with the robot and gives a close view of the manipulation.
The original wrist mount is available from the SO 101 project.
Top Camera
The top camera gives a static overview of the complete working area.
For me this camera is very important because it does not move with the robot. The position and viewing angle stay the same during the recordings.
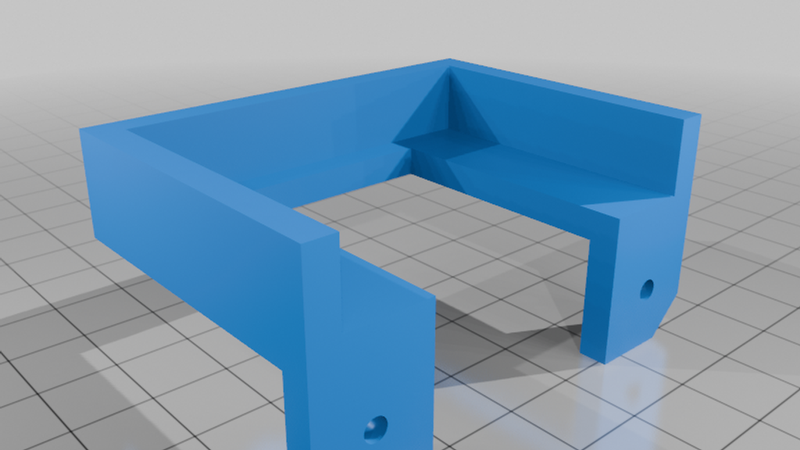
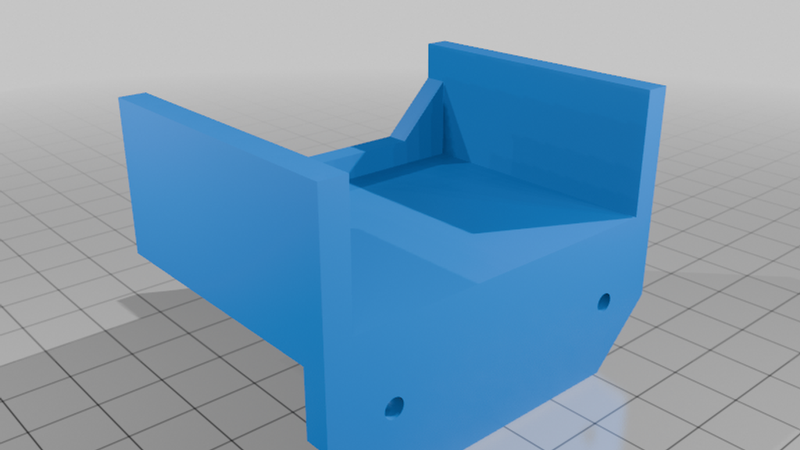
I designed my own mount to install the camera directly on the frame.
Front Camera
The third camera gives an additional view from the front.
My idea was to have different perspectives available for recording datasets and to experiment with one, two or three cameras.
Lighting
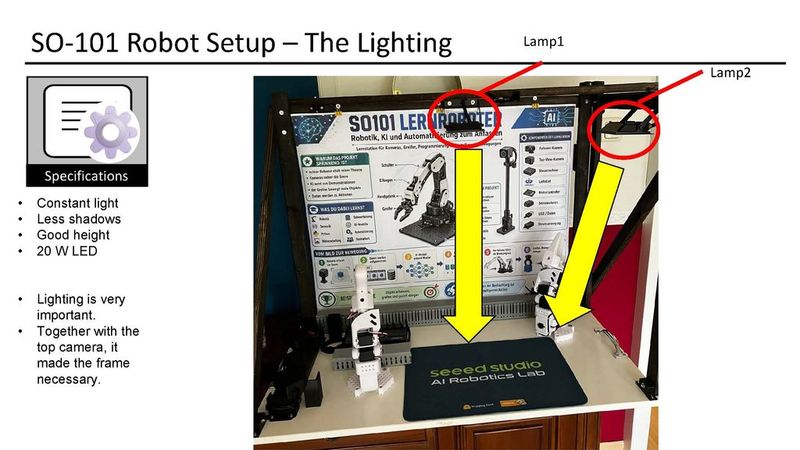
Good and constant lighting is important for recording datasets.
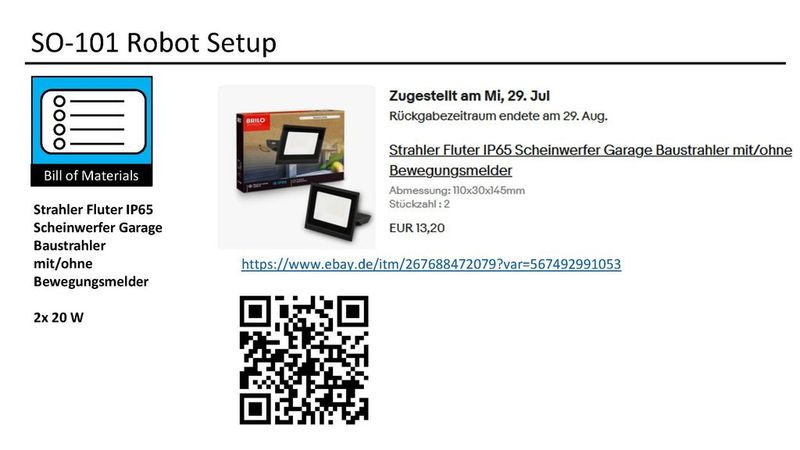
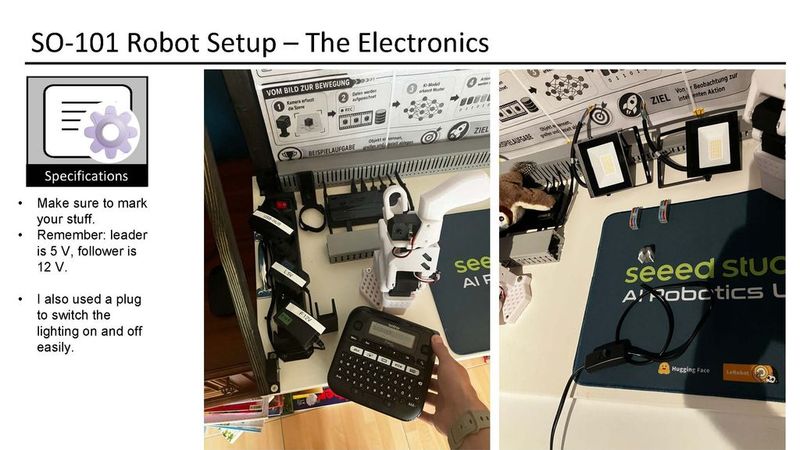
I use two small 20 W LED lights mounted directly to the frame.
The goal is simple:
* Constant light
* Less shadows
* Fixed position
* Similar conditions for every recording
The lights and the top camera were also the main reason why I decided to build a complete frame around the robot.
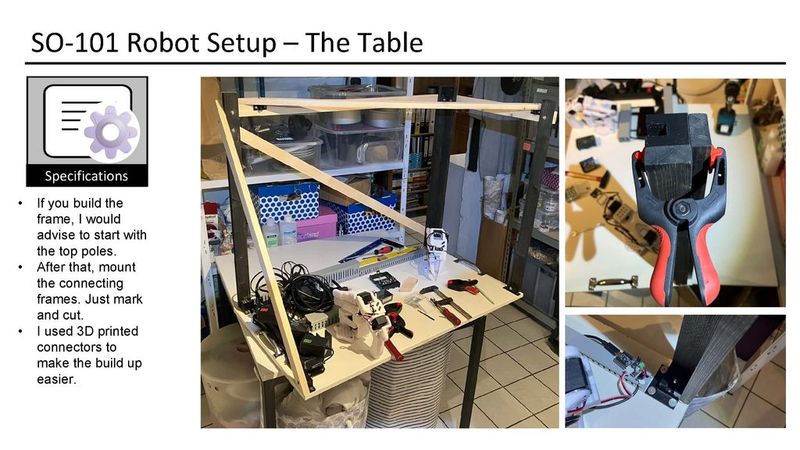
The Frame
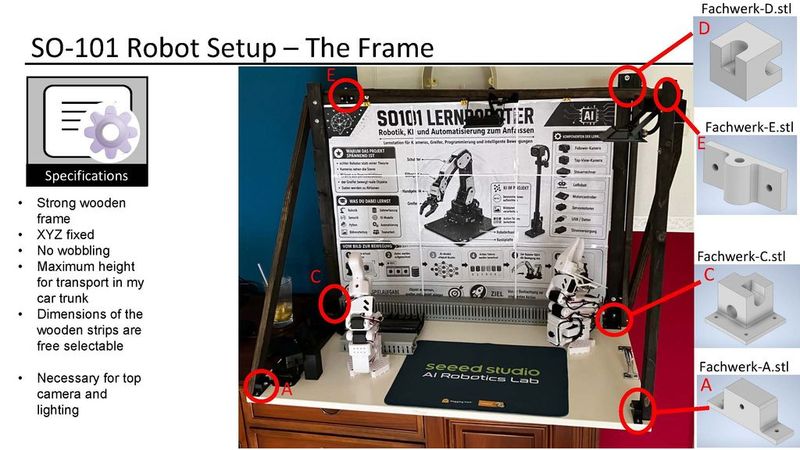
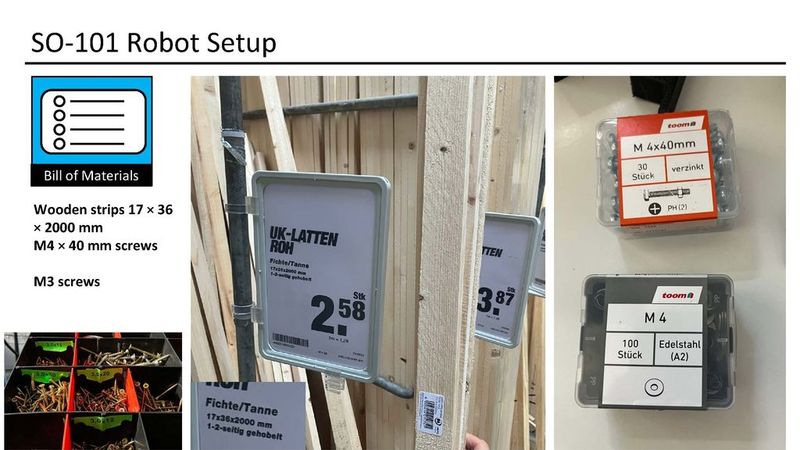
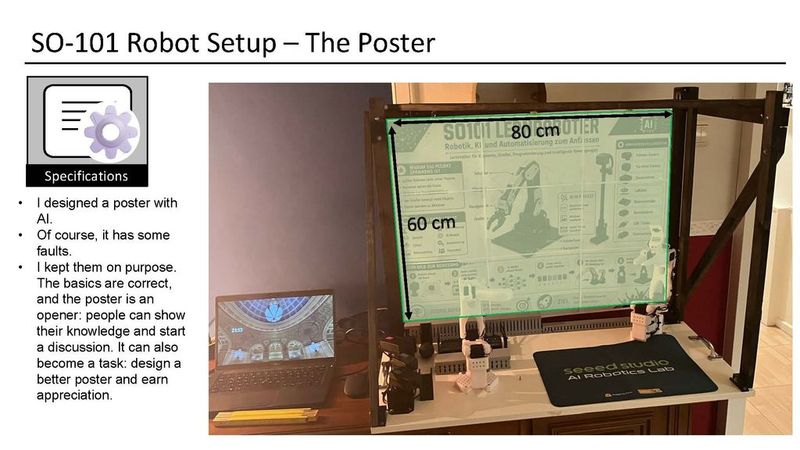
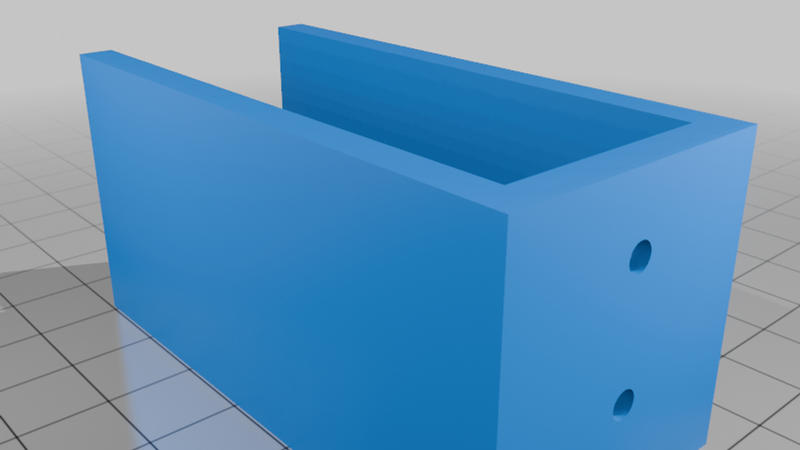
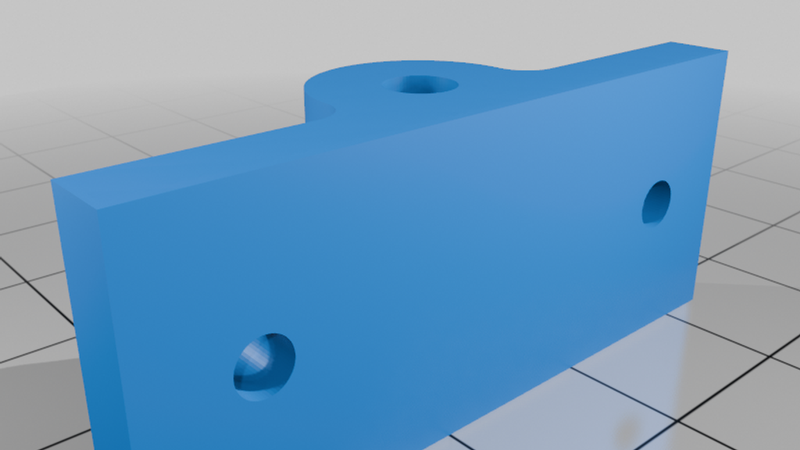
The frame is made from simple wooden strips together with several 3D printed connectors.
I wanted the construction to be strong and without much movement because the camera and lighting positions should remain fixed.
The dimensions are not very critical. You can change them according to your table, cameras and available space.
I selected my dimensions also with transportation in mind. The complete setup should still fit into my car.
For building the frame I found it easiest to start with the upper wooden strips and then add the connecting parts.
Base Plate and Table
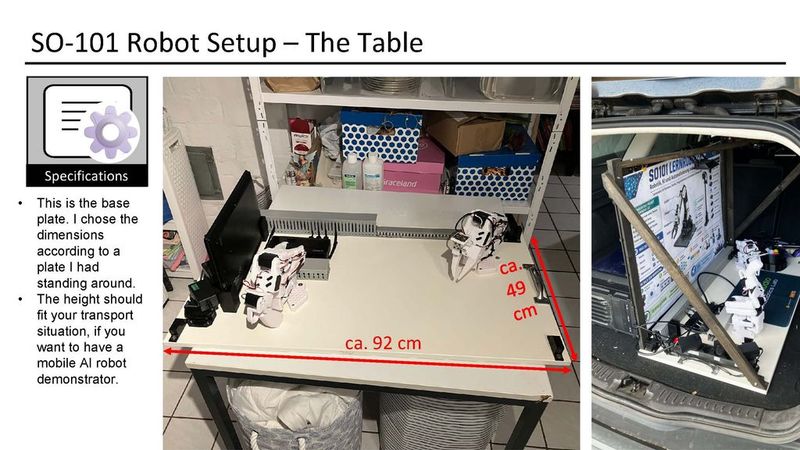
The base plate of my system is approximately:
92 cm wide
49 cm deep
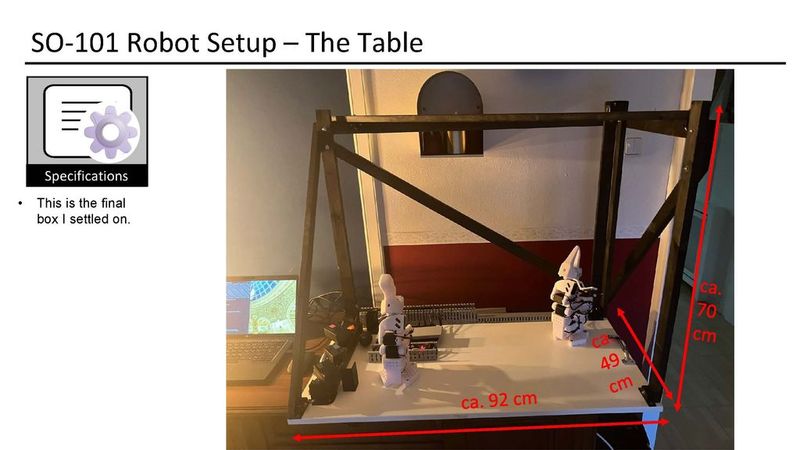
The complete frame is approximately:
70 cm high
These dimensions are simply based on the plate I already had available and the maximum size I wanted for transportation.
There is no reason to copy these dimensions exactly.
Adapt them to your own system.
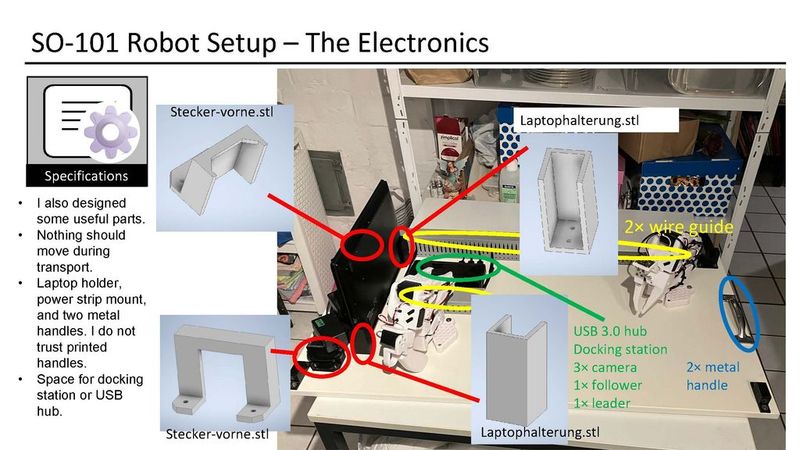
Electronics
The setup contains the connections for:
* Leader arm
* Follower arm
* Up to three USB cameras
* USB hub or docking station
* Laptop
* Lighting
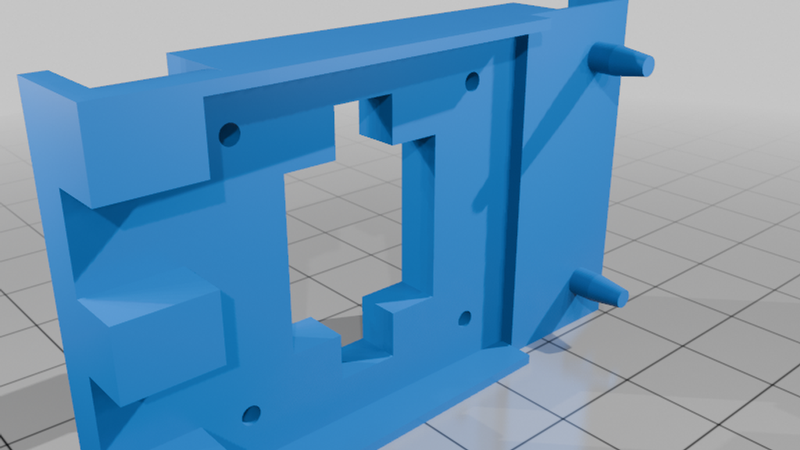
I also added a mounting position for a laptop, power connectors and metal handles.
For transportation I wanted everything to have a fixed position and not move around.
One important detail:
Leader arm uses 5 V
Follower arm uses 12 V
I recommend marking all connections clearly.
Cable Management
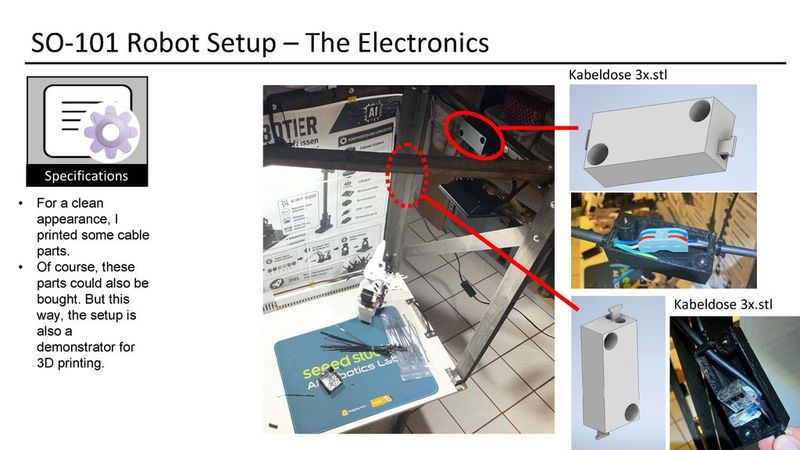
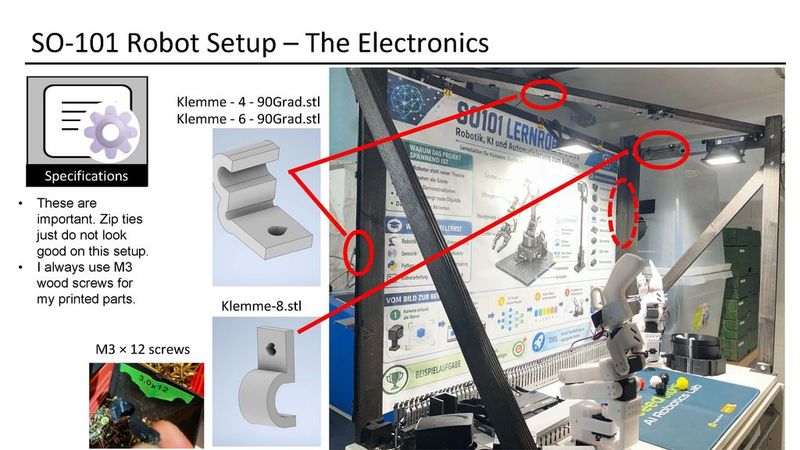
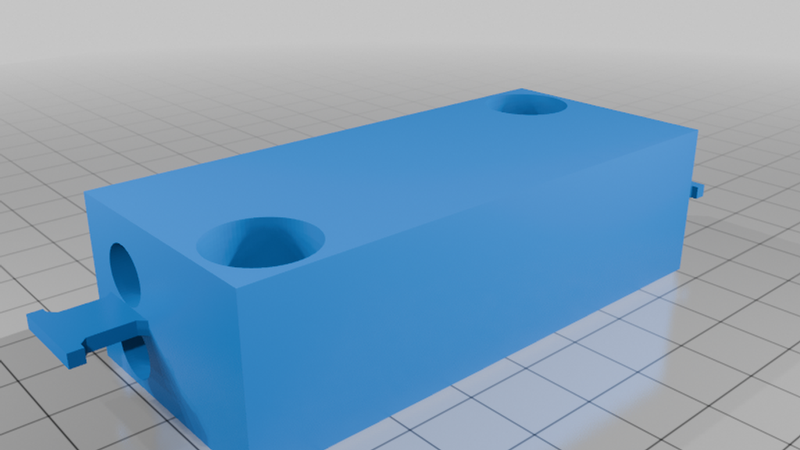
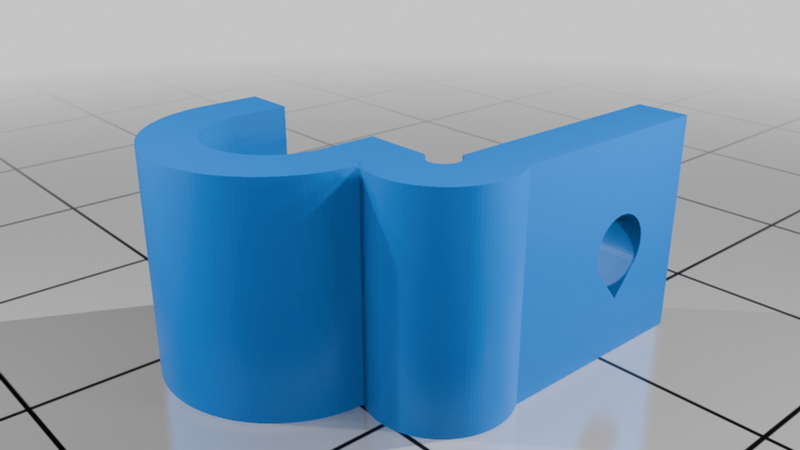
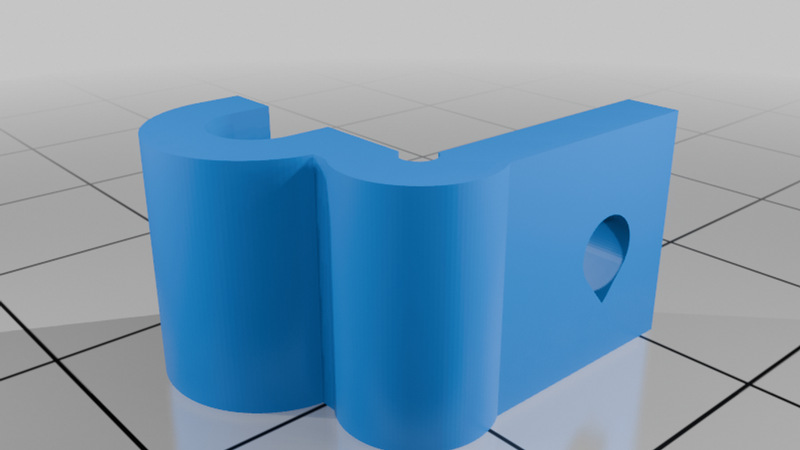
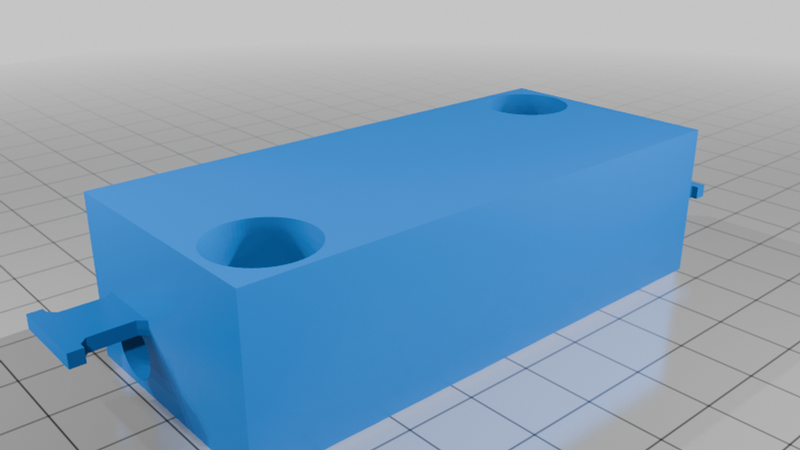
I designed several small parts for cable management because I wanted the complete setup to look clean.
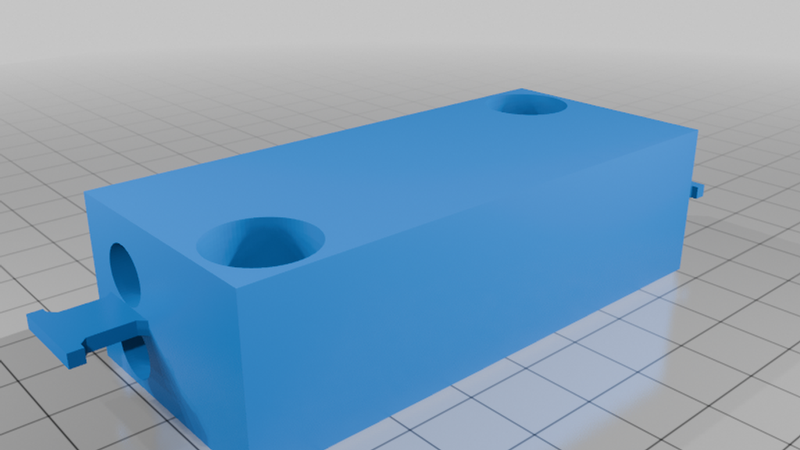
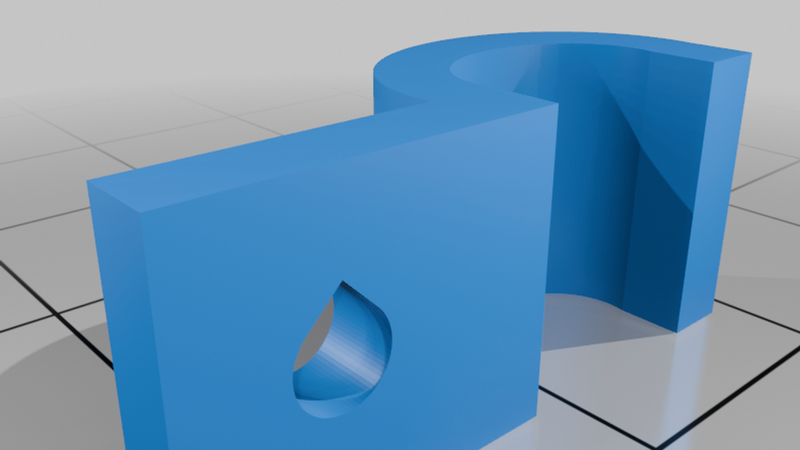
There are cable boxes, cable clamps and holders for the wiring.
Of course most of these parts could also simply be bought.
But in my case the complete system should also show what can be done with simple CAD and 3D printing.
I use M3 screws for many of the printed parts.
Robot Parts and Original SO 101 Files
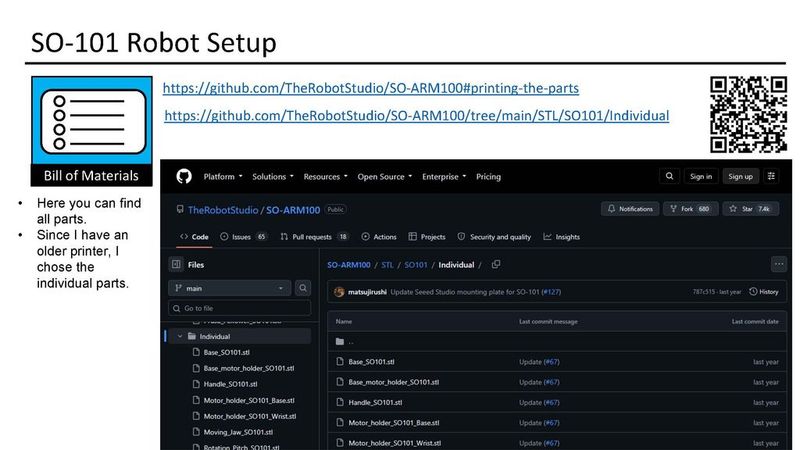
Information about printing the original SO 101 parts:
https://github.com/TheRobotStudio/SO-ARM100#printing-the-parts
Individual SO 101 STL files:
https://github.com/TheRobotStudio/SO-ARM100/tree/main/STL/SO101/Individual
SO ARM101 Servo Kit
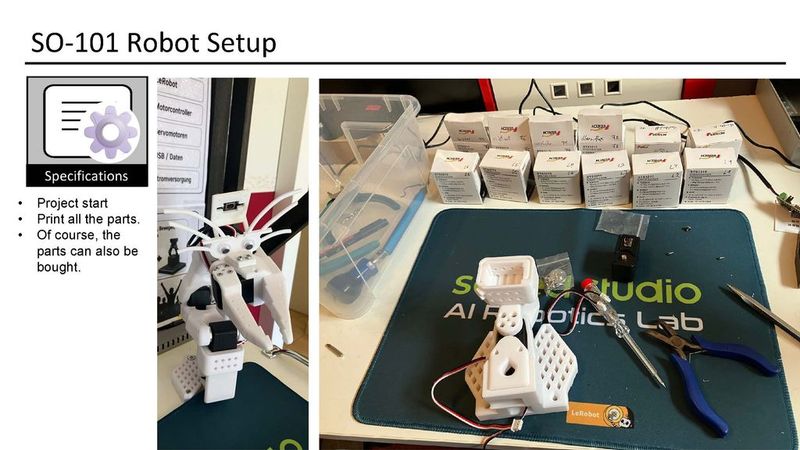
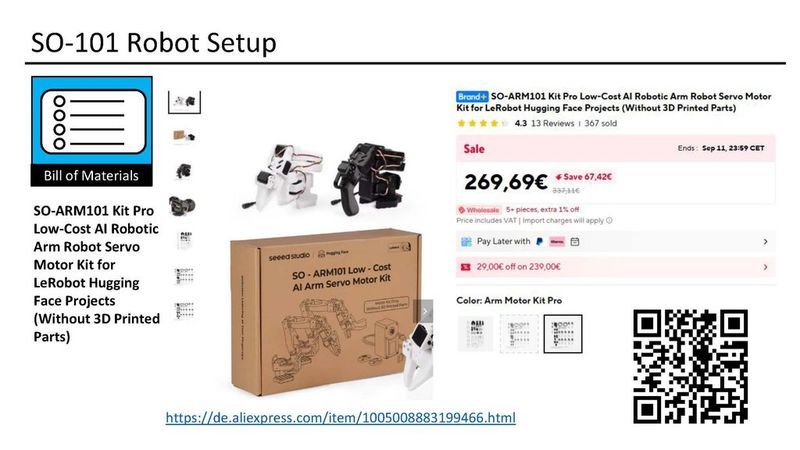
I used the SO ARM101 Kit Pro without the 3D printed parts:
https://de.aliexpress.com/item/1005008883199466.html
The robot parts can of course also be bought instead of printing them yourself.
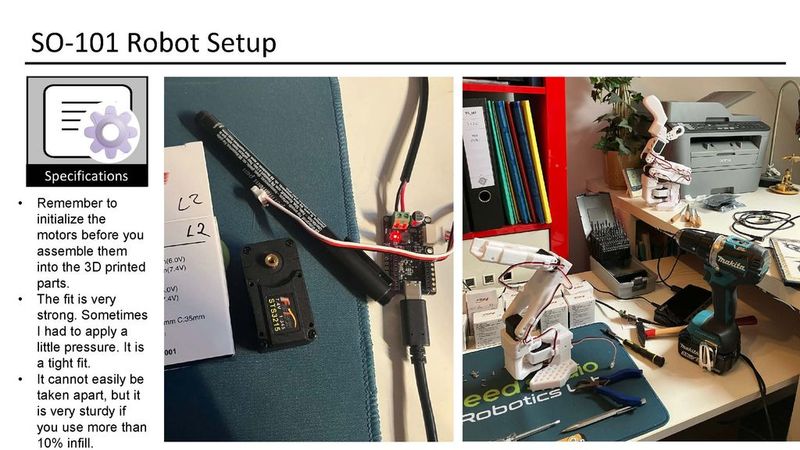
If you print the robot yourself, remember to configure and initialize the servo motors before installing them into the printed parts.
The fit of the motors inside the printed parts can be quite strong. On my prints I sometimes needed a little pressure to insert them.
Cameras
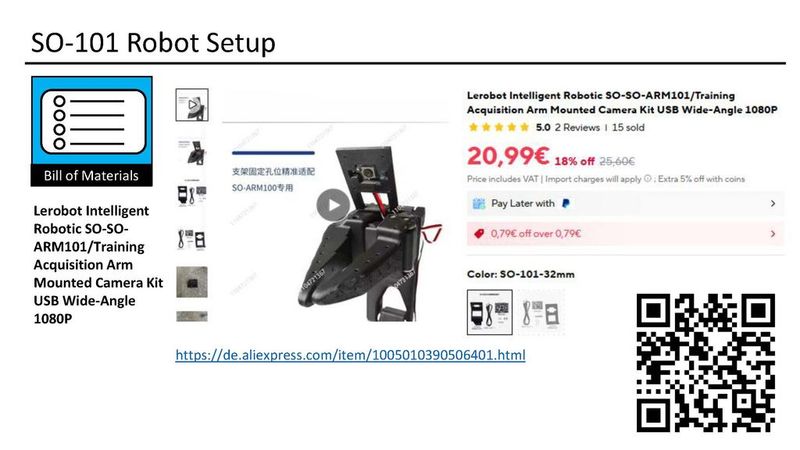
SO 101 arm mounted USB camera:
https://de.aliexpress.com/item/1005010390506401.html
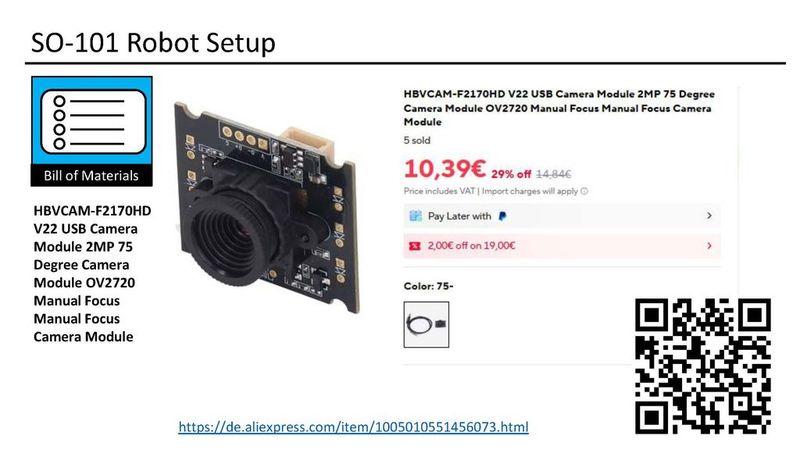
USB camera module, OV2720, manual focus:
https://de.aliexpress.com/item/1005010551456073.html
Lighting
20 W LED flood lights:
https://www.ebay.de/itm/267688472079?var=567492991053
I use two of these lights in my setup.
Cable Management
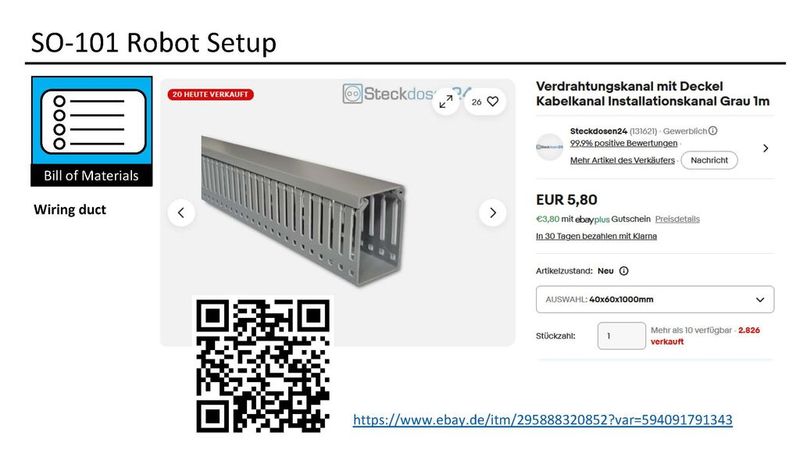
Wiring duct:
https://www.ebay.de/itm/295888320852?var=594091791343
Videos
SO 101 Robot Teleoperation
https://youtube.com/shorts/DMakG7JNT5Q
SO 101 with LeRobot: First AI Pick and Place Task
https://youtube.com/shorts/3AbB0EcswJs
Files
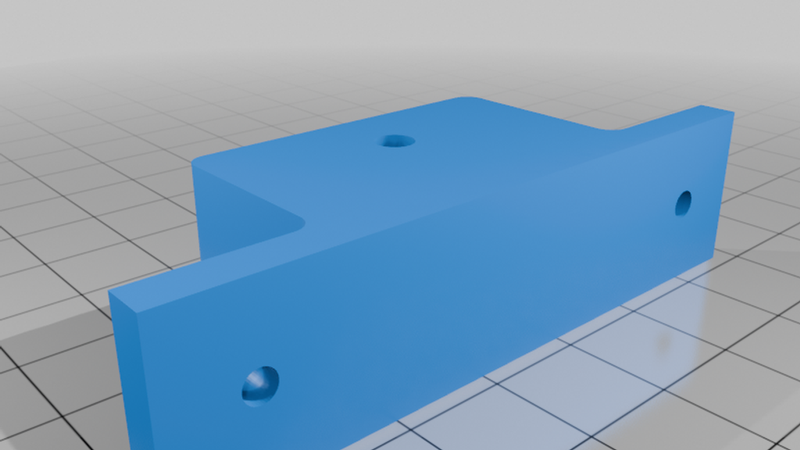
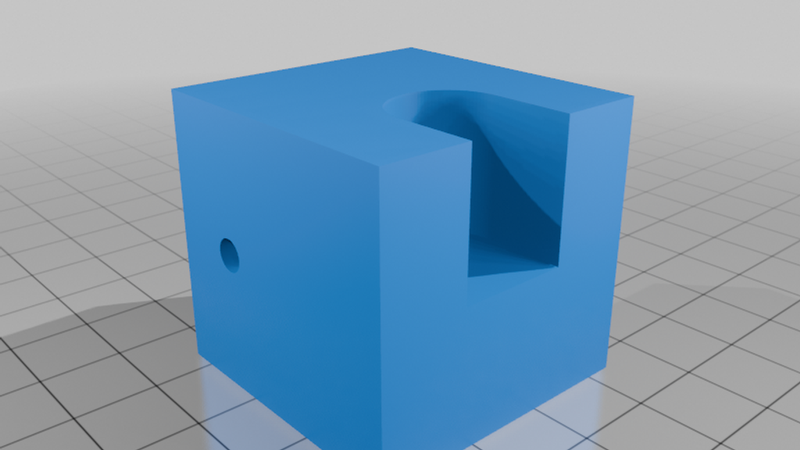
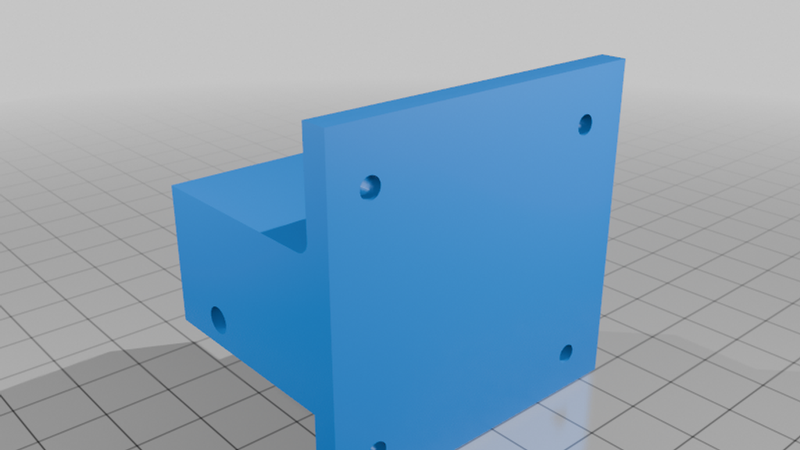
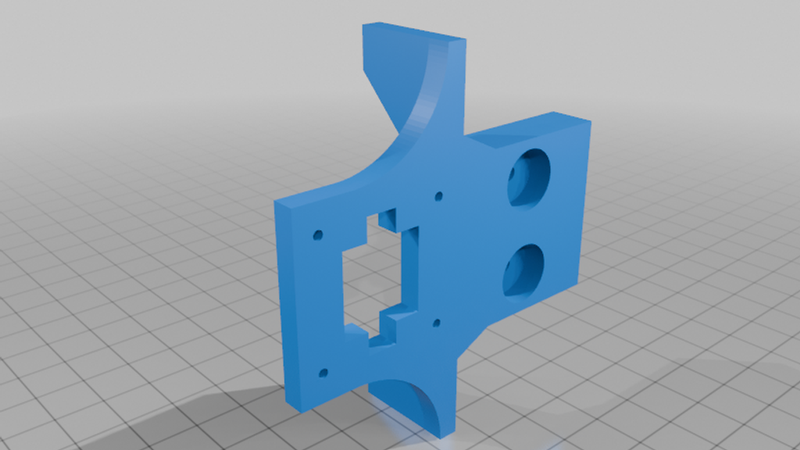
The uploaded files contain my additional parts for the complete setup, including camera mounts, nests, frame connectors, cable management and mounting parts.
Some parts are very specific to my system, but many of them can easily be modified for another SO 101 setup.
If you build something based on these files, I am always interested to see how you adapted the system.