Mitsubishi Lancer 2008-2017 License place light support bracket
Description
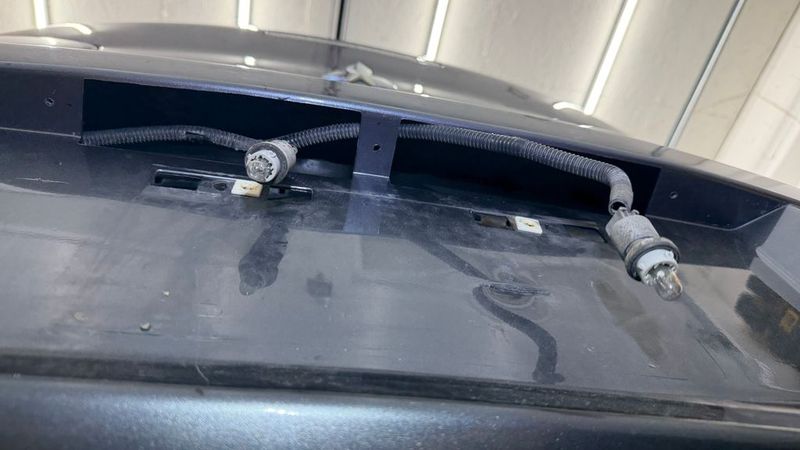
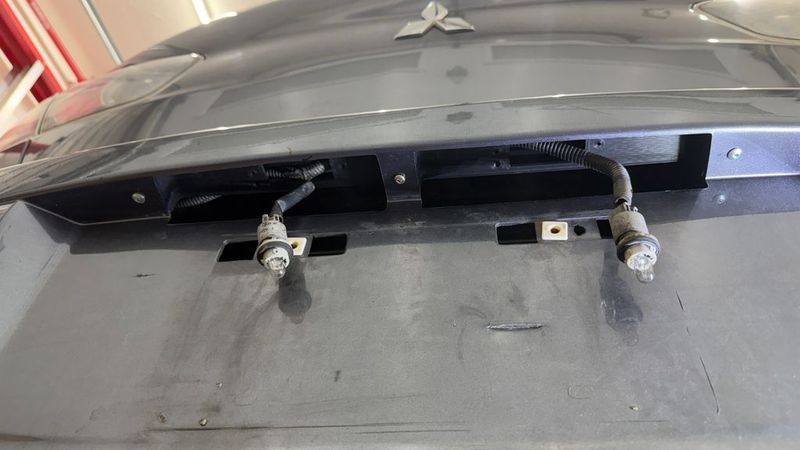
If you're like me and live where salt is massively poured on the streets during winter time, your Lancer is probably getting rusty as hell. In my case, the original license plate light support bracket was so rusted out that the light actually fell through the bumper hole.
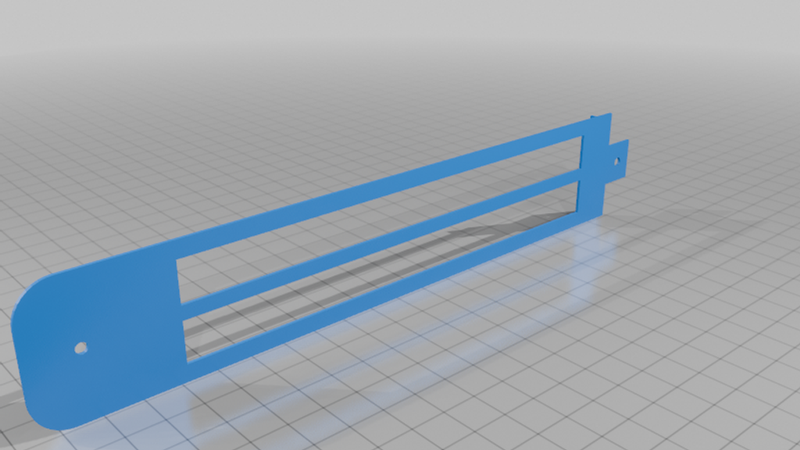
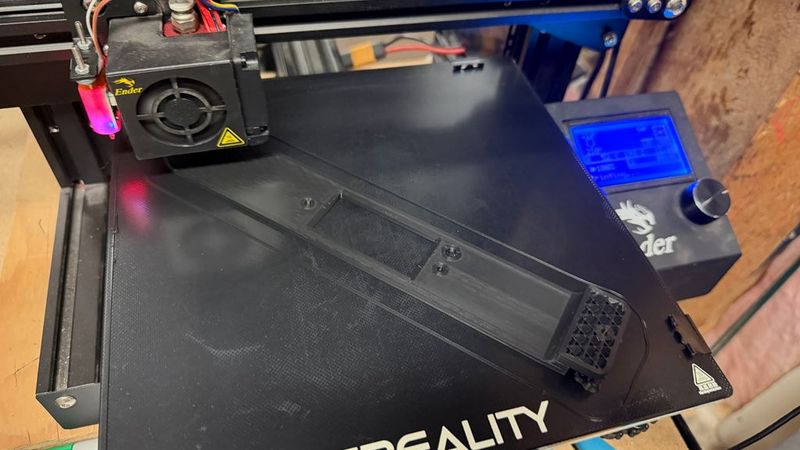
Instead of removing the bumper and the rusty support bracket, I've decided to make a bracket out of plastic and screw it directly to the bumper.
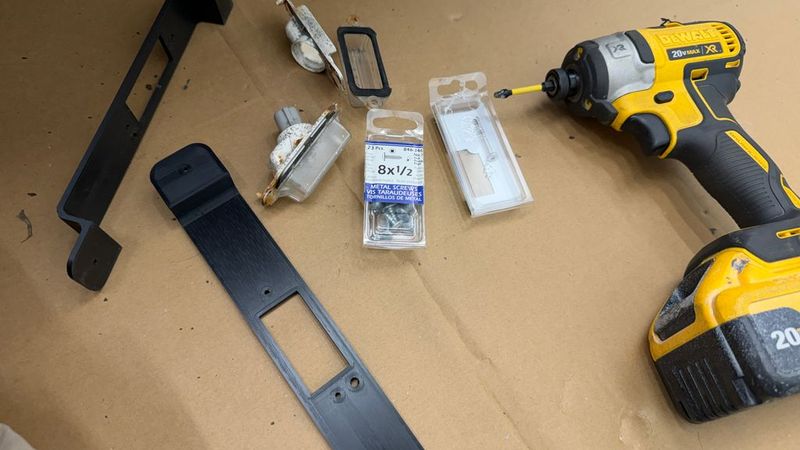
This bracket requires the hardware described below to be installed. I recommend using stainless steel screws to prevent rusting. I also suggest metal screws instead of wood screws.
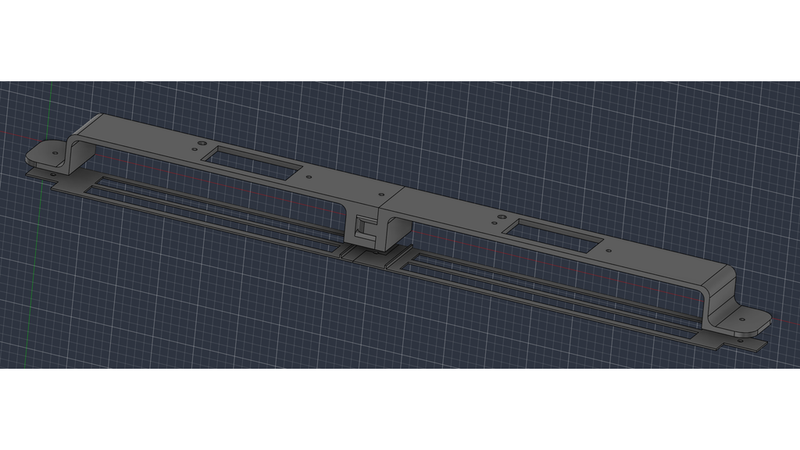
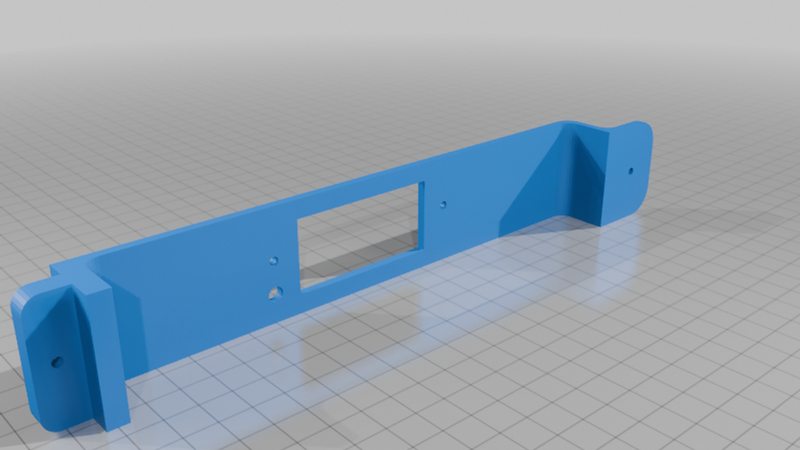
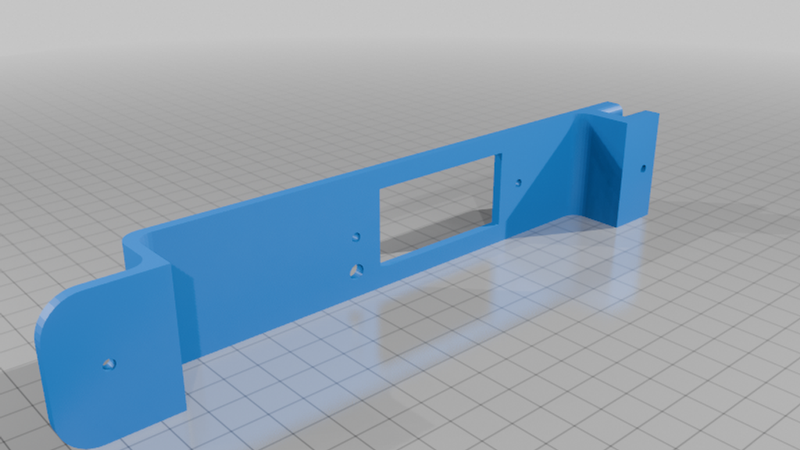
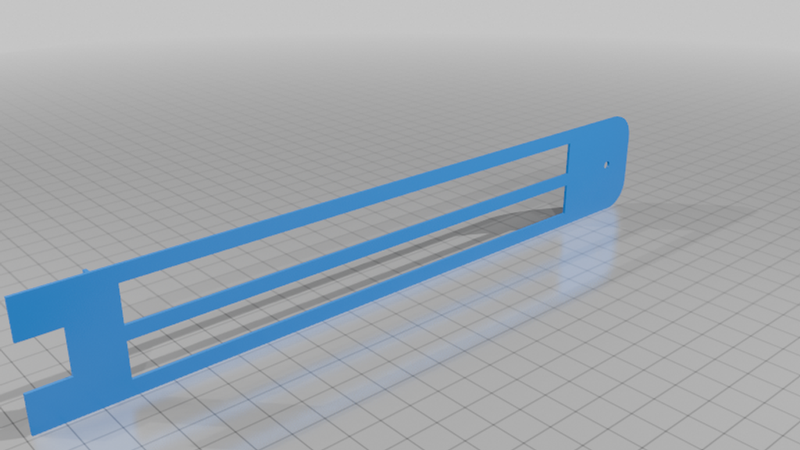
There are 4 files for this project
- The left and right parts of the jig / template for drilling the holes
- The left and right side bracket pieces
If you don't want to print the jig to align the drill holes
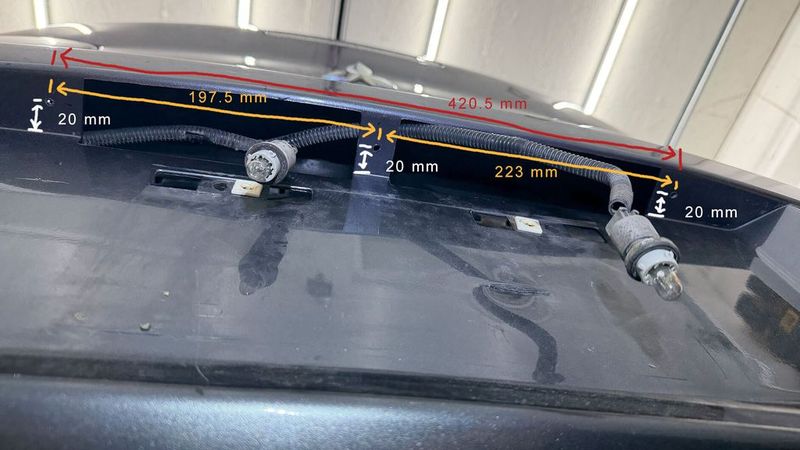
- Center of each hole is 20 mm away from the bumper behind the license plate
- Center of left hole to center of middle hole : 197.5 mm
- Center of middle hole to the center of right hole : 223 mm
- Center of left hole to center of right hole : 420.5 mm
- See picture if unclear
Bracket mounting hardware
- 2x #8 1/2" metal screws (outer mount points)
- 1x #8 1" metal screw (middle mount point / joint between the 2 pieces)
Lights mounting hardware
- 4x #8 1/2" metal screws (2 per light assembly)
Installation
- Remove the 2 light assemblies from the car (2 Philips screws each). I suggest an impact driver if rusty to help loosen it. If its too rusty and doesn't unscrew, pry and break the metal bracket
- When unscrewing the light assemblies from the old bracket (or what's left of it), watch out for the clear plastic piece and its seal. They are NOT glued to the white mounting plate and will fall off.
- Pull the light socket out of the assembly by twisting it counter clockwise
- Once the lights are out, bend/tear/remove the remaining metal bracket rust pieces through the bumper holes to create some vertical headroom
- Tape the 2 jig pieces together
- Align the assembled jig on the bumper to mark the mounting holes. There are edges to align with the center bumper piece
- Drill 3x 3/16" pilot holes in the bumper on the outside and center (the holes are 1/8" in the bracket, this gives a tiny bit of wiggle room)
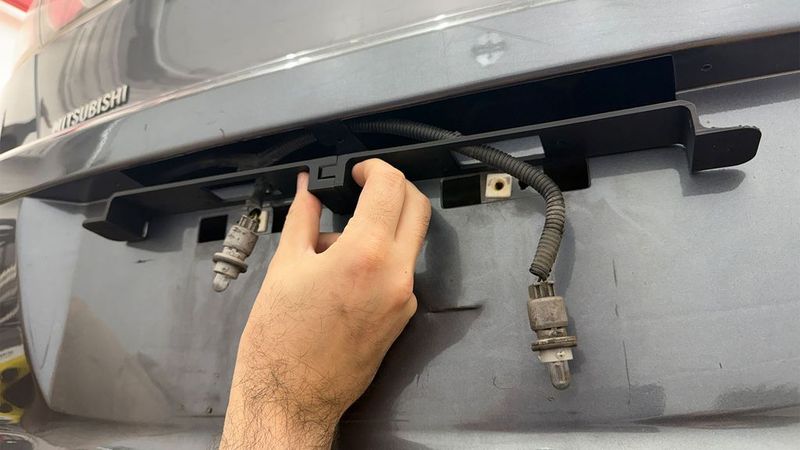
- Assemble the 2 bracket pieces together. The tolerance is tight enough that they should hold together
- Slide the 2 piece bracket through the largest opening first (the one on the right)
- Rest the bracket on the middle part of the bumper and feed the wiring through the mounting holes of the bracket and lock the light bulbs in the housings
- Align the brack with screw holes and screw the 3 main mounting points, starting by the center mount
- Screw the light assemblies in place (they are keyed so you cannot install them in the wrong direction)
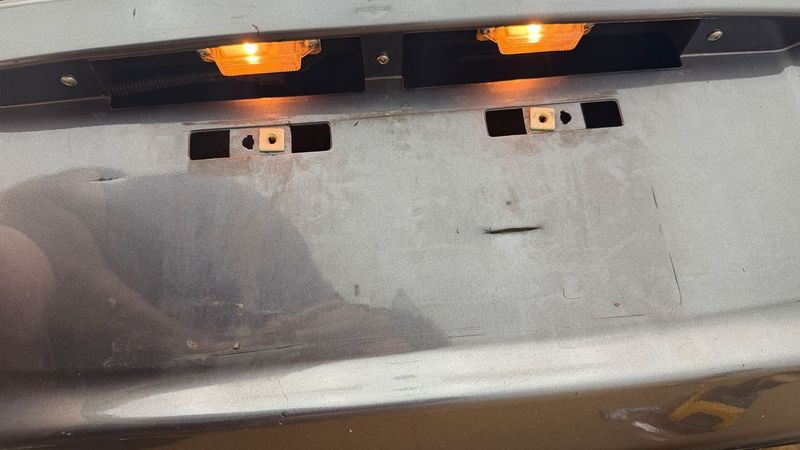
Voilà !