Secure fountain pen case [customizable]
Description
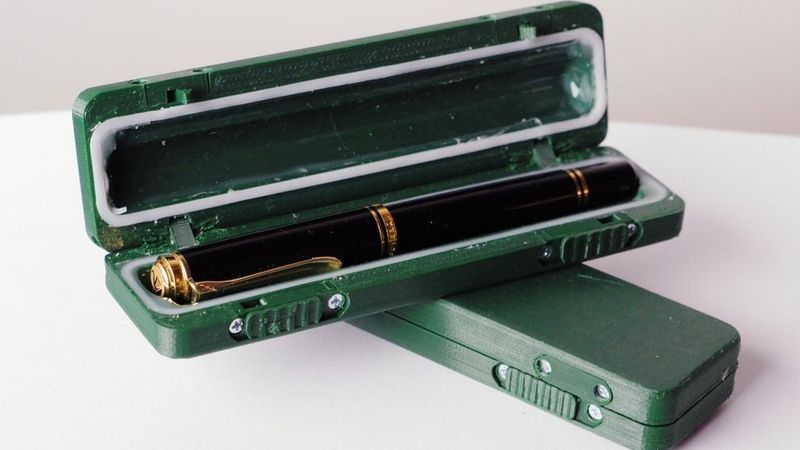
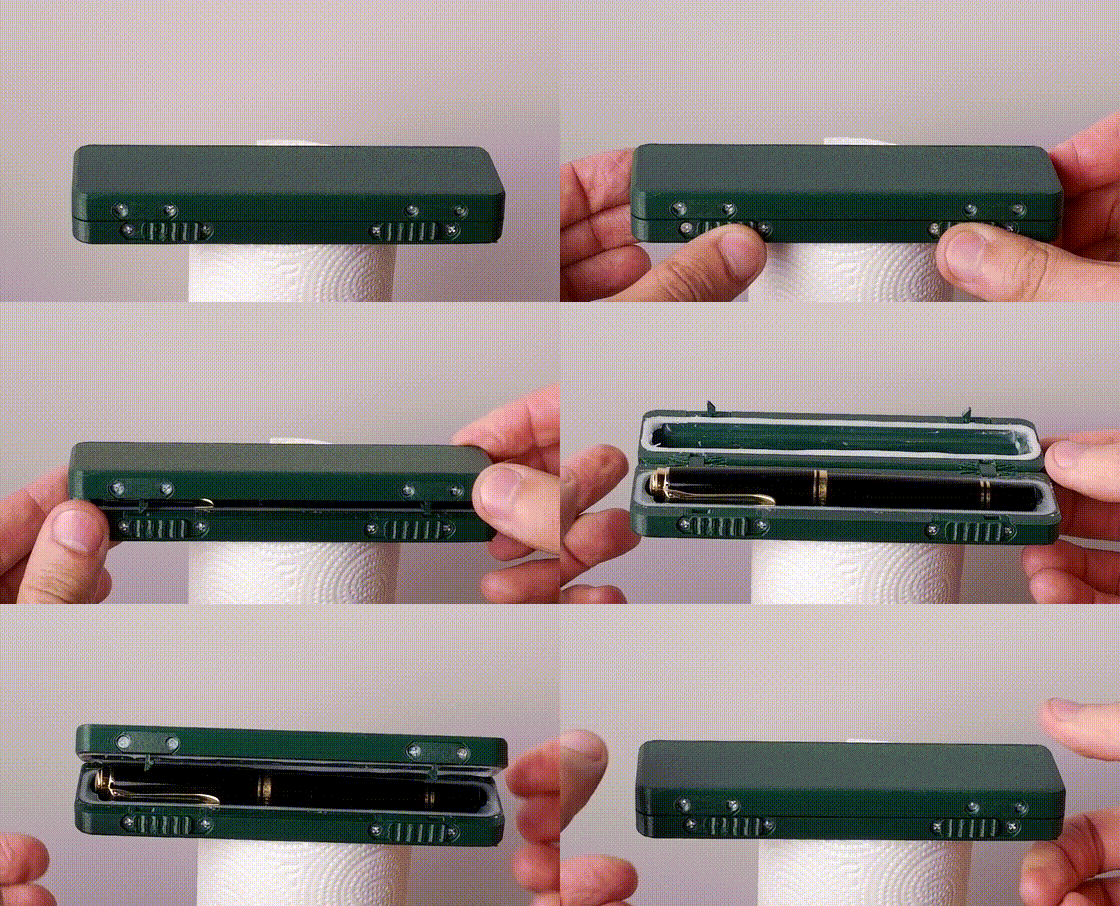
Fountain pen case with slide-to-open opening mechanism, space for a sealing gasket, and concealed hinges.
Please customise the pen size before printing. The uploaded files have some generic dimensions that may or may not suit your pen.
I uploaded annotated OpenSCAD files so that you can modify whatever tuneables you need. In the files, there are instructions in the comments how to customise.
Apart from the plastic printed parts, the model uses:
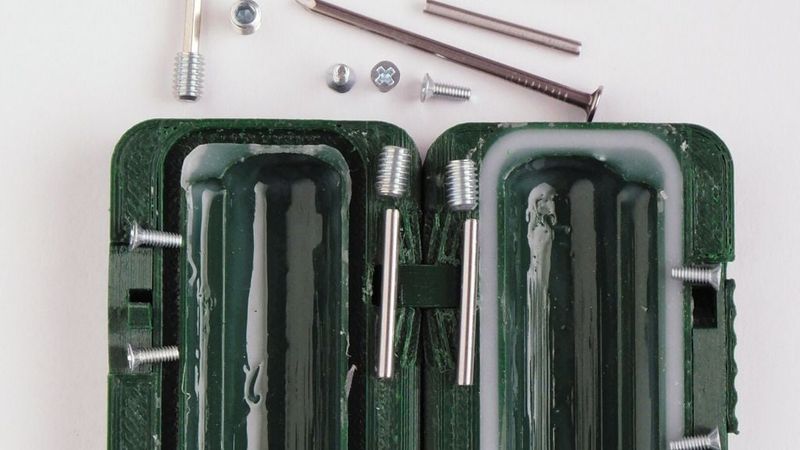
- rods for the hinges – ⌀2mm L20mm – I cut those of the commonplace 2x40 wood nails,
- M4x6 grub screws to prevent the hinge rods from falling out (optional if your rods fit tight enough),
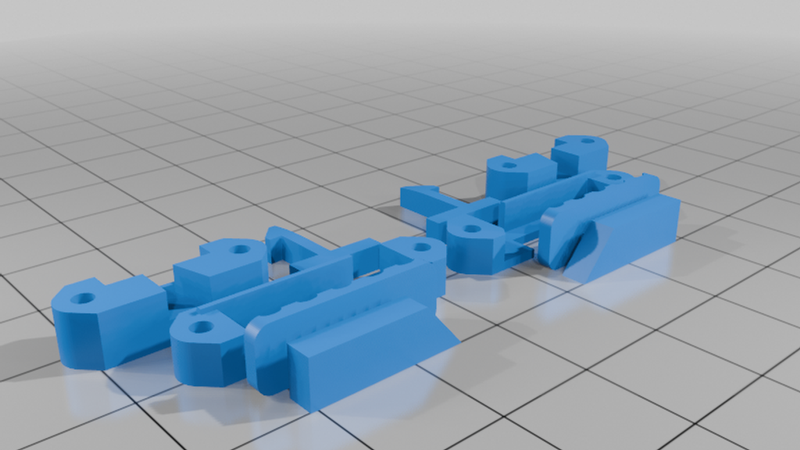
- M2x6 or M2x8 screws to fasten the latching mechanism (you may just glue the parts together or even use it without the screws),
- taps to cut the M2 and M4 threads,
- in my case, some drills (1.6mm, 2.1mm, 3.4mm, and 4mm) to clean the printed holes,
- mould making silicone to waterproof/airtight the case (completely optional, generating space for the gasket can be turned off in scad files).
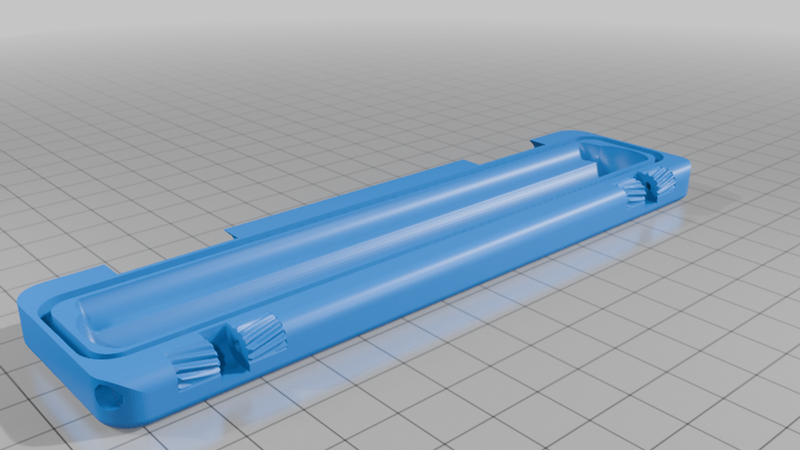
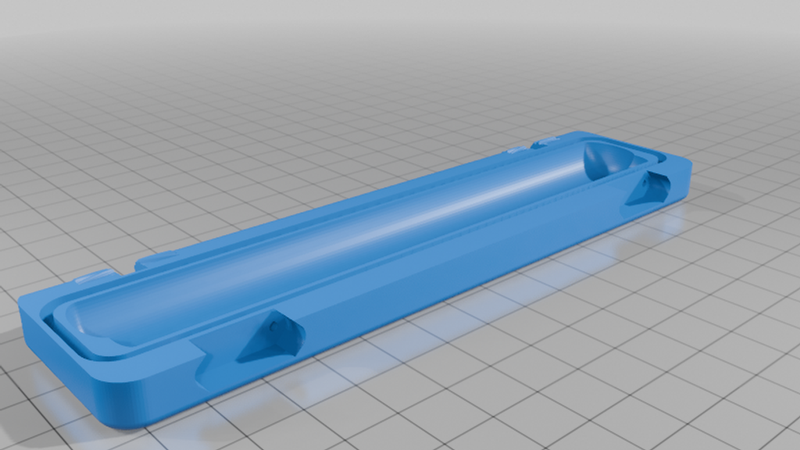
The hinges work so that the two parts slide in sync along a rounded case edge when you turn them, and the rounded case edges have little "gears" that ensure the correct movement of parts. This allows opening the case up to 180° (so that both halves sit flat on the surface when the case is fully open).
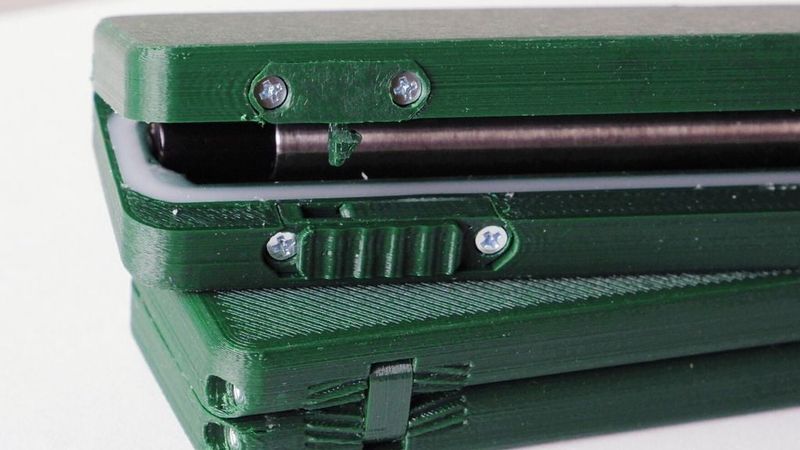
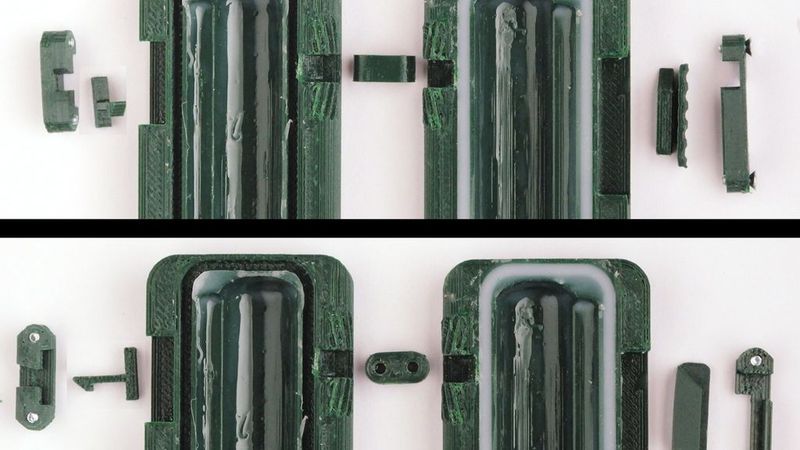
The latches are printed as separate parts, so that the parts sustaining force are printed with layers going in correct direction. The top half of the case gets a protruding hook that latches against a wall that is fastened to the bottom half. To open, a slider on the bottom part of the mechanism bends the hook so that it un-latches from the wall and lifts the top half by springing back straight.
My goal in designing this case was to make it as airtight as possible, for my fountain pen dries when not used for a month or so. Therefore there is an extra groove for a gasket, with the intent to use mould making silicone, to paint the interior of the case with it, and pour the silicone in the groove so it forms a little convex meniscus. I first made the gasket too tall, so I removed it and the then I made it too flat, so it's tricky to do right. Finally I just added a strip of paper under the too thin gasket so it sticks out just enough. YMMV.
I printed all parts of PET-G with 0.1mm layer height and 0.5mm nozzle. Note that the spring of the latch is tuned for PET-G, I believe the plastic does not matter for the rest.