SOLID MODELLaser Cutting & Engraving30-Aug-2026
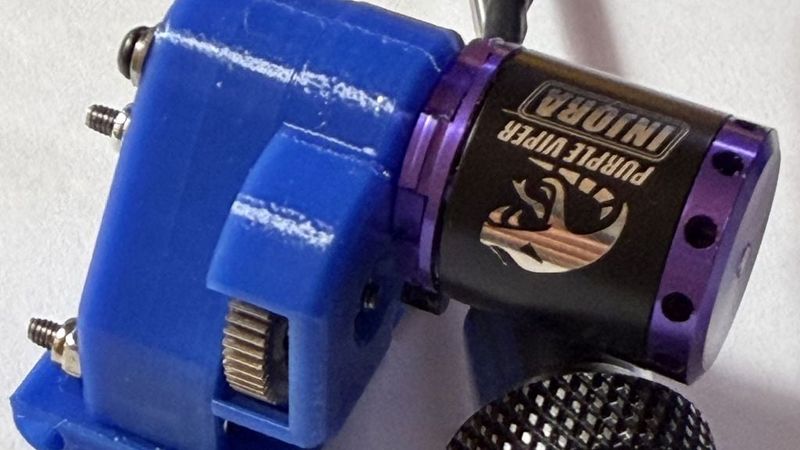
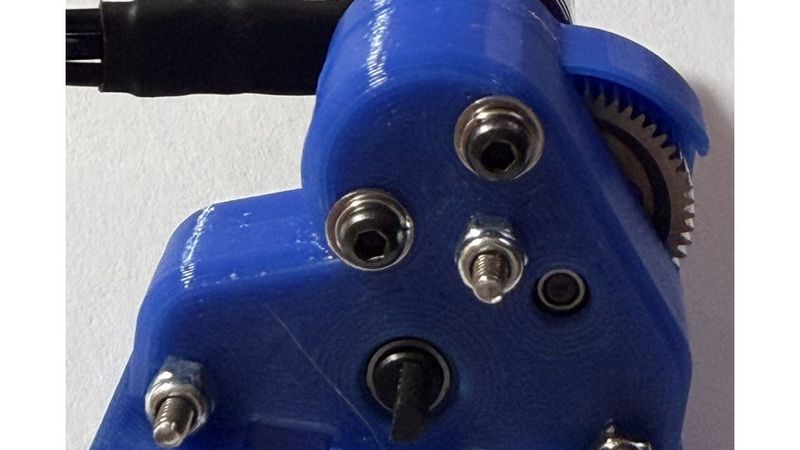
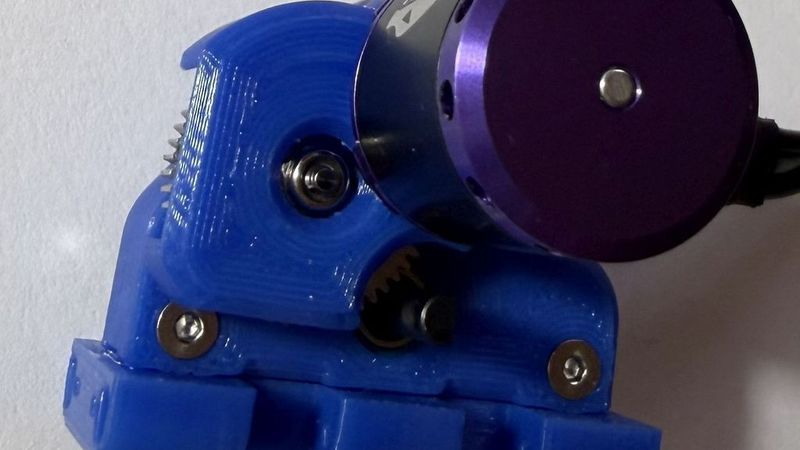
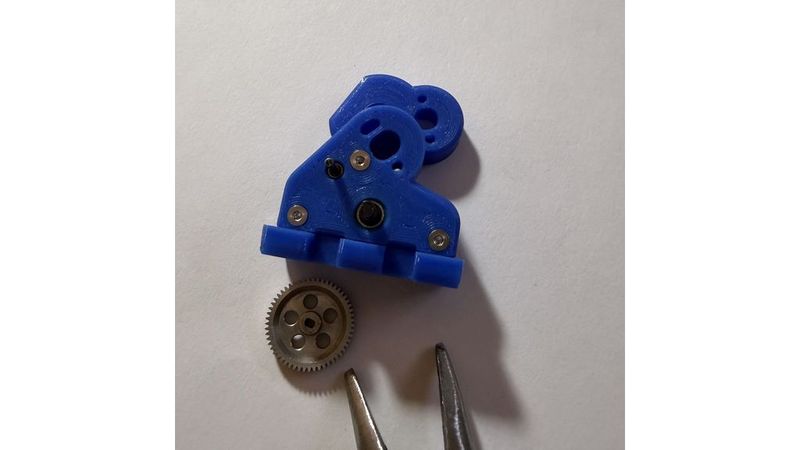
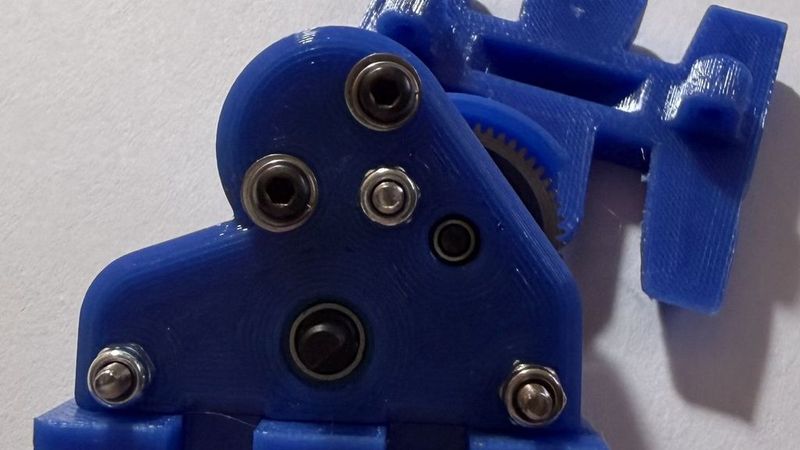
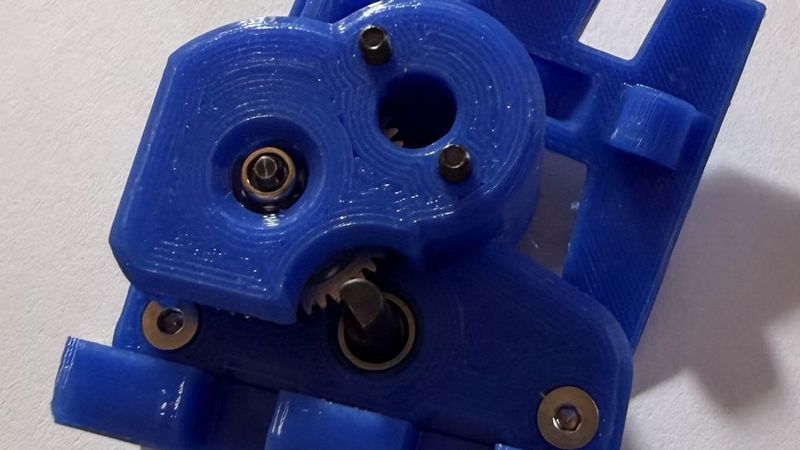
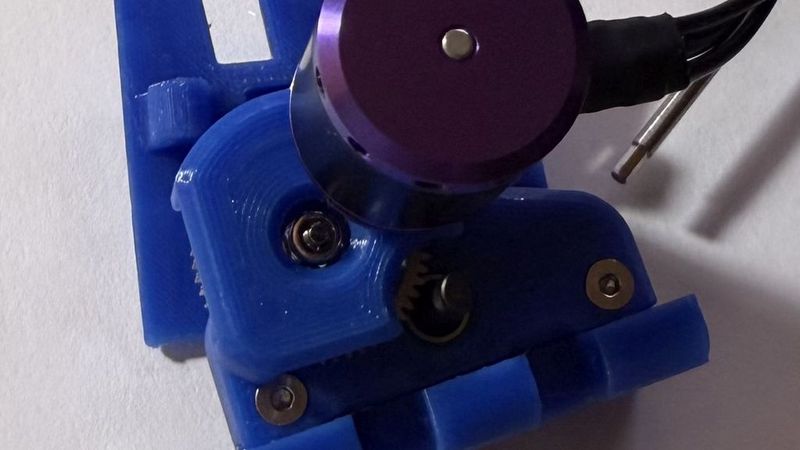
SCX24 LCG Motor mount axle and motor centered using custom skid plates

Henrymuffin
1 File
step Format
+7
Description
- SCX24 LCG Motor mount with axle and motor centered
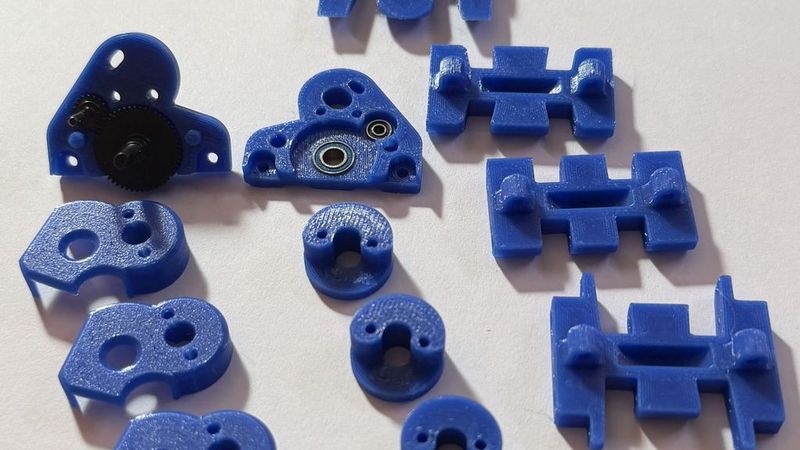
- Stock or aftermarket gear and bearings can be used (Note: While testing different gear and bearings from different aftermarket gearboxes I've seen there is quite some difference in tolerance. Let me know if there is too much play between spur gear and the small gear and I'll upload more boxes with different tolerances)
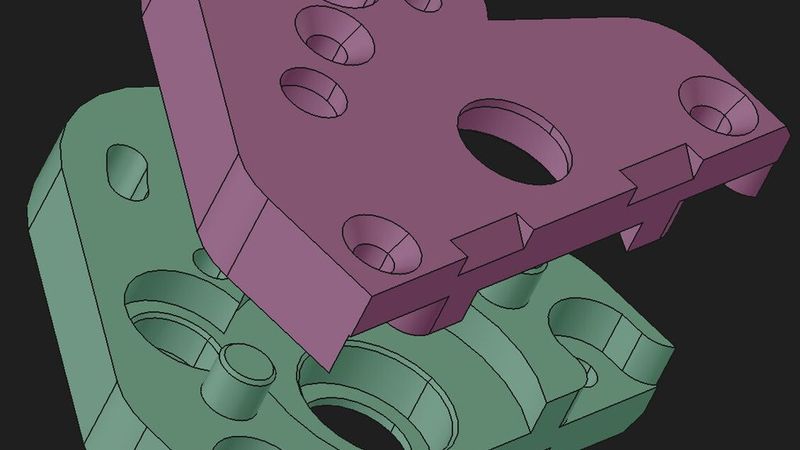
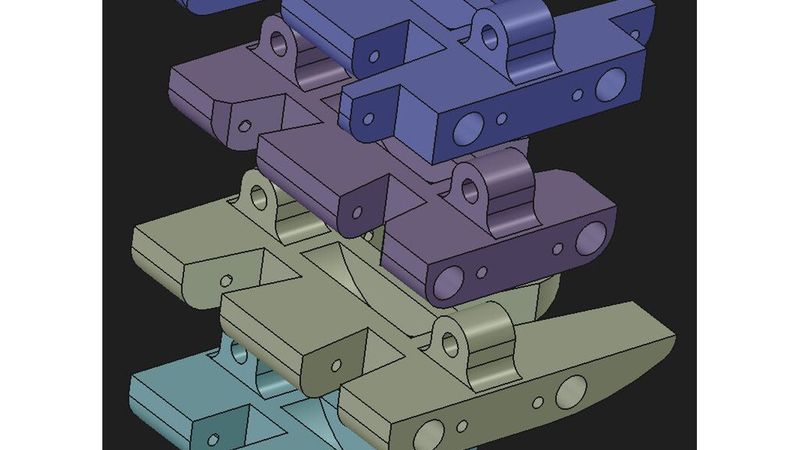
- Custom skid plates provided and required to mount the transmission (I hope at least one suits you)
- Robust design, friendly to print
- Motor center sits about 17.7mm above skid plate and provides hopefully sufficient clearance to axle depending on your setup
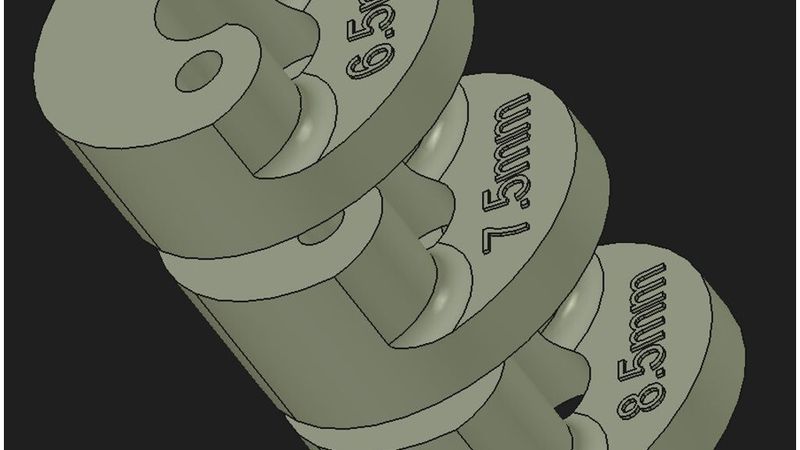
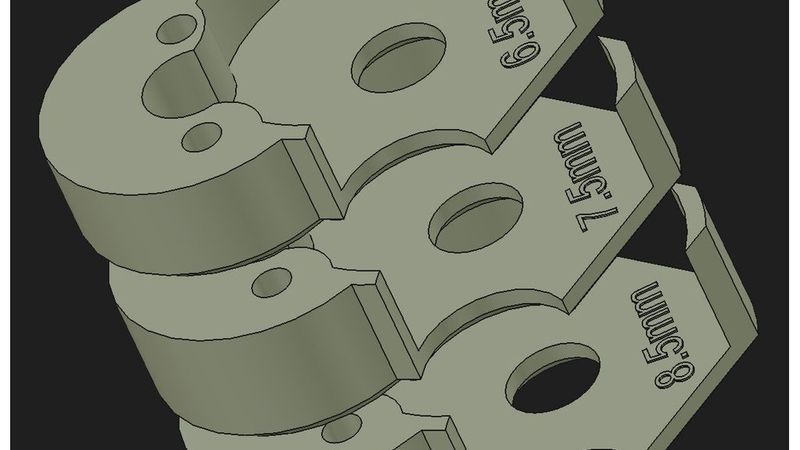
- There are 3 different motor spacers (with or without spur gear cover) provided to create different motor to spur gear distances
- The spur gear has 1mm clearance from chassis but provides simple pinion gear play adjustment
Cons:
- Bulkier compared to stock gearbox
- Different screws and specific provided skid plates required
Pros:
- Simple and robust design having motor and axle centered
- With the constraints of stock gear/bearings + motor and axle centered the gearbox housing is probably not going any lower when laying on the skid plate except of going into the skid plate (...which I will think of on a later stage)
Requirements:
- Motor with 9mm hole spacing (similar as INJORA Purple Viper) and about max diameter of 17mm
- 3x M2x14 countersink (bolt on gearbox to skid plate and fixate gearbox shells) (Note: Mine are TOO LONG on the pictures and I had nothing else at that very moment)
- 3x M2 nylon nut (gearbox assembly and bold on gearbox to skid plate)
- 2x M2x22 thread length depending on spacer plate chosen (bolt on motor)
- Small M2 washers and or lock washers for the 2 motor mount screws (NOT to damage/deform the print) (I've used both, on the print a washer and then a lock washer)
Printing:
- I'd start with PETG and believe that'll do it but let me know about any negative or positive experience
- Use any AI to ask for optimal SCX24 gearbox printing with your slicer and printer to get the best out of it
- Separate parts when importing to slicer and chose sufficient accuracy/precision, 100% infill etc.
- I've used a X-Y hole compensation of 0.05 when printing PETG
- Use sandpaper for the skid plates depending on your print quality so they can glide better over obstacles
Finishing:
1. Organize all parts
2. Assemble gears bearings and gearbox shells
3. Bold on the middle upper M2 to fixate gearbox shells and verify proper gear play
4. Decide the correct motor spacer (with or without spur gear cover) (The 7.5mm works well with the INJORA Purple Viper)
5. Mount the motor to the motor spacer and adjust gear play between spur gear and pinion gear (this is very simple since the spur gear is NOT fully covered)
6. Mount the gearbox to the decided skid plate
7. Verify fully functionality
8. Dismantle everything again, grease gearbox/gears/bearings and start over on step 2 :-)
Additional information:
- Have mercy on me since I’m not English native
- I’ll create and upload more similar designs playing around with the stock gears on a later stage when ever I found the time
- Any constructive feedback highly appreciated