6:1 Stackable Fully 3D Printed Planetary Gearbox
Description
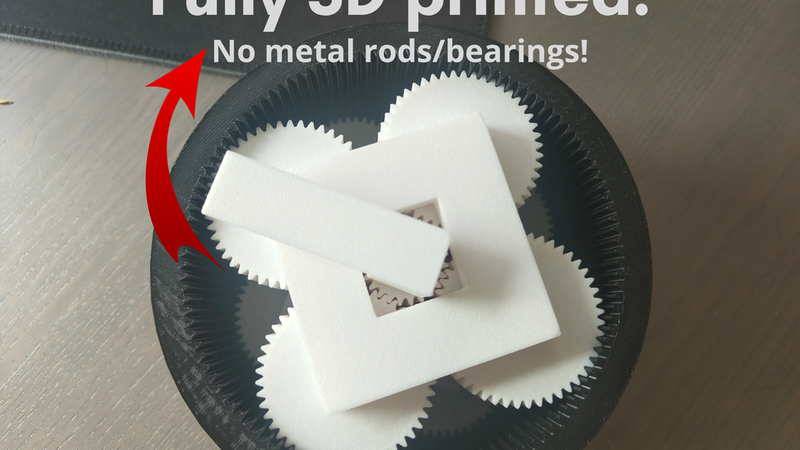
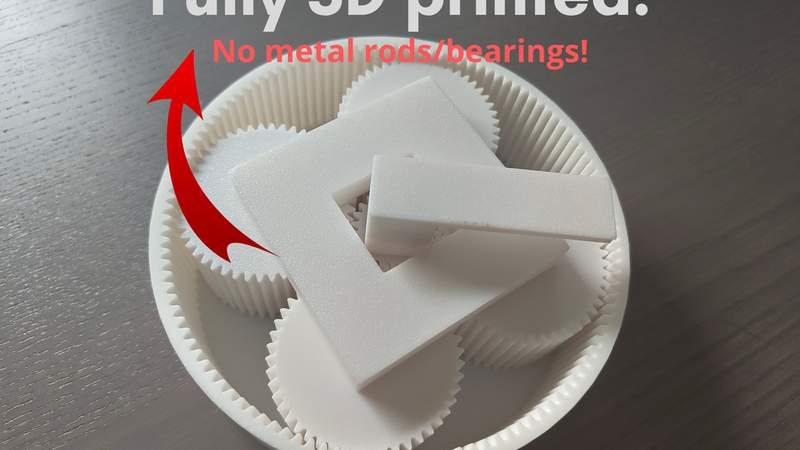
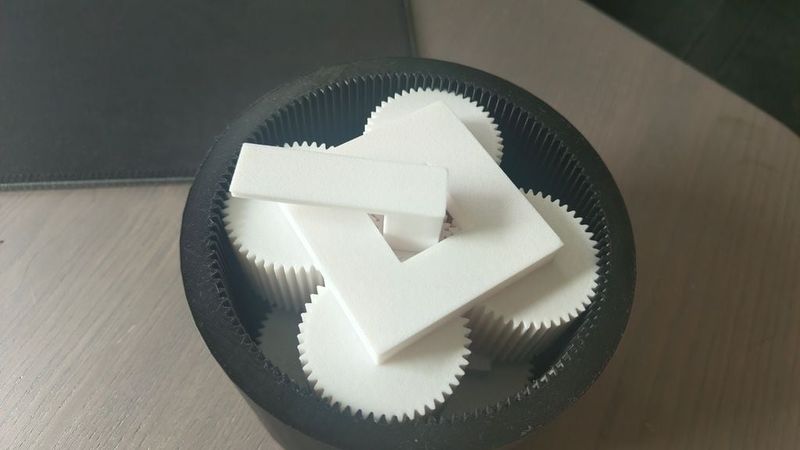
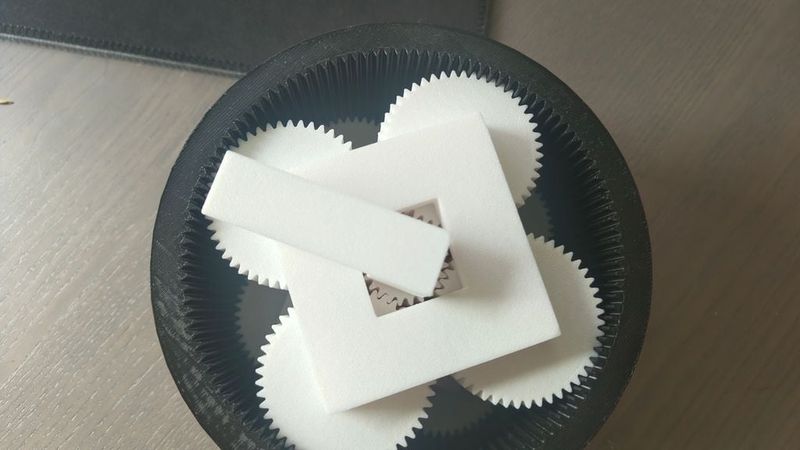
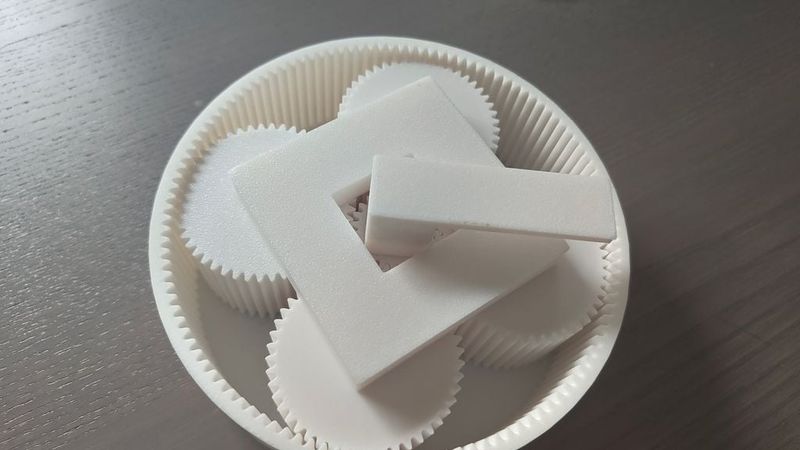
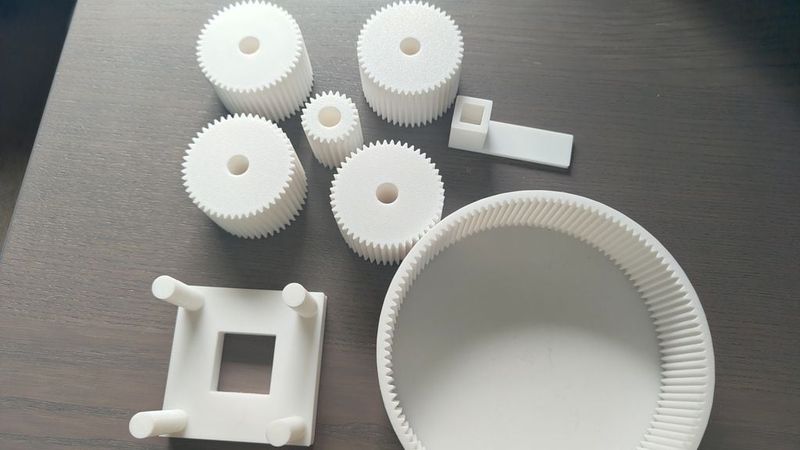
This is a planetary gearbox that is fully 3D-printed and does not require any bearings, rods, or other metal parts!
One stage has a 6:1 gear ratio. This means that when you spin the planet carrier while holding the ring gear, the sun gear spins 6× faster than the planet carrier.
This is reversible: if you spin the sun gear while holding the ring gear, the planet carrier spins 6× slower, while providing increased torque.
2-Stage - 36:1 Gear Ratio
The gearbox is also stackable:
By adding a second stage and physically connecting the top sun gear to the bottom planet carrier, the gear ratio is multiplied:
6 × 6 = 36:1
This means that when you spin the top planet carrier, the bottom sun gear spins 36× faster.
AVAILABLE FILES:
Option 1 - 1 Stage (6:1)
Download:
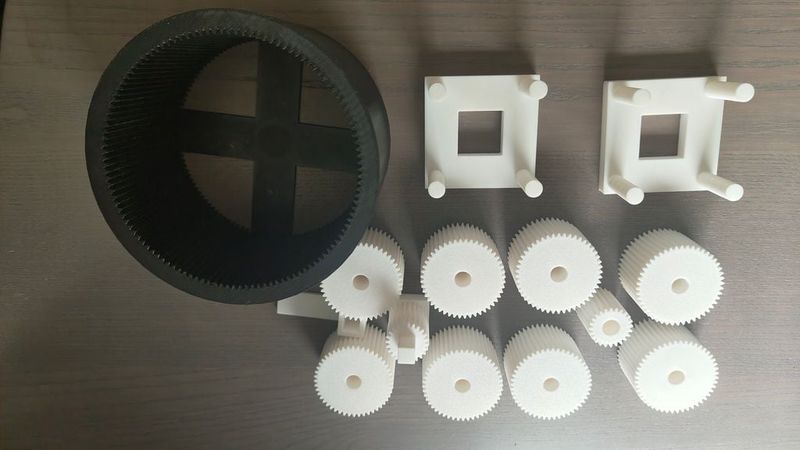
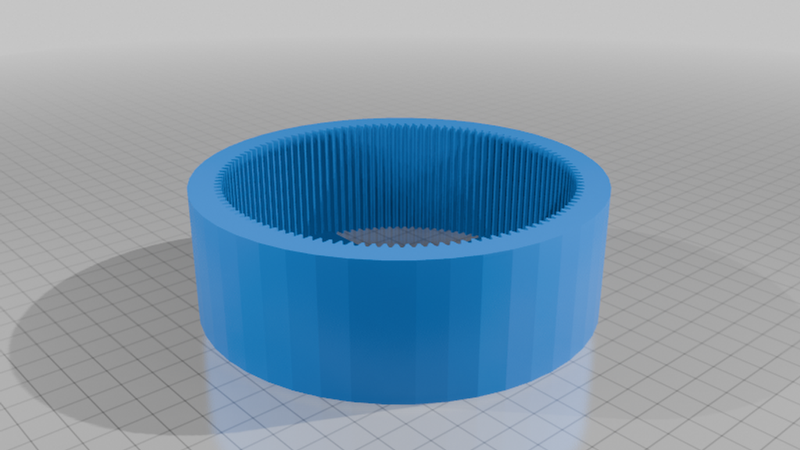
RingGear_45mmheight.stl
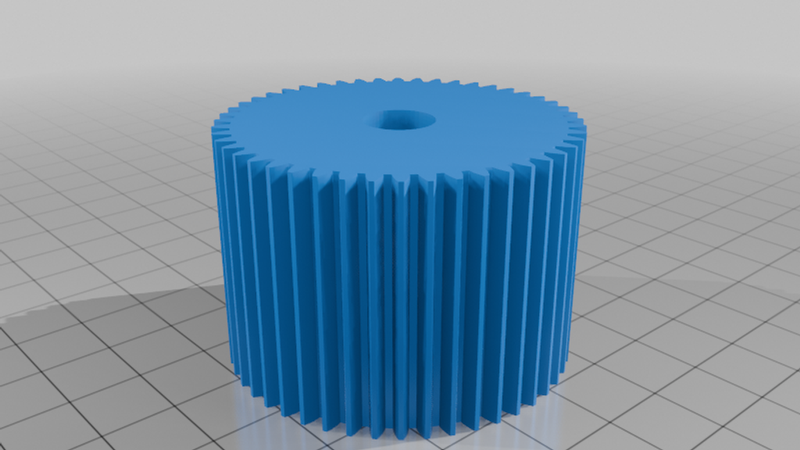
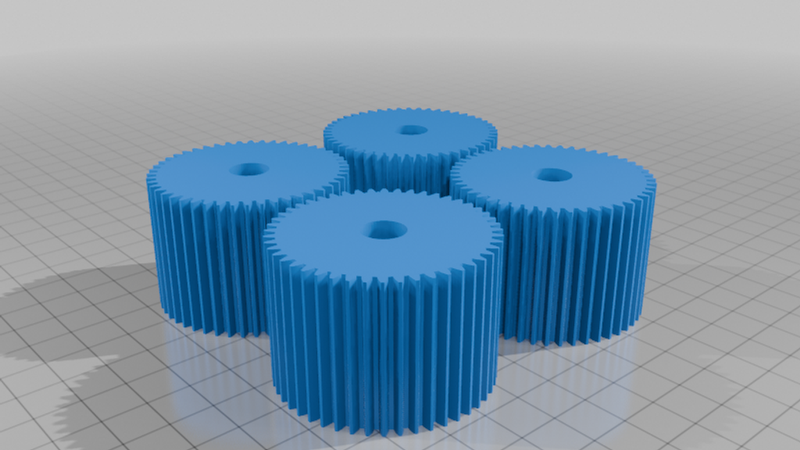
4× PlanetGear.stl OR PlanetGear_Bundle.stl
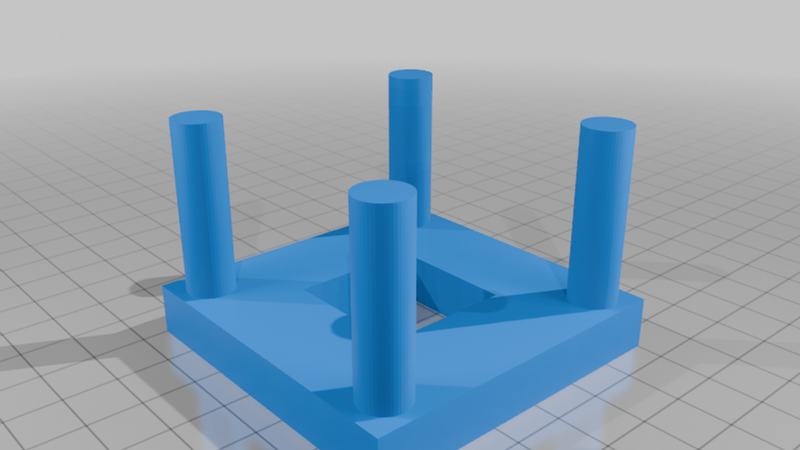
PlanetCarrier.stl
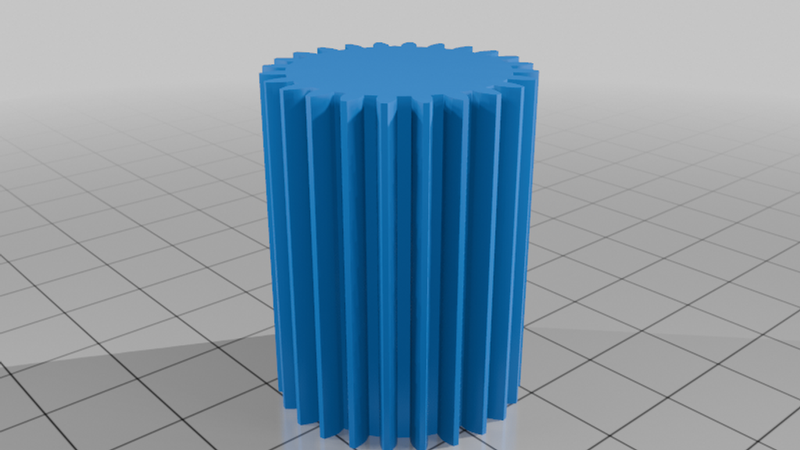
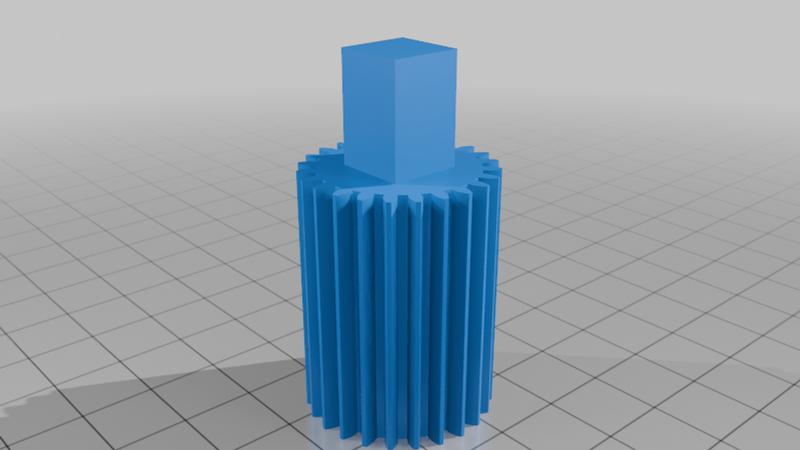
SunGear_1Stage.stl
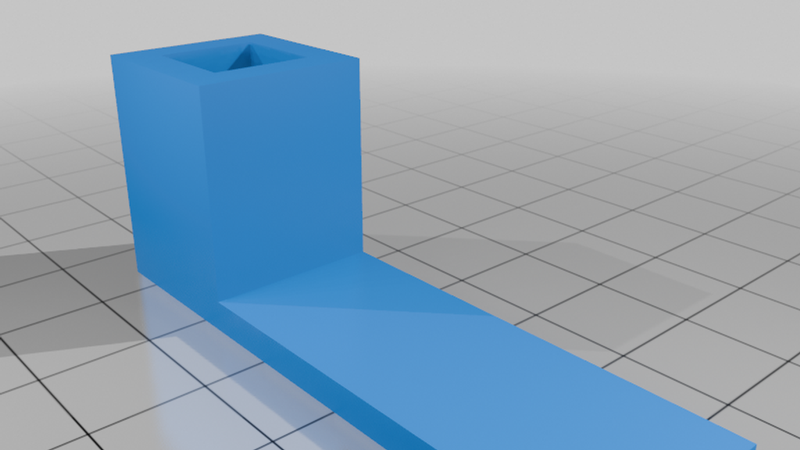
HandCrank.stl
Option 2 - 2 Stages (36:1)
Download:
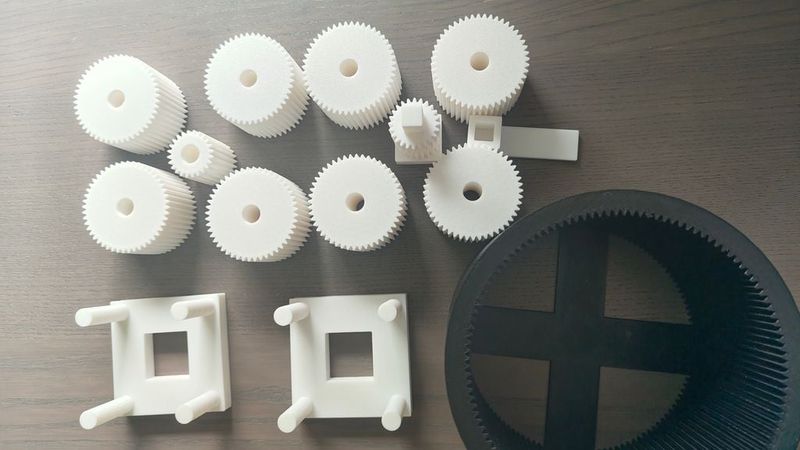
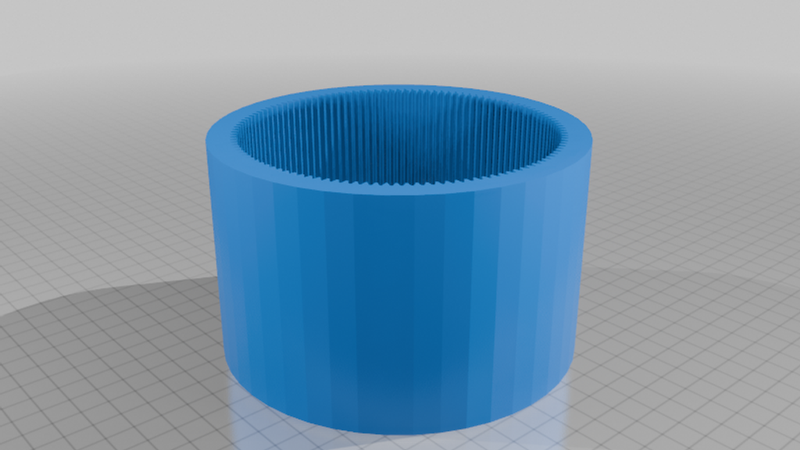
RingGear_85mmHeight.stl
8× PlanetGear.stl OR 2× PlanetGear_Bundle.stl
2× PlanetCarrier.stl
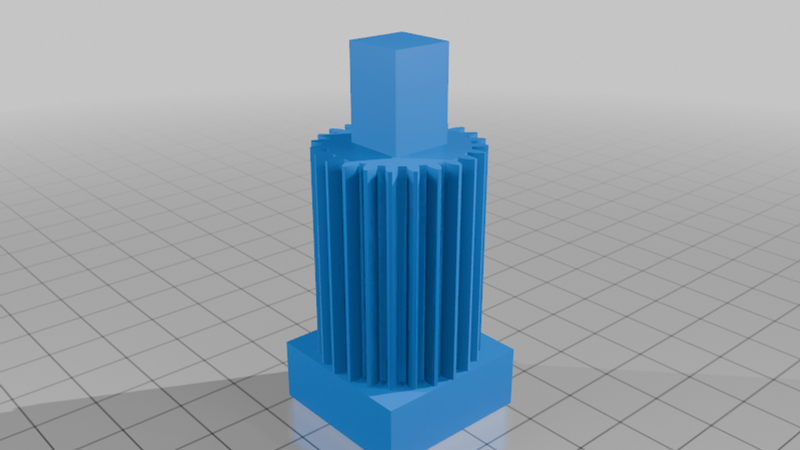
BottomSunGear_2Stages.stl
TopSunGear_2Stages.stl
HandCrank.stl
ASSEMBLY INSTRUCTIONS:
OPTION 1 - 1 STAGE
- Slide the 4 planet gears into the planet carrier.
- Hold the planet gears in place so they don't fall out, then slide the planet carrier and planet gears into the ring gear.
- Insert the sun gear into the center.
- Install the hand crank.
Note: The connection between the hand crank and sun gear can be quite tight, but it should still be possible to fit them together.
OPTION 2 - 2 STAGES
- Slide 4 planet gears into the first planet carrier.
- Hold the planet gears in place and slide the carrier and planets into the ring gear.
- Insert the sun gear WITHOUT the rectangle on top and cube on the bottom into the center.
- Assemble the second set of 4 planet gears into the second planet carrier.
- Insert the sun gear WITH the rectangle on top and cube on the bottom into the bottom planet carrier. The connection between the two can be very tight, so you have to apply some force to insert it.
- Slide the second planet carrier and its planet gears into the ring gear.
- Install the hand crank and you're done!
If you encounter any issues during installation, let me know and I'll try my best to fix your problem!
Also, feel free to remix this Thing to improve stuff!
If you print it, I'd love to see it! Feel free to post a make and let me know how it works.