"Ray" Heltec v3 Meshcore/Meshtastic Case for one 18650 battery

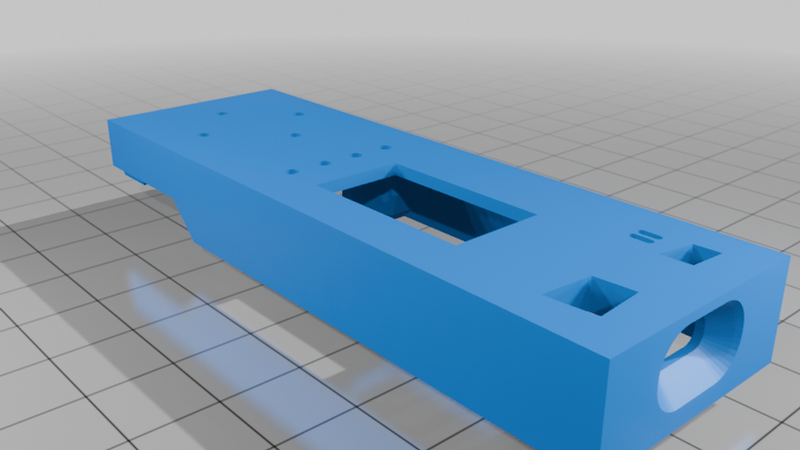

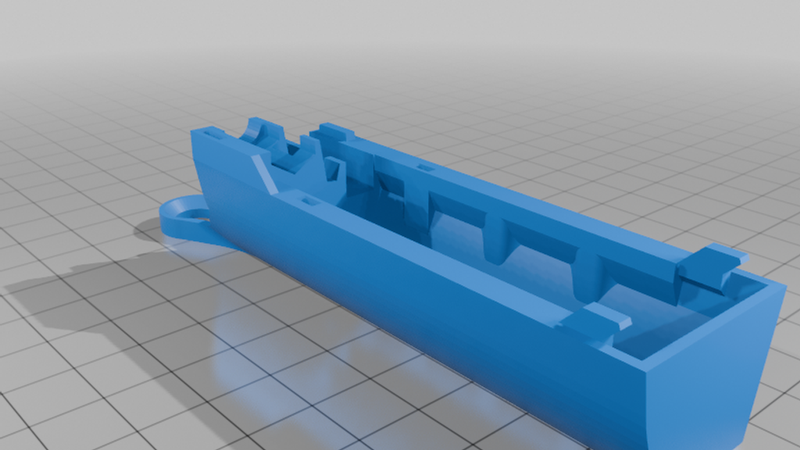
Description
Ladies and gentlemen!
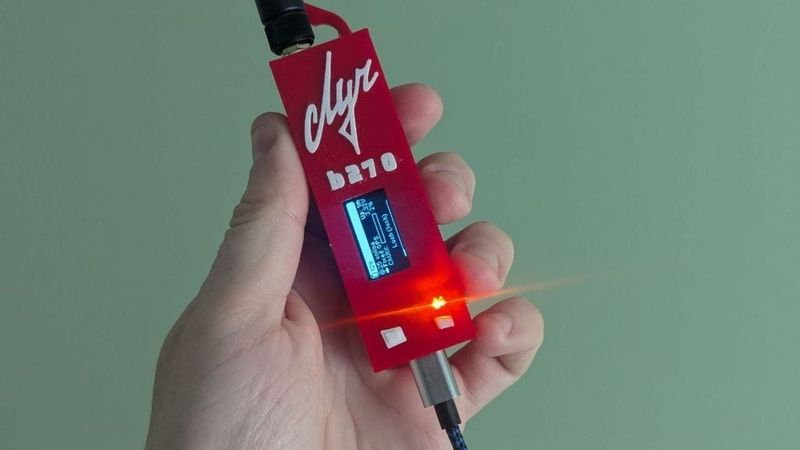
I present to you a 3D-printable enclosure for the Heltec v3 board and a single 18650 battery with a BMS.
And since I was making it, I wanted to fit as many features as possible into one enclosure, all of which I'd seen in other enclosures in one form or another (but never all together).
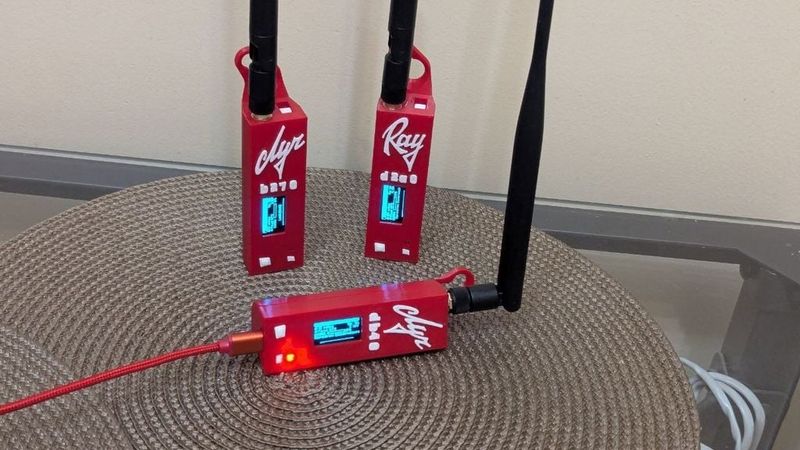
The finished case has its own name — «Ray» («Луч»).
So, what are the key features?
1. Space for the Heltec v3
2. Slot for one 18650 battery with a long-type PCM.
3. Space for a switch.
4. Antenna output on top.
5. Maximum use of internal space, minimal case dimensions.
6. The case is assembled from two halves, which require only one screw for fastening (in all other places, they are connected by protruding parts). Naturally, no rutex nuts or other such nonsense.
7. The device can be placed stably on a table either vertically or horizontally.
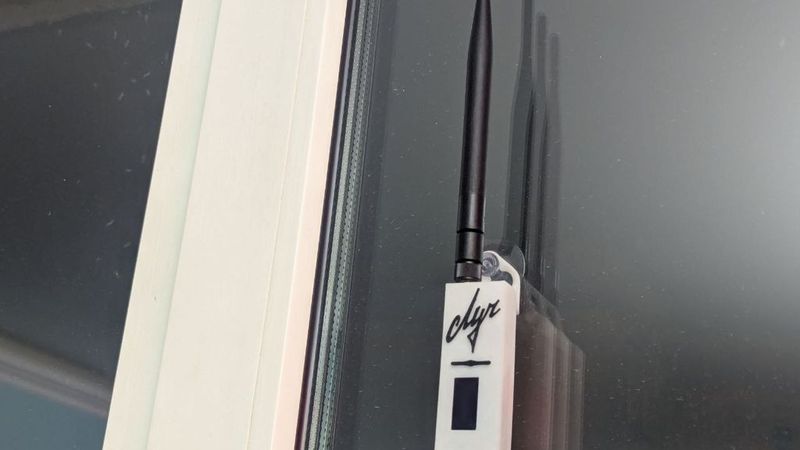
8. The device can be hung on a window with a suction cup (diameter 30mm), facing the user (see photo).
9. 3D printed without supports.
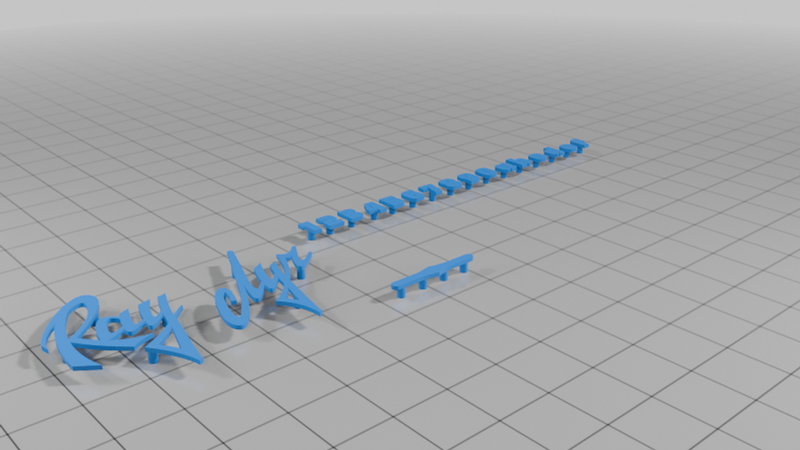
10. The control buttons are combined into a single piece (I was annoyed that individual buttons would fall out during assembly). Sometimes, the buttons are made as petals that are printed along with the case, but in my opinion, this is a completely unsavory solution. Two buttons connected by a jumper are ideal; they can also be printed out of cool plastic in a different color.
11. Attractive, interesting appearance.
I think I've succeeded. Of course, there's still room for improvement, but I got what I wanted and am sharing it with you.
To assemble the finished node, you'll need:
1. Printed case parts in two colors (I used red and white, but the choice is yours).
2. Heltec v3 board (standard kit)
3. Preferably a more robust antenna than the one included (I use an antenna with a rotating mechanism).
4. 18650 3.7V battery
5. BMS PCM battery protection board (I couldn't find the exact name, but look for something like "long" on marketplaces).
6. 12F1G3 format switch
7. One 4x20 screw
Tools:
1. Soldering iron
2. Solder paste
3. Blue electrical tape
4. Tin-lead solder
5. Tweezers
6. Nippers
7. File
8. Pliers
9. Glue (optional)
Don't forget to share your assembled devices if you ever make one!