Steelcase leap v2 headrest mod

Description
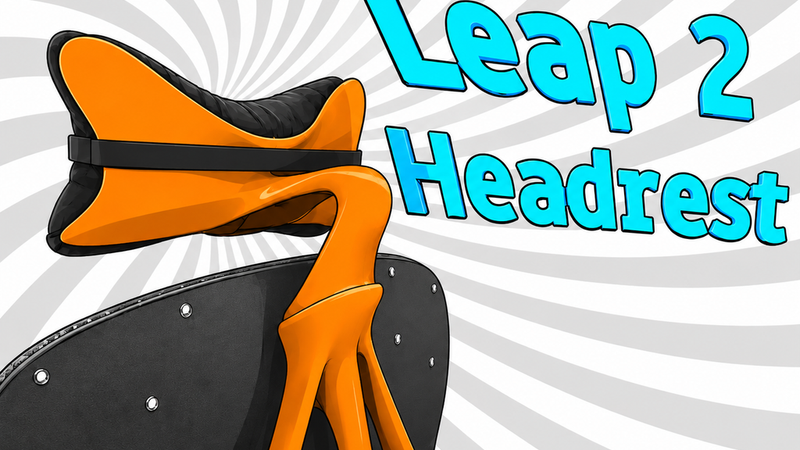
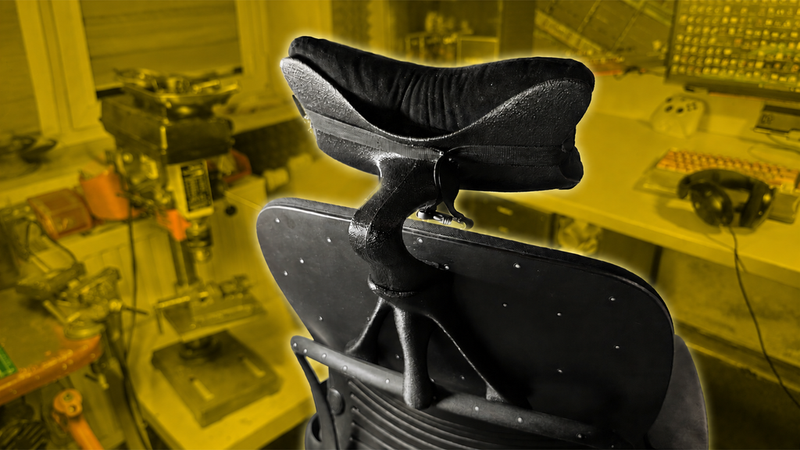
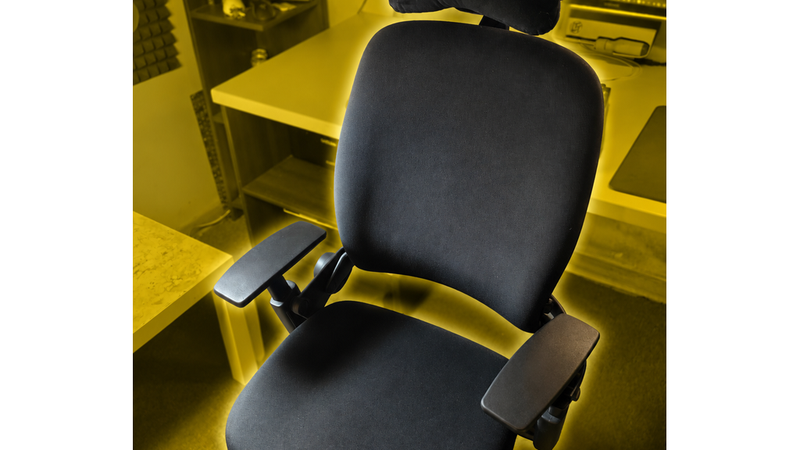
This is a non-adjustable headrest mod for Steelcase Leap v2 chair
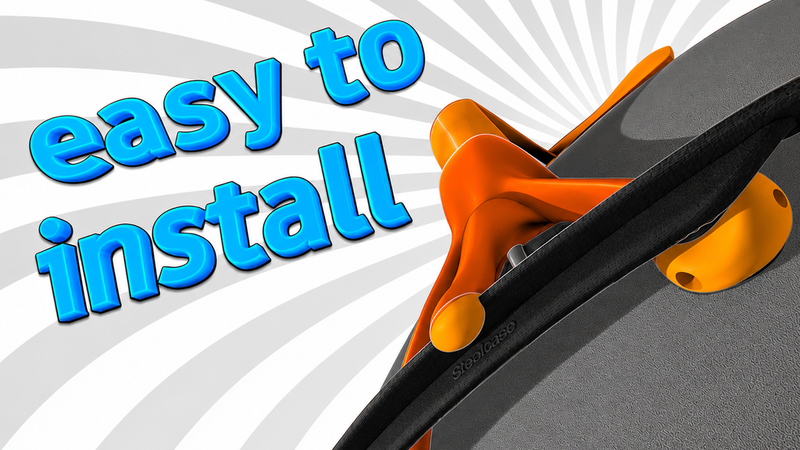
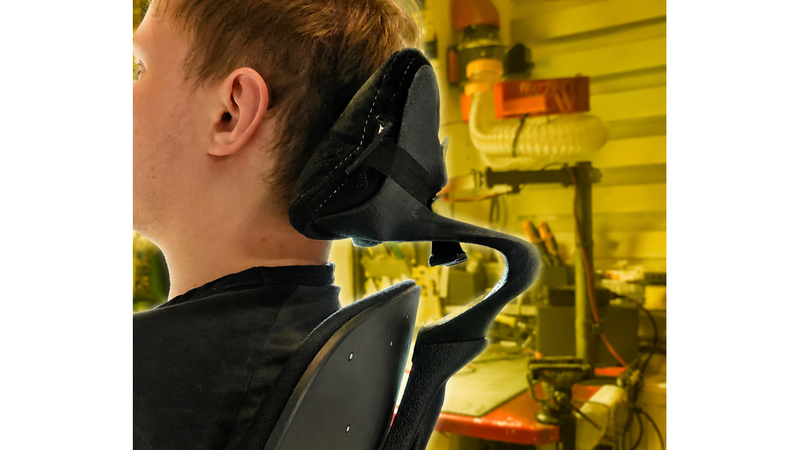
It can be installed and removed without leaving any marks or traces on the chair, i've been testing mine for a couple of months and there is 0 cracking or damage despite leaning on it heavily on daily basis.
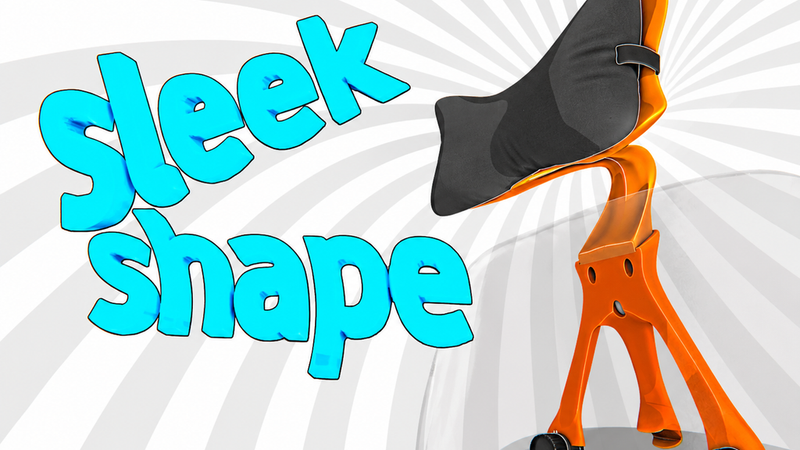
The organic curvy shape looks great, blends nicely with the rest of the design and prioritizes strength where it matters, so that the entire assembly weighs a little over 600 grams when printed with reccomended print settings
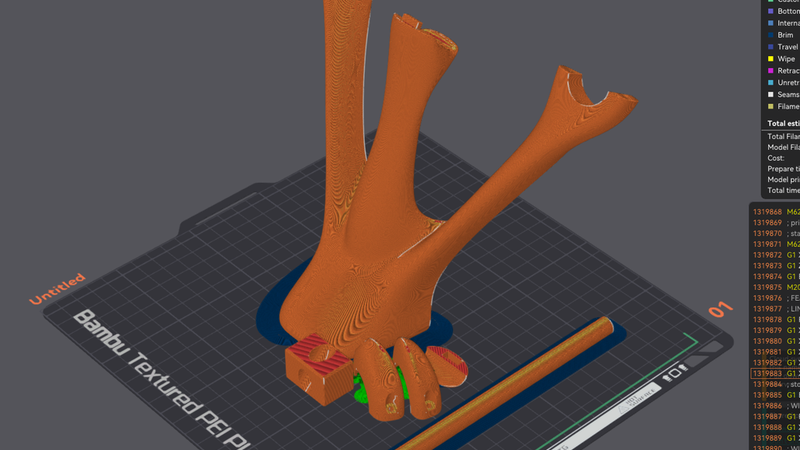
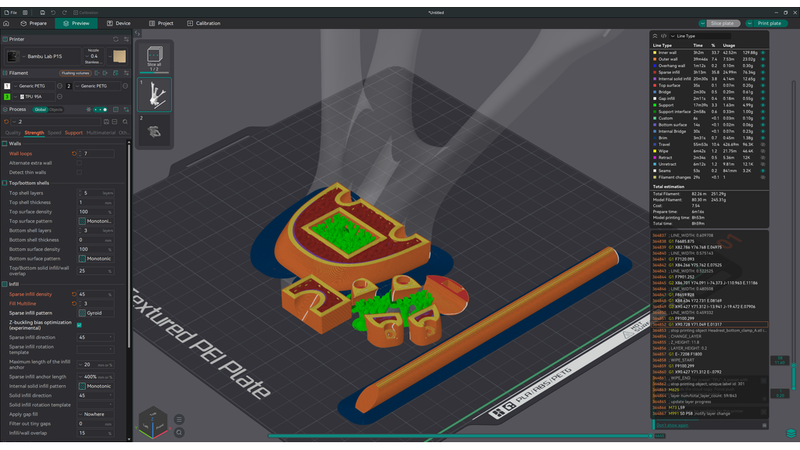
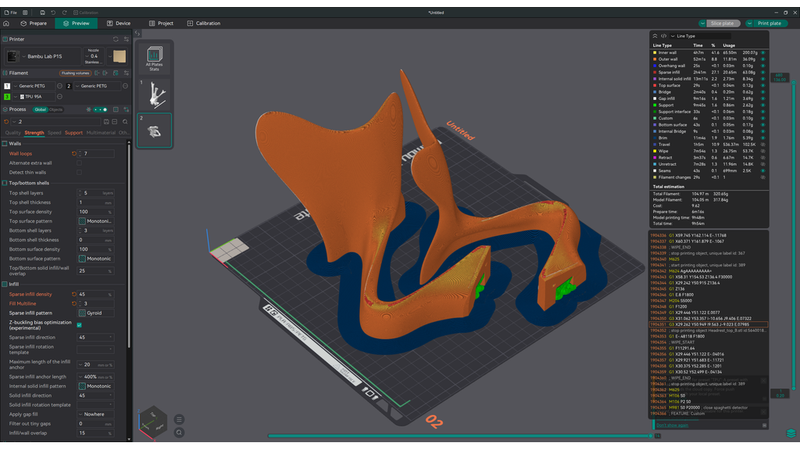
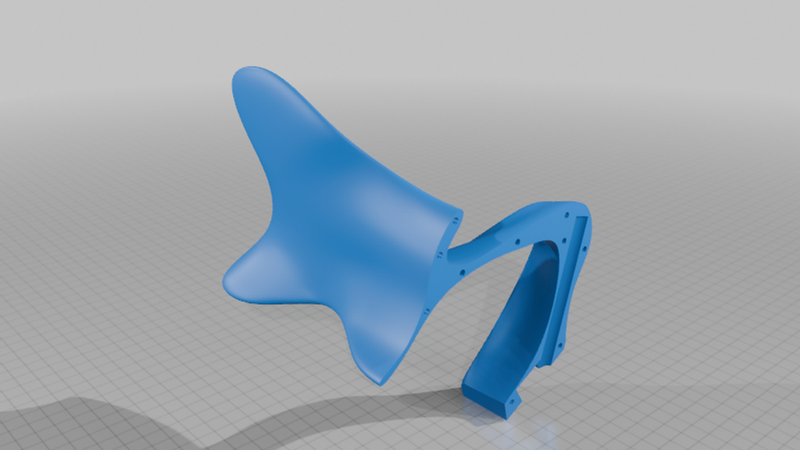
The three part design makes it so there is little need for supports and you can pick different colored filaments for the top and bottom parts for different aethetic needs. Each part is designed to fit within 256x256mm print area
Print all parts in the reccomended orientation and wall thickness as shown in the pictures, i printed mine with black petg but something matte would probably look nicer, of course match yours to the color / upholstery of your chair
Assembly:
Parts needed:
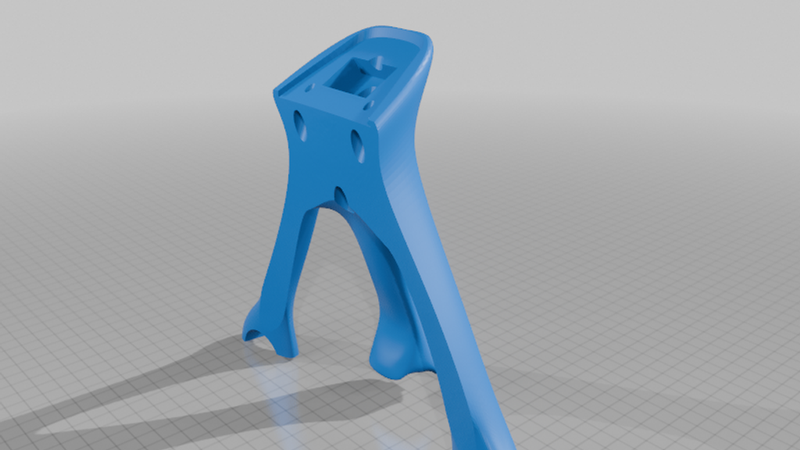
-bottom headrest
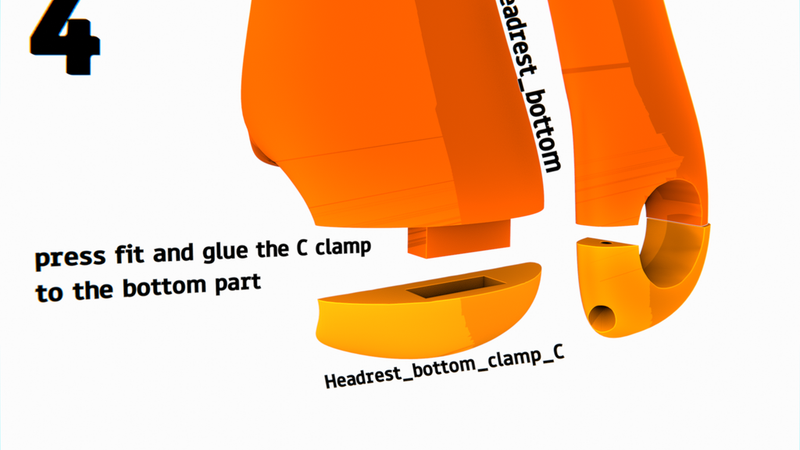
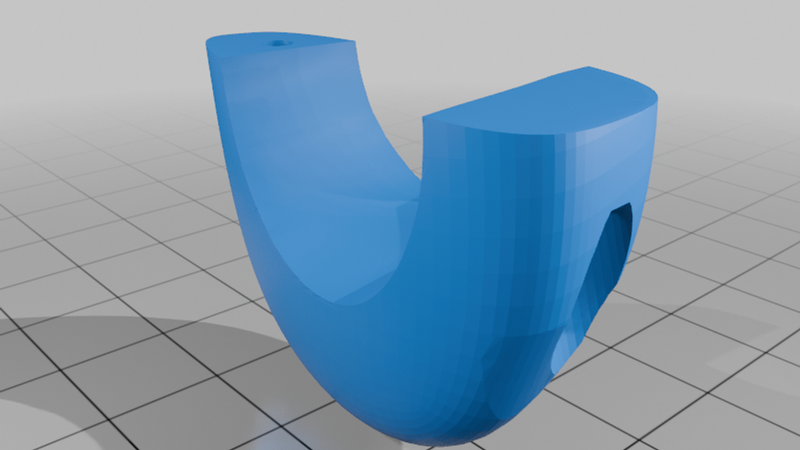
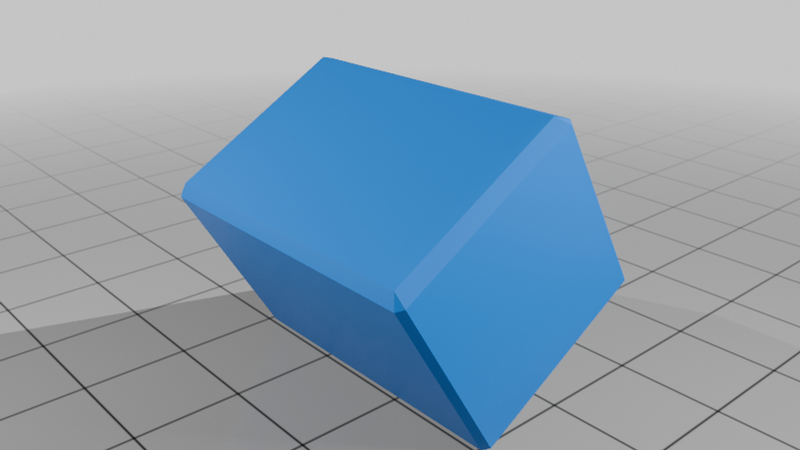
-Clamp A, B and C
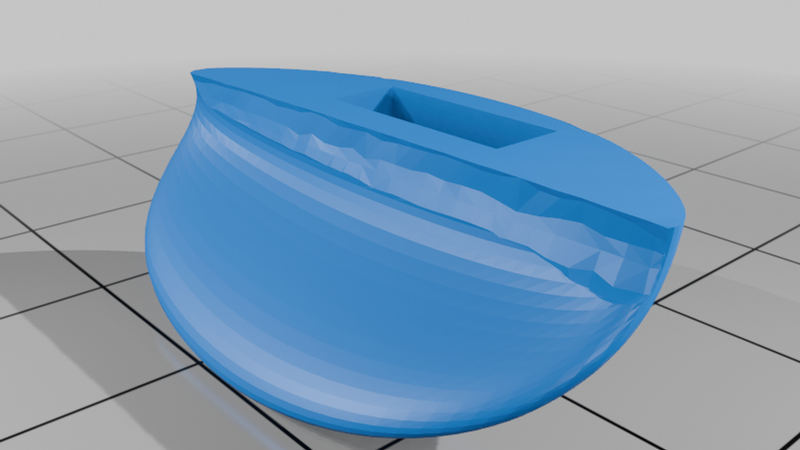
-Coupling block
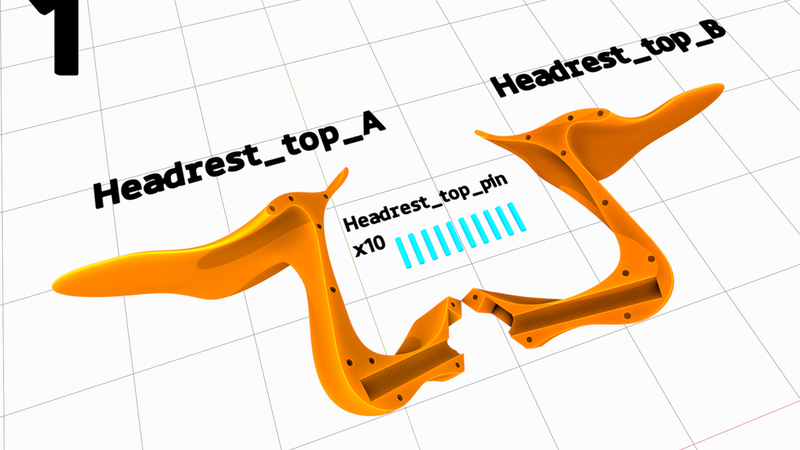
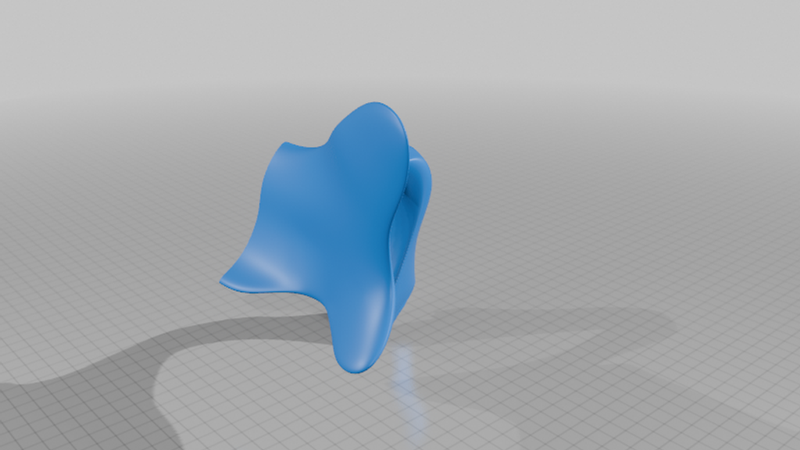
-Top headrest A
-Top headrest B
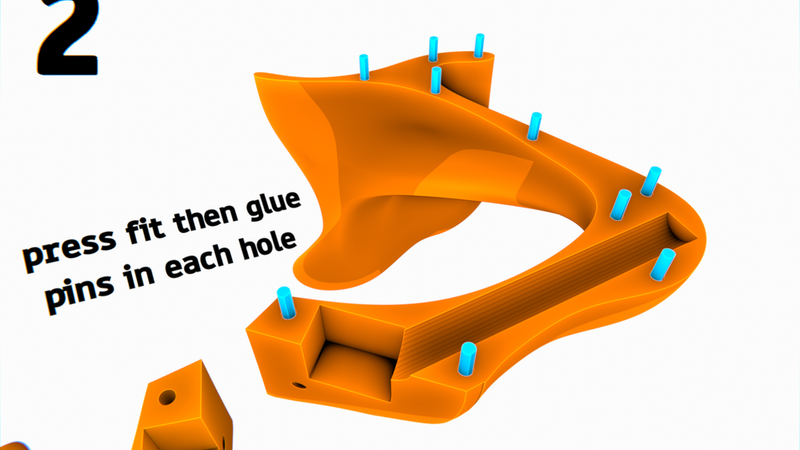
-10x Coupling pins
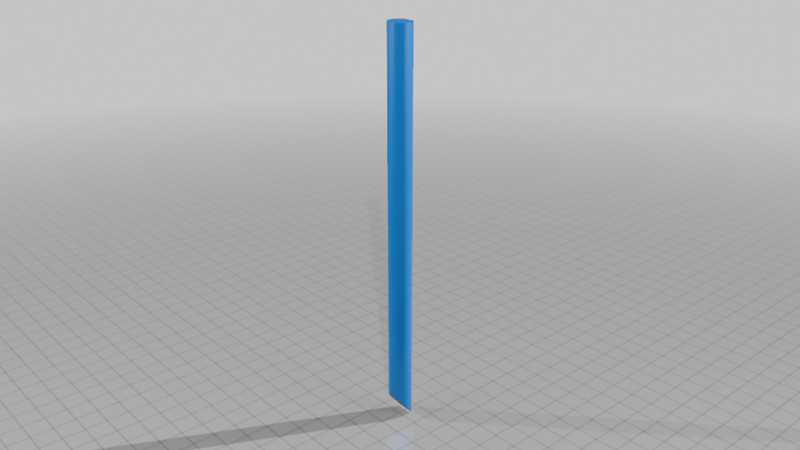
-(Optional) plastic rod - if you dont have a 10mm rod / threaded M10 rod
-6x ~4cm wood screw
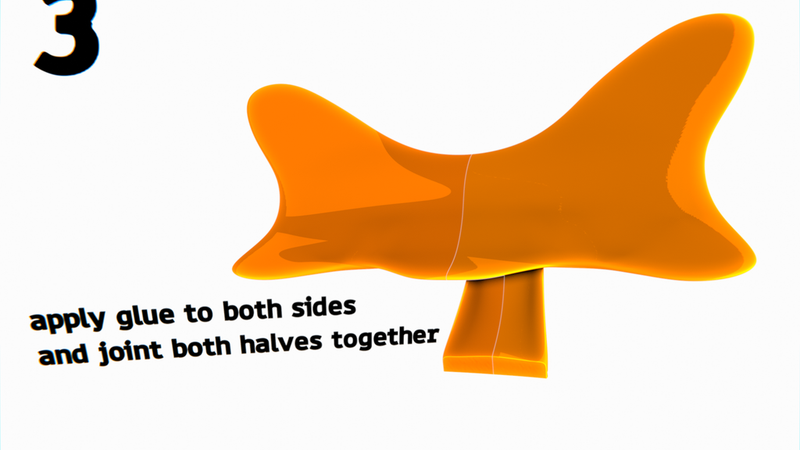
-First put the two top halves together using coupling pins and glue, CA glue will work best, but you can also use hot glue or epoxy.
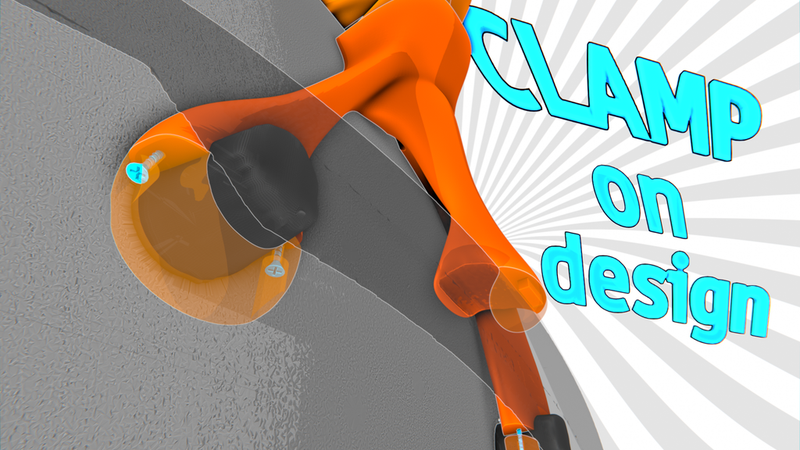
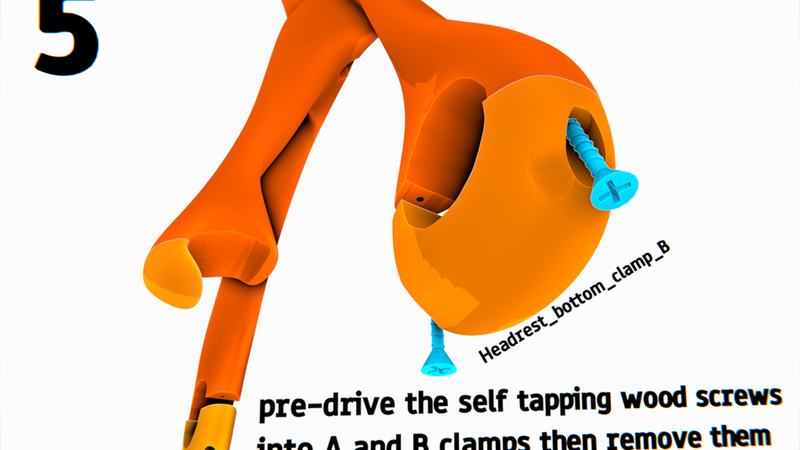
-then prepare the bottom part, there are two holes on the left and right bottom sides that will clamp the headrest to the back of the chair. Place A and B clamp on each maching side and pre-screw 2 x wood screws in each clamp, dont tighten all the way.
-remove the A and B clamp and put them aside
-install the C clamp in the middle, the reason it's a separate part is to avoid a tall unnecescarry support, test if the clamp sits flush when press-fit onto the square peg then apply a dab of CA glue and press-fit back on.
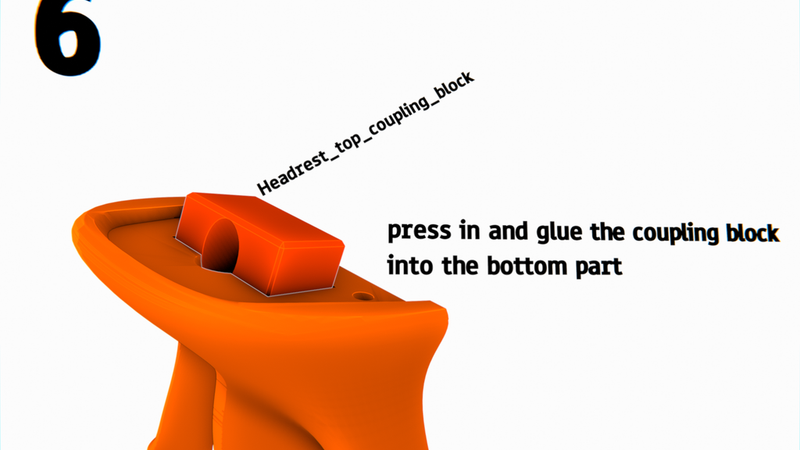
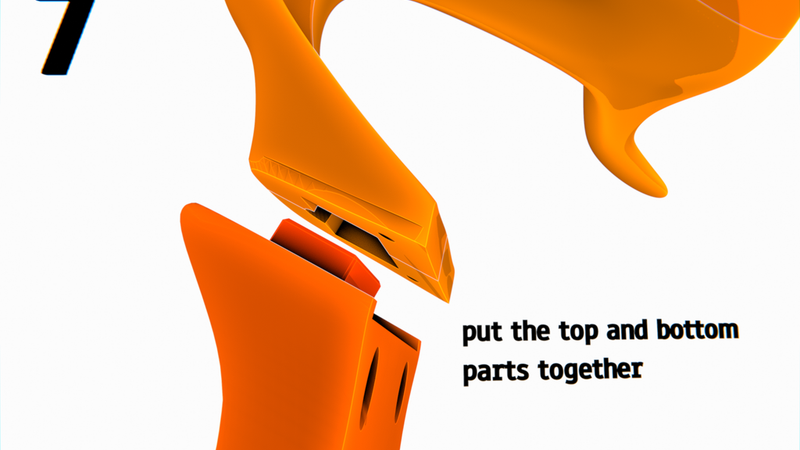
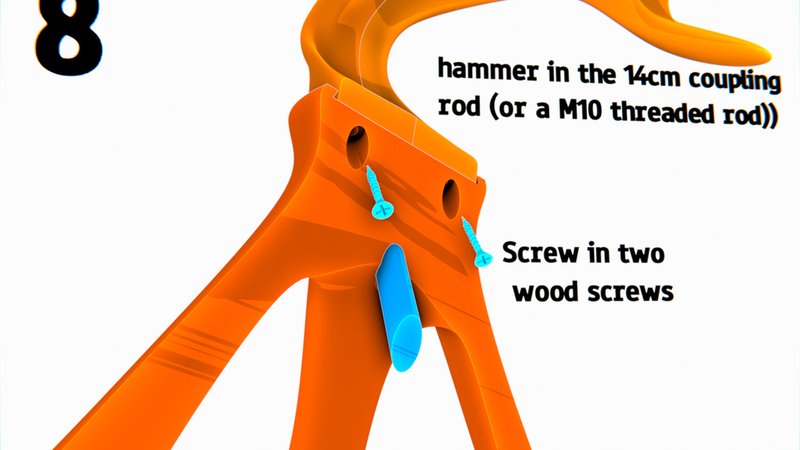
-press the coupling block into the bottom headrest part, make sure the rod-hole in the block lines up with the hole in the part, apply a dab or two of glue to keep the block in place, then put the top and bottom parts together and secure them together with four wood screws.
-optional but highly reccomended: a 10mm steel/aluminium rod can be hammered into the part to highly reinforce the top/bottom bond and stiffen the headrest, if you dont have one you can print a plastic rod and hammer it in instead. It wont be as strong but the perpendicular layer orientation will also reinforce the part
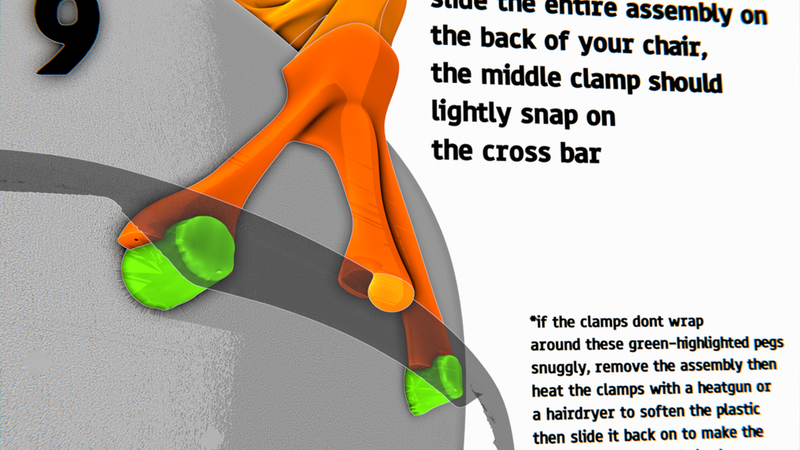
-now the assembly can be installed on the chair, first lower it onto the back of the seat and check the fit, the complex shape of the little pegs means you might need to soften the clamps with a heatgun / hair dryer then push it down so the plastic will conform to the pegs.
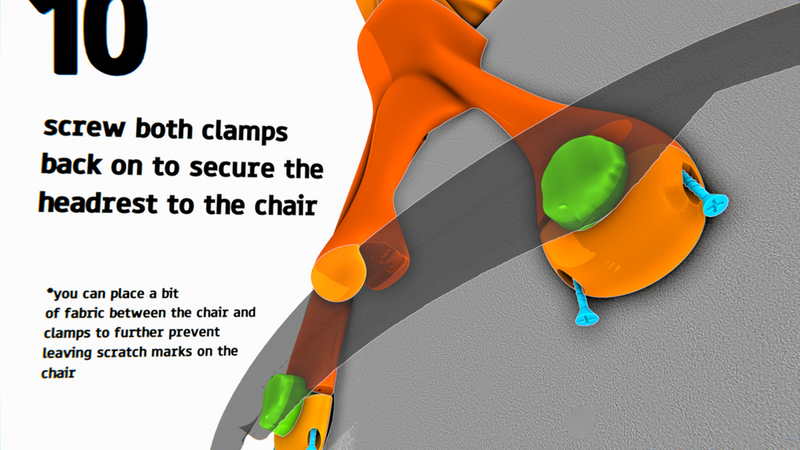
-rotate the chair forward to lay the ground to get better access from below, then screw the A and B clamps back on, tighten the screws so that the assembly sits flush with the back of the seat.
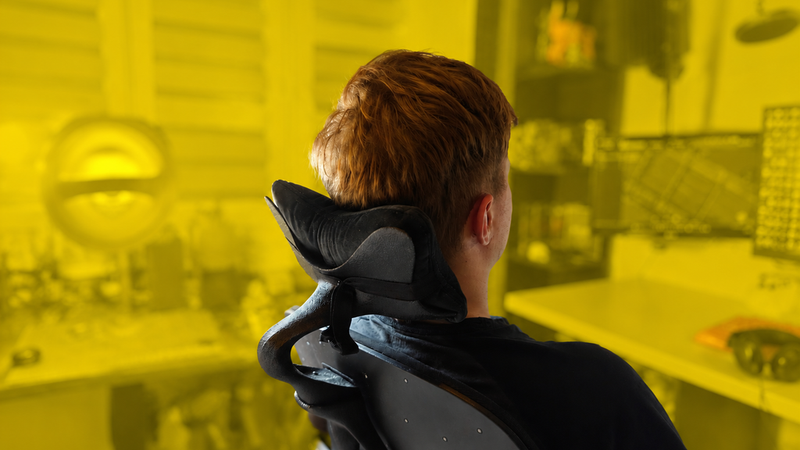
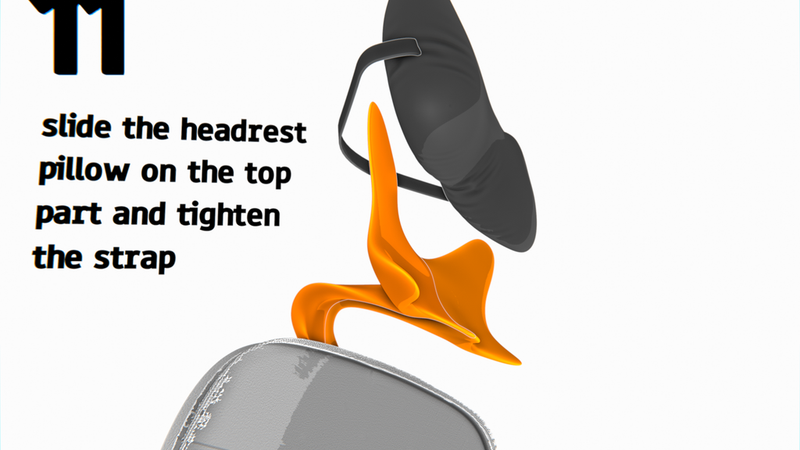
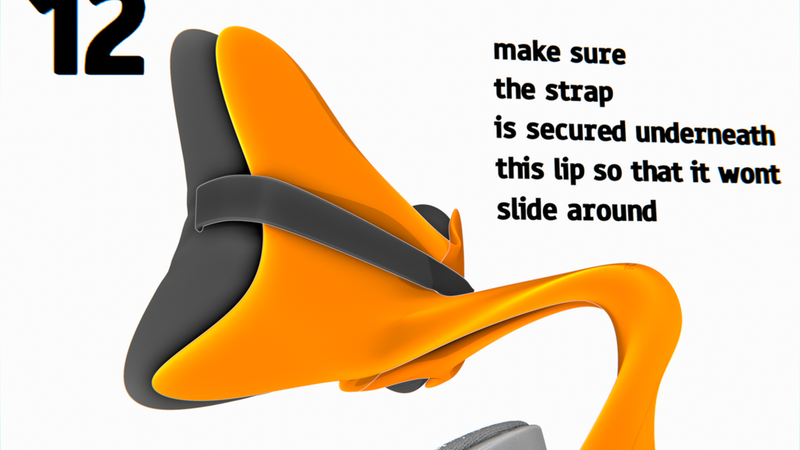
-now wrap a generic headrest pillow (repurposed corsair pillow in my case) tight around the top of the part, so that it wont move around when in use.
-Enjoy
Additional notes:
-while the design is non adjustable, the model is, i attached the .blend file with all the parts you can manually adjust to your preference, the final shape i landed on comes from brief trial and error but i am confident this shape should be comfortable for most people around my height (180cm)
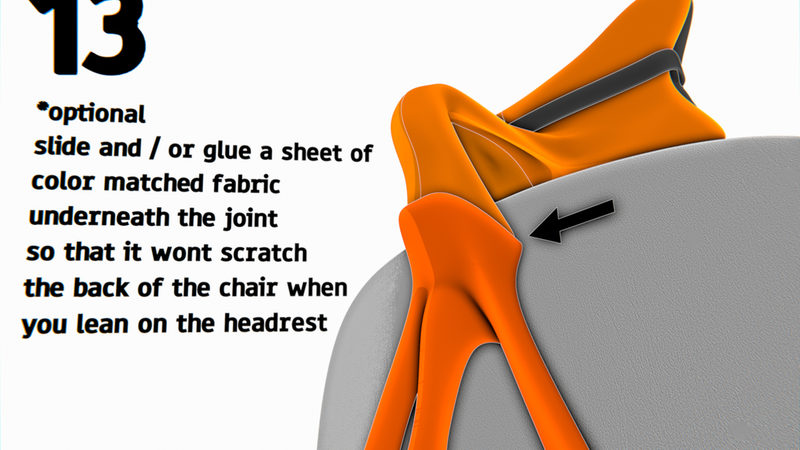
-If you're worried about leaving scratch marks on the body of the chair or if the headrest makes noises when you move around, try removing it and adding some thin padding where the headrest assembly makes contact with the chair body to prevent these effects. I used some dark cloth tape.
-you may need to tie a knot on the strap of your headrest pillow as it will probably be too long to tightly wrap around the top part of the headrest
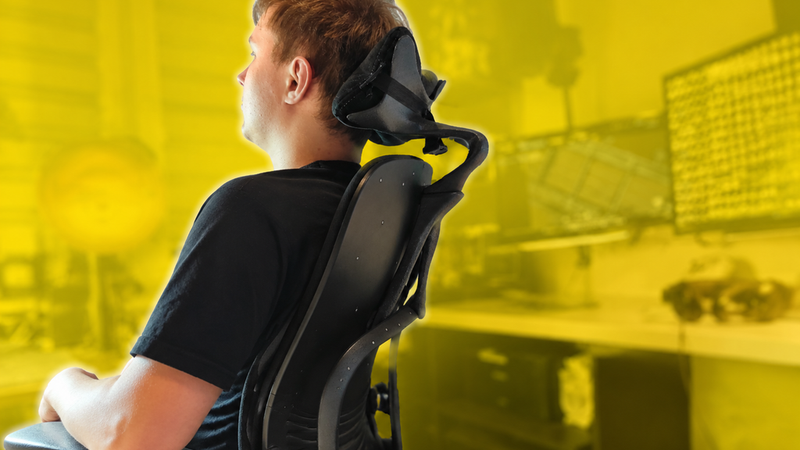
-as you can see in the real-life pictures i attached, the model does bend away from the back of the chair considerably when you lean on it heavily, however - this is not a bug, but a feature! this mild give is harmless to the headrest and provides additional cushioning as you lean on it.
of course if it's bending away a worrying amount that means your part may be about to snap so maybe have someone look at you from behind as you test the part for the first time,
*Some thumbnails were enchanced using chatgpt