CNC Spindle Mounted Sharpie Holder
Description
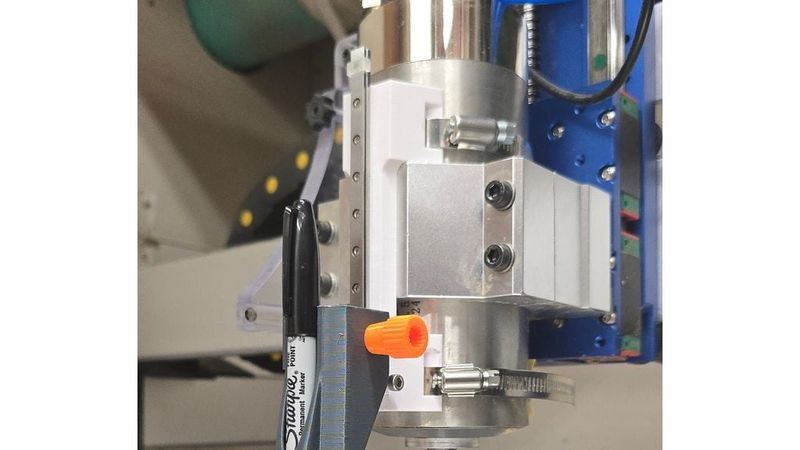
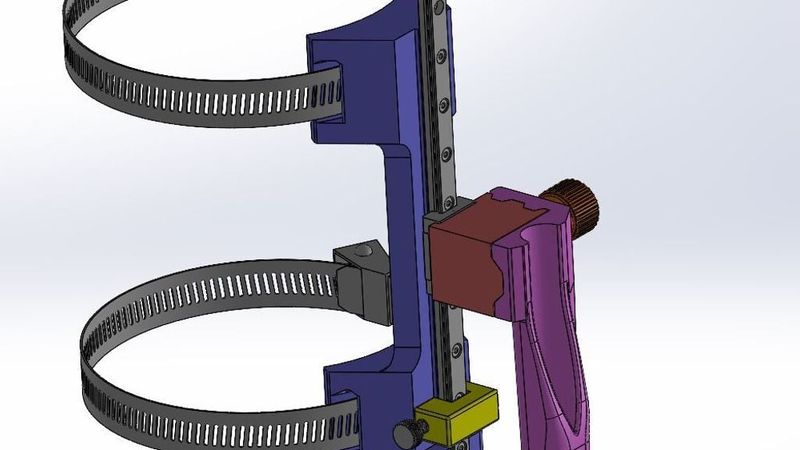
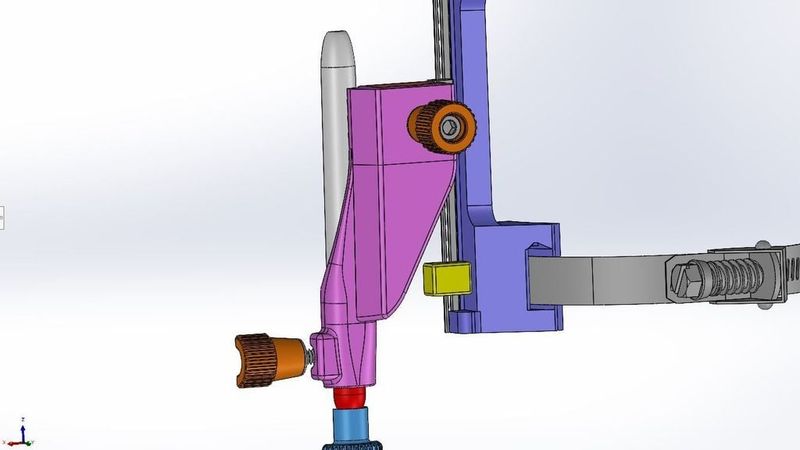
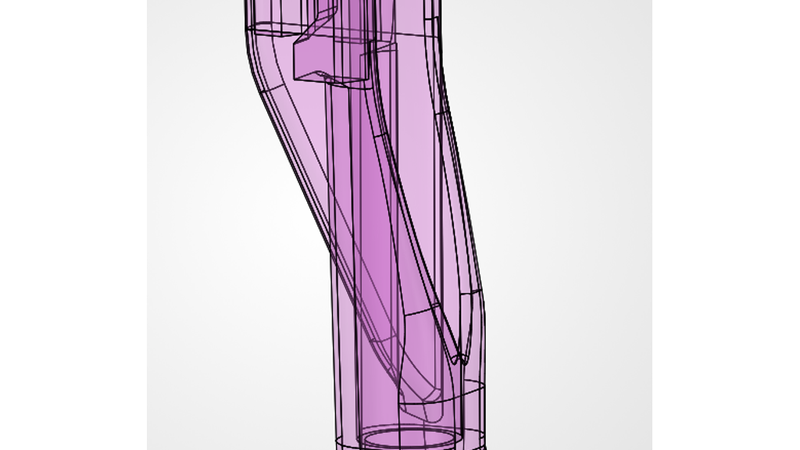
I was not happy with the available sharpie holders for my CNC machine, so I designed one. I have been using it for a couple of weeks now, and while it works just fine for the posters I have been making, there is still some wobble in the pen tip that I would like to get rid of. I even re-designed it with a very short pen holder and longer linear rail and support structure that extended below the spindle (not an ideal thing for a spindle attachment) to see if I could get rid of the wobble, and it did not help. This design uses a 150mm long MGN7 linear rail and MGN7C bearing slider.
So, I am currently in the process of re-designing it to use a MGN9 linear rail and MGN9H bearing slider, but that is on hold for now.
I have posted some videos of it in action, and I have been asked a couple of times to post the models for this one, so here they are. I would just like people to be aware that there is a bit of wobble in the system and that I cannot identify the cause of it. It could very well be my v-wheels on my CNC machine - I just don't know.
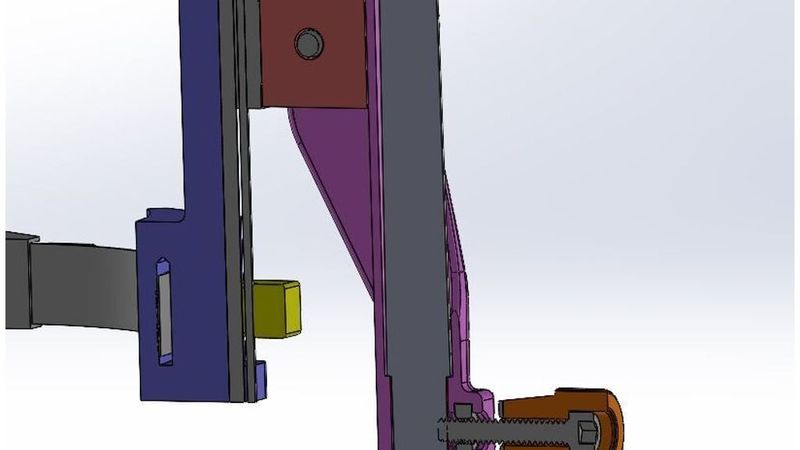
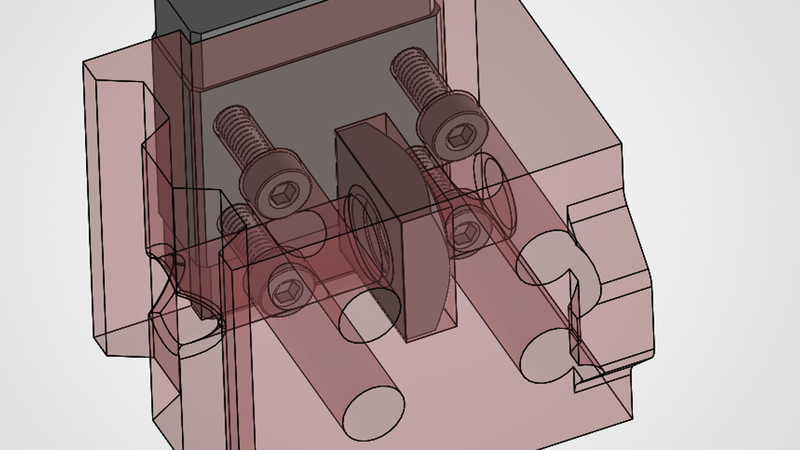
The MGN7 size uses M2 Socket Head Cap Screws (SHCS) to mount the rail as well as M2 threaded holes in the bearing slider. I bought M2 x 10mm 18-8 stainless SHCS and just cut down the ones for the bearing slider. I believe you would need 5mm-6mm long screws if you didn't want to cut them down.
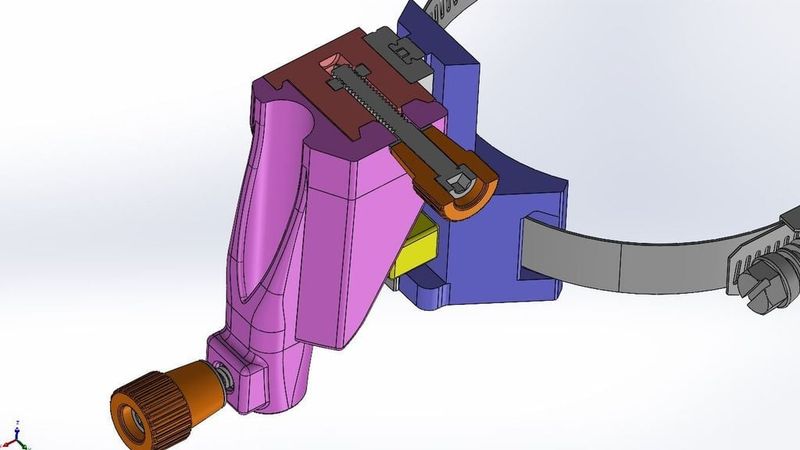
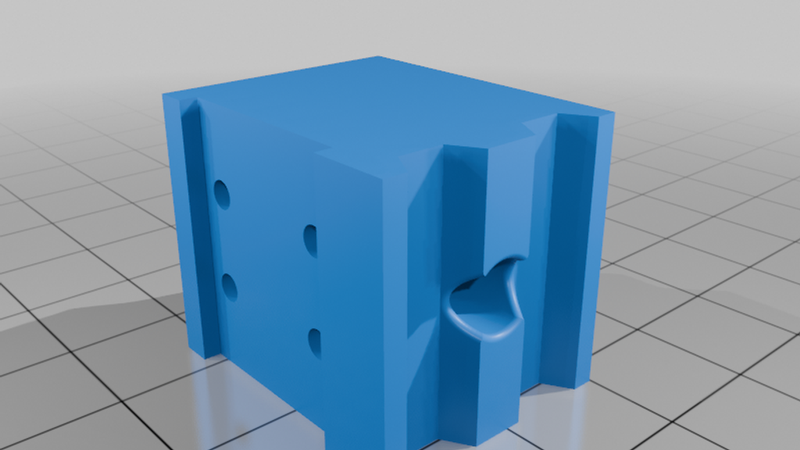
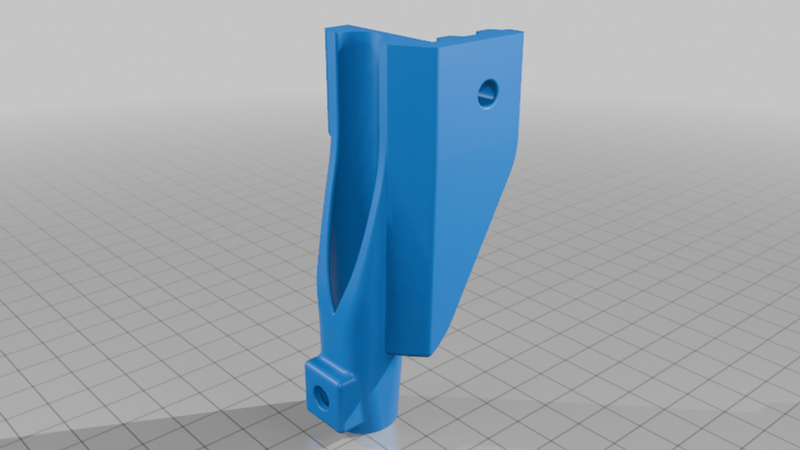
The design uses two #10-24 square nuts - one for the pen holder, and one for the mounting block that the pen holder attaches to. I bought 18-8 stainless steel ones from McMaster-Carr.
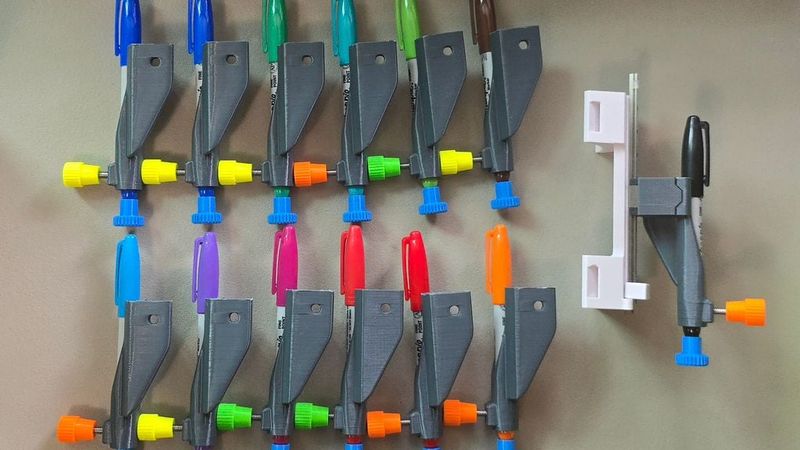
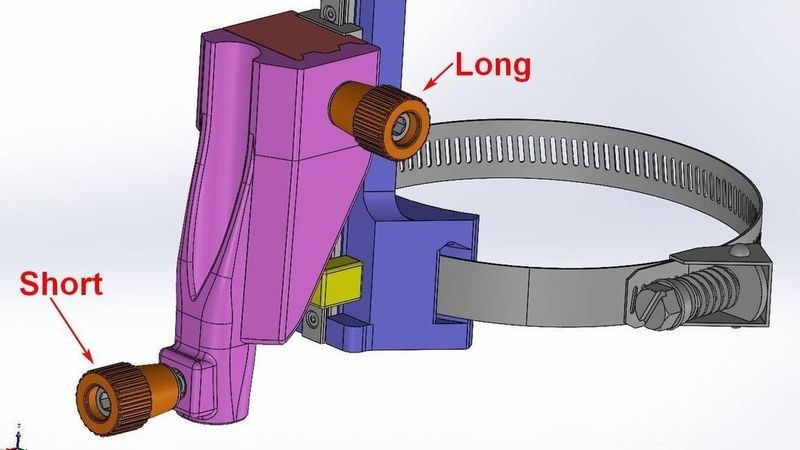
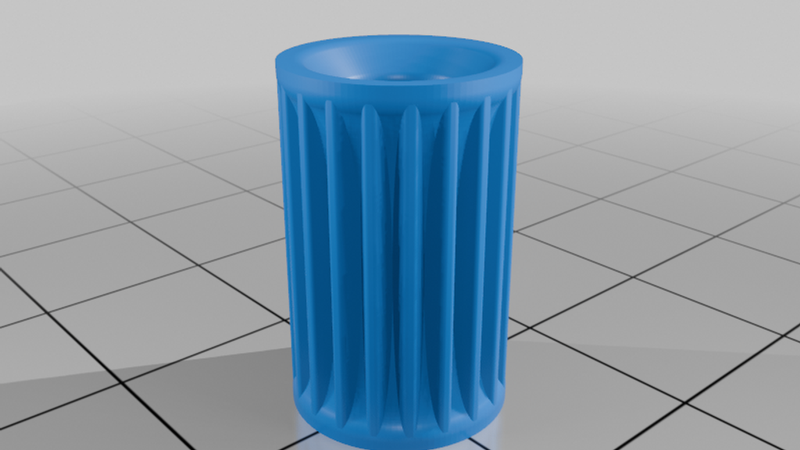
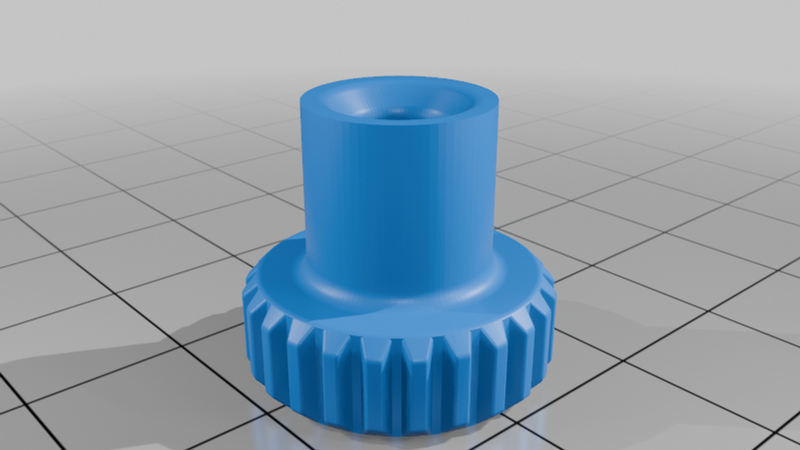
The two thumb screws are made with the 3D printed knob and #10-24 SHCS, and the SHCS is epoxied in place. I put some epoxy under the head of the screw, then insert it into the knob and pull it all the way through, then fill the cavity with more epoxy.
The thumb screw - labeled "Short" that clamps the sharpie in place uses a #10-24 x 1.0" long SHCS
The thumb screw - labeled "Long" that clamps the pen holder to the mounting block uses a #10-24 x 1.5" long SHCS
To properly install the square nuts in the pen holder and mounting block, the print must be paused to insert the nuts, then resume the print. The -06 should be printed up-side-down for best results. It is much more stable up-side-down and I did not have any problems printing it like that with proper support.
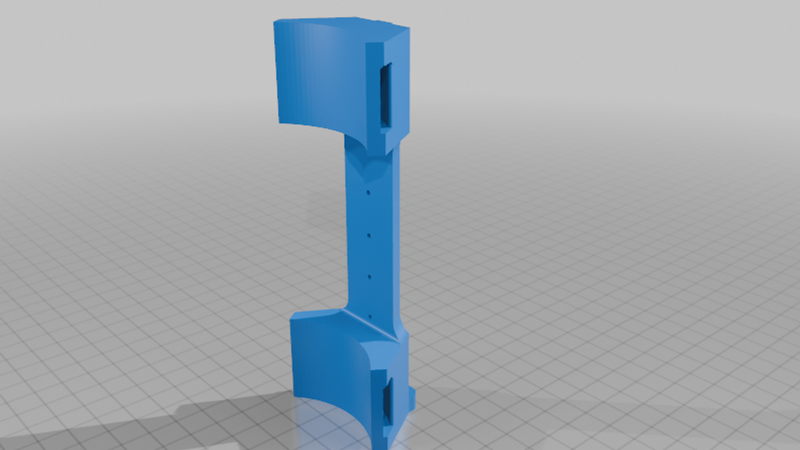
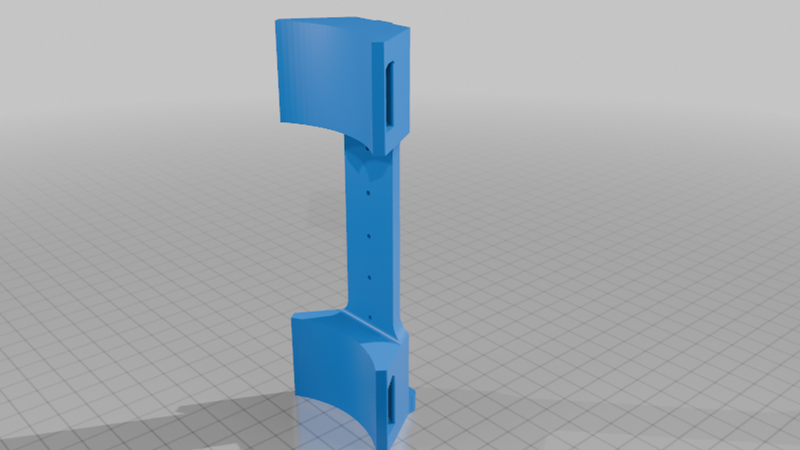
I designed the -03 originally for my 80mm spindle, but I made a 65mm version as well. You can use whatever hose clamps you want to secure it to your spindle.
Printed supports:
The -06 needs support - except inside the cavity where the square nut goes. You will have to force-block supports in there to keep it clear. It is a tight fit for the nut in there already.
The -04 does not need any supports. Both parts should be paused just before the top is put on the square nut cavities. There is very little room in there, and even one layer too low and you may have a collision.
The -03 needs supports except inside the channels for the hose clamps and holes for the M2 screws.
Videos:
Here is the pen swap, if you printed more than one pen holder. It's pretty quick, and the length doesn't change if you are using the same brand of marker - unless the tip is really abused. I set the Z to -0.1" for writing, and that has been fine.
Here it is writing a yard sale sign - the main reason I designed it.