Custom Under-Shelf COB LED Lighting System & XL4005 Case
Description
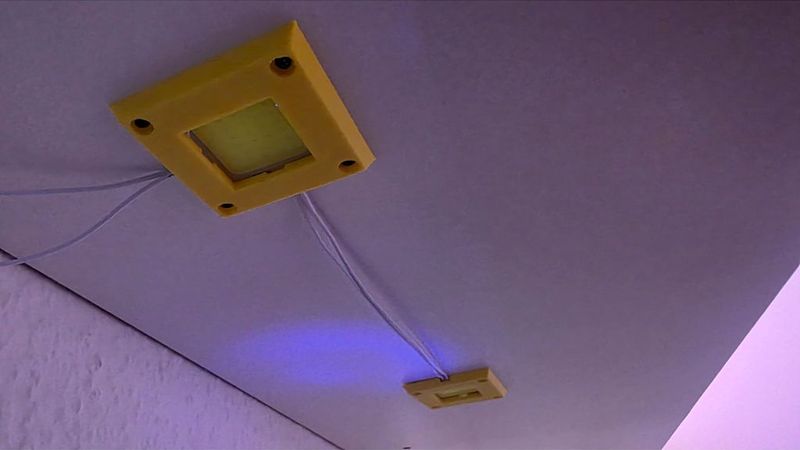
This project provides a clean, custom solution for adding ultra-bright lighting under a shelf or desk—perfect for a gaming setup, 3D printing enclosure, or workbench.
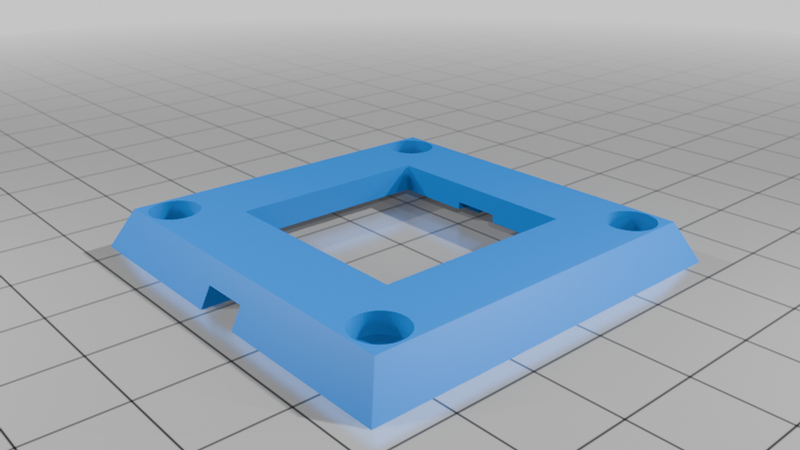
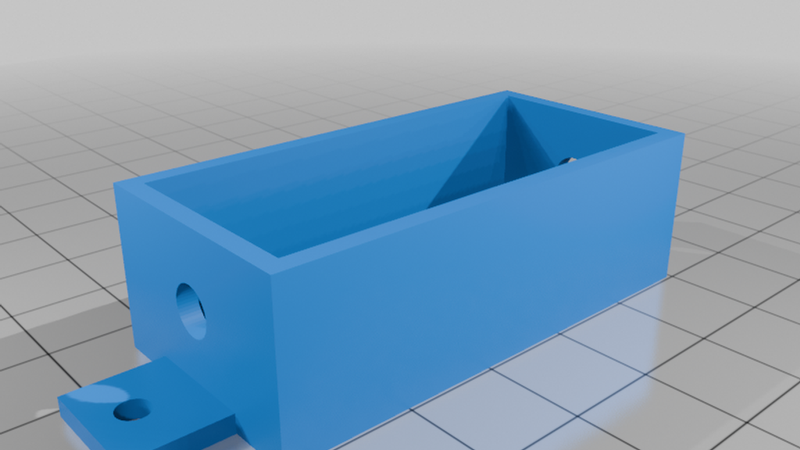
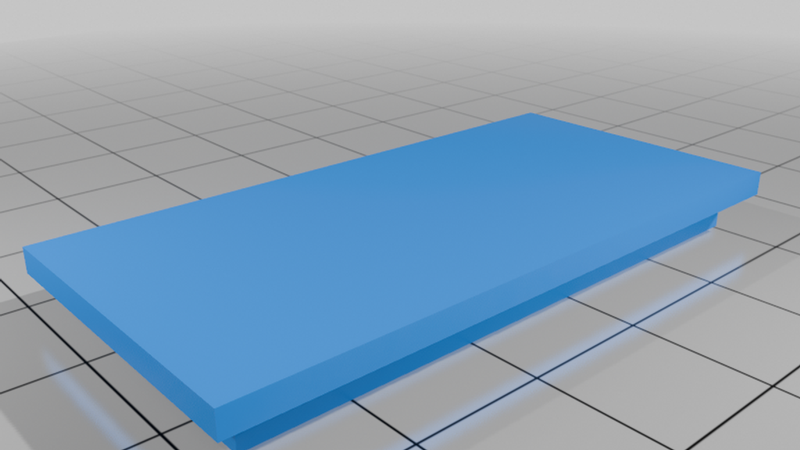
Instead of relying on standard, dim LED strips, this system uses high-power 3V COB LED panels mounted in custom 3D-printed snap-fit housings. To power them safely and efficiently, the design includes a protective case for an XL4005 5A step-down (buck) converter. This allows you to easily repurpose an old 12V or 24V power supply and dial the voltage down perfectly to the 3V required by the LEDs.
Hardware Required:
3V COB LED Panels (White light recommended)
XL4005 Step-Down Buck Converter Module (5A)
12V or 24V DC Power Supply
Wires and basic soldering equipment
Small screws for mounting the housings to your shelf/desk
Print Settings:
Printer: Creality Ender 5 S1 (Tested and prints flawlessly, but any standard FDM printer will do)
Rafts: No
Supports: No (All parts are designed to print flat on the build plate)
Resolution: 0.20 mm
Infill: 15-20%
Material: PLA is fine for well-ventilated areas, but if you drive the COB LEDs hard and they get warm, PETG is highly recommended to prevent the mounts from warping over time.
Assembly & Wiring Notes:
Print the required amount of LED holders and one XL4005 case.
Route your wires and solder them to the input/output pads on the buck converter and the LED panels.
⚠️ CRITICAL MAKER WARNING: Before connecting the 3V LED panels to the output of the buck converter, connect your power supply to the input. Use a multimeter on the output terminals and turn the potentiometer on the XL4005 until the voltage reads exactly 3.0V. If you send 12V directly to the panels, you will let the magic smoke out instantly!
Once dialed in, solder the LEDs, enclose the electronics in the printed cases, and screw them in place.
Happy printing and tinkering!