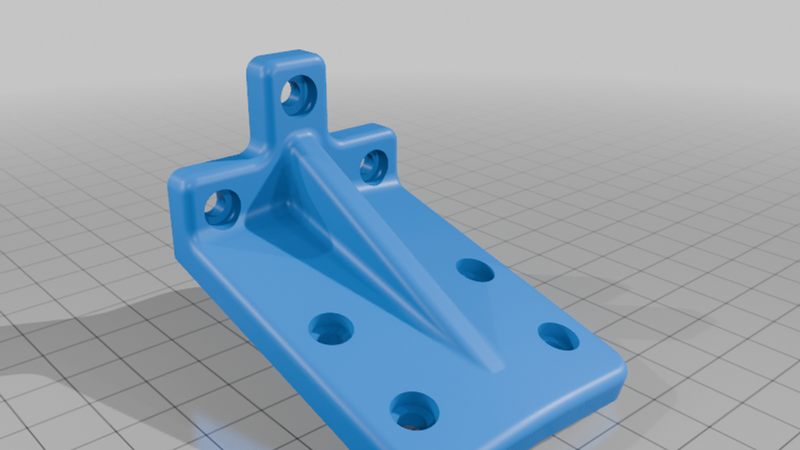
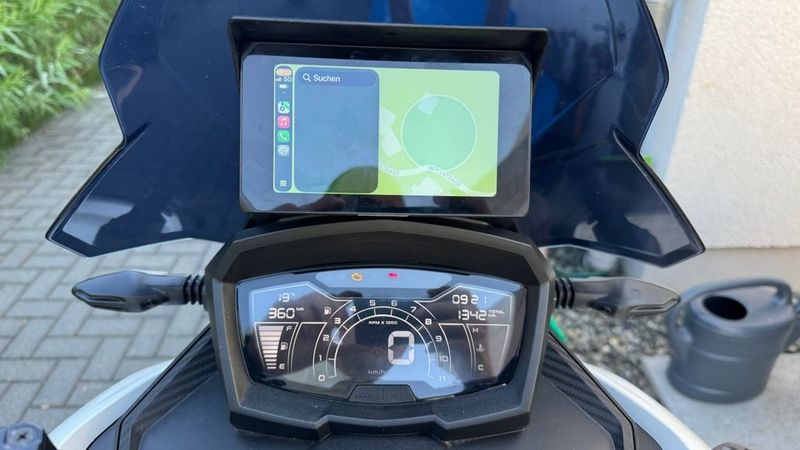
Aprilia SR GT Carplay Mounting Bracket
Description
Parts you need:
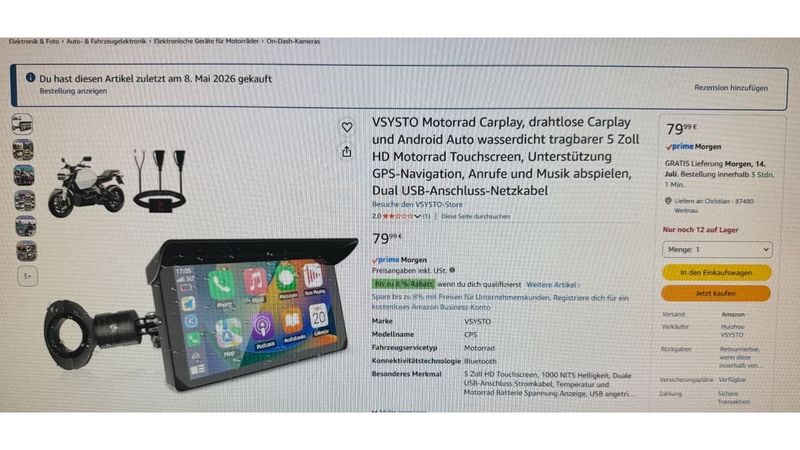
Display:
https://www.amazon.de/dp/B0FNWH5B4X?ref=ppx_yo2ov_dt_b_fed_asin_title
Screws:
4x M4x14 or M4X16 to mount the bracket to the chassis
4x washer for M4 screws
8x O-ring to put below the washer and between the bracket and the cover (to reduce vibrations)
4x M4 self-locking nuts or normal nuts secured with Locktide
3x M4x10 to mount the display to the bracket
Mounting instructions:
1. Remove the wind screen (4 screws)
2. Remove the little cover below the high beam (just clipped on)
3. Remove the 2 screws below the little cover (longer screws than the top one)
4. Position the bracket. Make sure the bracket is positioned centered to the cover! Position the bracket that there is enough space to the top
5. Drill the 4 holes 4mm diameter. Make sure you don't damage parts below by drilling too far. Stop drilling as soon as you are through!
6. Remove the remaining screws from the cover
7. Remove the cover (2 clipps on top)
8. Screw the bracket to the cover by using the above mentioned parts.
9. Drill a hole 16mm dia for the connection cable
10. Mount the display to the bracket
11. Connect the USB to the USB port left to the steering rod and pull the cable to the front where the cover sits
12. put the round connector from the display cable through the hole and connect to the USB cable
13. Install all parts in reverse order!
14. Done - enjoy!