powered livescope/forward facing sonar pole mount
Description
Only 2 grand for a Garmin spy pole.!!!.... Are you OUT OF YOUR ......... MIND?
So I decided to build this one for several reasons beyond the ridiculous price.
1. I run an Ulterra, which doesn't work with any of the powered Livescope poles made to mount on a trolling motor.
2. I wanted off the shelf (relatively cheap) components that were easy to replace.
3. I needed to have the option to use a foot pedal and manually point the transducer.
I wondered why no one (as far as I know) offered a setup like this. My guess is because manually turning the steering motor will eventually strip the gears --- so I set out to find a way around that.
Components (purchased in May and June, 2026):
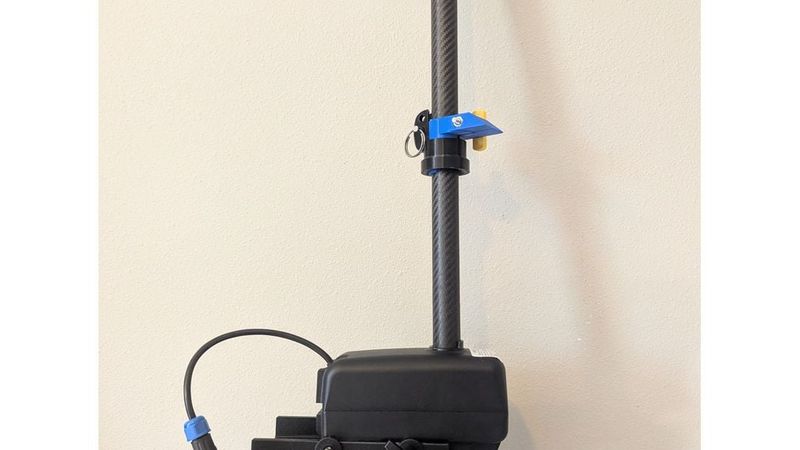
- Pole --1 1/8" diameter shaft required to fit the motor. -- The Summit pole I use fits perfect.
- Scotty 241L locking rod holder. This is the base everything else is mounted to. ($10 Amazon)
- Minn Kota Powerdrive V2 steering motor -- model number 2771826. ($110 eBay)
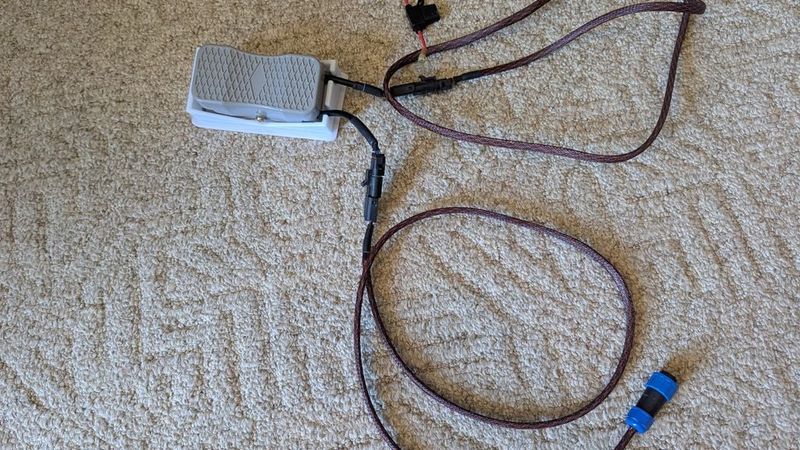
- Xuhal treadle two-way foot pedal, pre-wired. ($27 Amazon)
- Swivel mounting base for Cannon downriggers-aftermarket- ($14 Amazon)
- (2) 3/8" x 4" quick release pins for the motor mount ($21 Amazon)
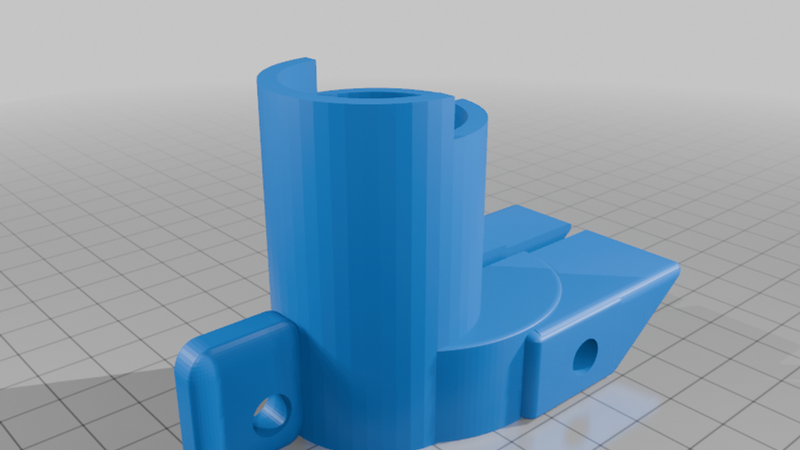
- ¼" x 1.5" quick release pin for the pole clamp.
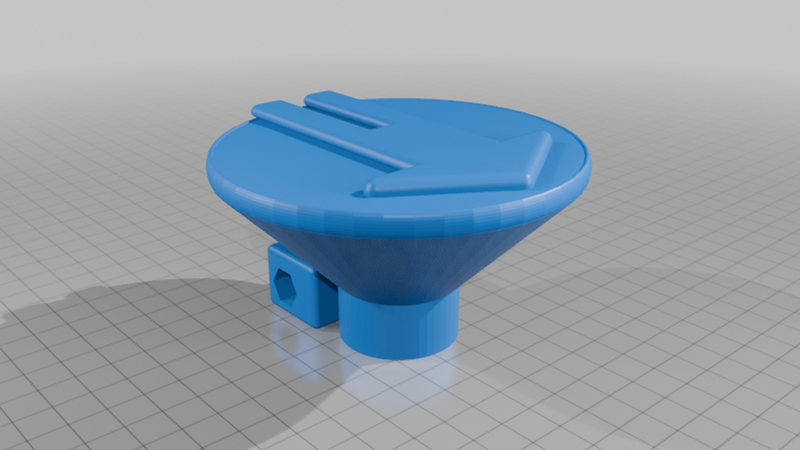
- (2) ¼" x 2" hex head bolts and nuts for the pointer top and pole clamp's knobs.
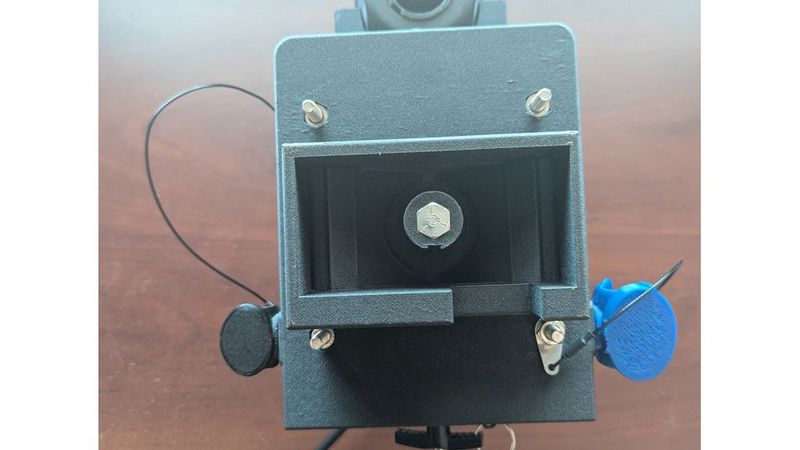
- 5/16" hex head bolt (~2.75" long) and nut for the base's post mount.
- Wiring and plugs
How it works
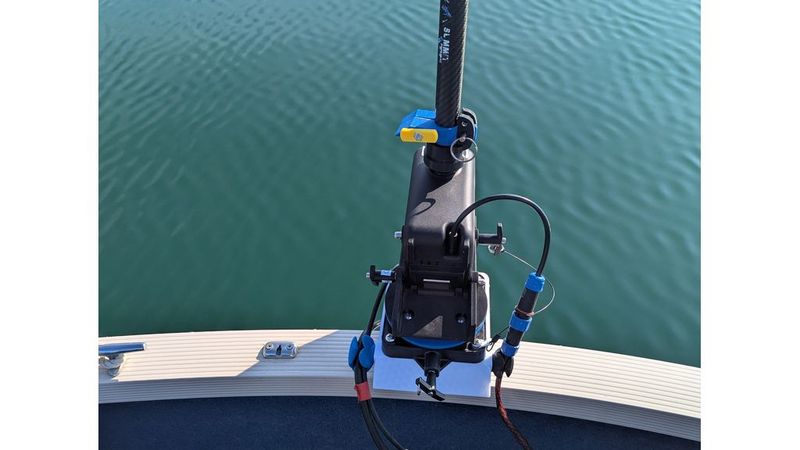
The Thing runs on a wired foot pedal, with two ways to turn the pole manually without damaging the motor:
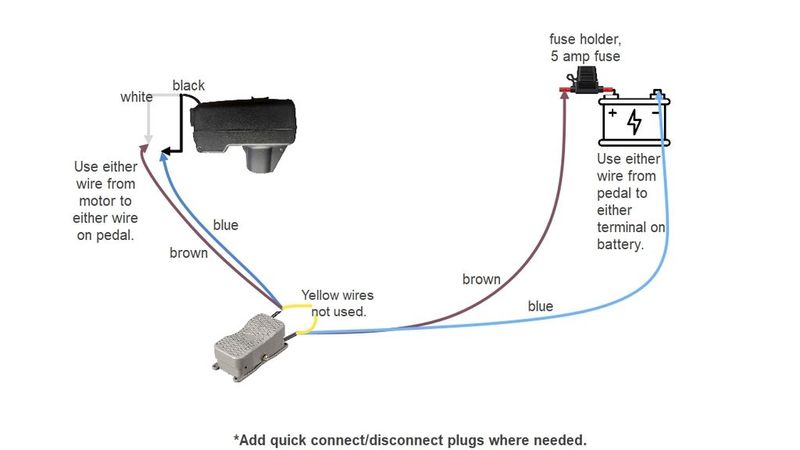
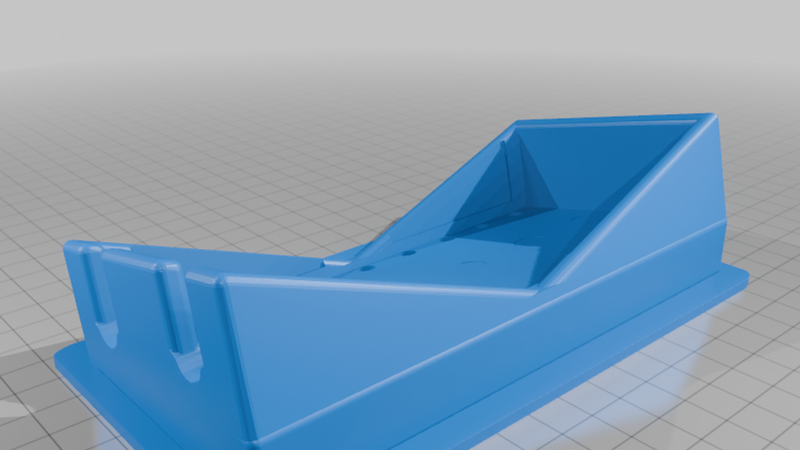
Powered mode (foot pedal): The pedal is a simple rocker-style two-way momentary switch. I've included a press-fit base that angles it down about 20 degrees. It works well other than the "click" is kinda loud. Wiring is fairly simple --- see diagram.
Manual mode: (Easy to do but hard to explain.)
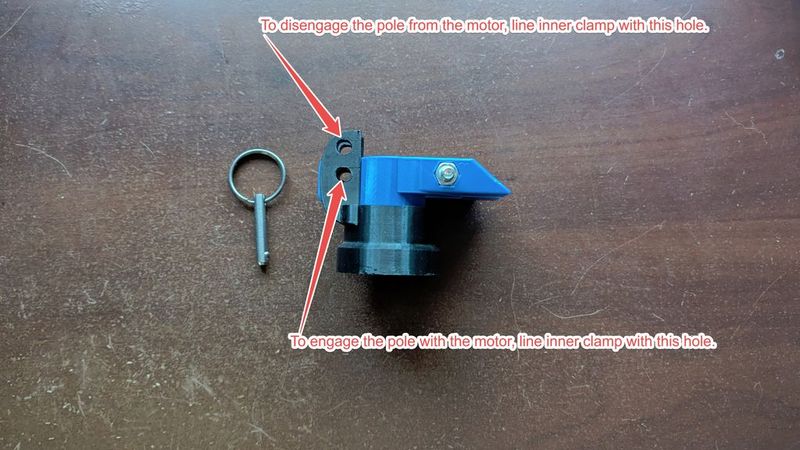
1. Quick disengage-- Lift the pole a half an inch and turn --- this disengages it from the motor, giving you roughly 270 degrees of free movement.
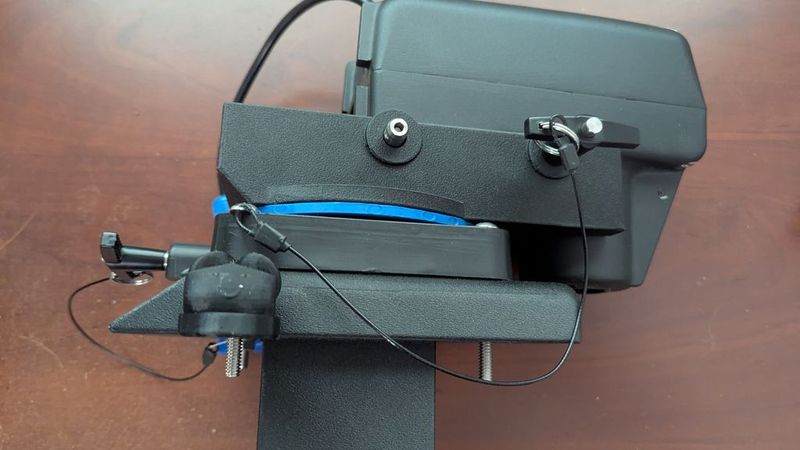
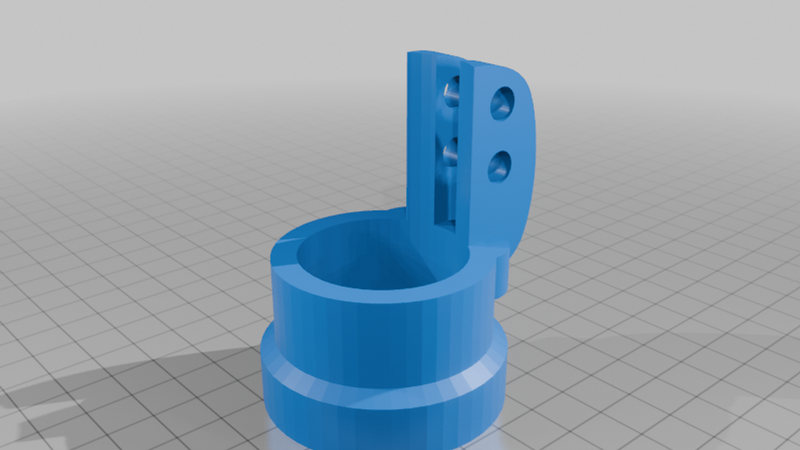
2. Full disengage-- Move the inner pole clamp up to the upper hole on the outer clamp and insert the pin. This drops the outer clamp down, fully disengaging it from the motor so the pole turns freely. To re-engage, remove the pin and move the inner clamp back down to the lower hole and reinsert the pin. See pics to hopefully make it easier to understand.
--------To clarify, you don't have to do any of that to stow or deploy the pole. They are just options.
Assembly:
The handle on the steering motor has to be removed. Drive out the roll pin to take it off.
Push in the 5/16" bolt into the post on the base and thread on the nut before mounting the swivel.
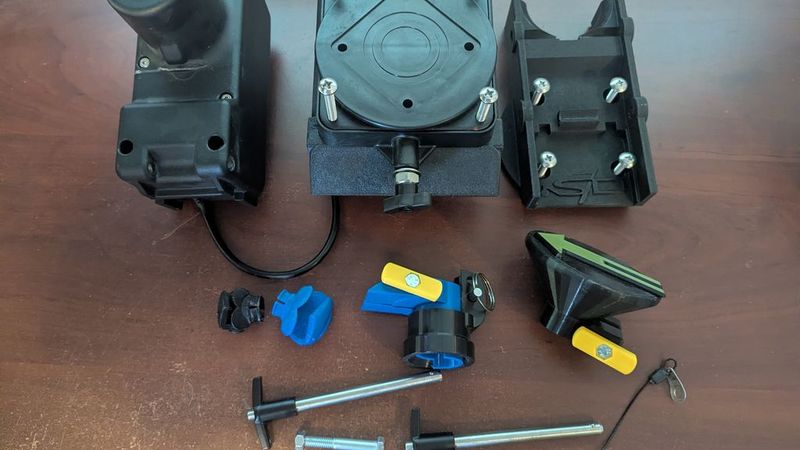
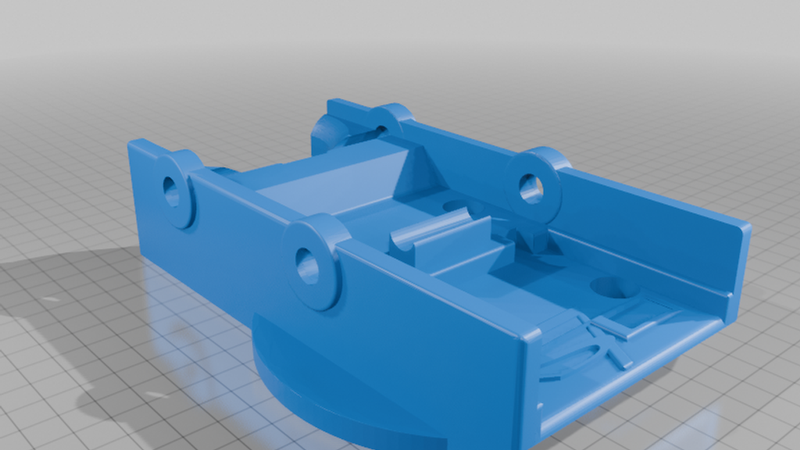
The downrigger swivel comes with all the screws/nuts needed to assemble the main unit. The shorter screws attach the motor mount to the swivel, the longer screws attach the swivel to the base (press the nuts into the bottom first). Skip the lock washers.
I think everything else will be self-explanatory from the pictures.
Notes:
- I contacted Minn Kota to find out the amp rating of the motor but they wouldn't answer the question. My understanding is that if it's obstructed in some way, it can pull 20-30 amps, so went with a 5-amp fuse to protect the pedal --without issue.
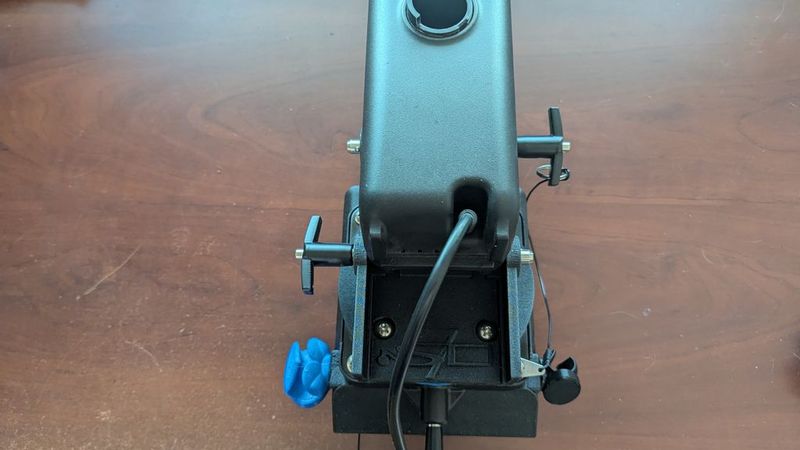
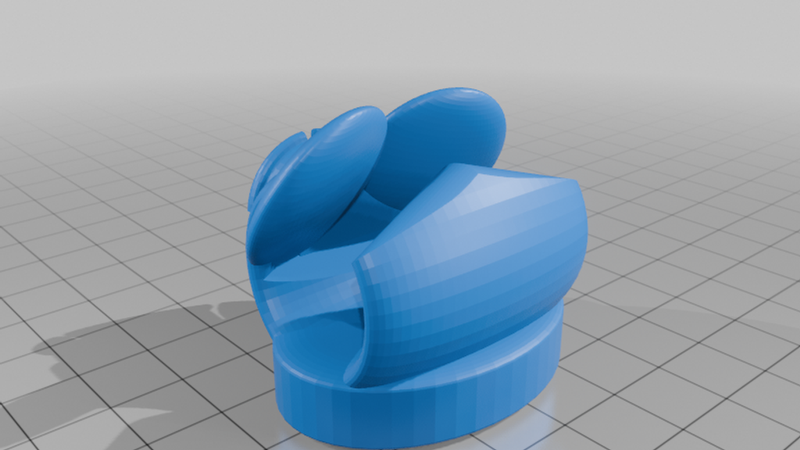
- The downrigger pivot can be used as is but there are two things about it I didn't like. First, it has a lot of play. Second, the knob you pull to allow it to rotate is spring loaded so you have to keep it pulled back while turning. It's awkward and a PIA. I made some conversion parts to fix all that if you're interested. https://www.thingiverse.com/thing:7380458 (The first picture has the converted swivel mounting base.)
- The foot pedal is only water resistant.
- To tilt the motor up, pull the outer pin only. If you pull the inner pin the whole thing can flop into the water and then you'll be using a lot of words that begin with g-d and f.
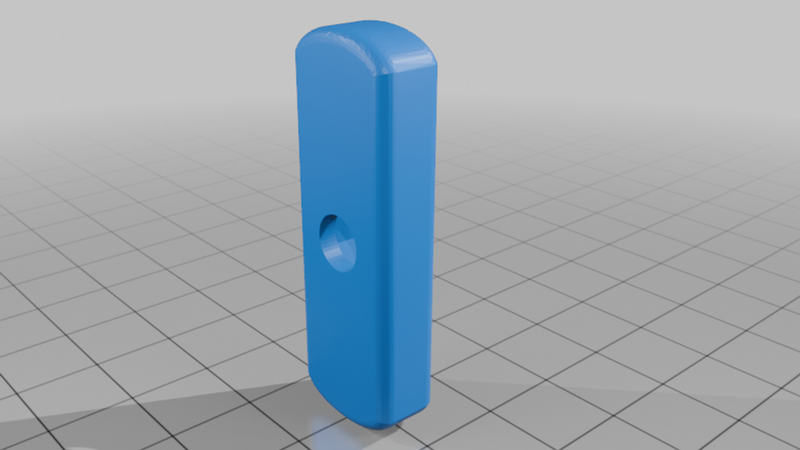
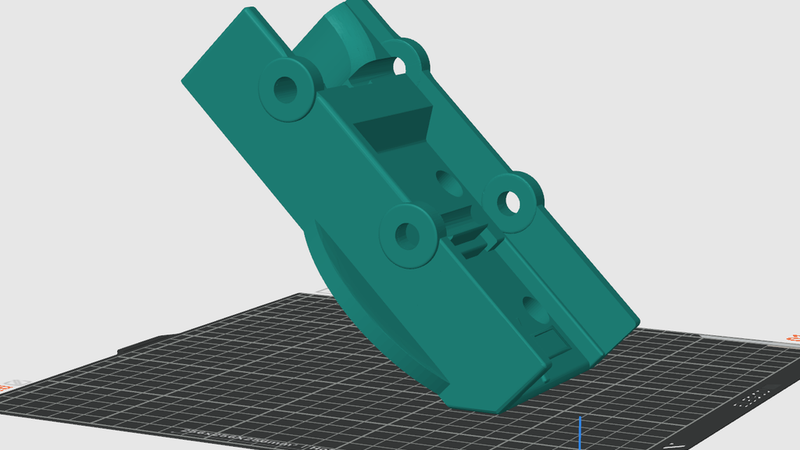
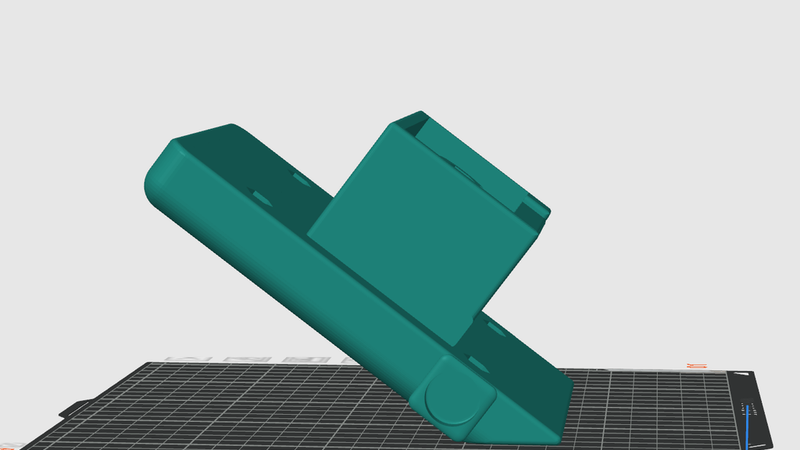
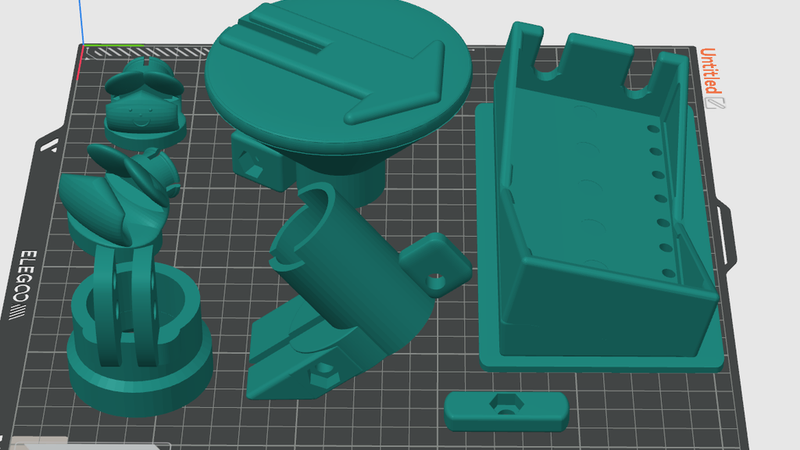
- Best to print in the orientations shown in the pictures.
- Cable guides are press-fit. The guide's pivot mechanism was designed by 3DBlacksmith over at Printables.
I'm currently working on a fully waterproof wireless foot pedal that doesn't require micro-soldering or programming... waiting for parts and a brain transplant. Should post soon.
Problems or questions let me know.