Spherical Speaker Enclosure for Fostex P650K (Beta)
Description
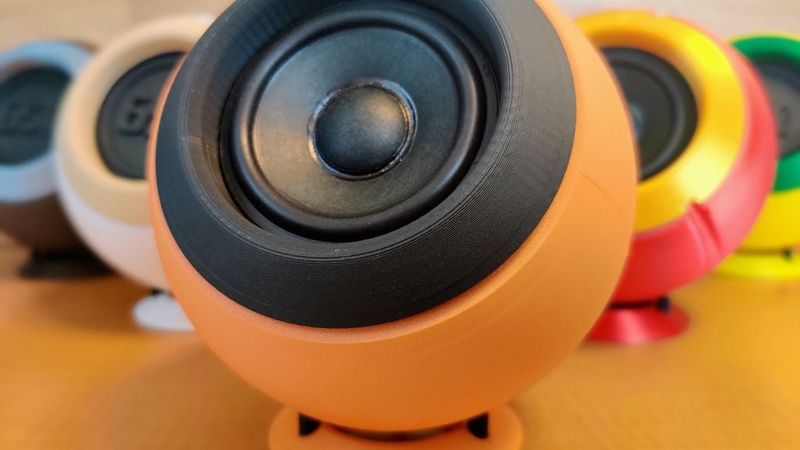
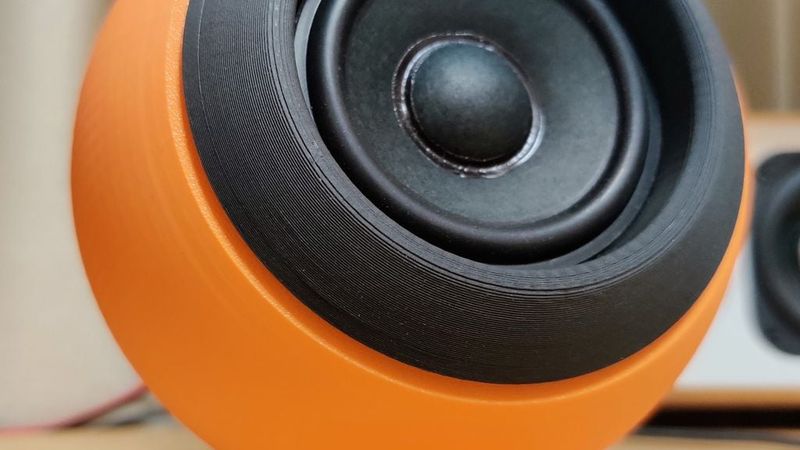
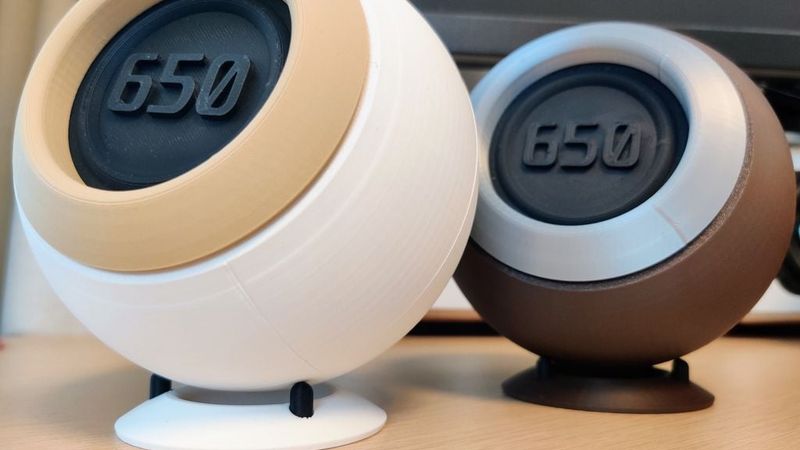
A fully 3D-printed spherical sealed enclosure for the Fostex P650K full-range driver. Designed for a clean, natural, vocal-focused sound on a desktop.
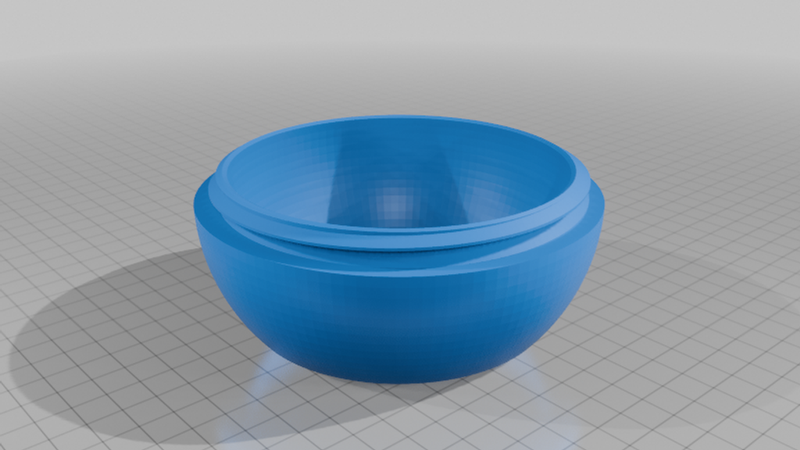
The seamless sphere hides all fasteners — a threaded equatorial joint and a clamping grille mean no screws are visible from the outside.
> ⚠️ Beta release. Fully functional, but a few things are still being refined (see Known Issues). Feedback welcome.
Features
- 128 mm sphere — compact and desktop-friendly (stand adds a little height)
- Spherical shape minimizes edge diffraction and internal standing waves
- Sealed design, ~0.6 L effective internal volume
- No visible screws — threaded equatorial joint + clamping grille
- Multi-part, multi-color friendly (body / grille / stand / feet)
- Tuned for clear midrange and vocals rather than deep bass
Files / Parts
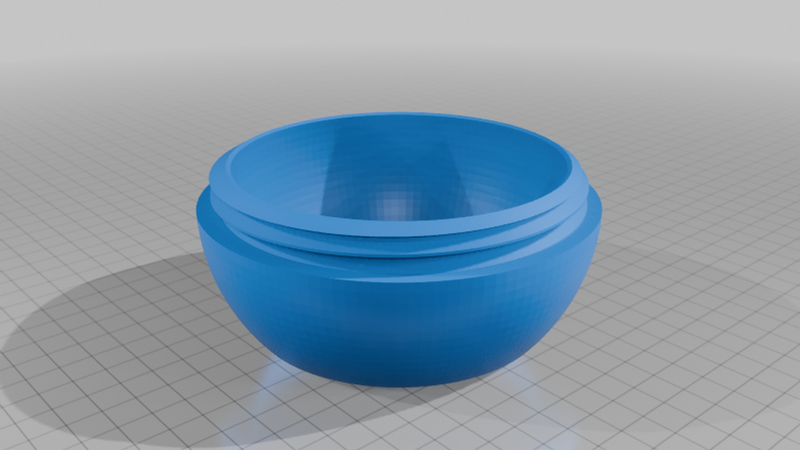
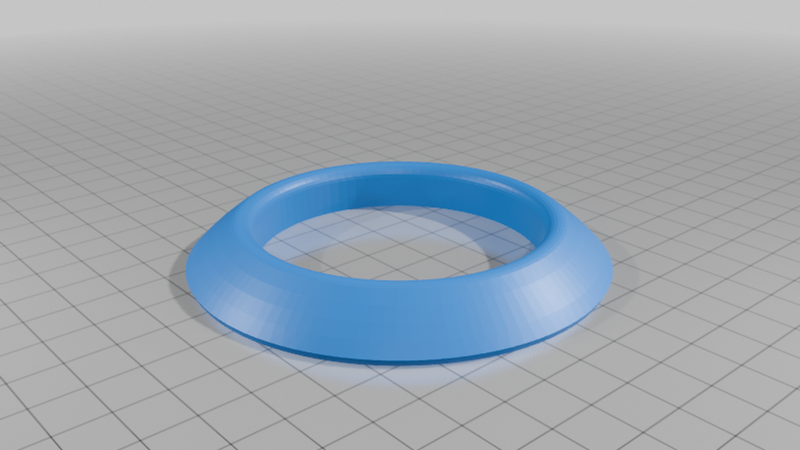
- `01a_Front-Enclosure_Standard.stl` — Front, standard clearance ×1 (default — choose one front)
- `01b_Front-Enclosure_Tight.stl` — Front, tight clearance ×1 (choose one front)
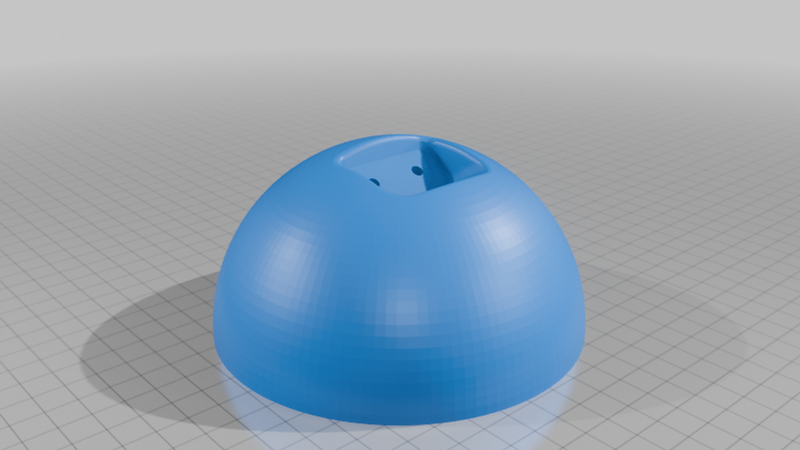
- `02_Rear-Enclosure.stl` — Rear enclosure ×1
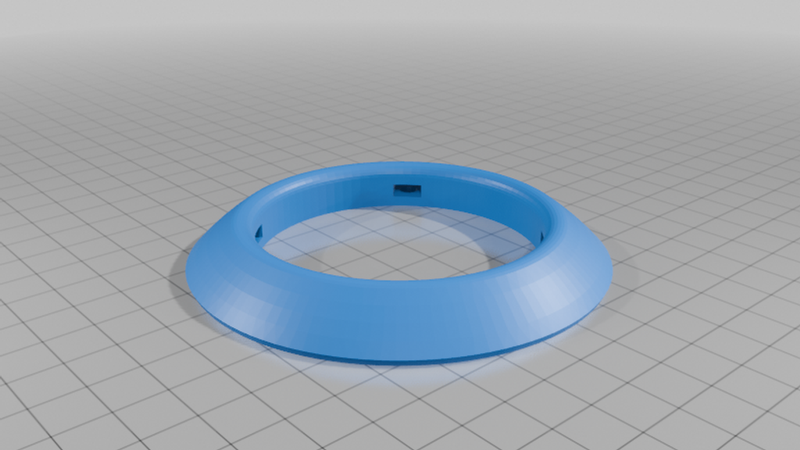
- `03a_Grille_Embedded-Nut.stl` — Grille, embedded-nut version ×1 (choose one grille)
- `03b_Grille_Side-Insert.stl` — Grille, side-insert version ×1 (choose one grille)
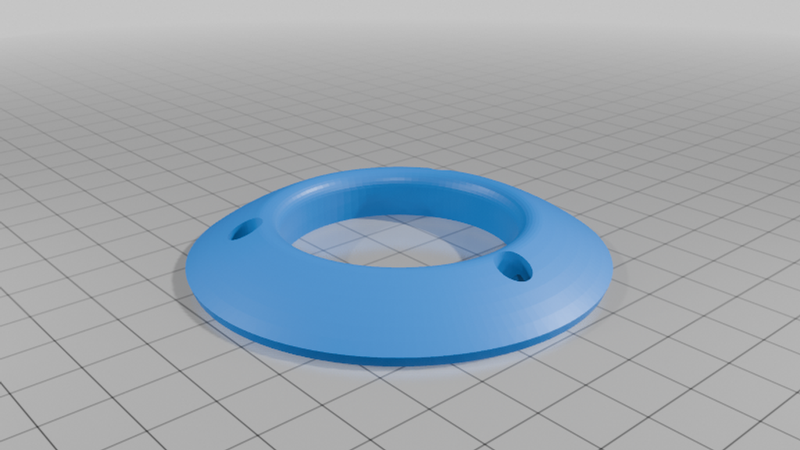
- `04_Stand-Base.stl` — Stand base ×1
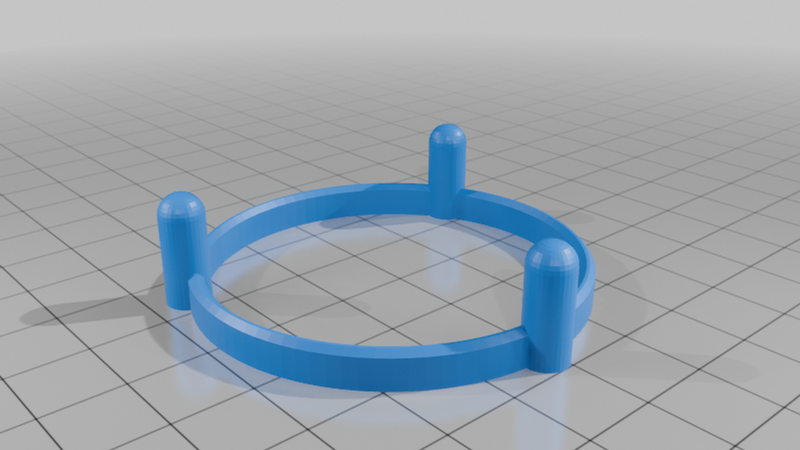
- `05_Feet.stl` — Feet: three feet joined by a ring, printed as one part ×1
- `SphericalSpeakerEnclosureforFostexP650K.3mf` — Full project (uses the Standard front; all print settings included)
Two front options — print only one:
- 01a Standard — generous clearance, assembles easily even if the print is slightly off. Recommended, and used in the `.3mf`.
- 01b Tight — minimal clearance for the best seal and a firm lock, but needs an accurately calibrated printer. It should seat with a few firm final turns; if it won't go, your print is running large — use the Standard front or run a flow calibration.
Two grille options — print only one:
- 03a Embedded-Nut — the nut is embedded inside during printing. In the `.3mf`, this plate has a scripted print pause: the printer stops mid-print, you drop in the 4 nuts, then resume to finish. No supports, cleaner finish. (Recommended)
- 03b Side-Insert — push the nut in from the side after printing. Needs supports, but no pause required.
Sourced parts (not printed) — per unit
Exact parts depend on your wiring method — see the build guide.
- Fostex P650K driver ×1
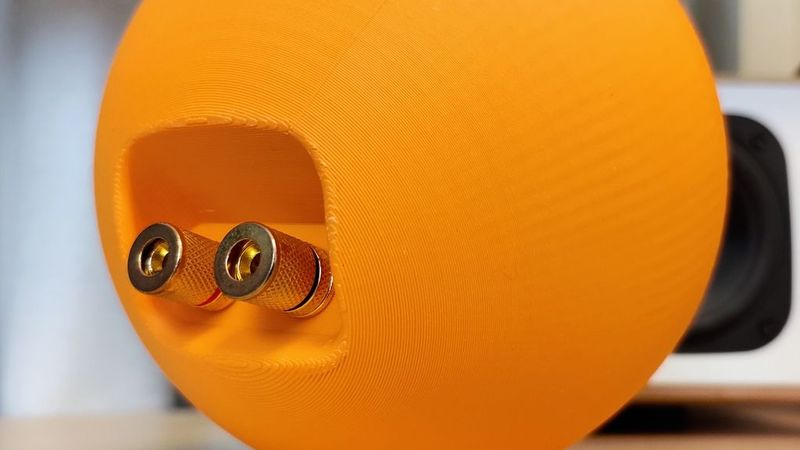
- Gold-plated brass speaker binding posts, M4 mounting shaft ×2 (one +, one −) — the rear has Ø4.2 mm mounting holes for this type; larger posts need the holes enlarged
- M4 × 12 mm screws ×4 and M4 nuts ×4 (driver mounting)
- Internal wire: AWG18, 20 cm ×2
- Faston (spade) terminals for the driver: #110 female (−) and #205 female (+)
- Damping: felt (speaker damping sheet) + a little polyester wool
- Double-sided tape to fix the damping material
Print settings
- Walls: 5 perimeters
- Infill: 20% (gyroid)
- Recommended filament: Bambu PLA (Basic / Matte / Silk all verified)
- Tested on: Bambu Lab P1S with the textured PEI plate
- STLs are already oriented for printing; the `.3mf` has everything set up for Bambu Studio
Supports — differs per part:
- `02_Rear-Enclosure` — supports on, with the overhang threshold set to 28°
- `03b_Grille_Side-Insert` — supports on (default threshold is fine)
- All other parts — no supports needed
Print pause (03a grille):
- The `.3mf` for the `03a` grille has a scripted pause. When the printer stops, insert the 4 M4 nuts into the pockets, then resume the print to seal them inside.
Assembly (short version)
1. Check the thread fit — stiff on the first turn, but it beds in after a few in/out cycles; a firm final push seats it
2. Mount the terminals to the rear (seal with a gasket or caulk)
3. Place damping — felt on the lower inner wall, a little wool in the center (keep it clear of the cone)
4. Mount the driver — crimp the faston terminals and connect the wiring (pre-twist it opposite to the closing direction), then clamp the driver between the grille and the front part
5. Join the enclosure — screw front and rear together at the equator; press firmly at the end to seat it
6. Assemble the stand — snap the one-piece feet ring into the stand base
7. Set it up — place the sphere on the stand
👉 Full illustrated build guide: note.com/euxnas
Known Issues (Beta)
- The inner thread surface prints a little rough (overhang without support). It's not visible and doesn't affect function.
- The threaded joint is sensitive to filament and print accuracy — even color and lot can matter. If the fit is too tight, use the Standard front, run a flow calibration, or test-print the thread section first.
About the driver / What's next
The Fostex P650K is an inexpensive 6.5 cm full-range driver — a great, low-cost way to try a small full-range build. This enclosure started as a prototype platform for it.
I'd love to make a version for the Fostex FE83NV2 (8 cm) down the road — no promises on timing, but that's the direction I'm hoping to go.