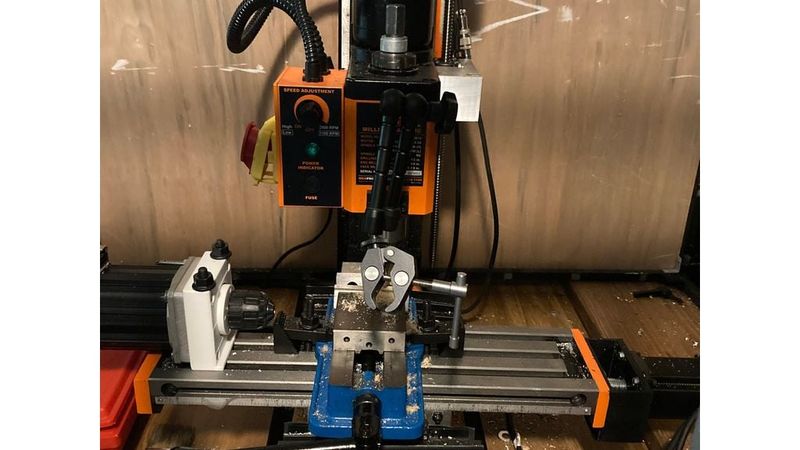
CNC conversion for Wen Mini Mill

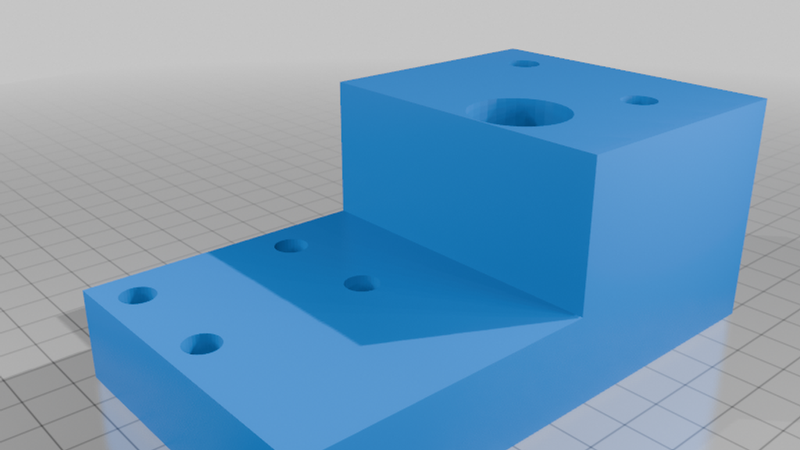
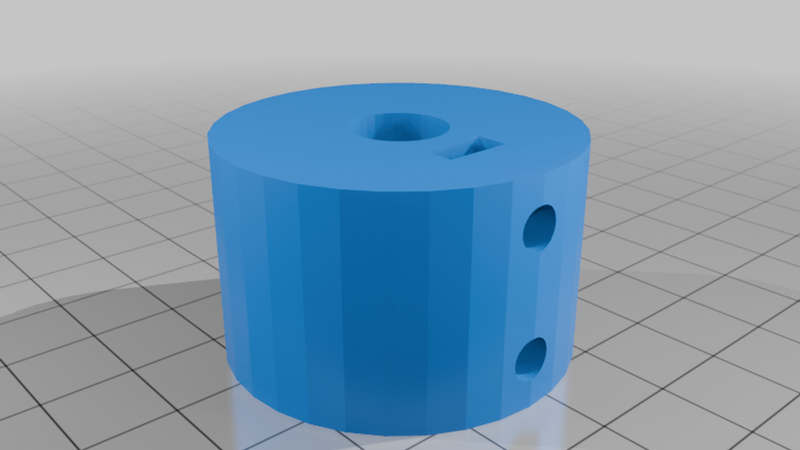
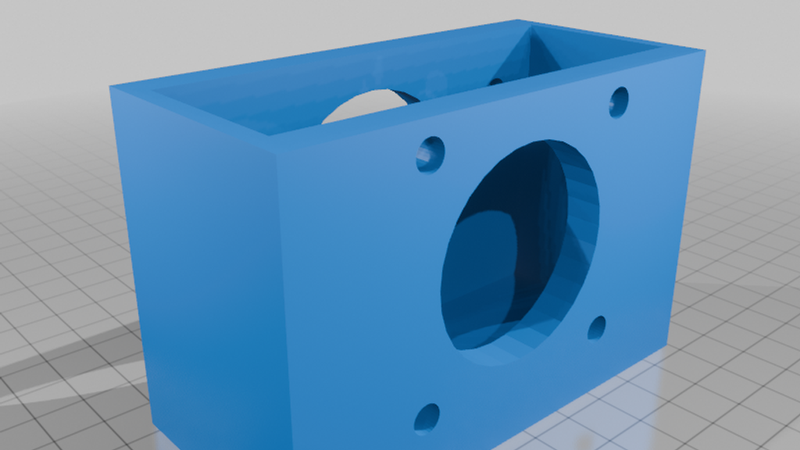
Description
Mini Mill CNC Conversion: XYZ Axis Motor Mounts (Grbl/ATMEGA2650)
Summary
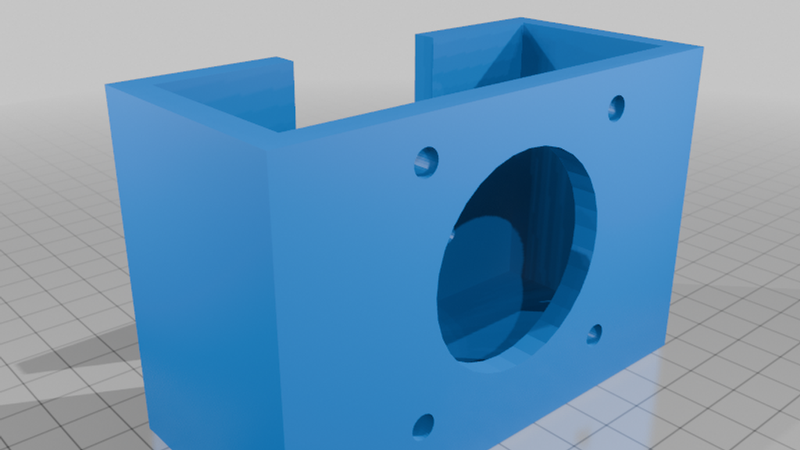
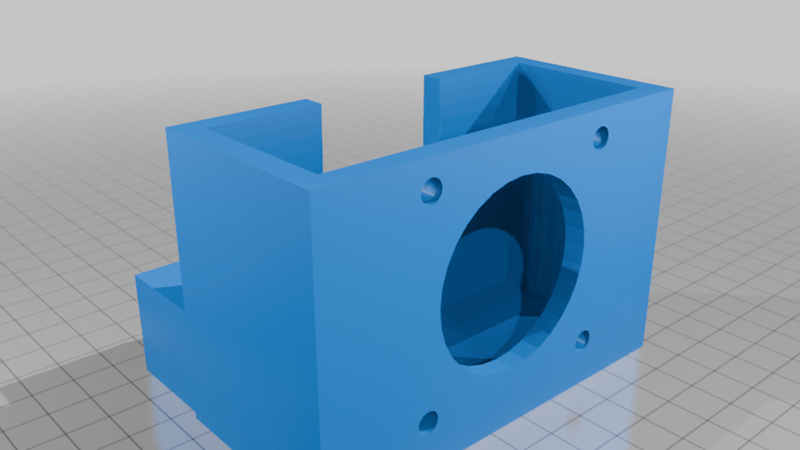
This project provides a set of 3D-printable motor mounts designed to convert a standard mini mill to CNC operation. These mounts are optimized for NEMA 23 stepper motors (or similar frame sizes often used in these conversions) and allow for the integration of ball screws or leadscrews to your X, Y, and Z axes.
I developed these to work seamlessly with a Grbl-based control system running on an ATMEGA2650 microcontroller, providing a cost-effective and reliable path to automated milling.
Features
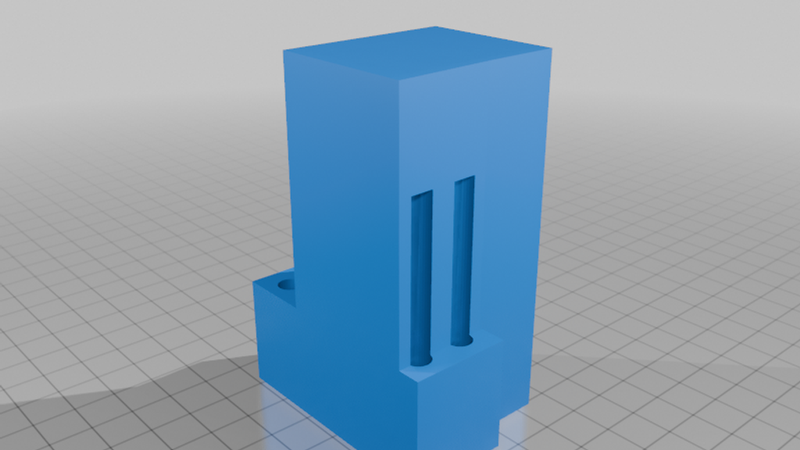
- XYZ Axis Support: Includes dedicated mounts for all three axes of the mini mill.
- Grbl/Arduino Compatible: Designed to facilitate easy wiring and integration with standard Arduino/Grbl hardware setups.
Hardware Required
To complete this conversion, you will need the following components:
Motors & Electronics
- Stepper Motors: Suitable for your mill size (e.g., NEMA 23).https://www.amazon.com/dp/B08Q7CCRTN,
- Controller: ATMEGA2650-based board (e.g., Arduino Mega).
- Motor Drivers: Compatible drivers for your stepper motors (e.g., TB6600, DM542).
- Power Supply: Sufficient voltage and current to drive your motors (typically 24V or 36V).
Mechanical
-Ballscrew and Nut https://www.amazon.com/dp/B09X2P31QZ
- Couplers: Flexible or rigid shaft couplers to connect motors to your lead/ball screws.
- Fasteners: Various M5/M6 bolts and nuts for securing mounts to the mill frame.
Printing Instructions
- Material: PETG, ABS, or ASA are recommended for thermal stability and mechanical strength. PLA may deform under high heat or sustained loads.
- Infill: 40-50% minimum, preferably using a strong pattern like Gyroid or Cubic.
- Walls/Perimeters: At least 4-5 walls for structural rigidity.
- Supports: Required for the motor mounting flange and screw clearance holes.
Assembly Notes
1. Calibration: Ensure your leadscrew alignment is perfectly parallel to the mill ways before final tightening of the motor mounts to prevent binding.
2. Firmware: Configure your `config.h` in Grbl for the correct steps-per-mm based on your specific leadscrew pitch and micro-stepping settings.
Disclaimer: Modifying machinery involves inherent risks. Please ensure all electrical connections are properly insulated and your machine is securely grounded. Always wear appropriate eye and hearing protection while operating your CNC mill.