Tinywhoop fc mounting solution
Description
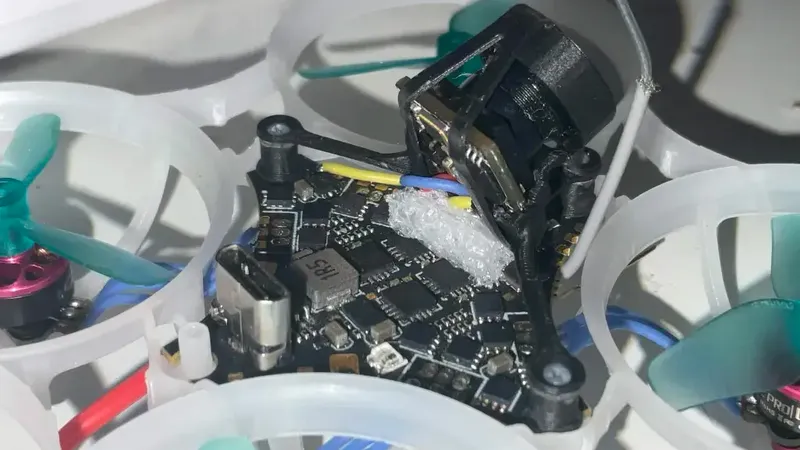
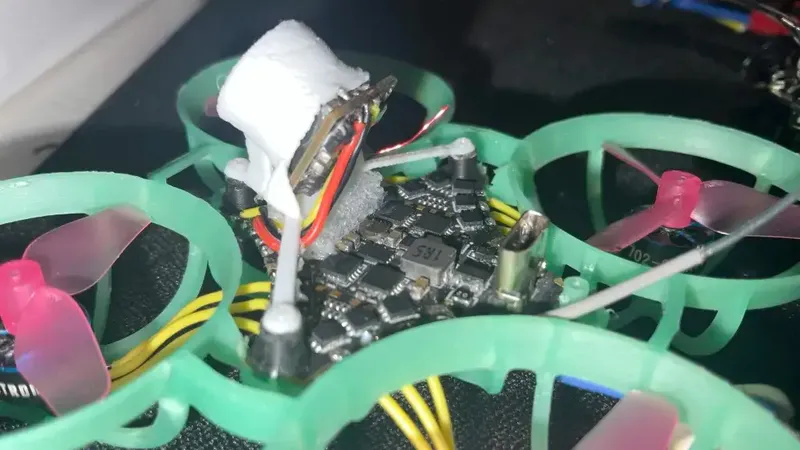
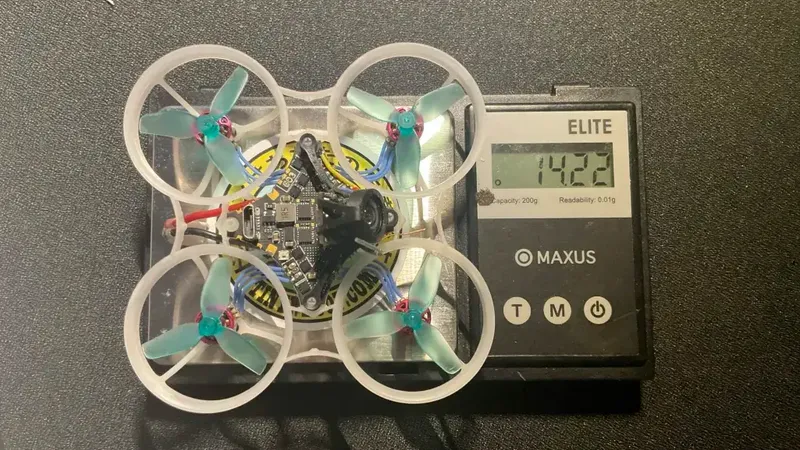
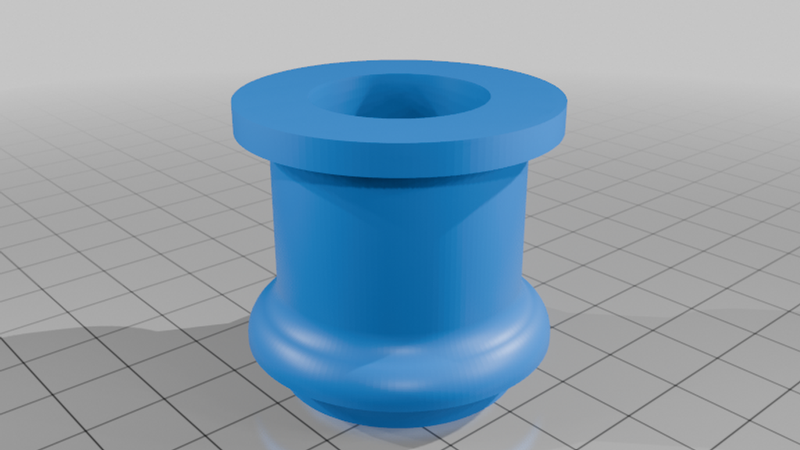
For a long time, building a tiny whoop meant you had to balance weight, and durability. Sub-15 gram builds often use low profile camera mounts, such as the Tinyeye, Seatbelt mount, and the CustomFPV camera mount. These mounts would make the camera sit directly above the flight controller, meaning it would highly increase the chances of a broken fc when crashing from the top down. One of the solutions to this problem was to either use a high profile mount, such as the Bribrain mount to create distance between the fc and the camera. These mounts, however, were a lot heavier (~0.6g vs ~0.2-0.3g) which makes it harder to get below 15 grams. Another solution was to bottom mount the flight controller. By putting the flight controller on the other side of the mounting posts, you could create a large gap between the camera and the fc while keeping the low profile mounts. However, this does not work/is a lot more difficult to do on certain frames such as the Betafpv air frame. And is kind of just a hassle to do. I found a solution to this problem by designing a new kind of "gummy" that pushes the fc all the way down to the bottom of the post, which creates the gap that bottom mounting makes while being a lot easier to do.
For printing, I used PP for weight, but i suspect other materials like TPU or PLA will work. The object has to be scaled down to 11% and needs to be flipped 180 degrees in the slicer. You also have to make sure "Detect thin wall" is ON, otherwise it probably wont slice correctly. It comes with a little brim which you have to cut off. (I found that the model is very difficult to print without it, especially on PP.)
I used a 0.08 layer height with a 0.4mm nozzle. But you can experiment with the settings. 0.08mm is just what i used personally.