Battery Dispenser 2.0 - AAA


Description
Tips for Getting Me to Work: I enjoy having a cup of coffee while I work (: https://www.buymeacoffee.com/YOdesign
<br>
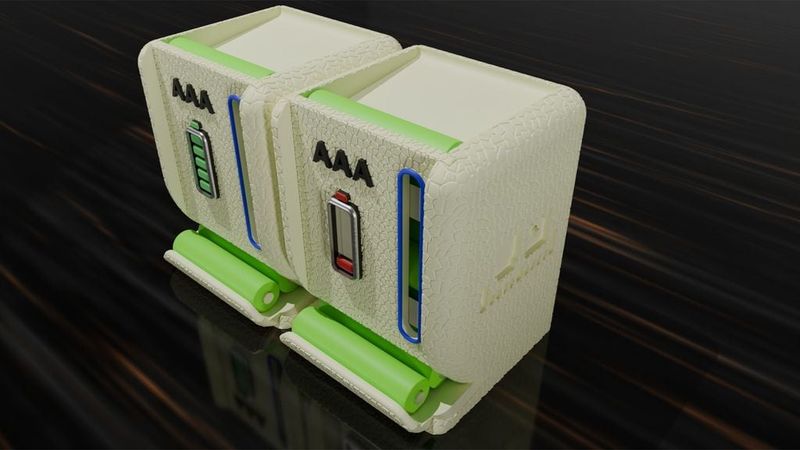
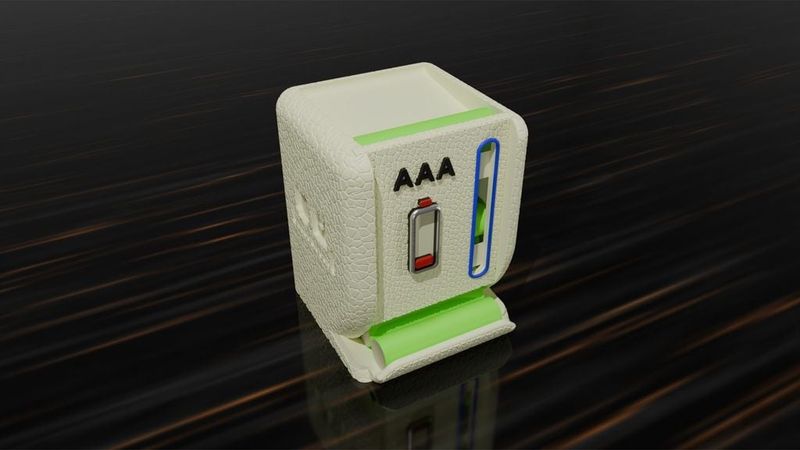
Battery Dispenser 2.0 (AAA)
- With this second version, I completely redesigned the battery dispenser from top to bottom. The result is a design that is not only more stylish, but also more reliable, more 3D printer-friendly, easier to assemble, and more user-friendly.
- If you enjoy this model, let me know—I’ll be happy to design and share an AA version soon.
What is new?
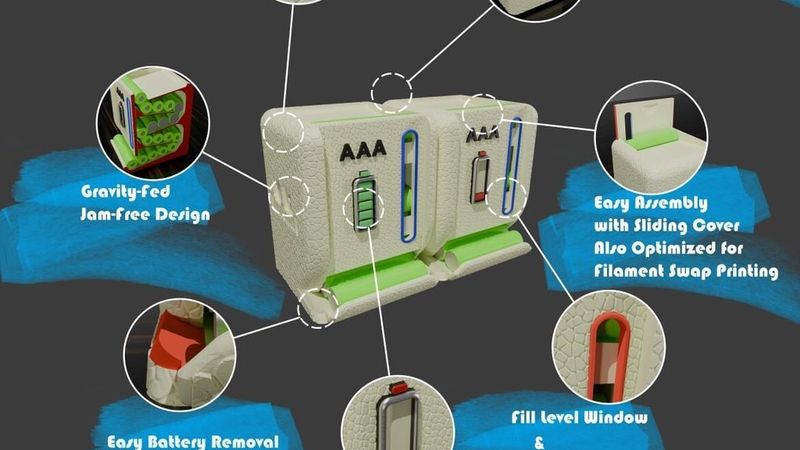
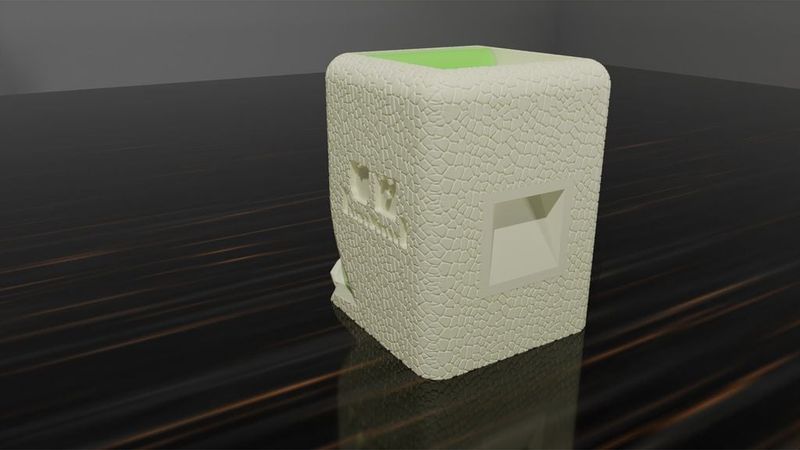
1- Leather-Textured Exterior: The leather-textured exterior helps conceal layer lines, giving the print a cleaner and more refined appearance.
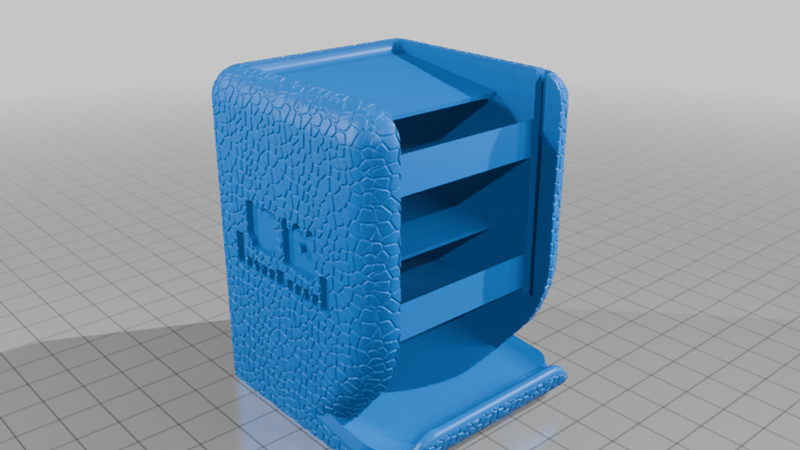
2- Rounded Design: More rounded design with thicker walls. Not just a visual improvement, but also stronger and more stable.
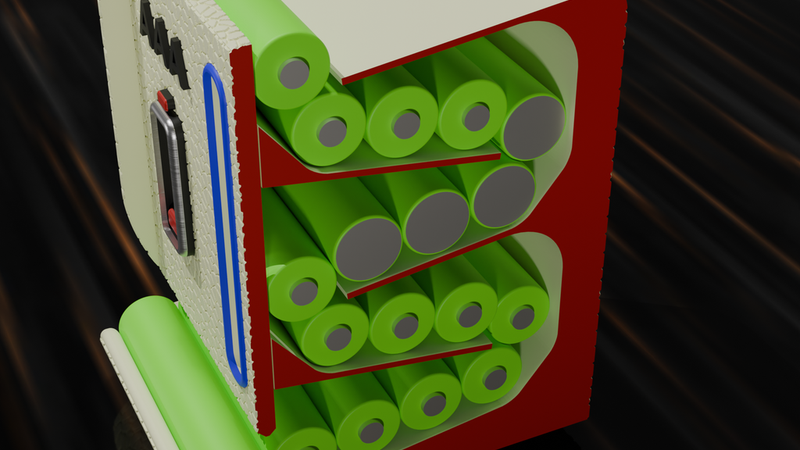
3- Jam-Free Design: The feed opening is precisely sized to guide batteries into the holder in the correct orientation. A gravity-fed interior with a slide-like design helps prevent jams. Also feeding batteies into dispenser is much more easier.
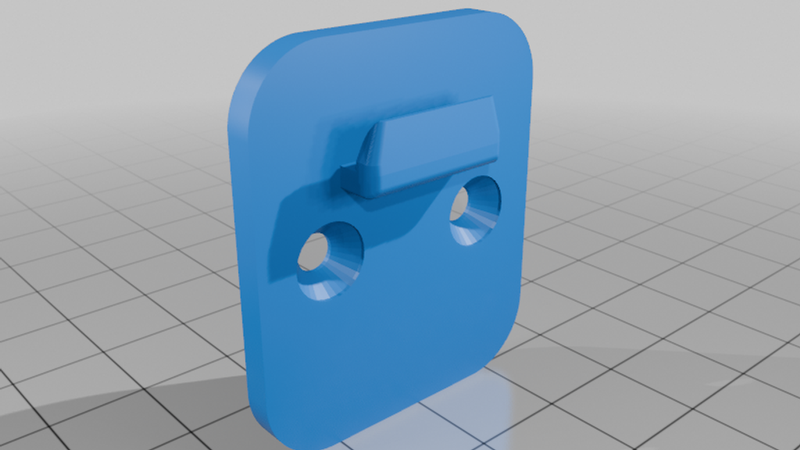
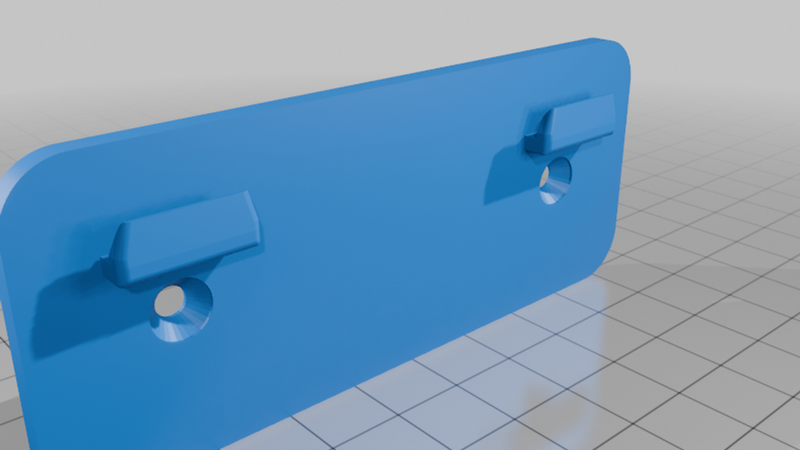
4- Hidden Mount: The hidden mounting system lets you easily hang or remove the holder in seconds, while its concealed design keeps the mounting hardware hidden inside the body for a clean look when used without the hanger.
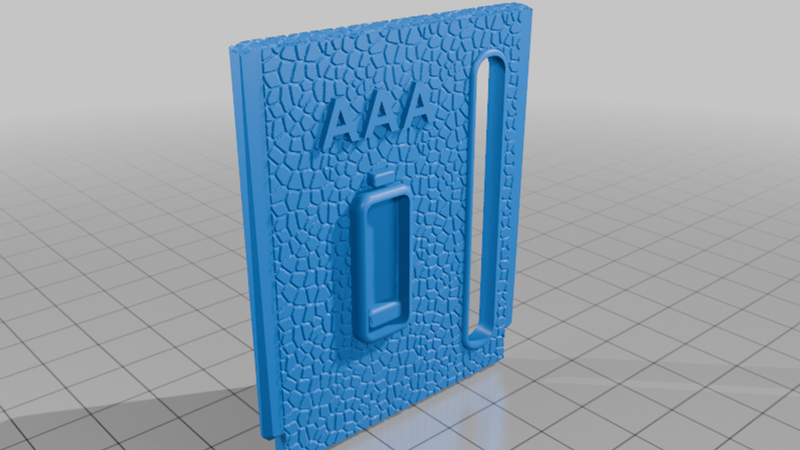
5- Easy Assembly: No glue is required for assembly. Installation is quick and easy with the slide-on cover, which can also be replaced whenever you like. The cover is designed to fit tightly enough to stay securely in place, yet can be removed easily whenever needed.
6- Easy Battery Removal: Small ramps have been added to prevent the next battery from falling out while still allowing you to slide it out easily when needed.
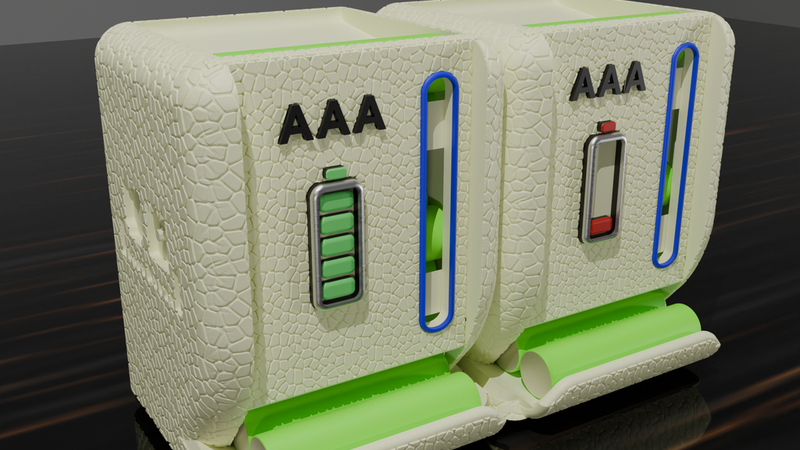
7- Fill Level Window: Fill level window lets you quickly check whether you have enough batteries remaining.
8- Multi Color Printing With gen1 Printers: Battery type, battery status indicator and fill level window are optimized for filament swap printing.
9- 18+ Battery Capacities: The holder can store up to 18 batteries (excluding the feed ramp at the top).
Printing Tips
For minimal, easy-to-remove supports, it is recommended to print the body lying on its back (hanger side down).
Aside from that, there are no special printing requirements. Below are the settings I used for printing (In addition to renders, the images also show printed examples.):
Quality
Layer Height: 0.16 mm
Strength
Wall Loops: 2
Top Shell Layers: 3
Bottom Shell Layers: 3
Sparse Infill Density: 10%
Sparse Infill Pattern: Gyroid
Support
Type: Normal (auto)
Style: Snug
Thresold Angle: 15
Interface Pattern: Grid
Interface Spacing: 0.3
Others
Brim width: 5 mm