RMS BLDC Generator Remix with Serpentine Coil and Wind Vane Pole Mount


Description
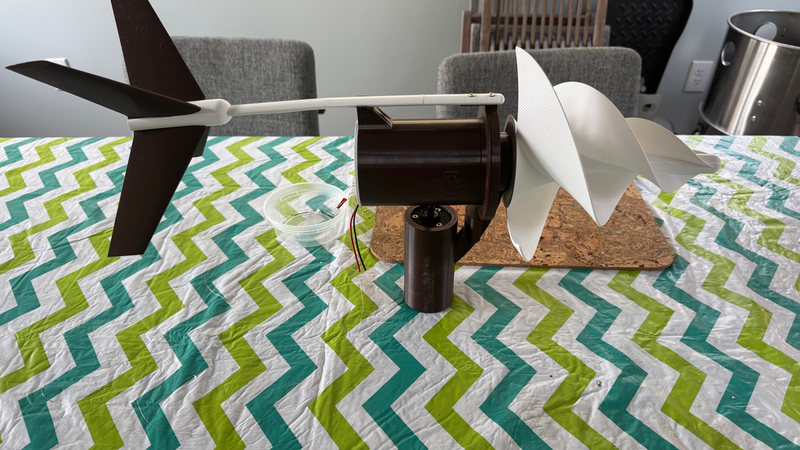
This is a remix of Robert's (RIP) BLDC generator, modified to be permanently mounted on a 1" PVC pole and used as a trickle charger.
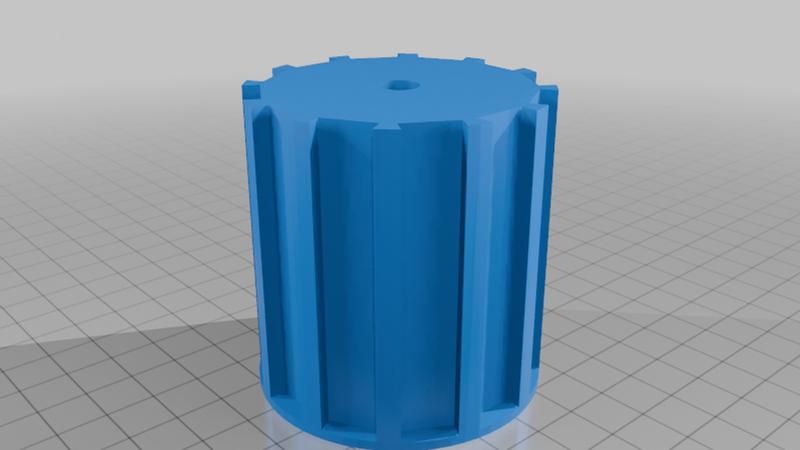
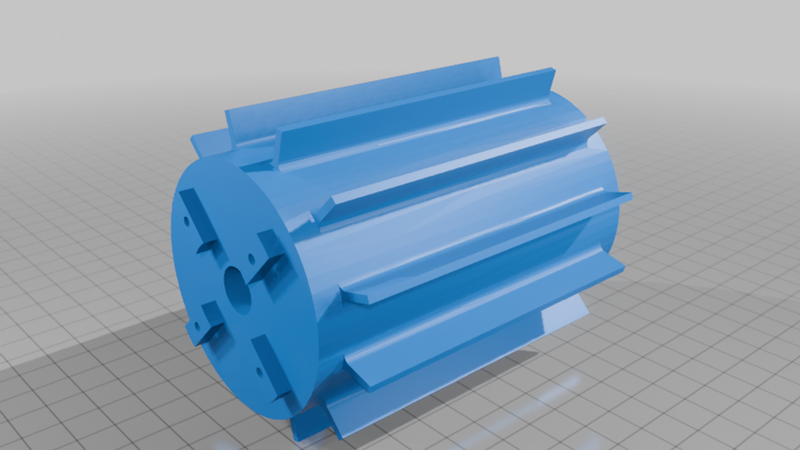
For simplicity, I chose a single-phase, 800m winding on the coil stator and it is absolutely packed with copper. I also used N42 magnets and am maxing out around 60v (no load) and 15v and 16ma with a 220 ohm load and a stiff breeze.
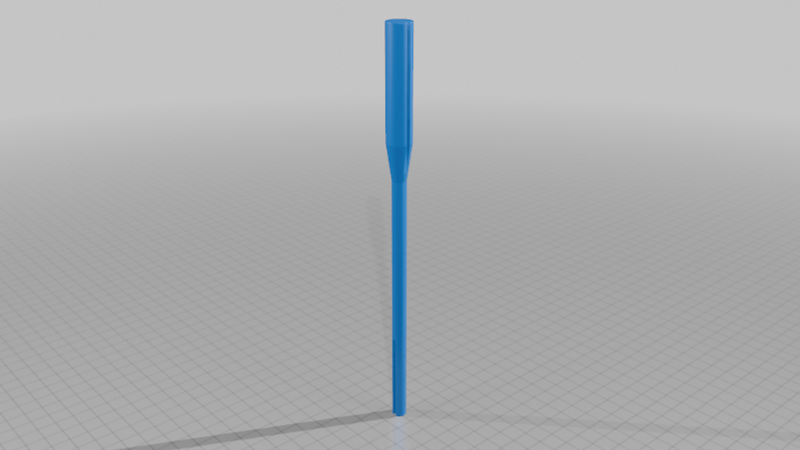
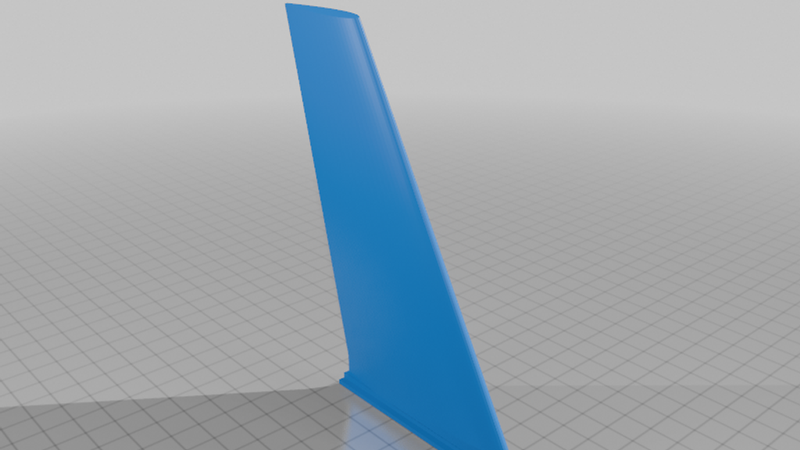
Except for the wind vane and the rotor shaft, all of the parts, and the coil winding jig, are from Robert's posts. The wind vane I created from NACA 2020 wings in an 'X-Wing' configuration.
Notes:
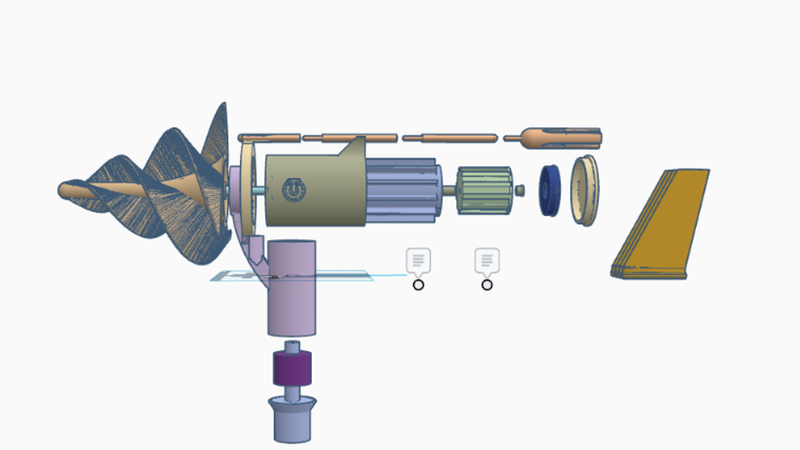
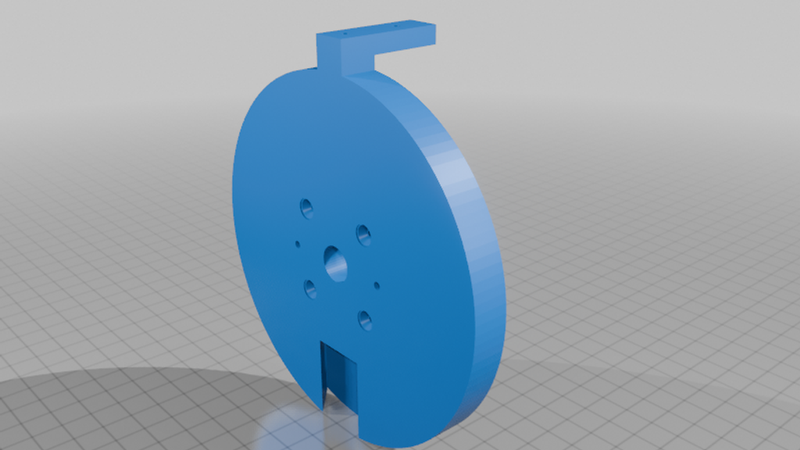
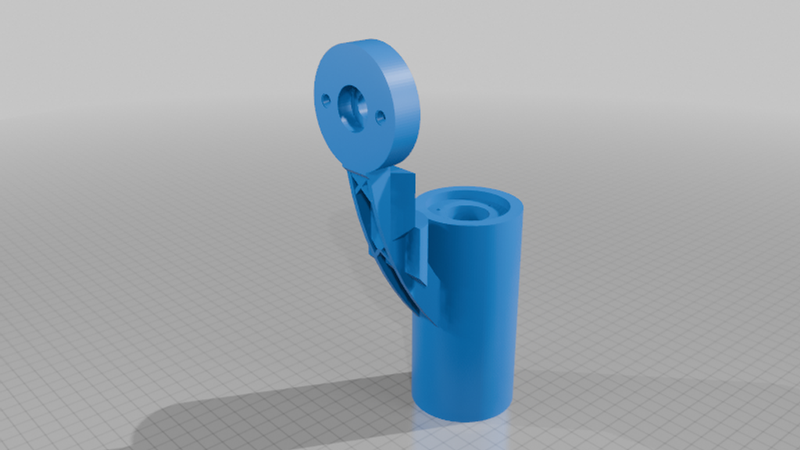
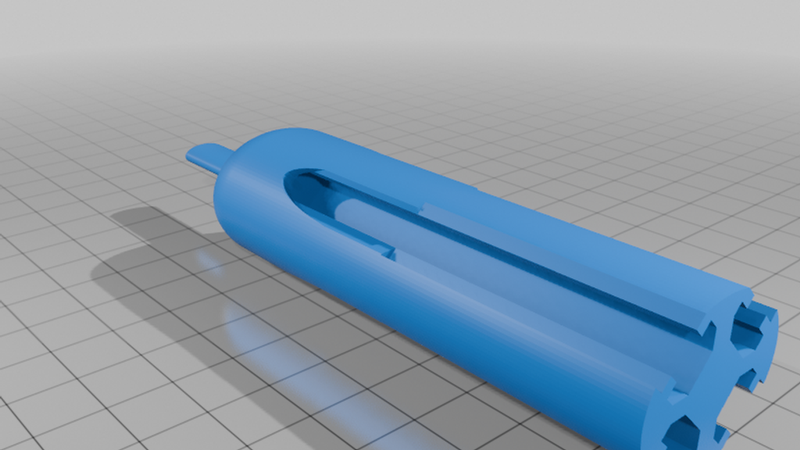
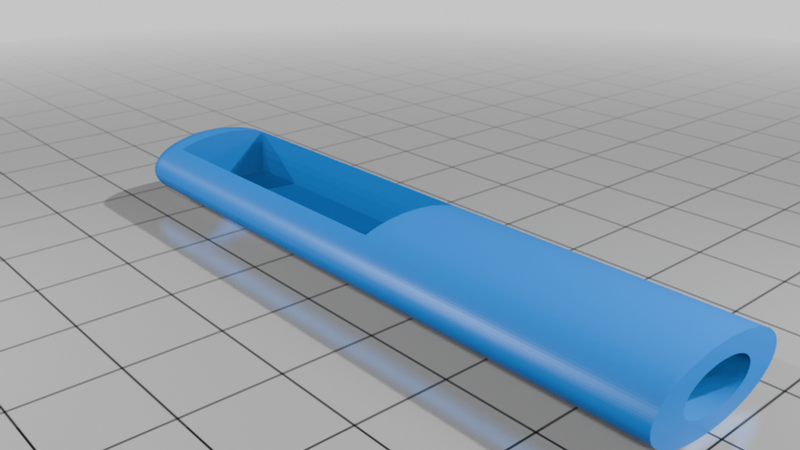
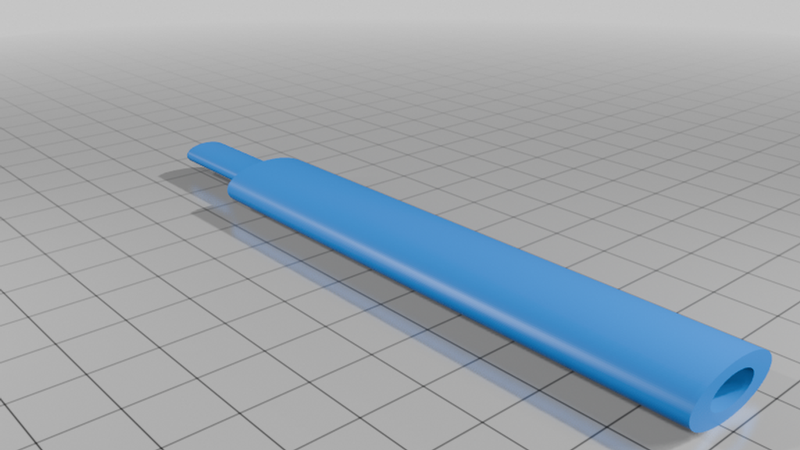
- I split the generator mount into 2 pieces to facilitate printing (I used a BL P2S). All pieces that are exposed to sunlight, including the rotor shaft, were printed in BL PET-G Basic. Internal pieces were printed using PLA Basic.
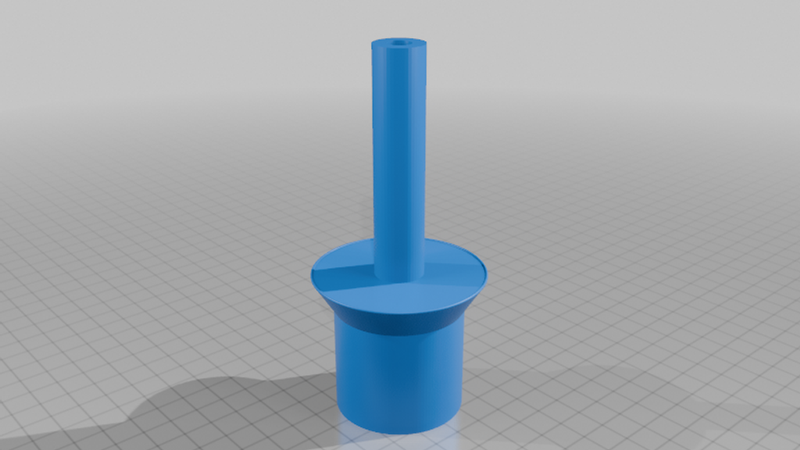
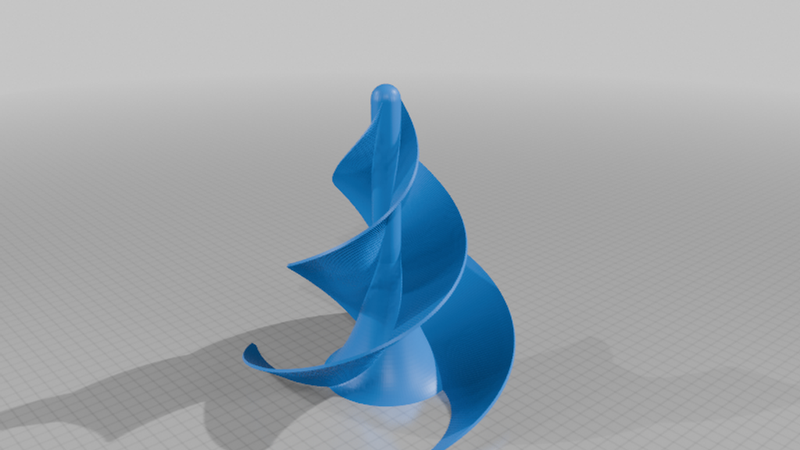
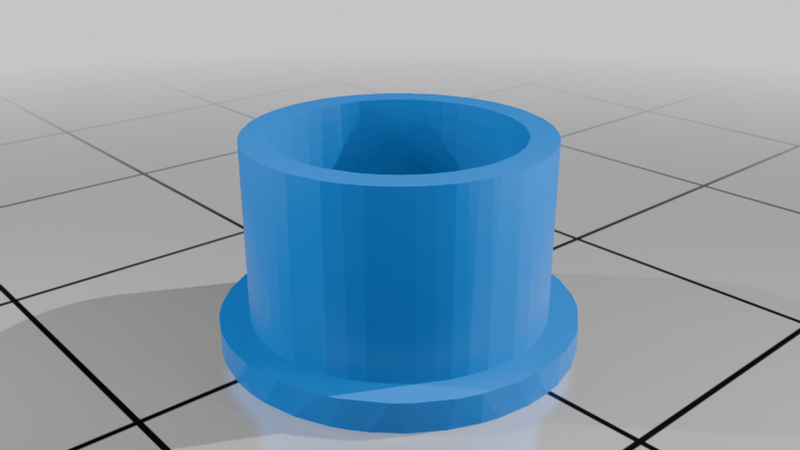
- The generator mount includes 2 bearing races; one for the Archimedes screw and the 2nd for the pole mount. I used 22x8mm bearings for the rotor shaft and 47x17mm bearings for the pole mount.
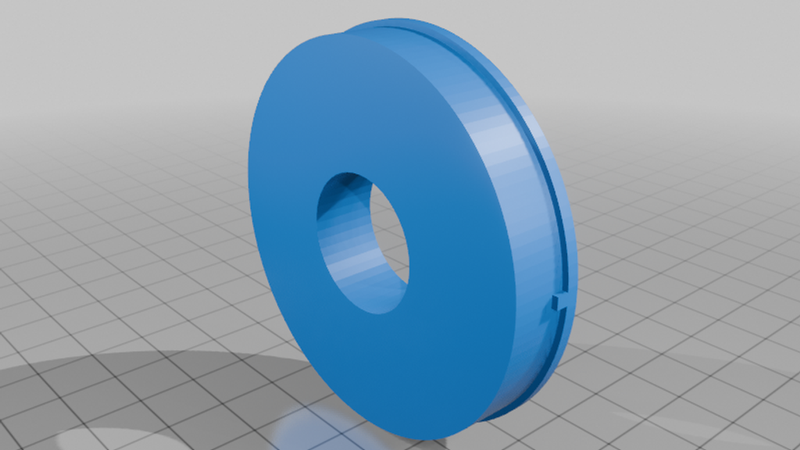
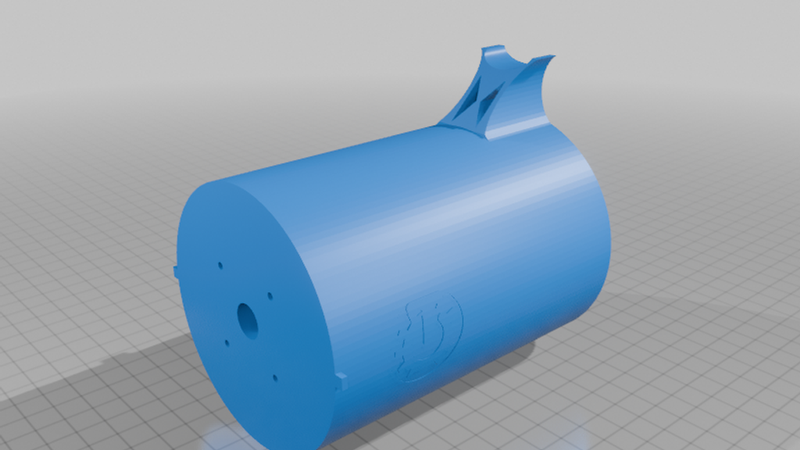
- The generator mount includes an electronic slip ring to permit the generator to swing 360 degrees without twisting the load wires.
- The magnets do NOT need to be glued if they are inserted sequentially.
- RMS's winding jig worked well, but his math was slightly off; use 1x the stator diameter rather than 2x the stator diameter. I was also able to reduce the overage from 10% to 1% and had no difficulty winding the coil. Do remember to tape the coil BEFORE you remove it from the winding jig. I found that, if I taped 4 'corners' of the wind, I could reduce the jig length by 10mm (1 hole) and the wire would easily slide around the jig as I taped the winding.
- The wind vane is made using straight struts. The mass of the wind vane fuselage and wings is sufficient to create the small amount of lift needed to hit a reasonable center of gravity.
To charge a battery, the AC output must be rectified into DC, stabilized and stepped down to your charging voltage. I am generating AC, but am waiting on the bridge rectifier, capacitor and buck (step-down) converter before hooking up to batteries.
This project is an homage to RMS and the first of several focused on harvesting renewable energy at a micro-scale. Robert's gift is sorely missed - I hope his fans enjoy seeing new applications of his 'Tinkering' ideas.