LumaBloom — 3D Printed Ambient Light Sensor Flower for Monitor Brightness Control
Description
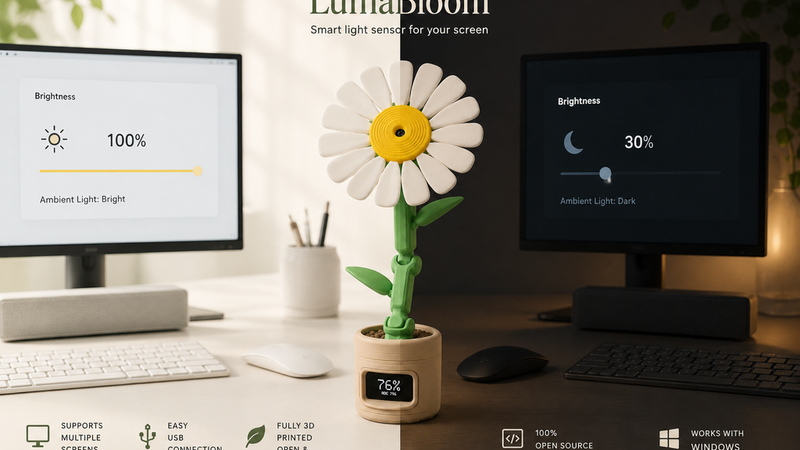
LumaBloom is a 3D printable enclosure for a DIY ambient light sensor device that automatically adjusts monitor brightness based on surrounding light.
The device is designed as a decorative flower: the sensor is placed in the flower head, the electronics are hidden inside the pot, and a small display shows the current brightness percentage and ADC value.
This project was made together with my sister: she developed the software, and I designed and 3D printed the enclosure.
Full software, configuration notes, and project files are available on GitHub:
https://github.com/mkdsfm/LumaBloom
Description
LumaBloom is a small desktop device that looks like a decorative 3D printed flower, but works as an ambient light sensor for automatic monitor brightness control.
The idea is simple: the device measures the light level in your room and sends the value to a PC application. The software then adjusts the screen brightness depending on the current environment. When the room becomes darker, the screen can become dimmer. When the room becomes brighter, the screen can become brighter.
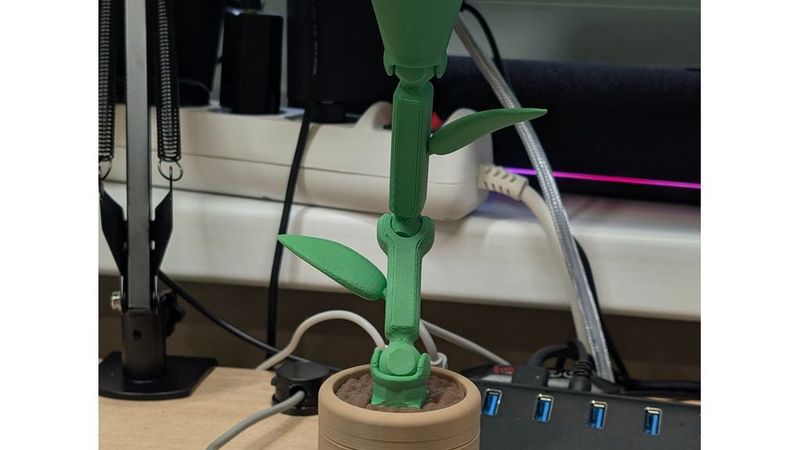
The enclosure is designed to make the sensor feel like part of the desk setup instead of just another electronics module. The flower shape allows the light sensor to be placed at the top, while the pot hides the electronics, USB connection, and small display.
The project consists of two main parts:
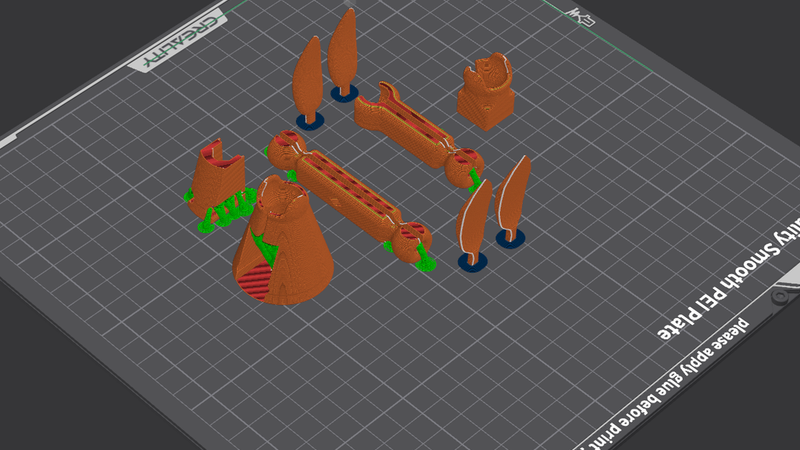
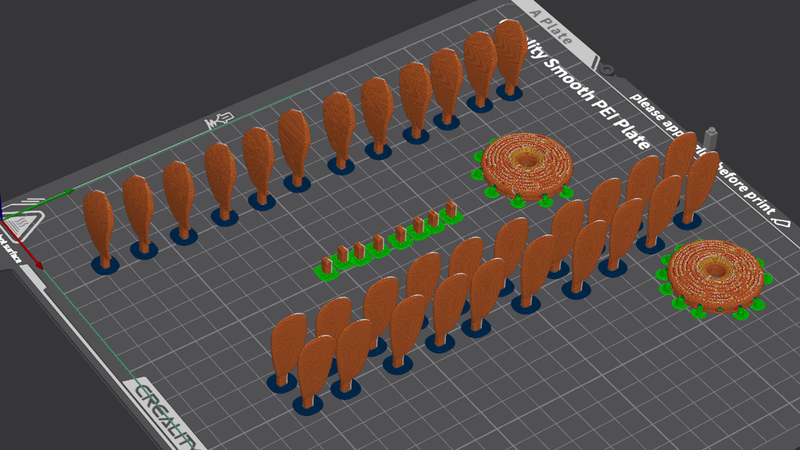
- 3D printable decorative flower enclosure
- Software for reading the device and controlling monitor brightness
This project was made together with my sister: she developed the software, and I was responsible for the 3D model, 3D printing, and physical design.
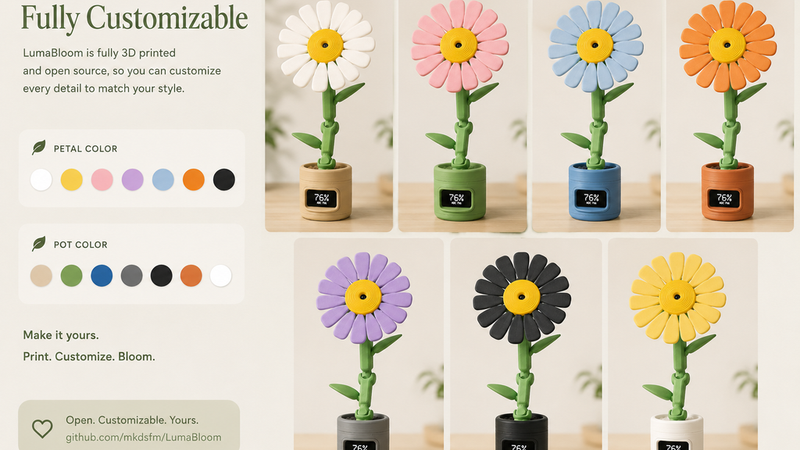
The device supports USB connection, Windows, multiple monitors, and configuration through the PC-side software. The enclosure is fully 3D printable and can be customized with different colors for the petals, flower center, stem, leaves, and pot.
Features
- 3D printable flower-shaped enclosure
- Decorative ambient light sensor for your desk
- Automatically adjusts monitor brightness
- USB connection
- Built-in small display
- Shows brightness percentage and ADC value
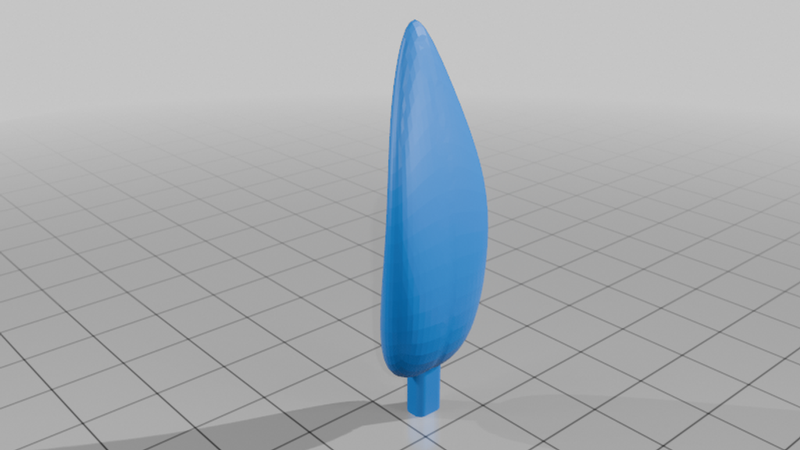
- Sensor placed in the flower head
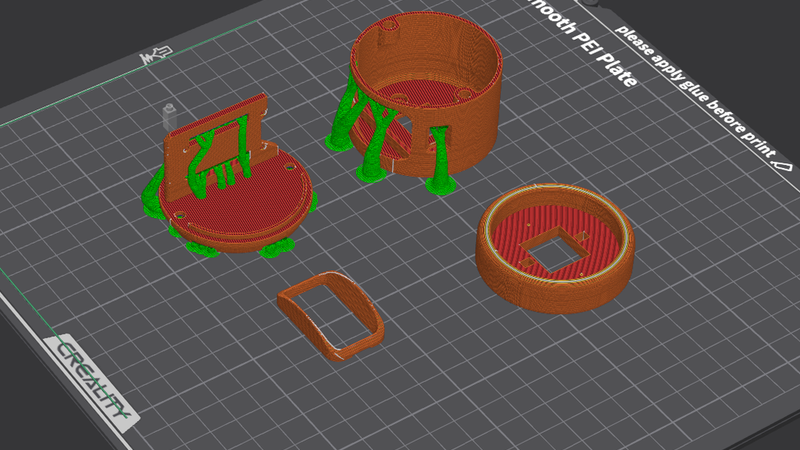
- Electronics hidden inside the flower pot
- Designed for Windows
- Multi-monitor support
- Open-source project
- Customizable 3D printed body
- Print petals, stem, leaves, and pot in different colors
- Friendly design that fits into a desk setup
- Good beginner/intermediate DIY electronics project
- Useful alternative to manual screen brightness adjustment
Use Cases
- Automatic monitor brightness control
- Desktop ambient light sensor
- Decorative electronics project
- 3D printed smart desk accessory
- Open-source hardware project
- ESP32-C6 project
- Windows brightness control device
- Multi-monitor workstation accessory
- DIY USB gadget
- Maker desk project
- Gift project for developers, makers, and 3D printing enthusiasts
- Custom enclosure reference for small embedded devices
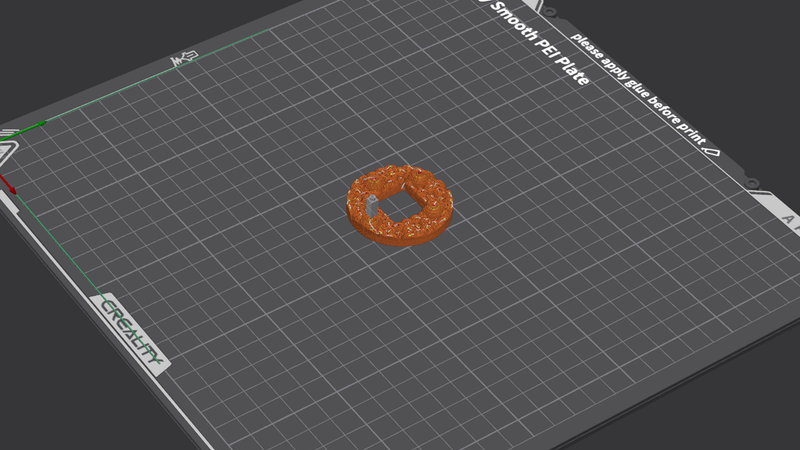
Print Settings
Material: PLA / PETG
Layer height: 0.16–0.24 mm
Infill: 10–25%
Walls: 2–3
Supports: depends on part orientation and exact part version
Raft/Brim: optional
Recommended colors:
- Petals: white
- Flower center: yellow
- Stem and leaves: green
- Pot: beige / brown / clay color
- Soil insert: brown
For the best visual result, print the flower parts in separate colors instead of painting them after printing.
Print the pot and display opening carefully so the screen fits cleanly and remains visible. Test-fit the electronics before final assembly.
Required Hardware
- ESP32-C6 based board / controller used by the project
- Ambient light sensor module
- Small display module
- USB cable
- Wires for internal connections
- Optional screws, inserts, glue, or printed pins depending on your assembly version
- 3D printed LumaBloom enclosure parts
Assembly Notes
Print all enclosure parts first and test-fit them before installing the electronics.
The flower head is designed to hold or expose the light sensor so it can measure ambient light properly. Make sure the sensor is not blocked by the petals or decorative parts.
Install the electronics inside the pot. The display should be aligned with the front opening so the brightness percentage and ADC value are easy to read.
Route the USB cable through the pot opening and make sure it does not put stress on the board or display.
After assembly, connect the device to the PC and configure the software. Use the configuration file or application settings to tune how aggressively the brightness changes depending on the ADC range and room lighting.
For best results, place LumaBloom near the monitor, but not directly under a lamp or in a place where the sensor receives unrealistic light compared to the user’s actual environment.
Customization
LumaBloom was designed to be easy to customize.
You can change:
- Petal color
- Flower center color
- Stem color
- Leaf color
- Pot color
- Soil insert color
- Display frame color
- Sensor position
- Pot style
- Stem height
- Decorative look
The body is fully 3D printed, so it can be remixed for different sensors, displays, boards, or desk styles.
Possible customization ideas:
- Pastel version
- Minimal white version
- Realistic daisy version
- Dark desk setup version
- Cyberpunk / RGB version
- Smaller pot
- Taller stem
- Different flower type
- Wall-mounted version
- Monitor-mounted version
Software
The PC software reads light data from the device and adjusts monitor brightness automatically.
Main software features:
- USB device communication
- Ambient light reading
- Brightness percentage calculation
- Configurable brightness range
- Configurable ADC range
- Smoothing / filtering
- Multi-monitor support
- Windows support
Check the repository for the latest release, configuration format, and usage instructions.
Important Note
This is a DIY electronics and 3D printing project. It requires printing, assembly, wiring, and software setup.
Check all wiring carefully before powering the device. Make sure the USB connection, display, and sensor are installed correctly.
The enclosure can be remixed and customized, but keep the light sensor exposed enough to measure the room lighting accurately.
Demo
YouTube Shorts demo:
https://youtube.com/shorts/8JuLW-chpVk?si=m6yf0mybeQ0pFj6V
GitHub: