Print-in-Place Nozzle Size Indicator with Clicks (3D Printer Top Mounted)

Description
IMPORTANT: I JUST MADE ANOTHER ONE. I HAD TO USE A PAIR OF PLIERS TO GET IT LOOSENED UP.
My FlashForge AD5M printer originally came with a 0.4 mm nozzle that had the nozzle size clearly engraved on the nozzle itself. When I decided to expand my printing capabilities, I purchased a third-party hot end that uses standard replaceable nozzles, along with a variety of nozzle sizes. Unfortunately, none of the replacement nozzles had their sizes marked.
It didn't take long to realize that it would be very easy to forget which nozzle was currently installed. Rather than constantly trying to remember the last one I installed, I decided what I really needed was a simple visual reminder.
That need turned into a fun design challenge.
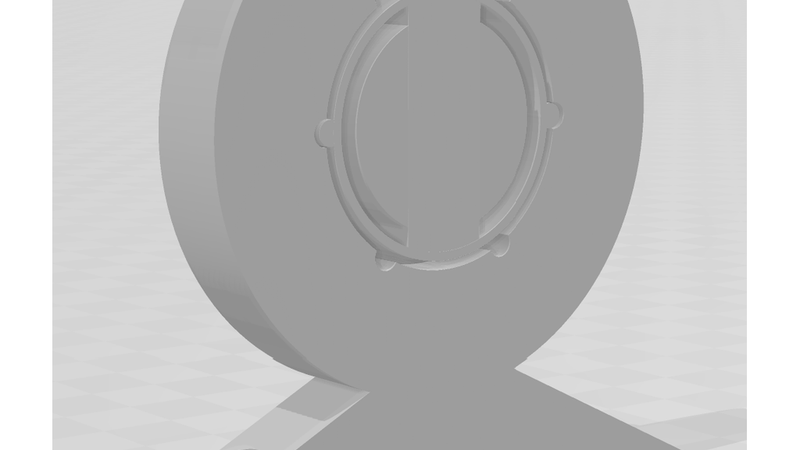
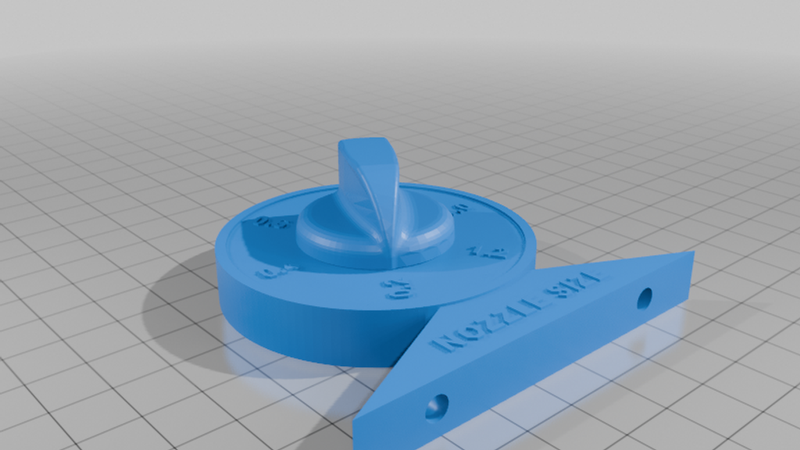
I had been wanting to create a 100% print-in-place mechanical design, and this project gave me the perfect excuse to learn how. While the mechanism itself is fairly simple, the primary goal was to improve my CAD skills by designing moving parts that print assembled and function immediately after printing. Since designing a knob for the indicator had nothing to do with my objectives, I grabbed the first nice knob I found on Thingiverse. The one I chose can be found here: https://www.thingiverse.com/thing:3187530
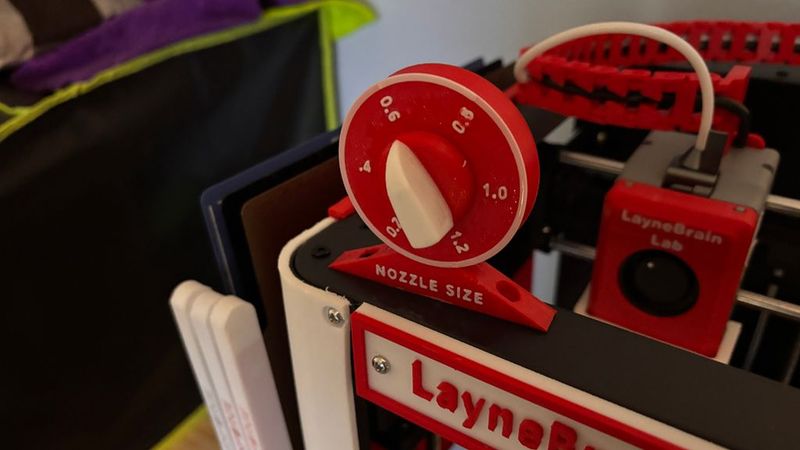
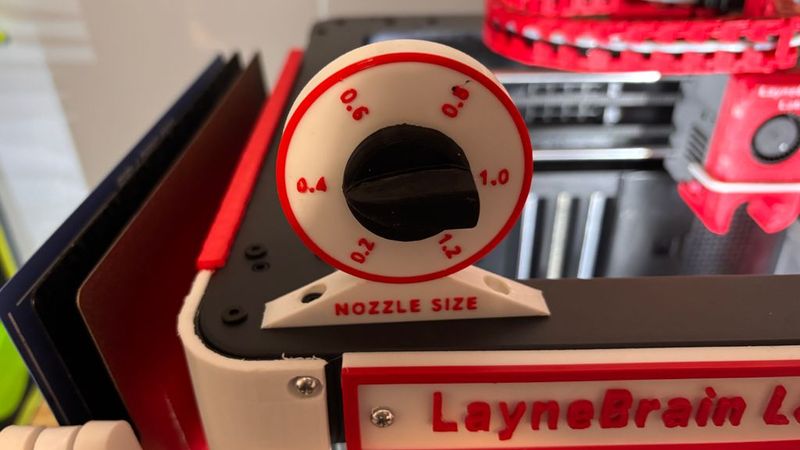
The indicator rotates and clicks positively into six positions, corresponding to the following nozzle sizes:
* 0.2 mm
* 0.4 mm
* 0.6 mm
* 0.8 mm
* 1.0 mm
* 1.2 mm
Simply rotate the indicator after changing your nozzle, and you'll always know which size is installed.
Print Settings
*Material: PETG or another durable filament is recommended.
*Nozzle: 0.4 mm
*Infill: 50%
*Supports: DO NOT USE SUPPORTS
Even if your slicer recommends supports, resist the temptation! The model was specifically designed to print without them. Supports will likely interfere with the print-in-place gear mechanism and prevent it from operating correctly.
Post-Processing
Once the print is complete, work the mechanism back and forth a few times, it may resist. To loosen a tight fit, push in and out along the axis of rotation. Applying a light coating of a dry spray lubricant, such as WD-40 Specialist Dry Lube, to the gears will make a dramatic difference in how smoothly the mechanism operates.
Final Thoughts
This isn't the most complicated print-in-place mechanism you'll find on Thingiverse, but it represents an important milestone for me. Every new design teaches something, and this one helped me gain confidence designing functional print-in-place assemblies.
And if you build this and don't like it or happen to have an incredible memory and never forget which nozzle is installed...
...it also makes a surprisingly satisfying little fidget toy. 😊
If you print one, I'd love to see your makes and hear your feedback. Happy printing!