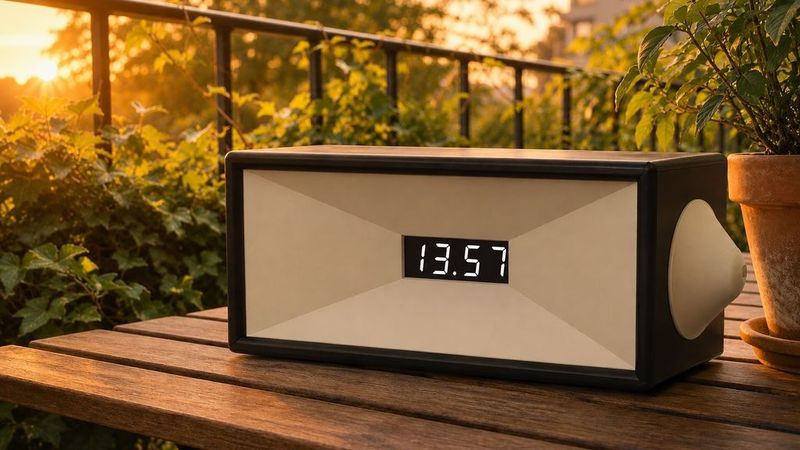
Arduino clock
Description
Project "AMK". Assembly Instructions.
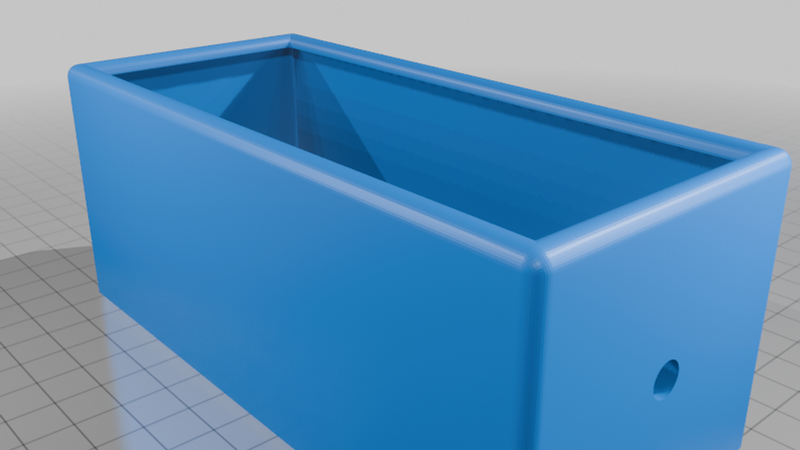
So, you have downloaded and printed all the parts needed for assembly. However, you need to make one more part. It is made from 2mm thick glass (you can use an old photo frame). Glass dimensions: 143mm by 63mm.
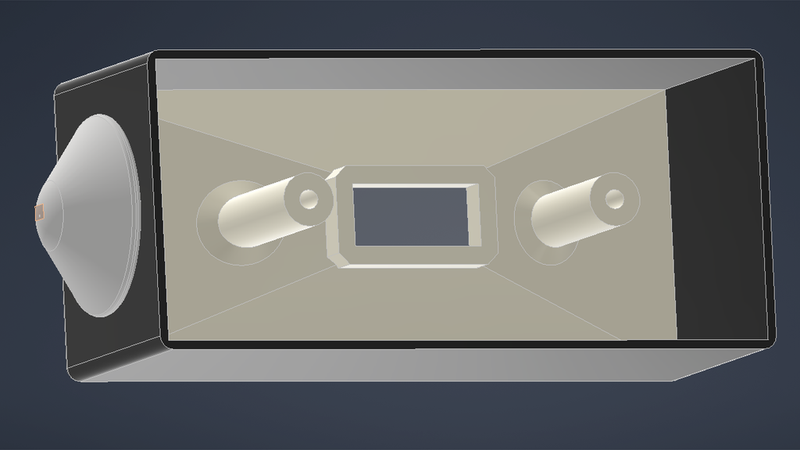
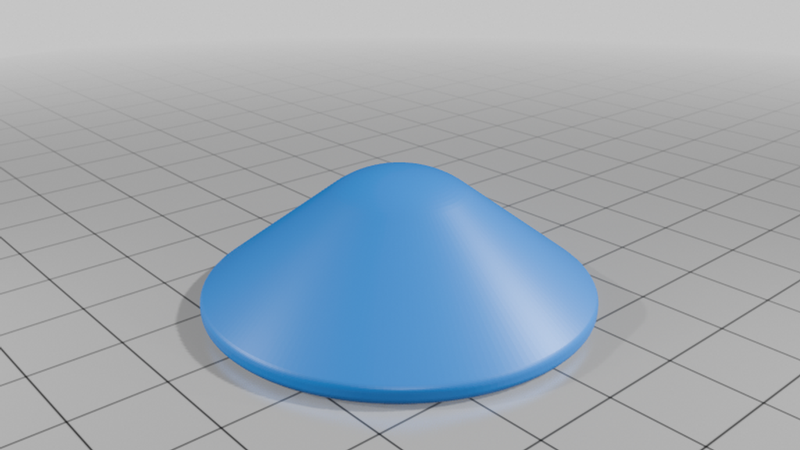
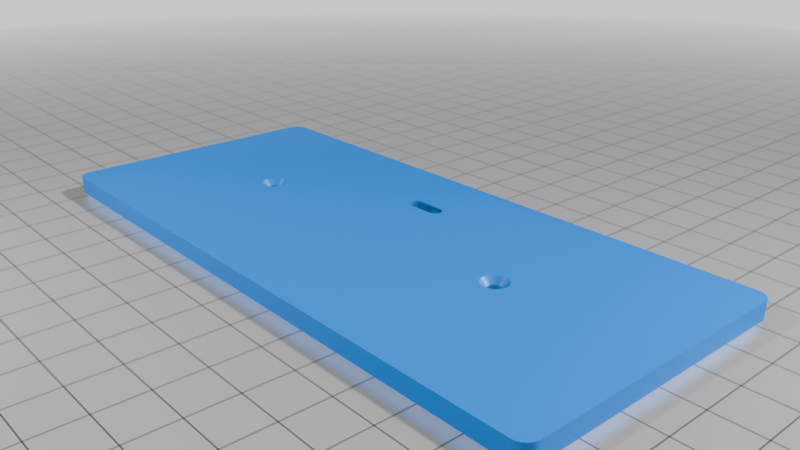
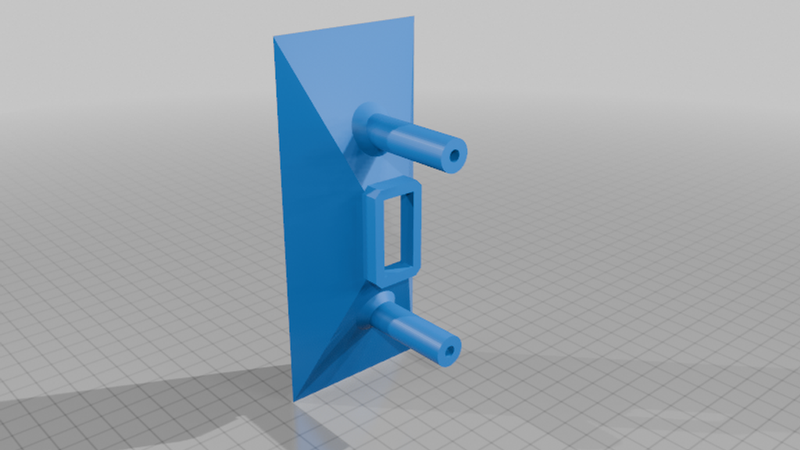
The rest of the case is assembled intuitively. First, insert the glass into the "body" part. Then place the "frame" part behind the glass. But before doing that, you need to heat-set M3 nuts into the "frame" and also insert the "3461AR" display into the center of this part. Then, once all the parts are in place, glue the "frame" part to the "body" part. Next, insert the HW-040 (KY-040) encoder into the hole in the case and tighten the nut. The back cover is designed for an Arduino Nano with a Type-C port.
I haven't written the firmware for this clock yet; so far I've only modeled the case.
by Alex Khodzinsky.
My Telegram: @bububutuktuktuk