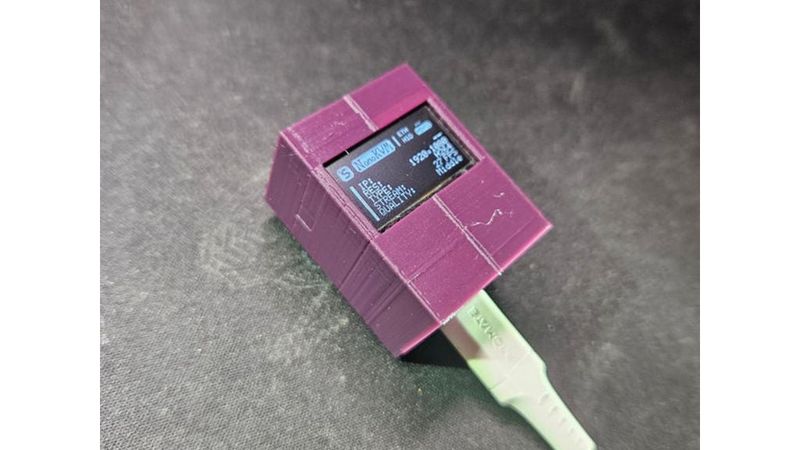
NanoKVM Lite Case with OLED Display
Description
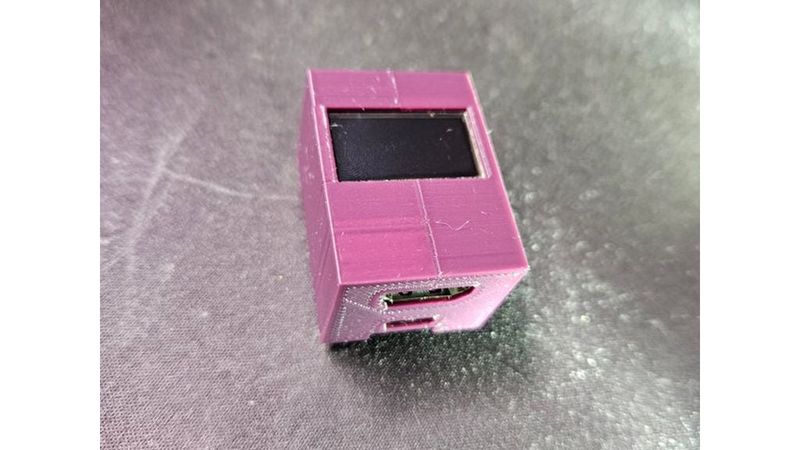
I designed this case for my personal NanoKVM Lite setup because I wanted a compact and clean enclosure that perfectly fits the OLED display. It turned out great, so I am happy to share it with anyone who needs it.
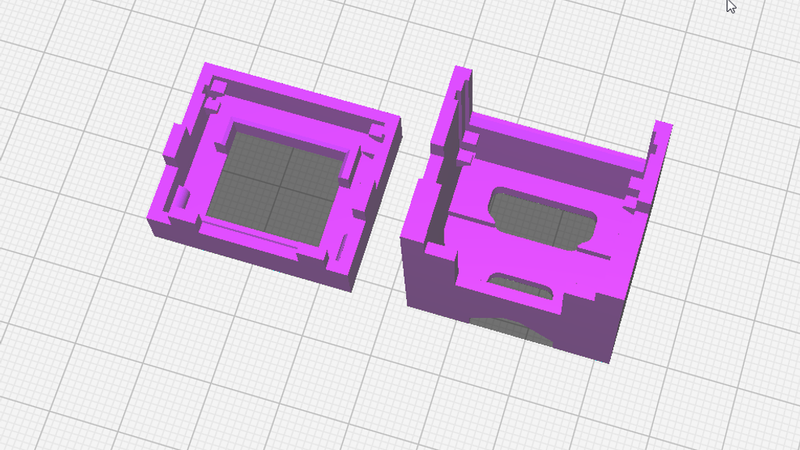
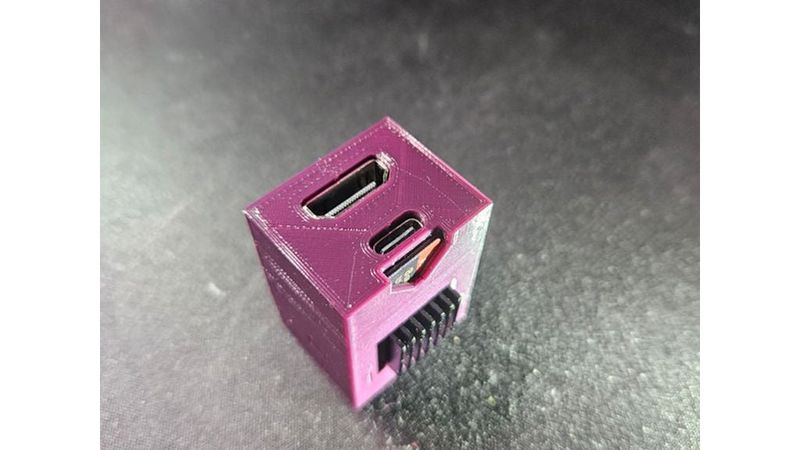
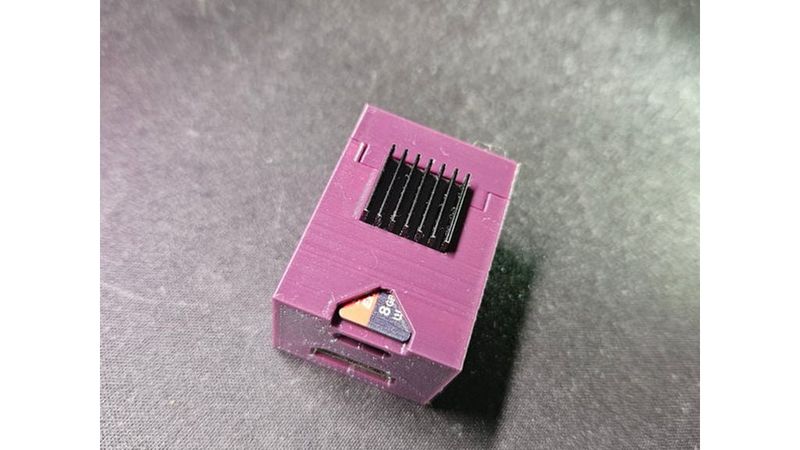
The case features a convenient snap-fit design and holds together with built-in clips, so you do not need any screws or hardware to assemble it. The model is also optimized to print completely without supports.
To achieve the best results, you can use the exact print settings I used for this model. Print with a layer height of 0.2 mm, set the wall thickness to 0.8 mm (2 wall lines), and use an infill density of 20%. I printed this using PLA at a nozzle temperature of 210 degrees Celsius and a build plate temperature of 60 degrees Celsius.
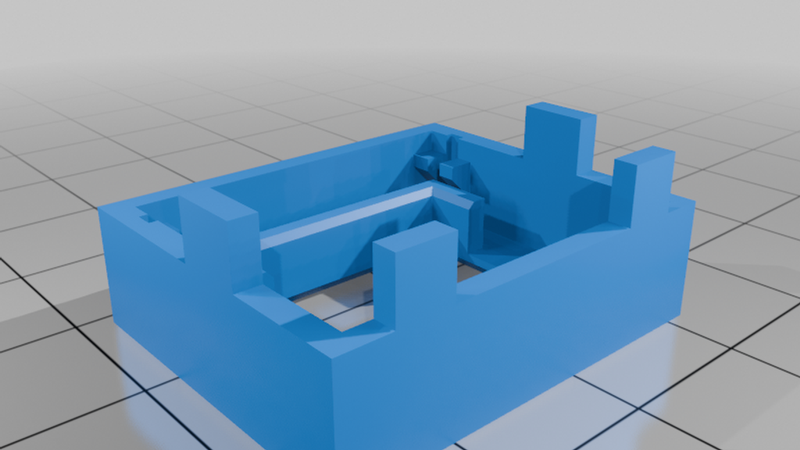
The display guide rails inside the case have tight tolerances. If your print has too many blobs, zits, or rough layer lines due to incorrect retraction or seams, the OLED screen might not slide smoothly into its slots.
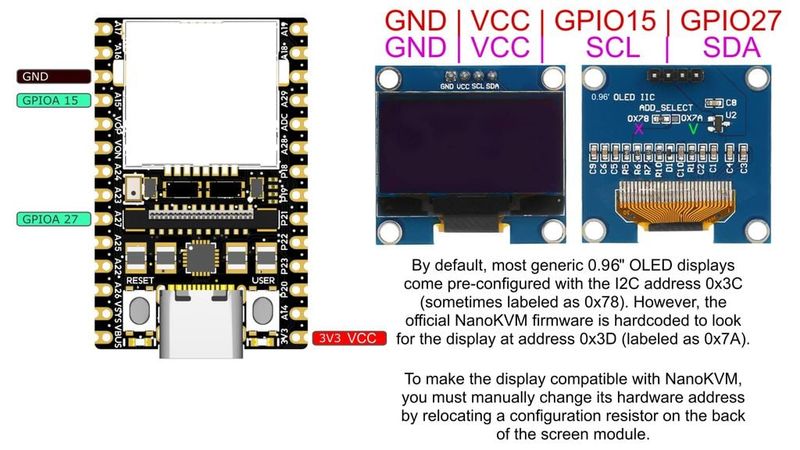
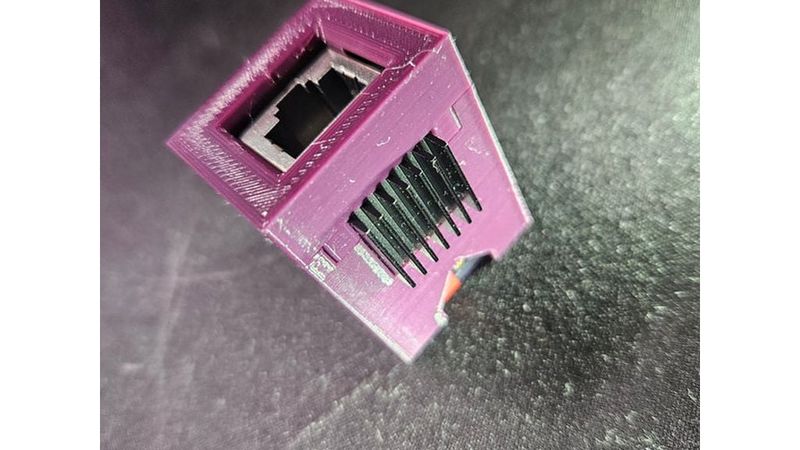
When assembling, make sure to use thin wires for soldering so they do not take up too much space inside the compact case. If your OLED display came with pre-installed male pin headers, you must desolder them completely. It is highly recommended to solder the wires directly to the pins of the NanoKVM board rather than the bottom side of the board. If you solder from the bottom, the solder joints will stick out and prevent the board from sitting flat and flush inside the case.
The official NanoKVM firmware is hardcoded to look for the display at address 0x3D, which is often labeled as 0x7A on the back of the screen. Most generic 0.96 inch OLEDs come set to 0x3C or 0x78 out of the box. To make it work, you must resolder or relocate the configuration resistor on the back of the OLED module to the 0x7A position, as shown in the provided instruction image.