PicoKeys - Raspberry Pi Pico MIDI Keyboard


Description
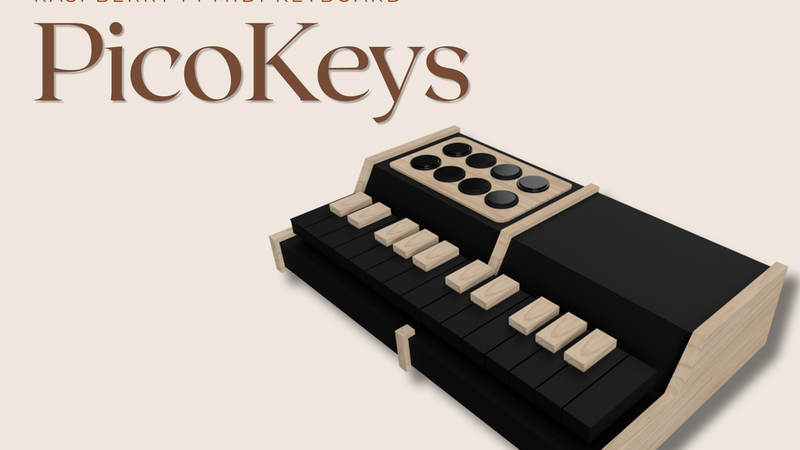
PicoKeys
Raspberry Pi Pico 2 USB MIDI Keyboard
Hello! This is Matthew from Canada.
I am currently a Grade 12 student, and I started this project as my engineering final project. After finding the Pico Builders Challenge, I thought it would be a fun idea to take the project further and submit it here as well.
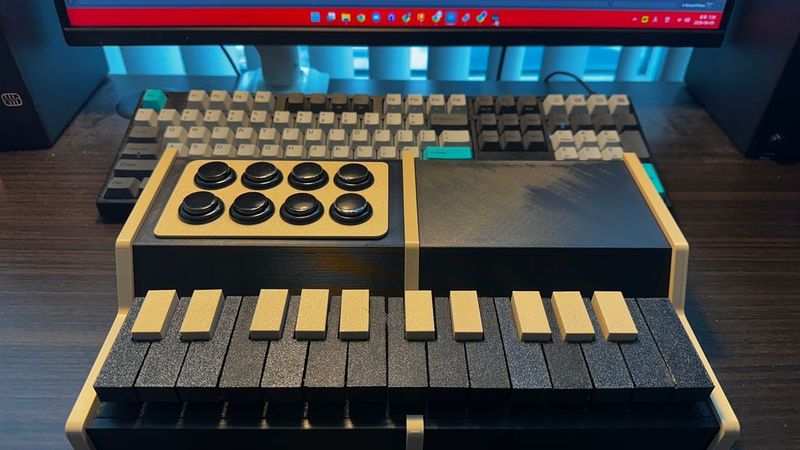
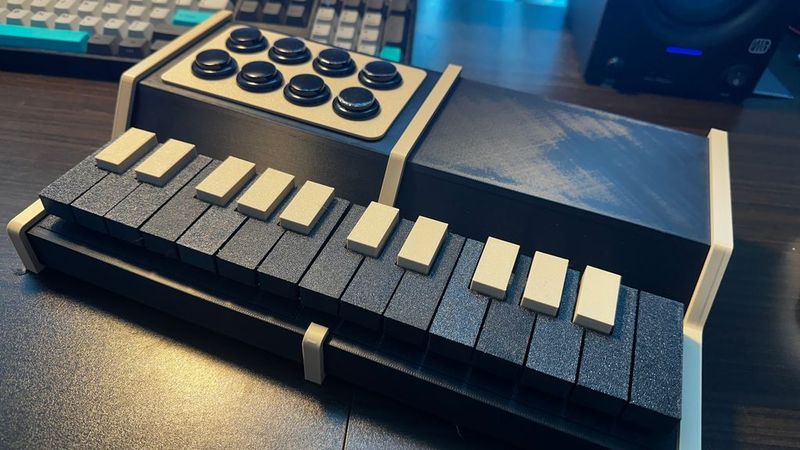
PicoKeys is a compact USB MIDI controller built with the Raspberry Pi Pico 2. It includes 25 keyboard keys and 8 arcade-button drum pads. The keyboard covers two octaves plus one extra C, and the drum pads are mapped to common drum sounds such as kick, snare, hi-hats, crash, ride, and toms.
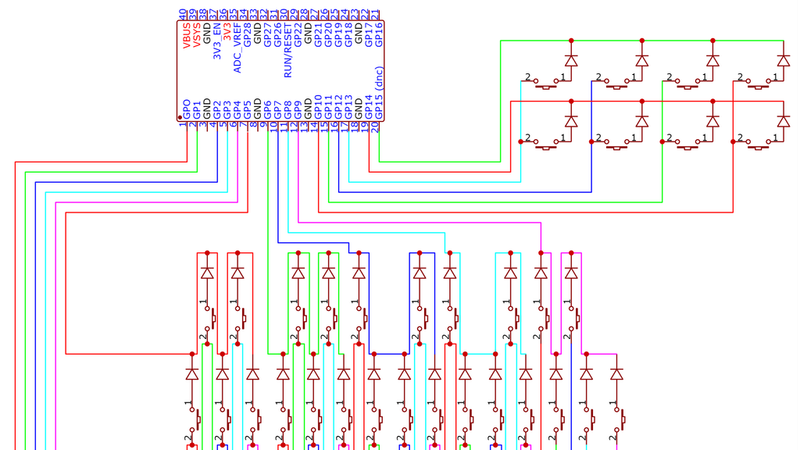
The keyboard uses a 5×5 diode matrix, while the drum pads use a separate 2×4 diode matrix. The Pico 2 runs an Arduino IDE firmware sketch and appears as a USB MIDI device when connected to a computer.
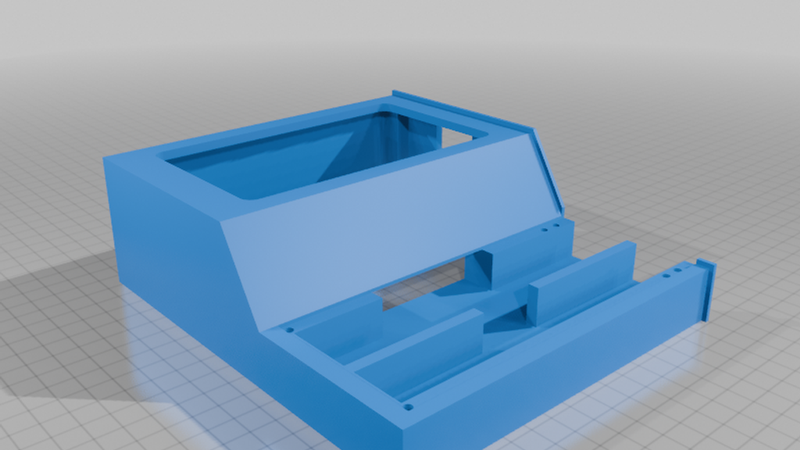
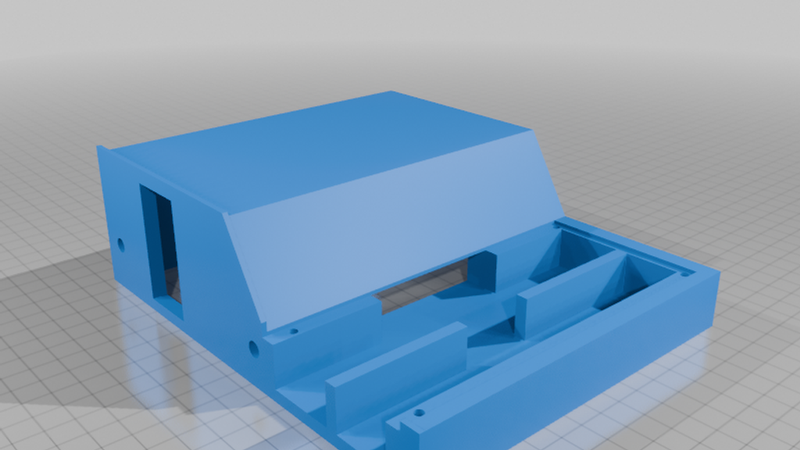
I designed the case, key layout, switch mounts, button panel, keycaps, and assembly structure to be 3D printable. Preparing this project for the challenge was really fun and meaningful because it let me combine CAD modeling, electronics, soldering, firmware, and music into one project.
Video
(Sorry I am really new to piano! 😅😅 Also, you can bind any instruments on the drumpads.)
Features
* Raspberry Pi Pico 2 based USB MIDI controller
* 25-key keyboard layout, covering two octaves plus one extra C
* 8 arcade-button drum pads
* 5×5 keyboard diode matrix
* 2×4 drum pad diode matrix
* Arduino IDE firmware included (You will need to download MIDI Library to use it)
Bill of Materials (BOM)
Electronics
* Raspberry Pi Pico 2 × 1
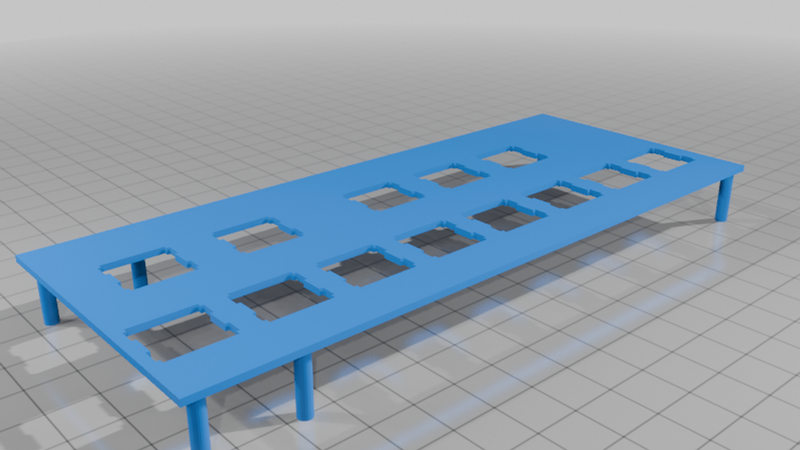
* Mechanical key switches × 25
* Arcade buttons × 8
* 1N4148 diodes × 33
* Wire
* Solder
* USB data cable × 1
3D Printed Parts
* Main case parts × 1 set
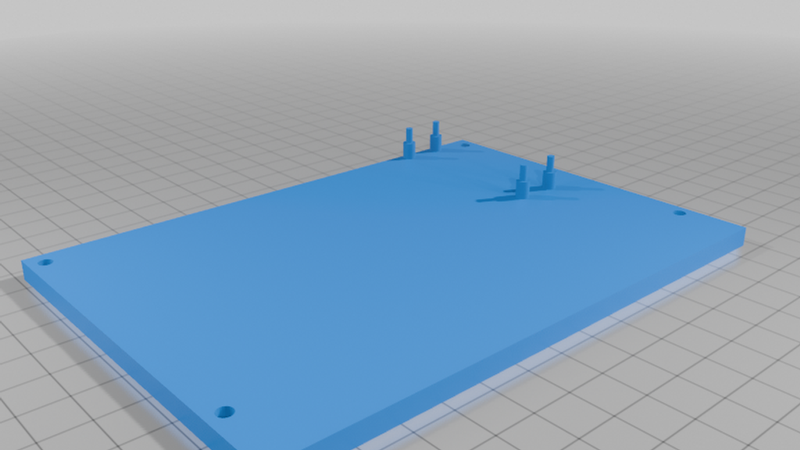
* Bottom panels × 1 set
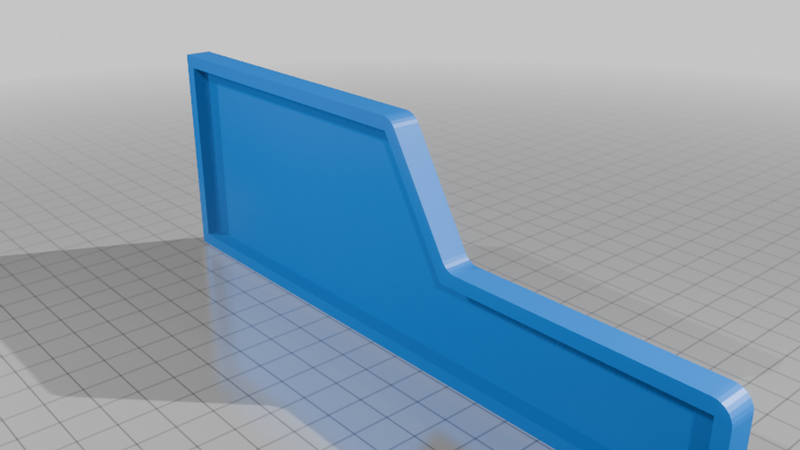
* Side panels × 1 set
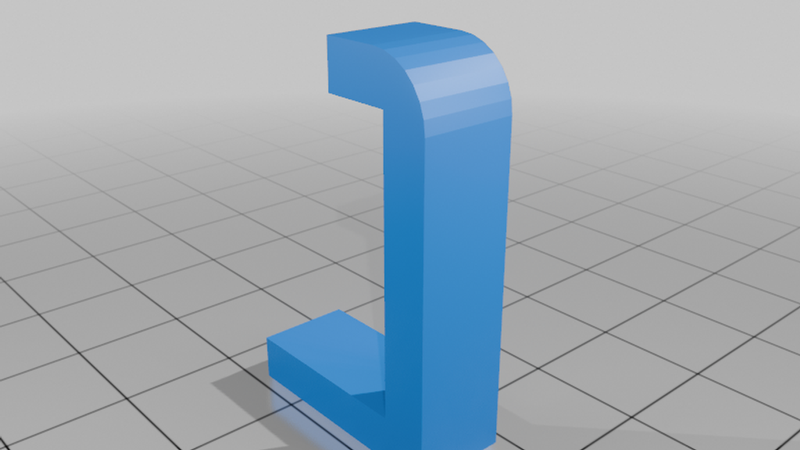
* Switch mounts × 1 set
* Button panel × 1
* Keycaps × 25 (Keys.zip file)
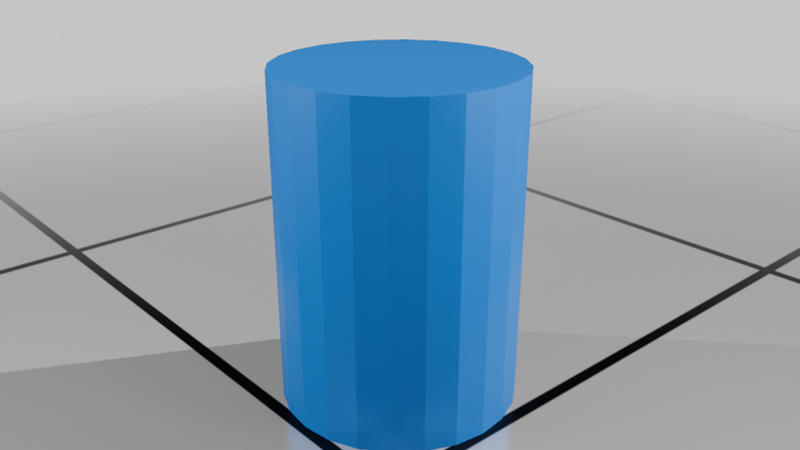
* Alignment pins × 3
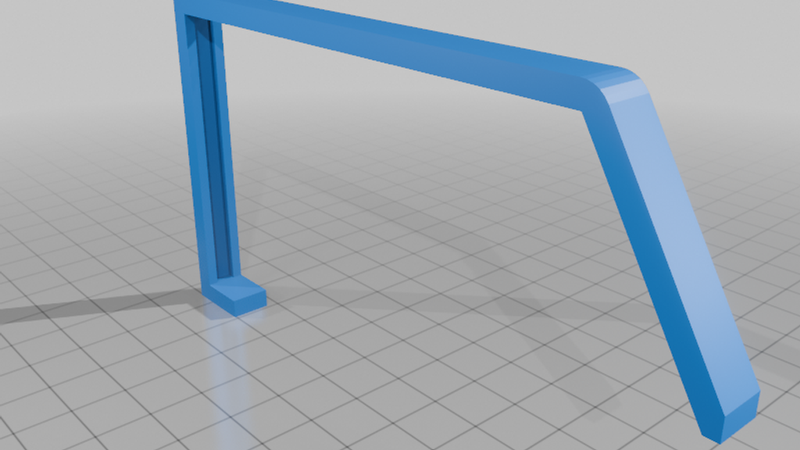
* Bindings × 1 set
* Pico pin covers × 4
Hardware
* 3.5 mm screws × 8
* Glue, optional
BOM Notes
* The 1N4148 diodes are used to prevent ghosting in the keyboard and drum pad matrices.
* The keyboard uses a 5×5 diode matrix.
* The drum pads use a separate 2×4 diode matrix.
* A data-capable USB cable is required for programming and USB MIDI use.
* Glue is optional and only needed if the printed panels fit loosely.
* I used Outemu Red Cherry MX-compatible switches for the keyboard.
Included Files
* STL files for the printed parts
* STEP source files
* Assembly Guide PDF
* Circuit schematic PNG
* Arduino IDE firmware sketch
Notes
* Keys in the same position across octaves use the same model. For example, the C key in the first octave and the C key in the second octave are identical in size and shape.
* The sharp keys are also identical to each other, so you can import one sharp key model and duplicate it 10 times.