Baymax Animatronic powered by Raspberry Pi Pico


Description
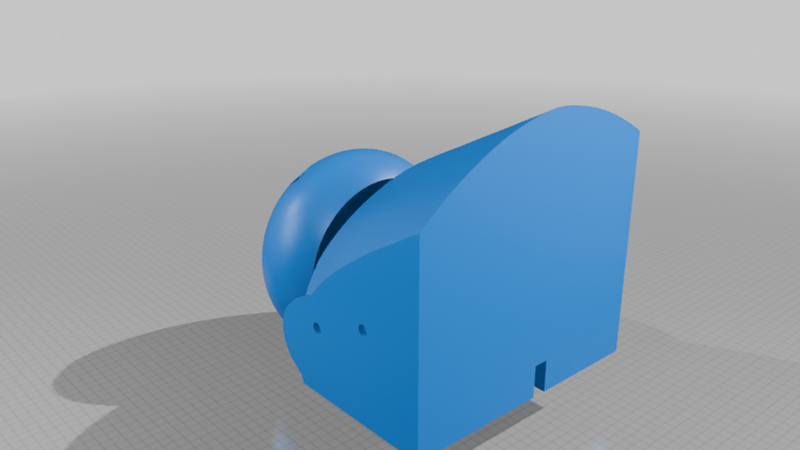
These are the 3D files, BOM, and code to the Big Hero 6 Baymax animatronic as shown here and here.
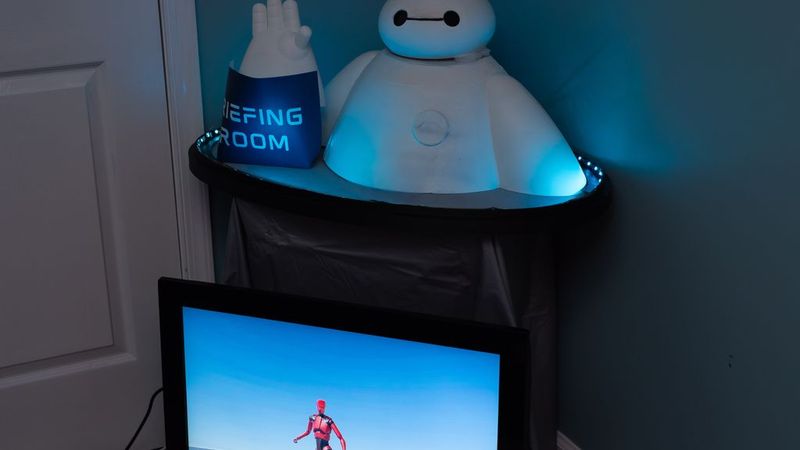
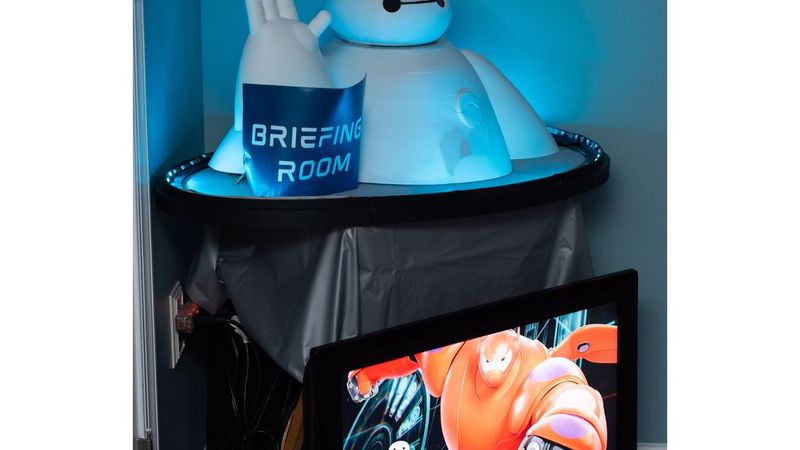
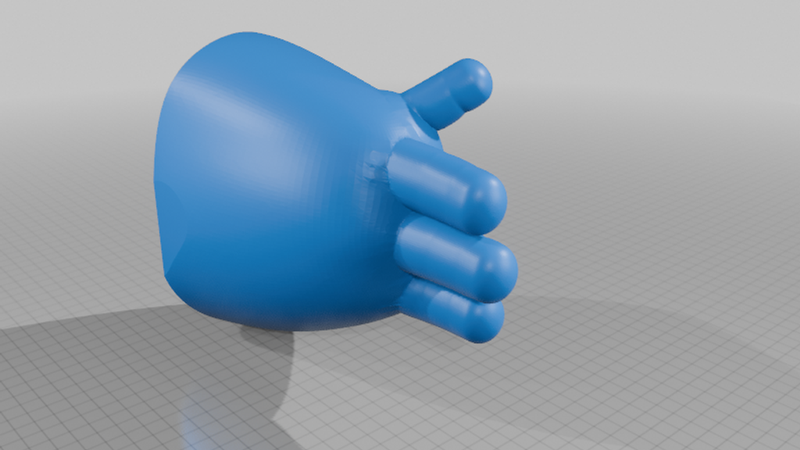
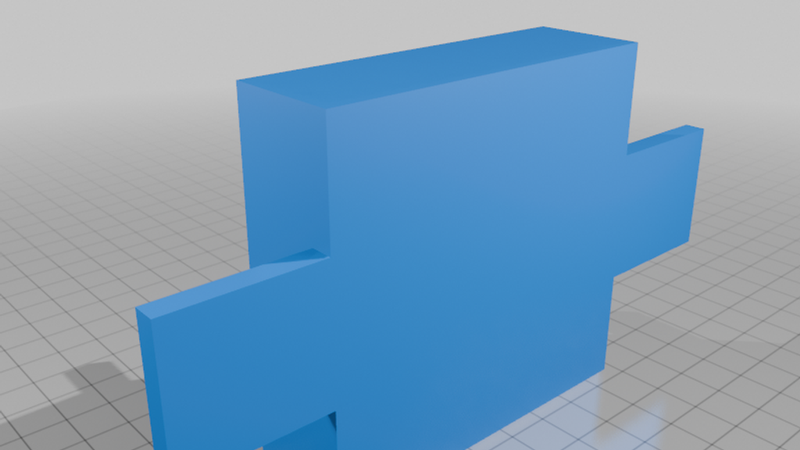
This Baymax has 4 degrees of freedom in the head rotation, hand rotation, hand up and down, and hand side to side, along with two TFT LCD screens for eyes. All 3D printed parts were printed on a Bambulabs A1, but whatever printer you have should work so long as the printer has a sufficient build volume. If the build volume of your printer is too small, the Fusion 360 files are included so you can split the mesh to fit the printer. The arm is a remix of this, see that link for more arm-related details.
Materials:
Around 1 to 1.5 kg filament
2x Pi Pico (any type)
Adafruit PCA9685 Servo driver
2x 1.28" Round LCD TFT displays
4x full size servo motors (the nicer they are, the quieter they will be, but some motor sounds from Baymax are fine.)
4x M3 Ball joints like these
M3 Threaded Rod
Assorted M3 screws
2x Pi Pico (any type)
Adafruit PCA9685 Servo driver
2x 1.28" Round LCD TFT displays
Some sort of base
Printing:
All parts were printed from Overture White PLA at 0.20mm layer height. The infill for the hand was 25%, and the body and head were 3% to reduce filament usage. the body should not need supports but the hand and head should have them enabled.
(Tip: If you have manual control over the supports, the "nose" of the head, or the lip between the eyes, might not actually need supports depending on your printer, so you can paint a support blocker there.)
Painting and Assembly:
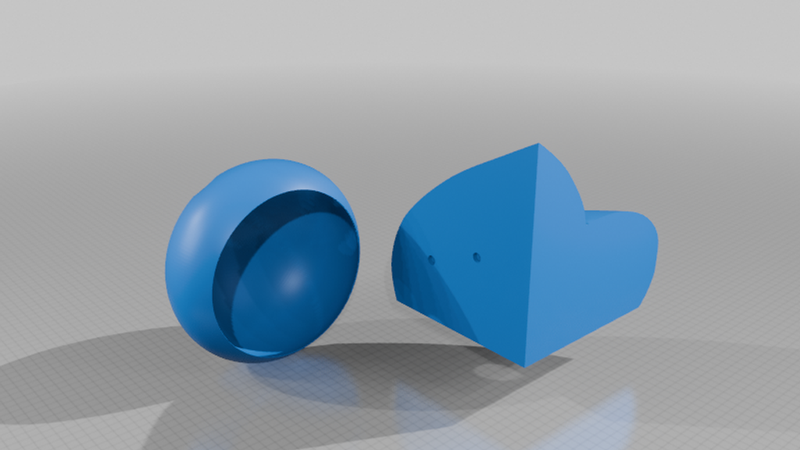
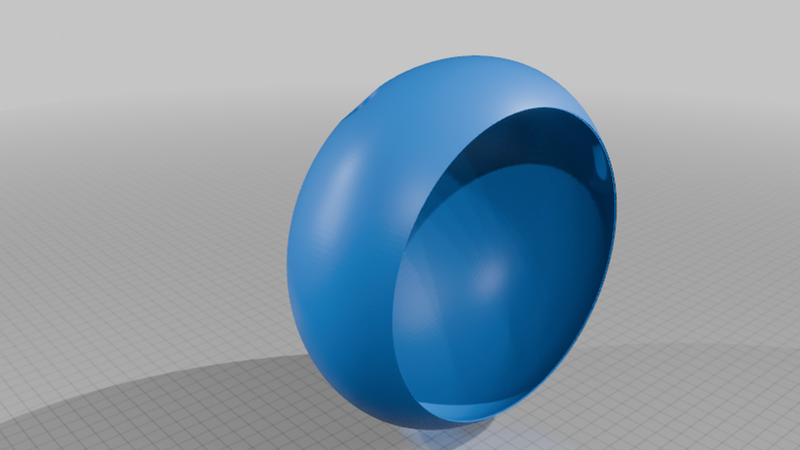
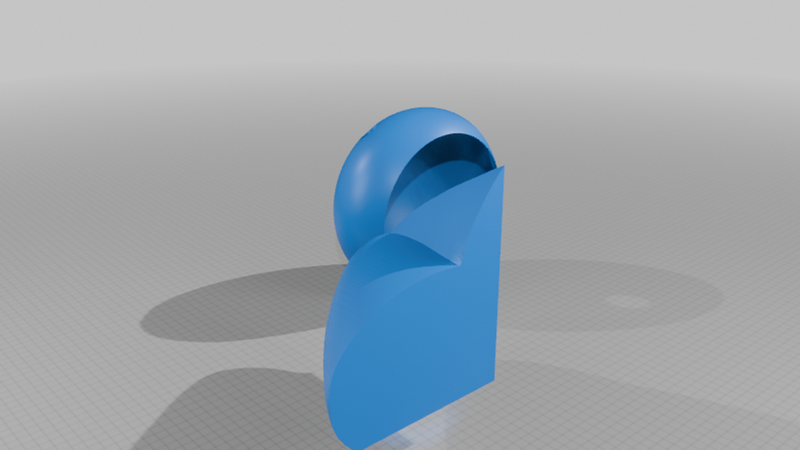
Head:
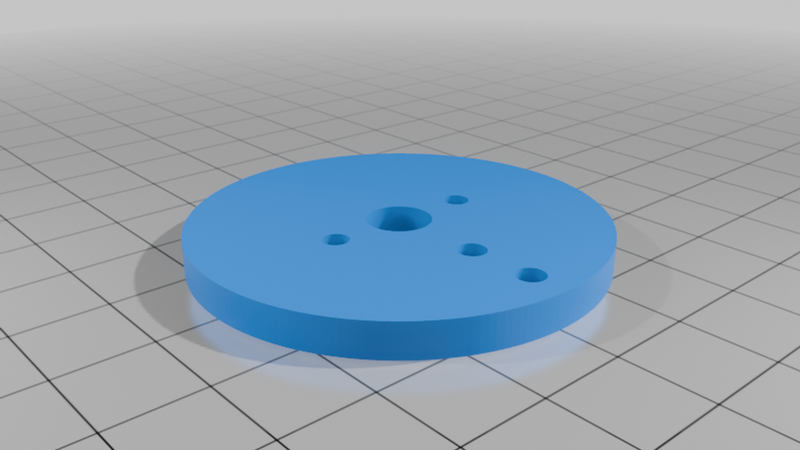
Give the head a coat of white paint if necessary, then paint the nose/lip line black. Wire each of the displays to the SPI pins on the Pico (they can be on the same port because they are displaying identical images). Glue the Pico and if necessary a breadboard to the back of head. Glue the "Stand.stl" to the and "Rotation Horn.stl" to the center of the head. Before you loose access to the head Pico, upload the code (see below) and breakout the power wires and/or USB.
Body:
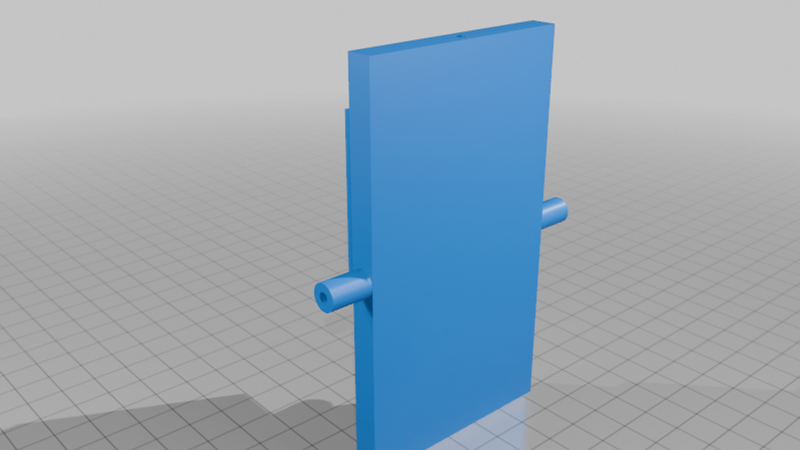
Give the aesthetic prints a nice coat of primer and white paint if you need, then glue Baymax's body together using your adhesive of choice. Then, insert the servo into the head so the output shaft is towards the front. Finally, attach the head to the shaft. I also needed to add some foam around the edge of the head to prevent vibrations.
Arm:
See the instructions here but instead of a ghost, attach an arm!
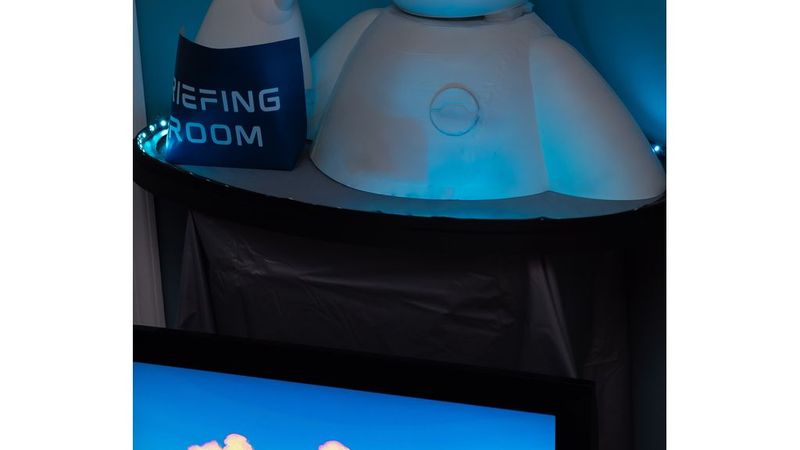
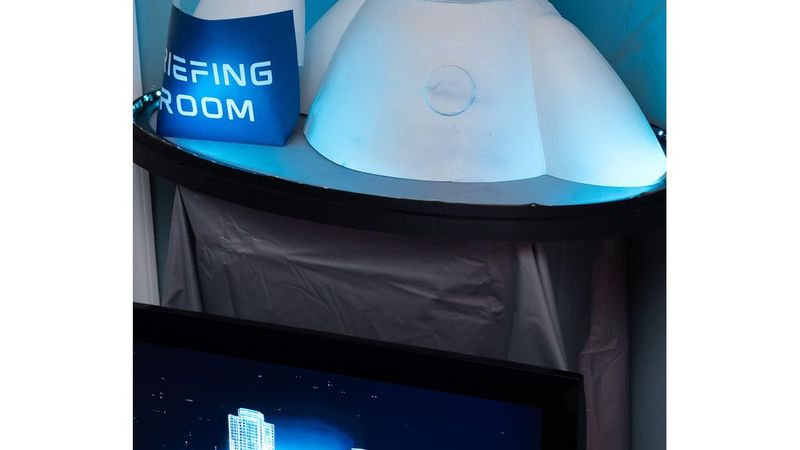
Base:
I used a sheet of particle board cut into an oval with some LEDs around the edge for extra effect, but do whatever suits you! Depending on the violence of the animation you create, you may need to secure parts of the animatronic to the base.
Wiring:
Pretty simple! Just follow the Adafruit tutorials for the driver and set the pin numbers you choose up in the Bottango project.
Software:
Eyes:
The eyes code is simple: It plays a gif. Choose or make a simple eye moving gif, then upload the "baymax_eyes.ino" file. For more info, see the Adafruit website for some good tutorials.
Servos:
You can customize the animation in Bottango, which has a really good documentation on all of it's features (I won't link it because you can access it in the app and it will be updated). Then just follow their instructions for exporting to an Arduino/Pico or use the provided file (be sure to check your pin numbers!)