Pico-board
Description
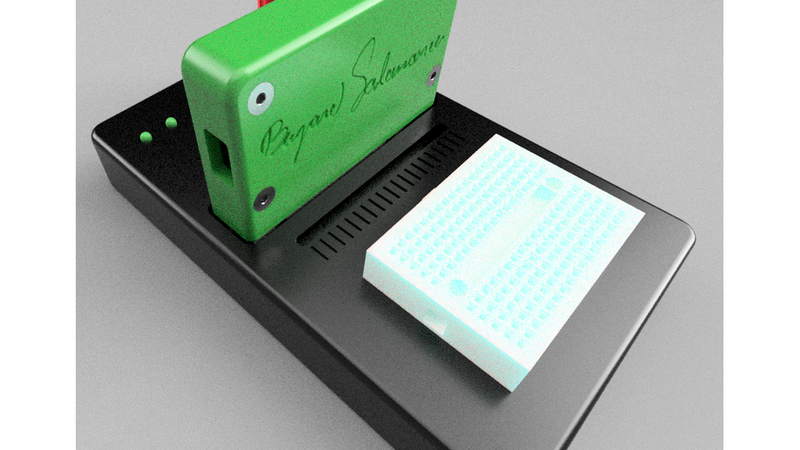
Pico-Board
One Controller. Unlimited Projects.
Pico-Board is an educational development platform that transforms the Raspberry Pi Pico into a reusable learning and prototyping system.
Built around the Pico Cartridge ecosystem, Pico-Board helps students, makers, educators, and first-time electronics enthusiasts rapidly experiment, learn electronics, and develop projects without repeatedly rewiring their microcontroller.
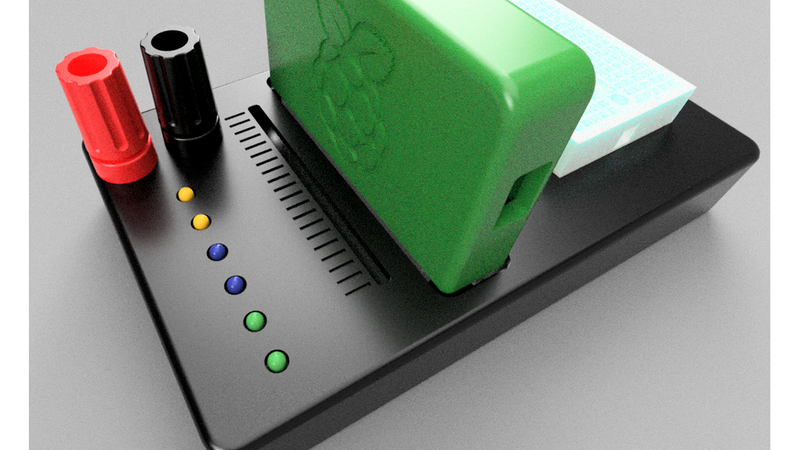
By combining a modular Pico Cartridge interface, a solderless breadboard, power terminals, indicator LEDs, and a universal prototyping area, Pico-Board creates a friendly environment where ideas can quickly become working projects.
Inspired by retro game cartridges and professional development kits, Pico-Board allows users to insert a Pico Cartridge and immediately begin experimenting, learning, and building.
Why It Matters
Many beginners purchase a Raspberry Pi Pico but never move beyond their first blinking LED because wiring, prototyping, and hardware setup can feel overwhelming.
Pico-Board lowers that barrier by providing a simple, reusable, and approachable platform where users can focus on learning and creating instead of troubleshooting connections.
The result is a faster, safer, and more enjoyable introduction to electronics, programming, automation, and embedded systems.
Learn Electronics Through Curiosity
Pico-Board was created with a simple mission:
Help more people discover, learn, and build with the Raspberry Pi Pico.
Technology becomes truly powerful when it is accessible.
Many beginners are intimidated by electronics, wiring, programming, and embedded systems. Pico-Board reduces that barrier by providing a simple and approachable platform where ideas can become reality.
We believe that learning starts with curiosity.
A blinking LED can become a sensor project.
A sensor project can become a robot.
A robot can become a career.
Those small moments of discovery are often the beginning of a lifelong passion for engineering, science, and innovation.
Pico-Board was designed to spark that sense of wonder.
Educational Value
Pico-Board helps users learn:
* Digital outputs
* Basic electronics
* Circuit prototyping
* Sensor integration
* Programming fundamentals
* Embedded systems development
* Rapid hardware prototyping
* STEM concepts
* Robotics fundamentals
* IoT development
Features
* Compatible with Pico Cartridge modules
* Plug-and-play cartridge installation
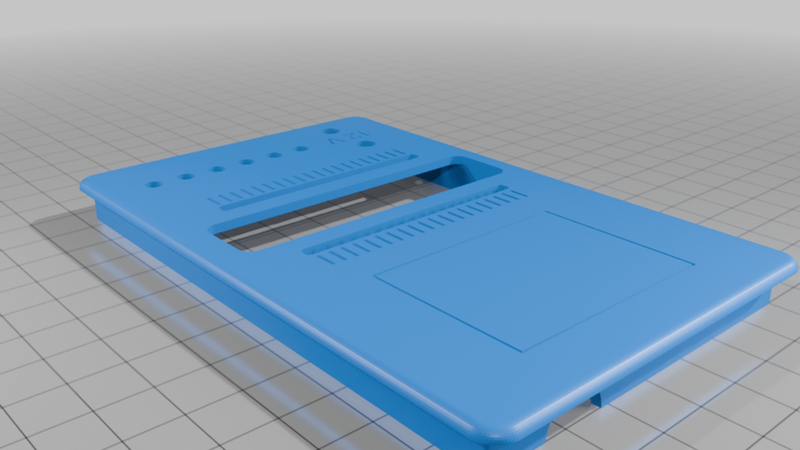
* Integrated mini breadboard area
* Universal prototyping PCB area
* Quick-access power terminals
* Six status LEDs for experimentation
* Compact desktop footprint
* Fully 3D printable enclosure
* Educational and maker-friendly design
* Reusable Raspberry Pi Pico architecture
* Rapid prototyping platform
* Expansion-ready ecosystem
Applications
Pico-Board can be used for:
* Electronics education
* Raspberry Pi Pico development
* Learning programming
* Sensor testing
* IoT projects
* Robotics prototyping
* Home automation
* Embedded systems development
* STEM education
* Rapid hardware experimentation
Design Philosophy
One Controller. Many Projects.
Instead of dedicating a Raspberry Pi Pico to every project, the Pico becomes a removable cartridge that can be inserted into any compatible Pico Cartridge device.
This approach provides:
* Faster development
* Reduced hardware cost
* Easier maintenance
* Better protection for the microcontroller
* Cleaner wiring
* Improved reusability
* A consistent hardware platform
The Pico Cartridge project can be found here:
https://www.thingiverse.com/thing:7363449
Hardware Features
* Pico Cartridge interface
* Mini breadboard mounting area
* Universal prototyping PCB area
* Positive power terminal
* Negative power terminal
* Six status LEDs
* Expansion-ready architecture
* Compact desktop design
* Educational-friendly layout
Bill of Materials (BOM)
| Qty | Item |
| --- | ----------------------------------------------- |
| 1 | Pico Cartridge |
| 1 | Mini Breadboard (170 tie-points) |
| 1 | Universal Prototype PCB (Perfboard / Veroboard) |
| 1 | IDC 2x20 Connector (40-pin IDC) |
| 2 | 20-pin Male Headers |
| 2 | 4 mm Banana Binding Posts |
| 6 | 5 mm LEDs |
| 6 | 1 kΩ Resistors |
| 4 | M3 Heat Set Inserts |
| 4 | M3x5 Screws |
| 1 | Solder Wire |
| - | Basic Hand Tools |
| - | Wire Cutters |
| - | Screwdriver |
| - | Soldering Iron |
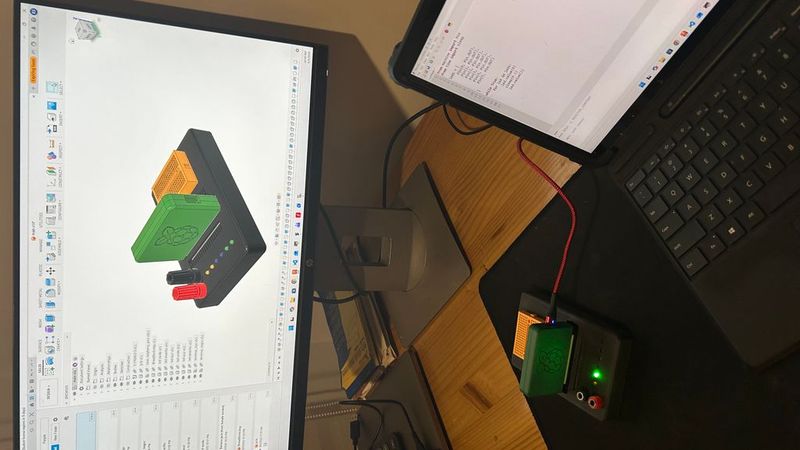
Assembly
1. Prepare the Pico Cartridge
Print and assemble the Pico Cartridge according to its assembly instructions.
Pico Cartridge:
https://www.thingiverse.com/thing:7363449
2. Install the Heat-Set Inserts
Install:
* 8 × M3 heat-set inserts
into the Pico-Board enclosure.
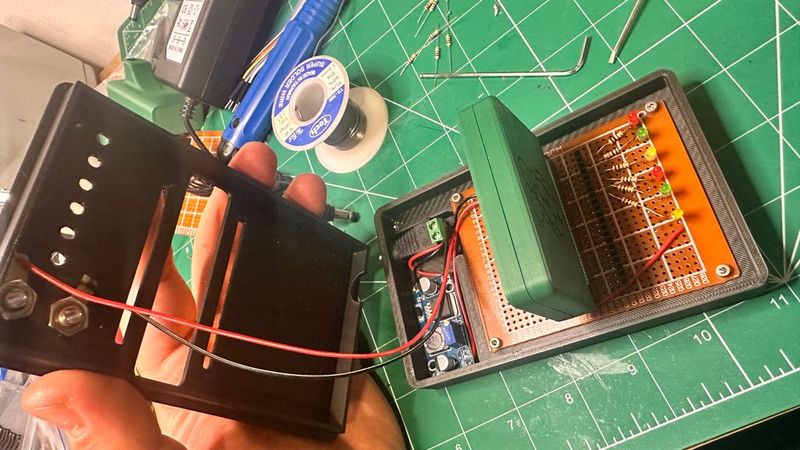
3. Install the Hardware
Mount:
* Breadboard
* Universal PCB
* Banana terminals
* LEDs
* IDC connector
using the provided mounting locations.
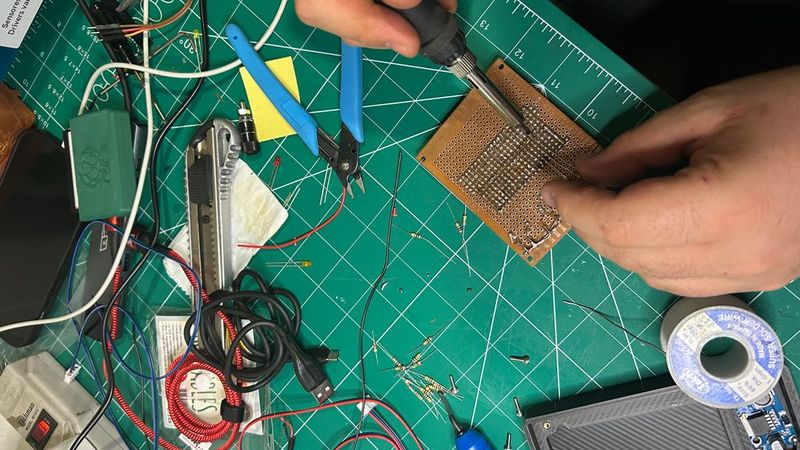
4. Solder the Electronics
Solder:
* Two 20-pin male headers
* IDC connector
* LEDs
* Resistors
* Any optional circuitry
to the universal prototyping PCB.
5. Mount the Components
Secure all components using:
* 4 × M3x5 screws
* 4 × M3x12 screws
6. Insert the Pico Cartridge
Install the Pico Cartridge into the Pico-Board connector interface.
The platform is now ready for programming, experimentation, and learning.
Why Pico-Board?
* Plug-and-play development
* Modular architecture
* Reusable Raspberry Pi Pico platform
* Easy hardware experimentation
* Educational-friendly design
* Professional appearance
* Fast project deployment
* Ideal for STEM learning
* Designed to inspire curiosity and innovation
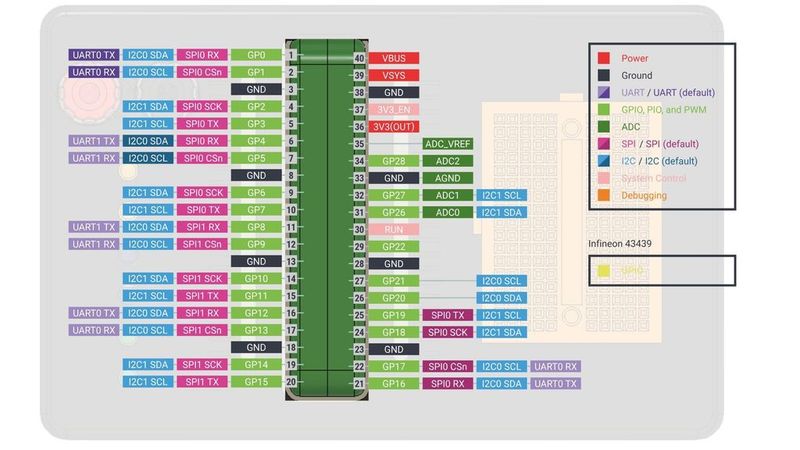
Source:
- Raspberry Pi Pico Pinout Diagram
https://datasheets.raspberrypi.com/pico/Pico-R3-A4-Pinout.pdf
- Raspberry Pi Pico Documentation
https://www.raspberrypi.com/documentation/microcontrollers/pico-series.html
© Raspberry Pi Ltd. Raspberry Pi and Raspberry Pi Pico are trademarks of Raspberry Pi Ltd.
Designed in Colombia
Designed and developed by Bryand Salamanca.
Created to help more people discover electronics, programming, automation, and engineering through hands-on experimentation.
Because every great project begins with a moment of wonder.