Pico-Cut

Description
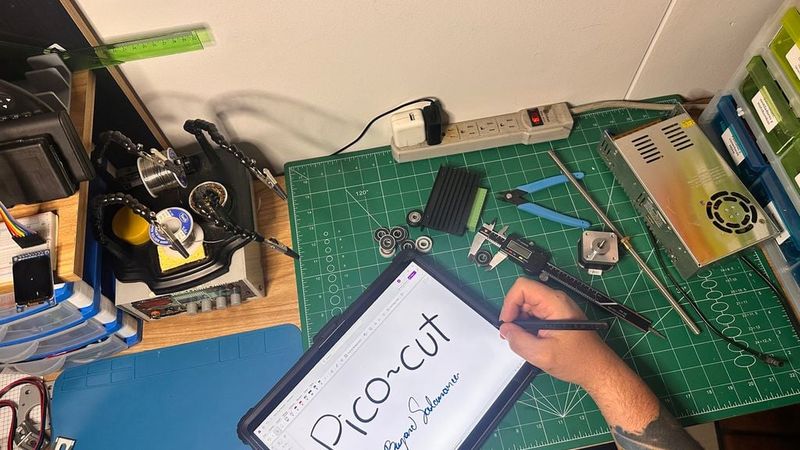
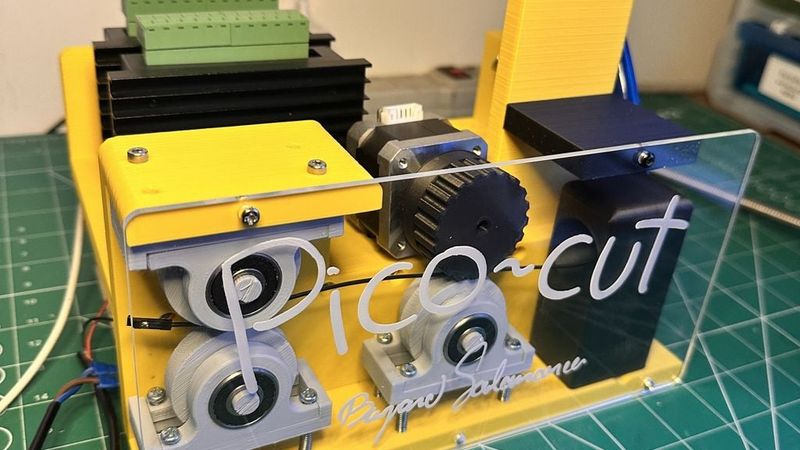
Pico Cut
Open-Source Smart Wire Cutting Platform
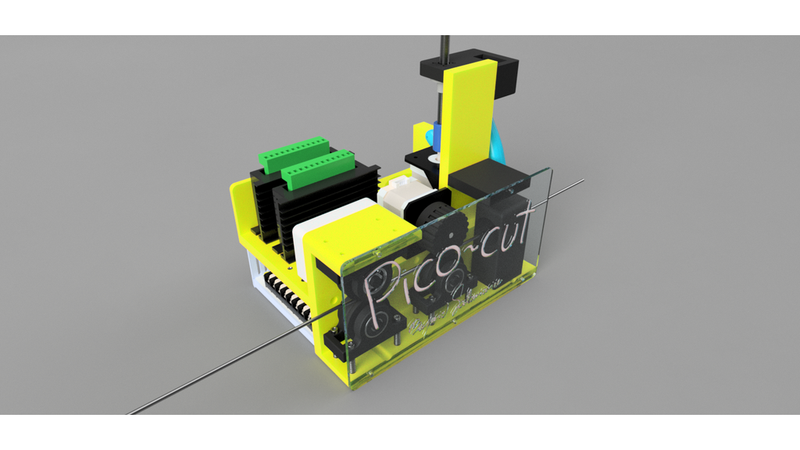
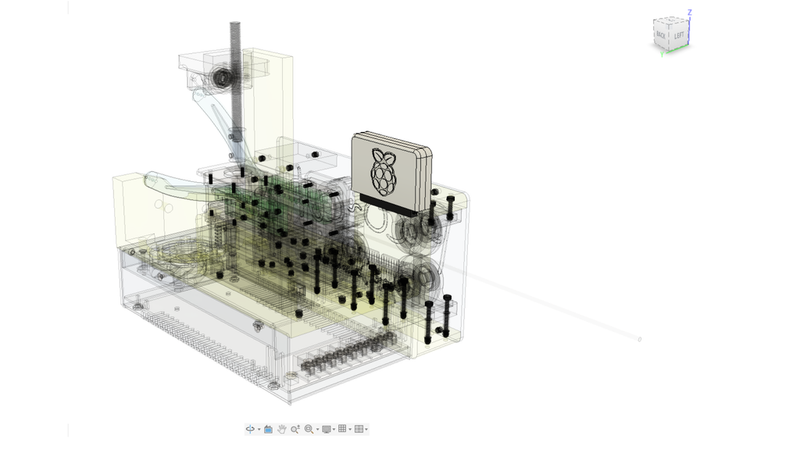
Pico Cut is an affordable, open-source wire-cutting machine powered by the Raspberry Pi Pico ecosystem.
Designed for makers, students, educators, and small workshops, Pico Cut demonstrates how industrial automation concepts can be implemented using accessible hardware, 3D-printed components, and open-source software.
Traditional wire processing equipment is often expensive and difficult to customize. Pico Cut provides a low-cost alternative that allows users to learn, experiment, and build their own automated wire-cutting solutions.
The entire platform is designed around modularity, affordability, and educational value.
Features
* Raspberry Pi Pico powered
* Automatic wire feeding
* Automatic cutting operation
* Independent motor control
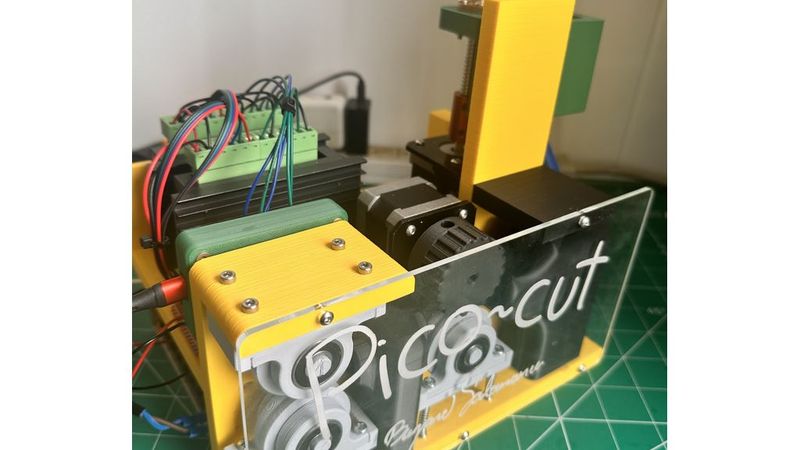
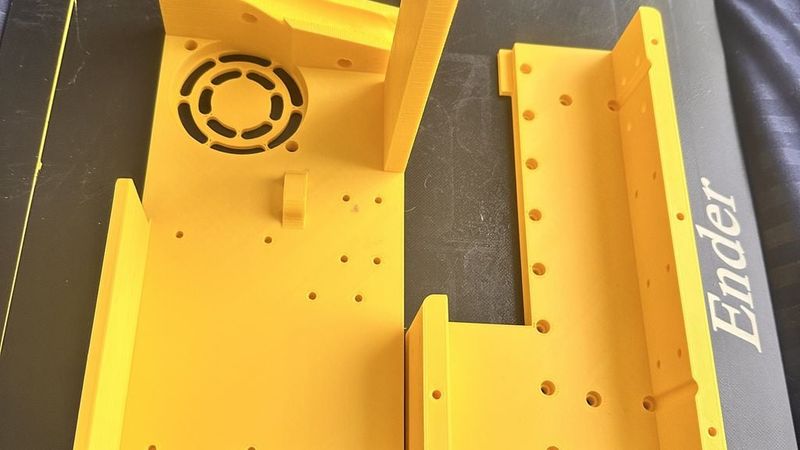
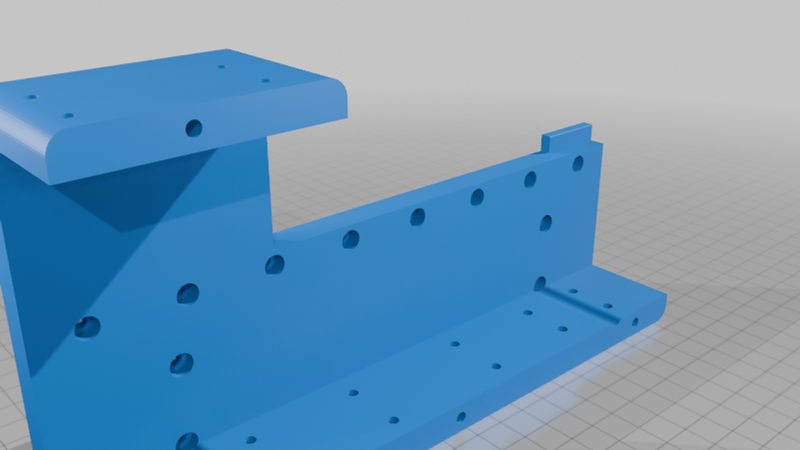
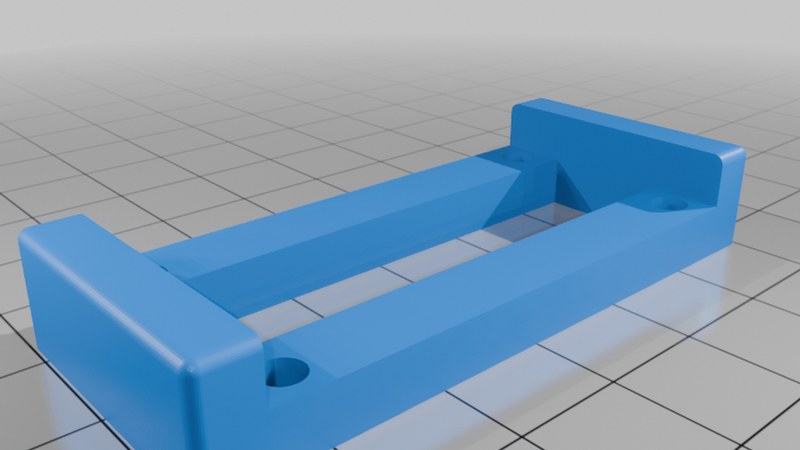
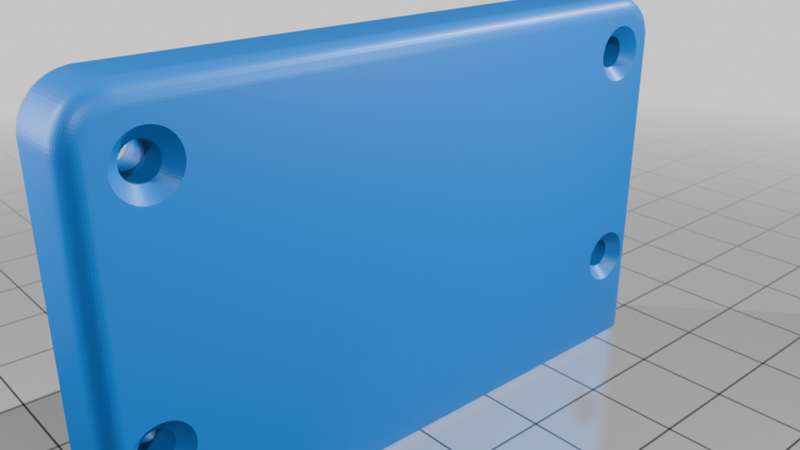
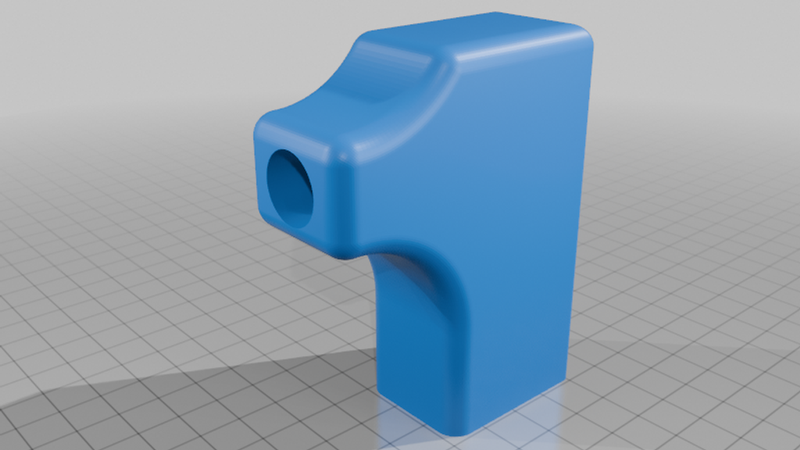
* Fully 3D printable structure
* Modular and expandable architecture
* Open-source hardware and software
* Educational manufacturing platform
Educational Benefits
Pico Cut combines multiple engineering disciplines into a single project:
* Mechanical Design
* 3D Printing
* Embedded Programming
* Electronics
* Motion Control
* Automation
* Manufacturing Technologies
* Rapid Prototyping
Whether you are learning electronics, programming, CAD design, or automation, Pico Cut provides a practical platform to explore real-world engineering concepts.
Why Pico Cut?
Automation should not be limited to large factories.
Pico Cut demonstrates that modern manufacturing tools can be built using affordable hardware and open-source technology.
By combining 3D printing, stepper motors, and the Raspberry Pi Pico ecosystem, Pico Cut makes industrial automation concepts accessible to everyone.
Hardware Requirements
Mechanical Components
| Quantity | Item |
| -------- | --------------------------- |
| 6 | 608 Bearings |
| 42 | M3 Heat-Set Inserts |
| 34 | M3x10 Screws |
| 8 | M3x30 Screws |
| 8 | M3x40 Screws |
| 8 | Pen Springs |
| 1 | Cutting Pliers |
| 1 | Lead Screw and Nut Assembly |
| 1 | Flexible Coupler for NEMA17 |
| 1 | M3 Nut |
Electronics
| Quantity | Item |
| -------- | --------------------------- |
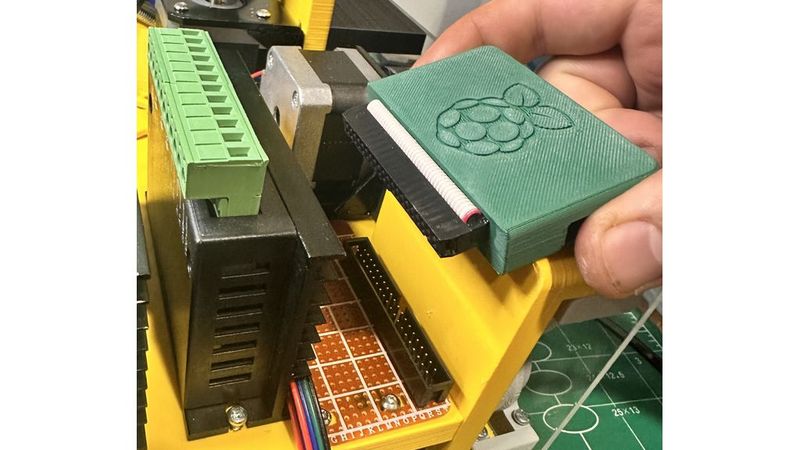
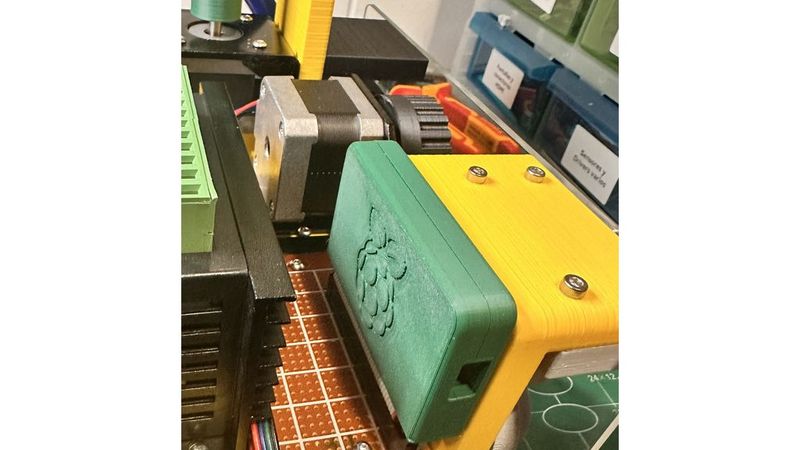
| 1 | Raspberry Pi Pico Cartridge |
| 1 | Universal Perfboard |
| 2 | NEMA17 Stepper Motors |
| 2 | TB6600 Stepper Drivers |
| 1 | 12V Power Supply |
Pico Cartridge
This project uses the Pico Cartridge ecosystem:
https://www.thingiverse.com/thing:7363449
Software
Project source code:
https://github.com/Bryand02/Pico_cut
Assembly Instructions
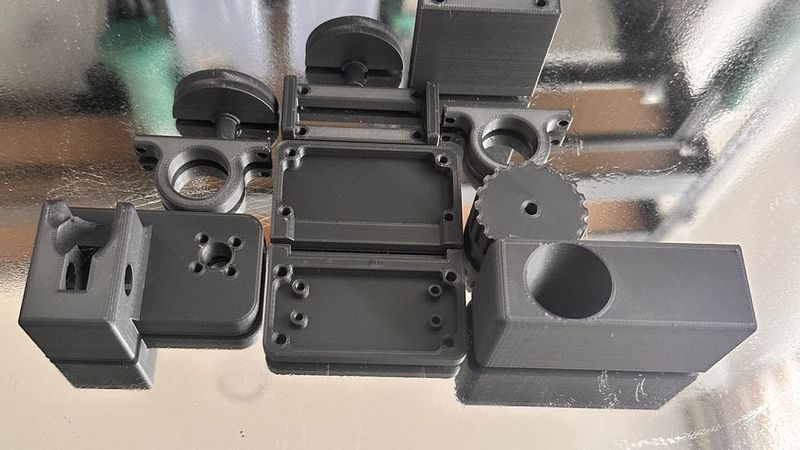
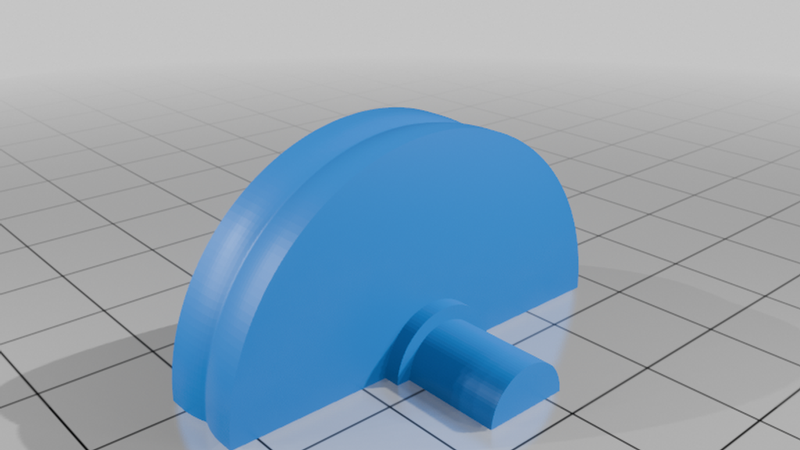
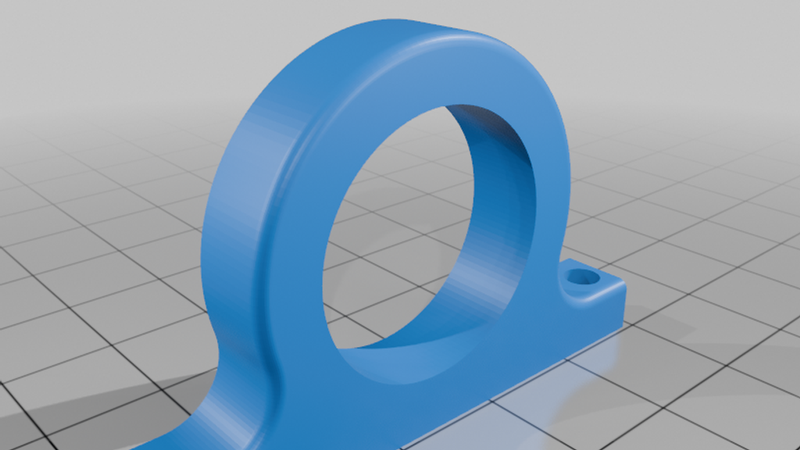
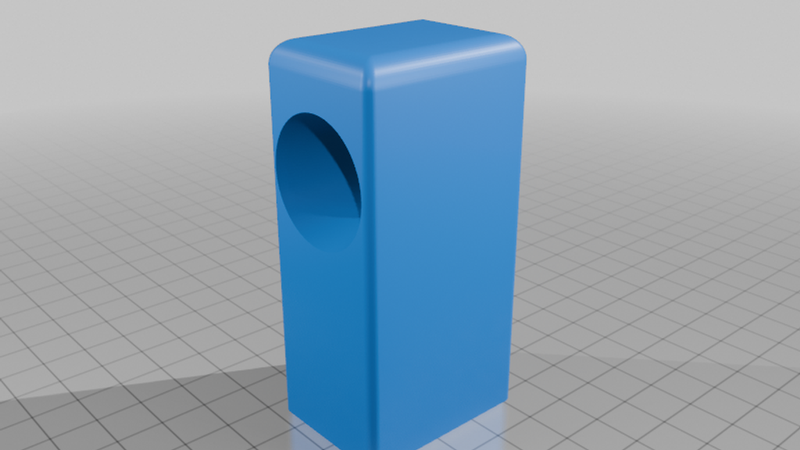
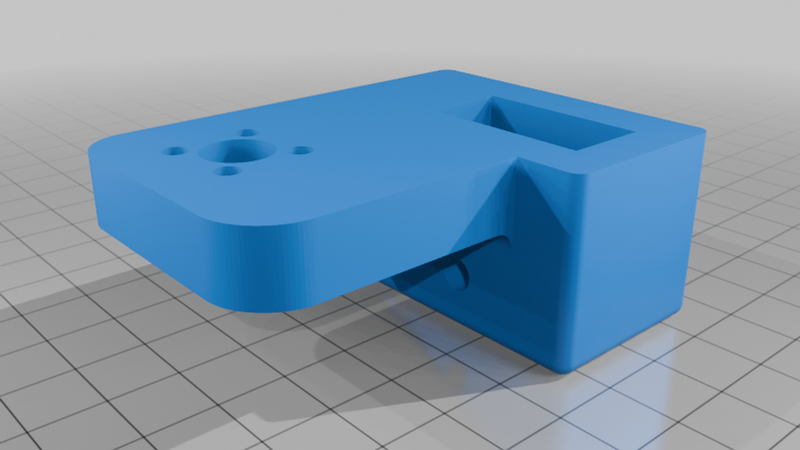
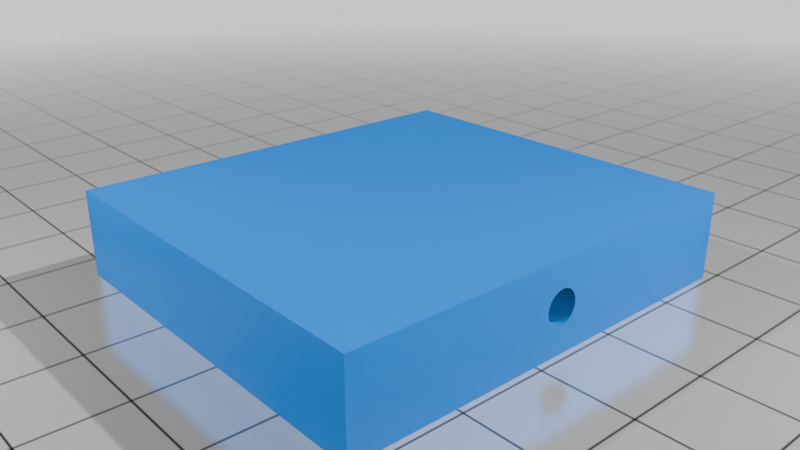
1. Print All Components
Print all STL files included in the project using your preferred material.
PLA is recommended for educational use and prototyping.
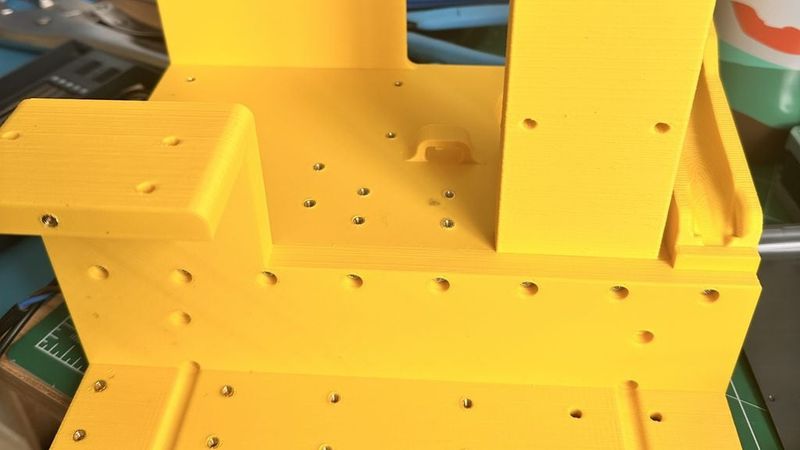
2. Install Heat-Set Inserts
Install all M3 threaded inserts into the designated mounting locations.
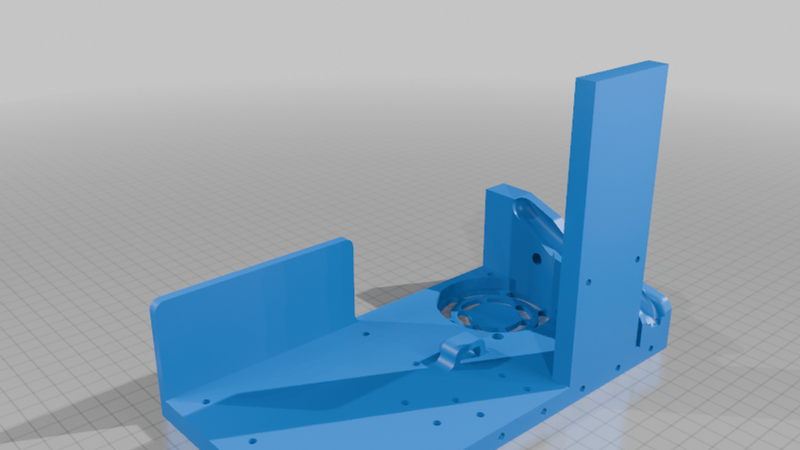
3. Assemble the Frame
Secure the structural components using the specified M3 hardware.
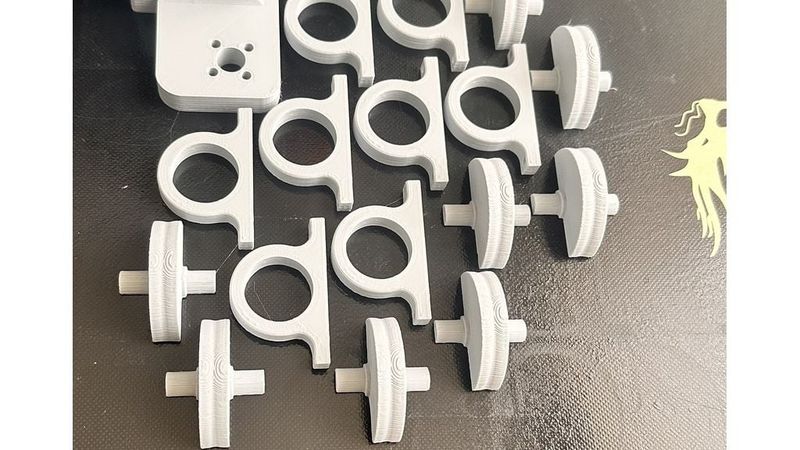
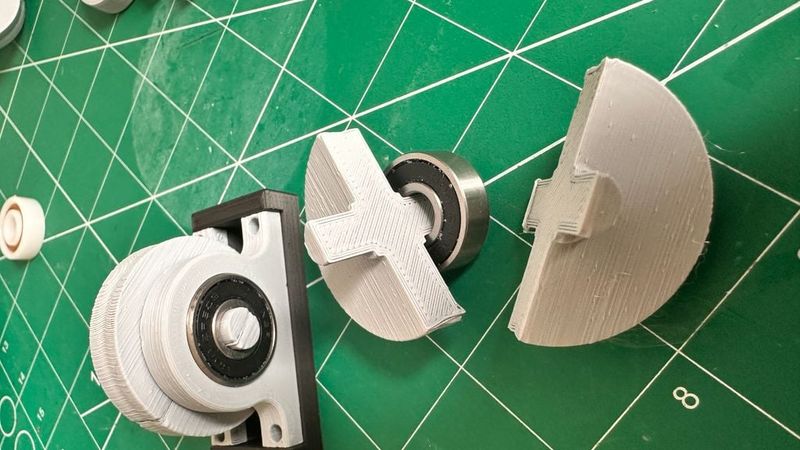
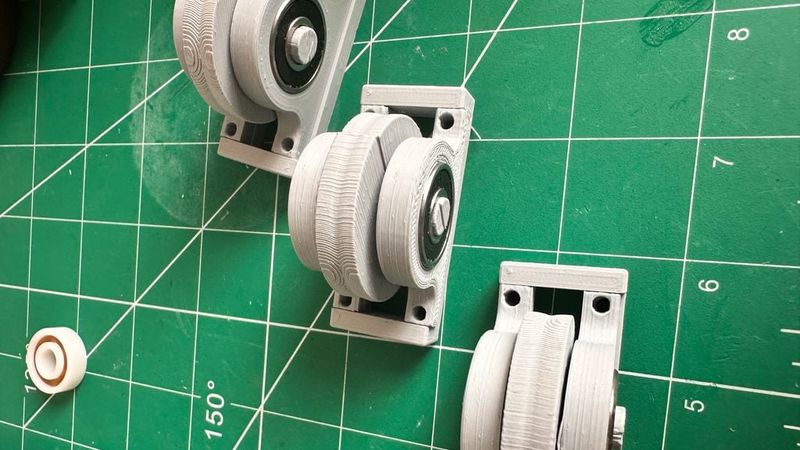
4. Install Bearings
Insert all six 608 bearings into their corresponding locations.
Verify smooth movement before continuing.
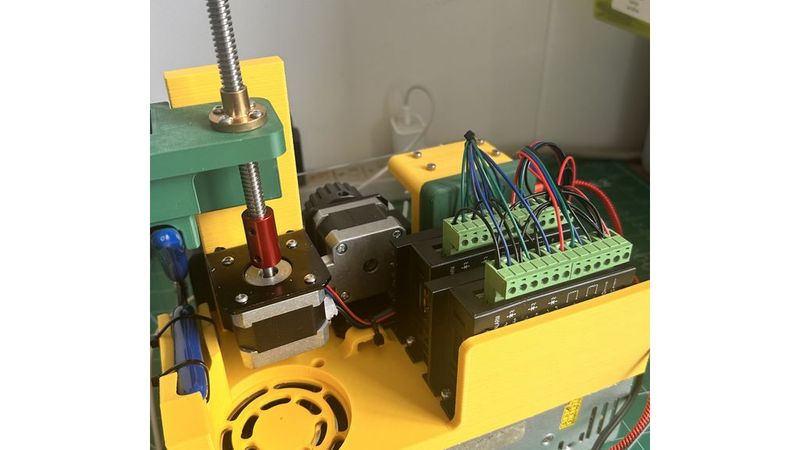
5. Install Feed Mechanism
Mount the feed motor, lead screw assembly, and coupler.
Ensure proper alignment to minimize friction.
6. Install Cutting Mechanism
Mount the cutting pliers and spring return mechanism.
Verify smooth operation of the cutting assembly.
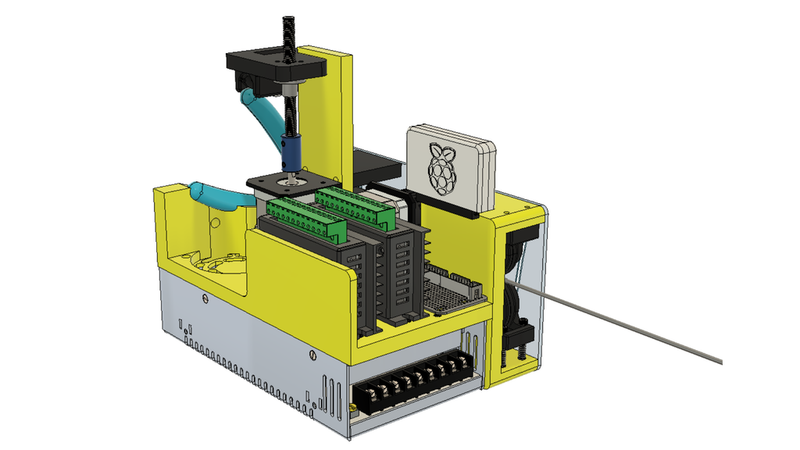
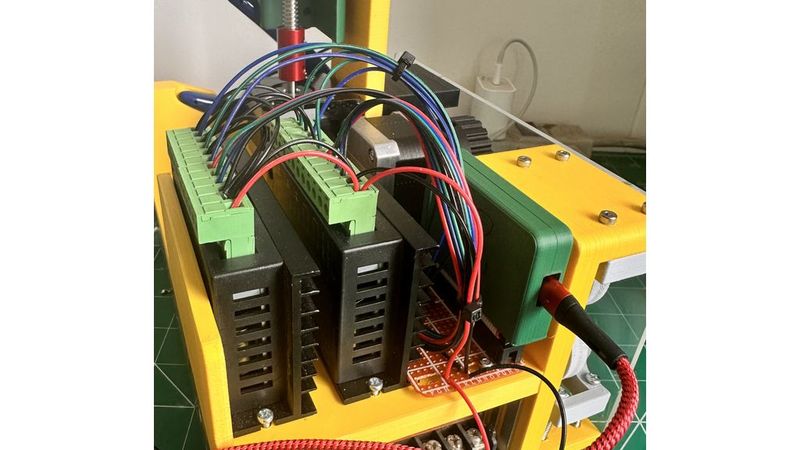
7. Install Electronics
Mount:
* Raspberry Pi Pico Cartridge
* Universal Perfboard
* Two TB6600 Drivers
* Power Supply Connections
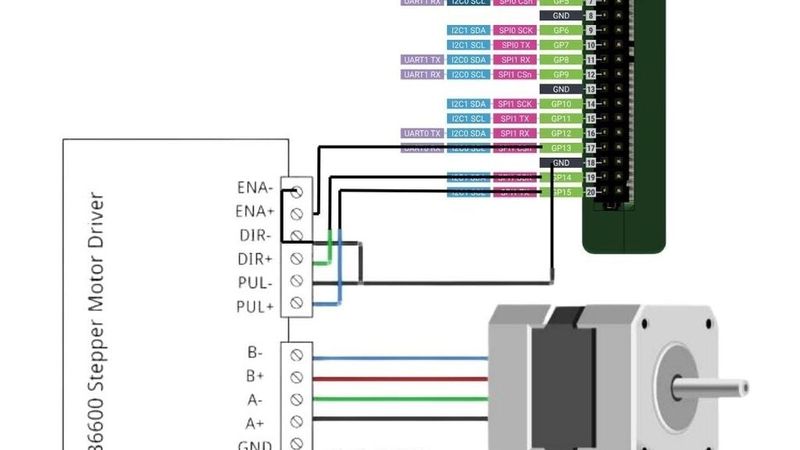
8. Wire the Motors
Connect:
* Feeder Motor
* Cutter Motor
according to the wiring diagrams provided in the repository.
9. Upload Firmware
Upload the latest Pico Cut firmware to the Raspberry Pi Pico.
10. Calibration
Calibrate:
* Feed distance
* Steps per millimeter
* Cutting stroke
* Motor speeds
before operating the machine.
Community & Support
If you need additional information, assembly help, or would like to contribute to the project:
* Open an issue on GitHub
* Leave a comment on the project page
* Contact the author through the project repository
Questions, suggestions, and improvements are always welcome.
Source:
- Raspberry Pi Pico Pinout Diagram
https://datasheets.raspberrypi.com/pico/Pico-R3-A4-Pinout.pdf
- Raspberry Pi Pico Documentation
https://www.raspberrypi.com/documentation/microcontrollers/pico-series.html
© Raspberry Pi Ltd. Raspberry Pi and Raspberry Pi Pico are trademarks of Raspberry Pi Ltd.
Designed by
Bryand Salamanca
Designed and developed in Colombia.