Foxalien Masuter pro Laser modification brackets

Description
-------------------------NOTICE!!!!!!!----------
I am not responsible for any damage to your machine due to user error, misuse or any other reason. By modifying your machine with these parts, you assume all liability and risk associated with using non manufacturer approved parts from an untested source. Be sure to follow all regular instructions and safety precautions for setup of both the rotary axis and the laser module.
!!!! BE SURE TO UNPLUG THE SECOND Y AXIS Motor WHEN USING THE ROTARY CHUCK OR YOU COULD DAMAGE YOUR MACHINE!!!!
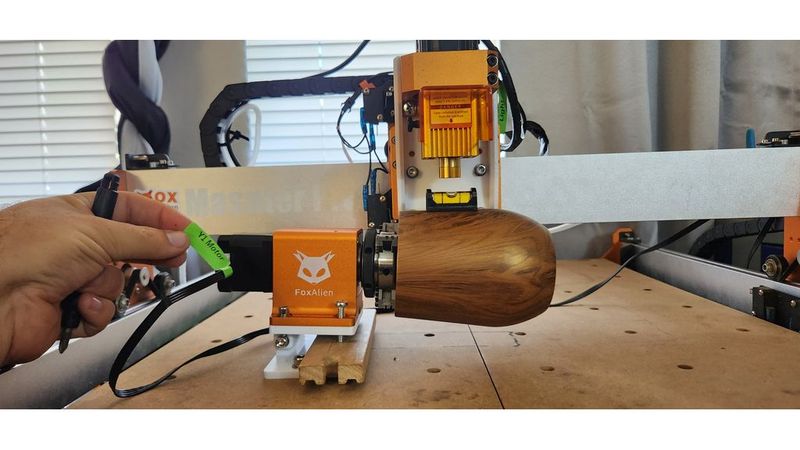
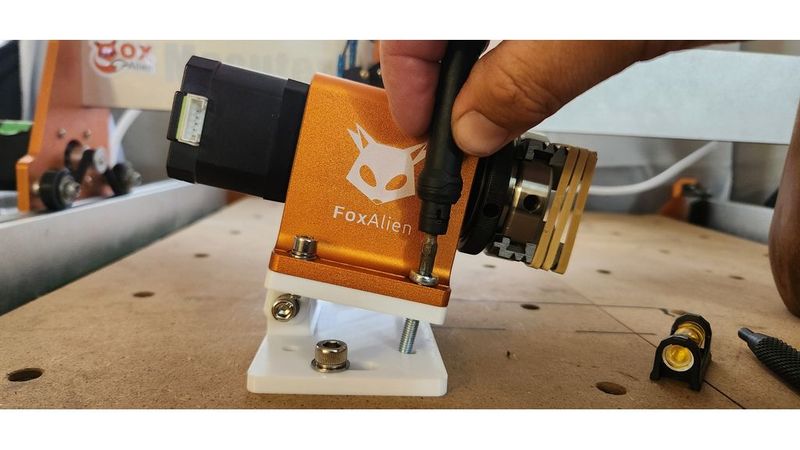
I got the FoxAlien laser module and their official 4th axis rotary axis for my Masuter pro.
They both were terrible for lining up with each other for engraving tumblers or cups.
I created two brackets to correct this and allow rotary engraving using these parts. One bracket raises the laser module way up to clear the laser module over the top of the 4th axis and tumbler. The other, allows you to change the angle of the 4th axis and level the tumbler with the laser head.
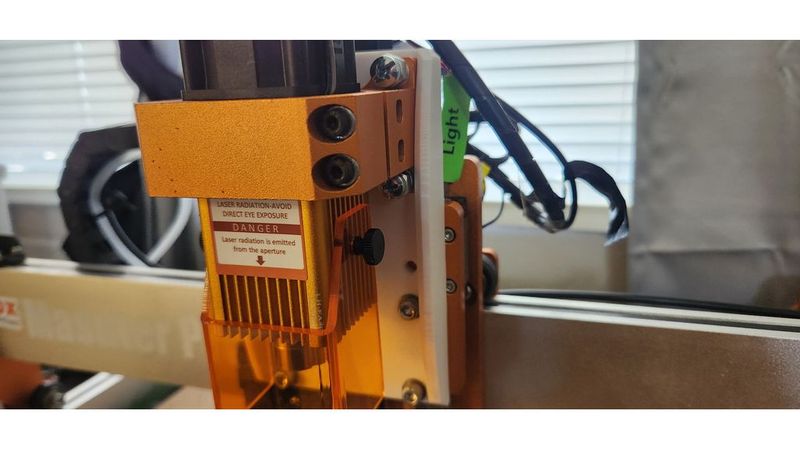
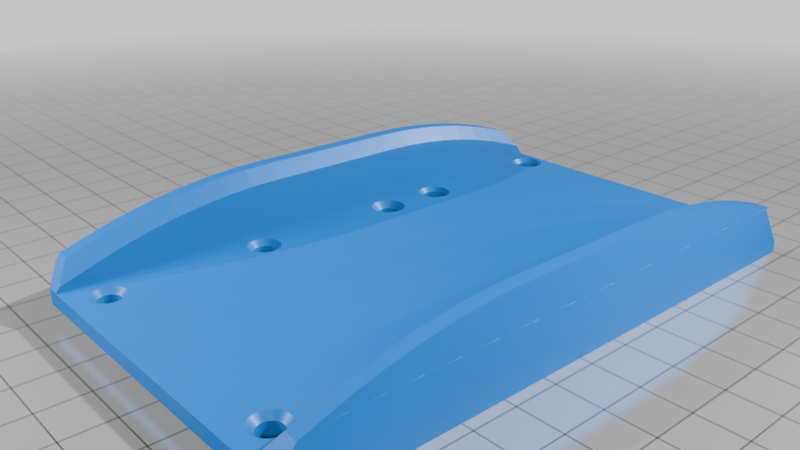
The "laser raising bracket" has pass-through-holes on the bottom. Use these to bolt the bracket to the Z axis surface (long end reaching upward)
The other six holes are small enough to screw in 5mm bolts to mount the stock motor mount with the laser module installed. Six holes allows two positions: one higher and one lower, depending on your project needs.
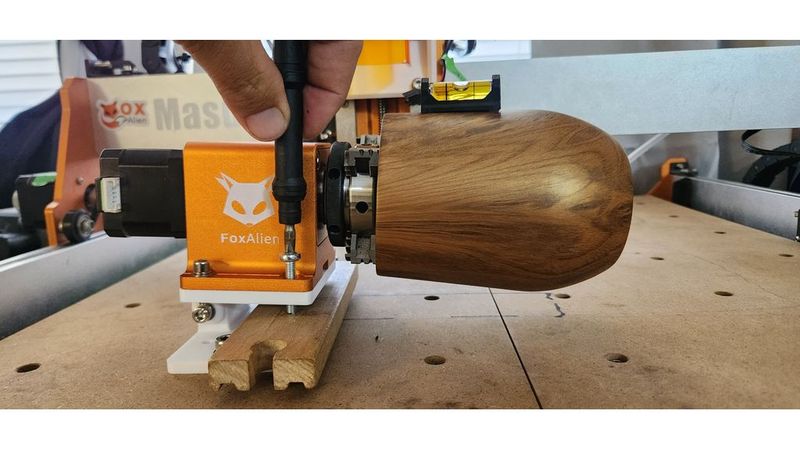
The upper and lower brackets create a hinging mount for the 4th axis and chuck assembly to allow leveling of the workpiece. The chuck assembly must be removed from the original baseplate and mounted to the "upper" plate. Unfortunately, the Tailstock cannot be used in this configuration, however, given the fact that the laser head or anything else will not be physically contacting the workpiece, the forces on the workpiece are negligible--unlike CNC cutter engraving--and the extra hold from the tailstock is not needed. Use some long, 5mm bolts to thread through the far holes and adjust the angle to level the workpiece. I had to add a spacer (my son's wooden train track piece) under these bolts as the ones I had weren't long enough to level. I suppose there could be a 3d printable solution for this involving little "feet" for the bolts. The 5mm holes on the bottom plate have no function and is only because i recycled the top plate drawings for the bottom. Maybe someone will find a use for them.
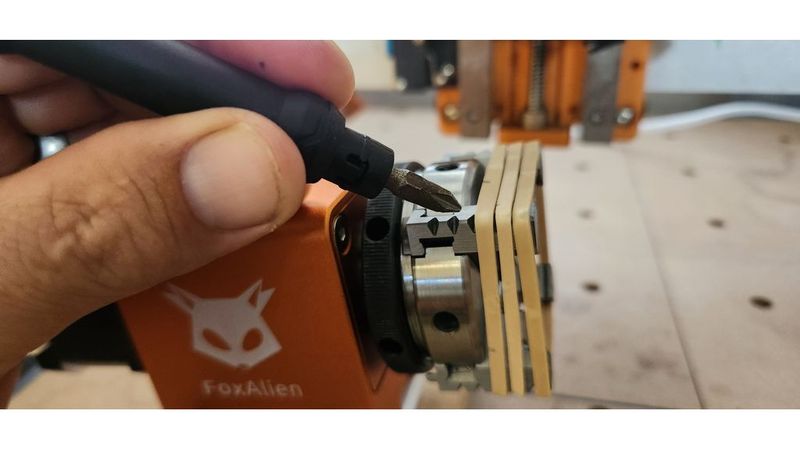
I put rubber bands on the chuck teeth to cushion the tumbler and avoid damage.