Foldable under desk joystick / universal mount V2
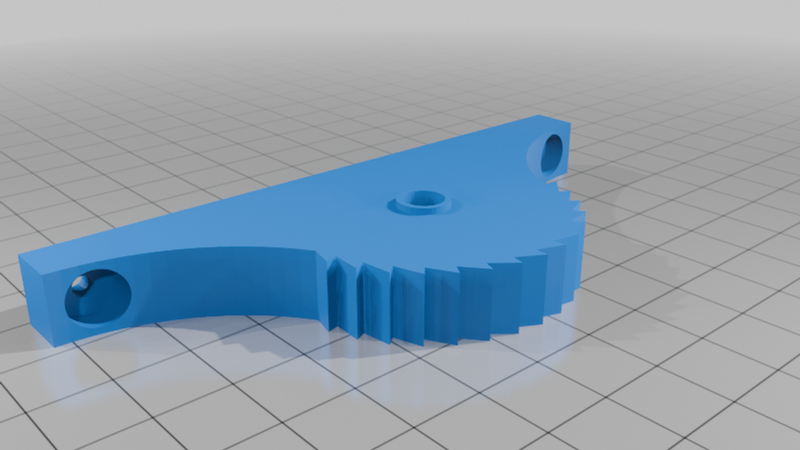
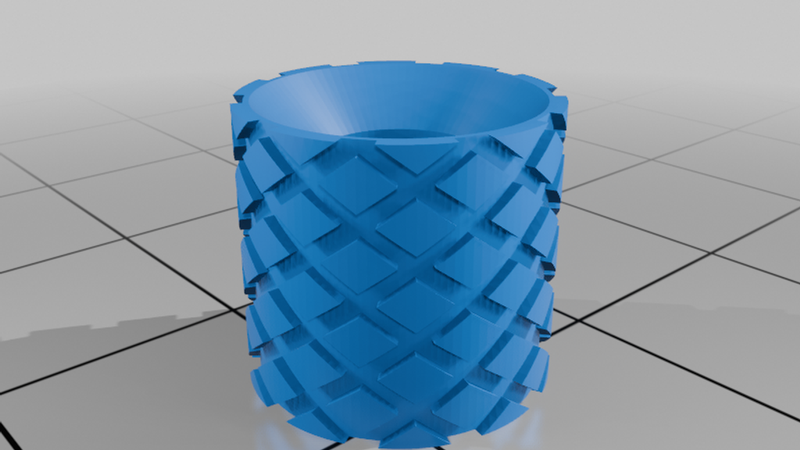
Description
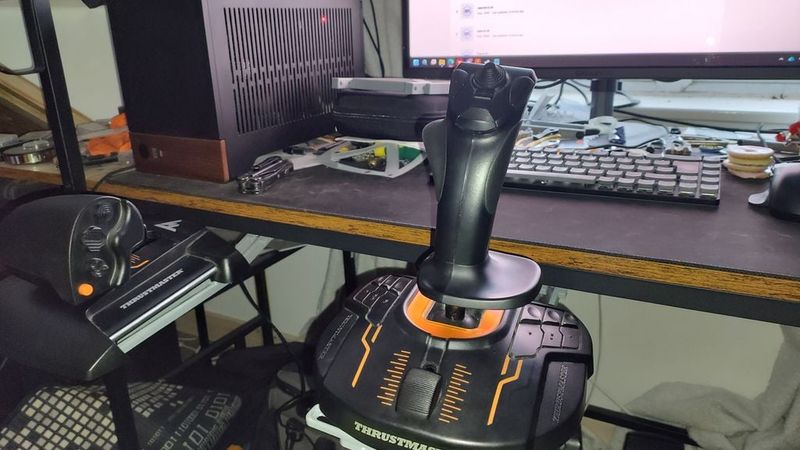
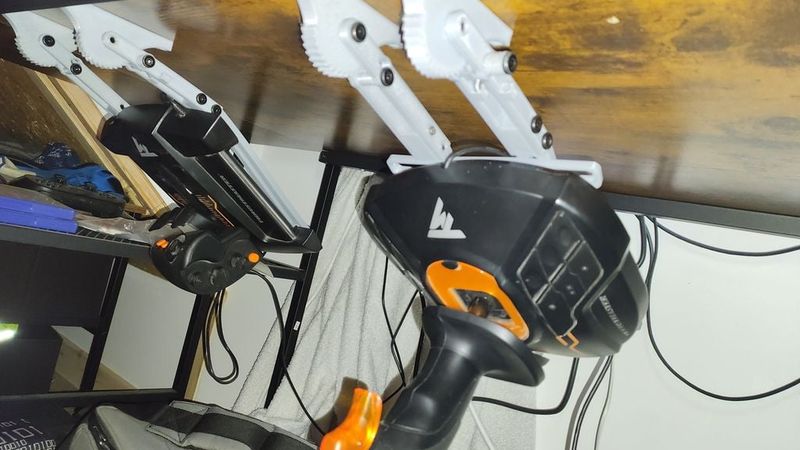
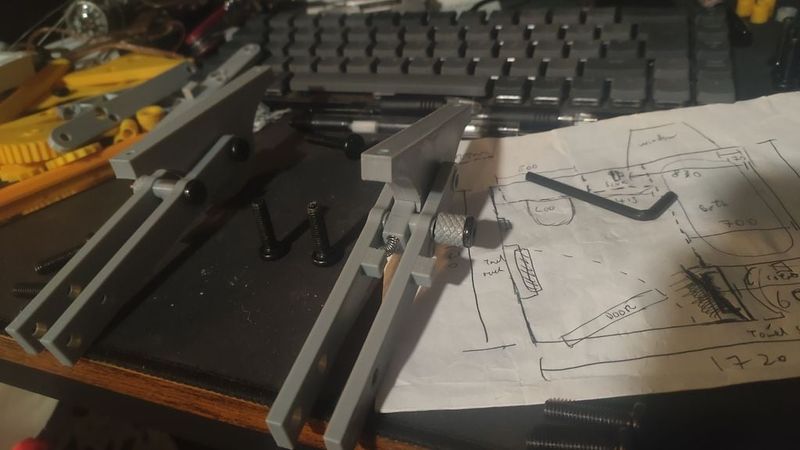
This is my initial attempt at a fold away joystick mount for my desk. This is great for games like Warthunder, Arma etc, where you want ground controls but joysticks for helicopters, planes etc for just momentary action and it folds out and away in seconds. My biggest concern when starting this was minimising the required hardware to purchase/ gather as long with not needed to use any print supports. As this version is you only need 10x m6x~22mm bolts (which I had laying around from flat pack furniture spares) and 2 pen springs. I'm working on a new and improved version with different mechanisms to improve fold angle, structural stability, better locking and stiffness on the joystick.
A note as well, none of the parts are tapped, but the tolerance on the holes is such that with a screwdriver or Allen key etc, they can be self taped by just normal bolts.
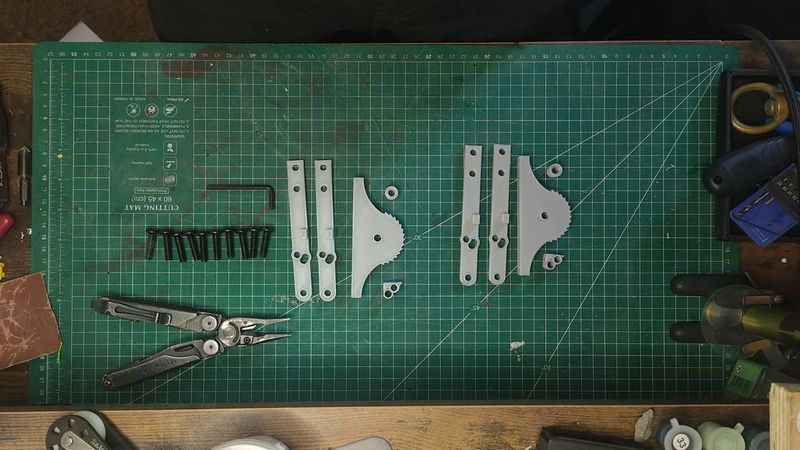
-List of printed parts needed for a complete mount:
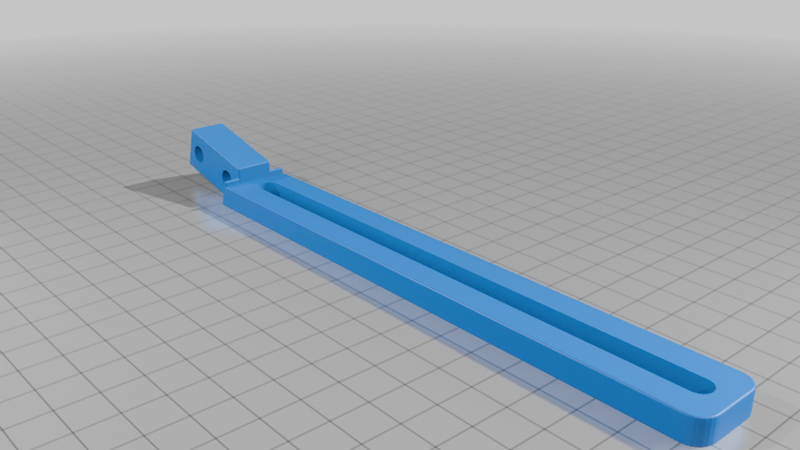
arm x4
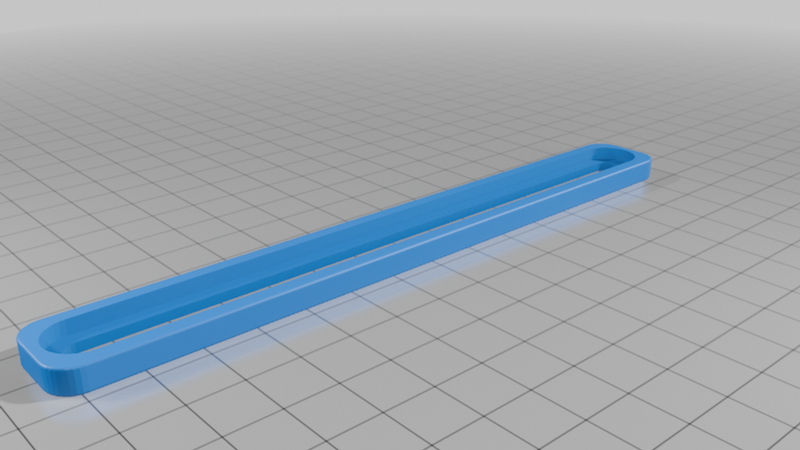
base arm main x2
base arm strutt x2
Cog x2
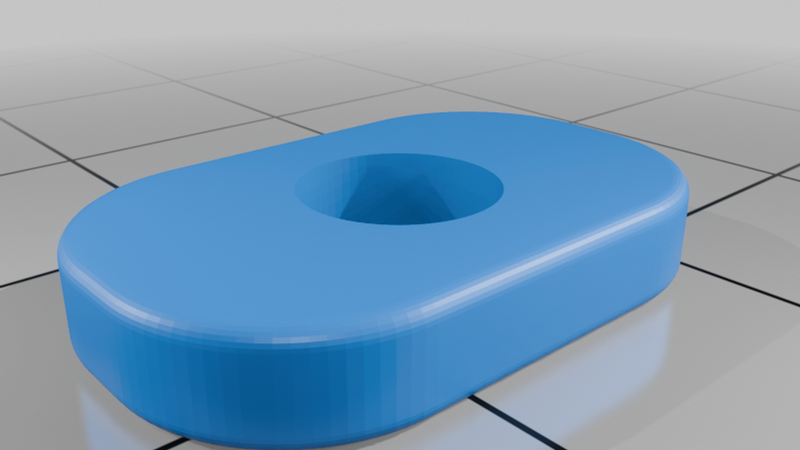
Nut - 0 or 2 or 4? For putting the base plate together, my joystick only had two mounting holes so I used two, but normal nuts work better than these if you have them.
pinion x2
pusher x2
-List of hardware:
m6x22mm bolts x10
Springs from pen x2
hardware required to bolt to your specific joystick, throttle, gear stick, etc. (If less than 4 then however many nuts and bolts for the other corners on the base too)
4 small screws to mount to the base of your desk
-Assembly Guide
1 - print parts and gather hardware, on the ender 3 s1 pro I can fit a full set of parts on a single build plate with some manual placement, probably safer to do in a few prints so you don't ruin a whole batch in a single print failure. The only part that might need any support is "base arm main".
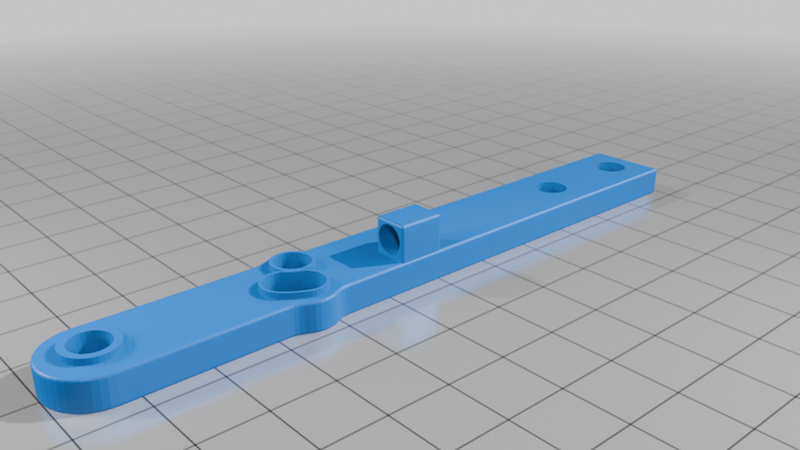
2 - each "arm" of the mount consists 2x arm, 1x cog, 1x pinion and 1x pusher. There is 2 arms so all of steps of "2" are done twice, but make one at at time if you like.
- The cog gets sandwiched between the 2 arm's at the rounded end with a bolt. Have the flat of the "cog" down with the teeth pointing away from you. The box on both arms wants to be on their left.
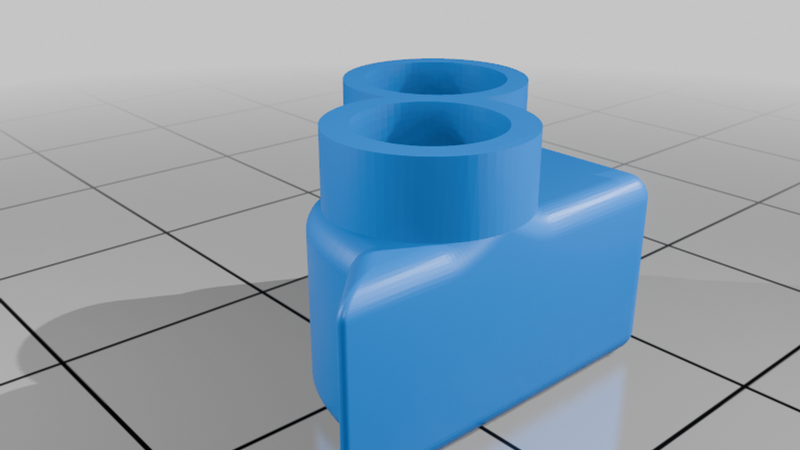
- The "Pinion" has a "toe" on the flat side with a 90 degree angle on the other corner, this will be referred to as the bottom. The bolt going on the bottom of the two holes in the "pinion" first needs the "pusher" fully threaded onto it, it then goes through the elongated hole in the left "arm" so that the "pinion" is sandwiched between the two arms. The top hole then has a bolt placed all the way though from the right "arm". (it might be easier to place the spring before putting the top bolt in.
- The pen spring goes on the right "arm" box which has a hole and is between the two arms, and into the hole on the back of the "pinion".
YOU SHOULD NOW HAVE A FULLY FUNTIONAL ARM, so do it again to have 2, or 4 or 7 or however many you want. But 2 is needed for a single mount.
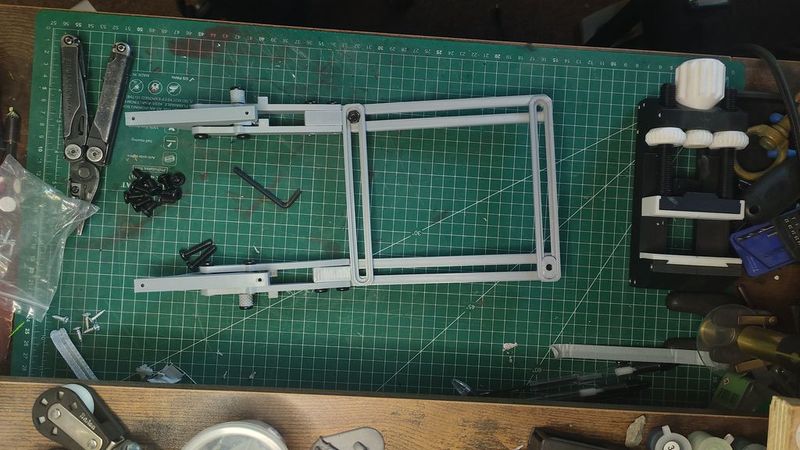
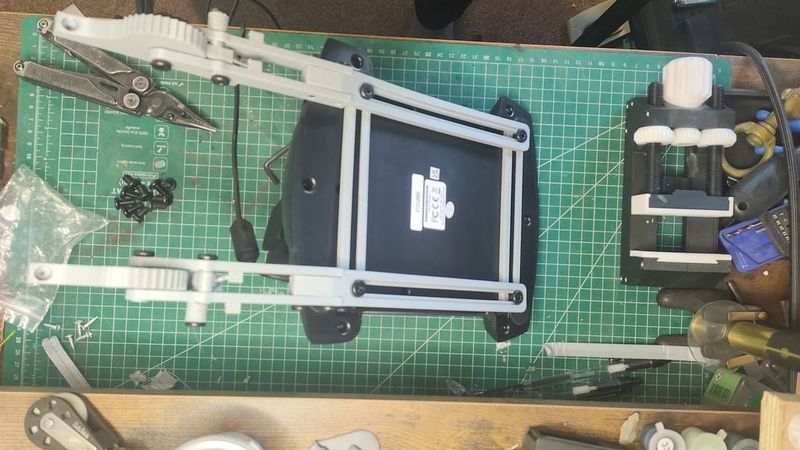
3 - with the two arms built you want to fold and rotate one of them 180 degrees before attaching the base plate parts. This will then mean you have one with the thumb stub "pusher" on the right which will be pushed to bring the joystick out towards you, and one on the left which is used to fold the joystick under the desk, away from you. (if you still have them laying with the "cog" flat down then it is upside-down to its final mount)
- place the two "base arm main" and two "base arm strutt" in a square. The squares corners should line up with your joysticks mounting holes, mount the joystick in each corner which will also clamp the main and strutt base arms together. If you only have 1-2-3 mounting holes in your joystick (or throttle, wheel, flashlight etc (I know what you read :P) ) then put a normal nut and bolt in the other corners that wont naturally be clamped by the joysticks mounting holes. If using the supplied printable "nut" then be careful as they are thin and can easily be stripped if the m6 bolt is over tightened.
4 - put under desk and screw into the bottom and start gaming.
Note - if you want the left to bring out the joystick, and right to put it away instead that is perfectly fine, just mirror step "2" so the "pusher"s end up on the other side.