Pico Clock & Weather Station

Description
<h1>Pico Clock & Weather Station</h1>
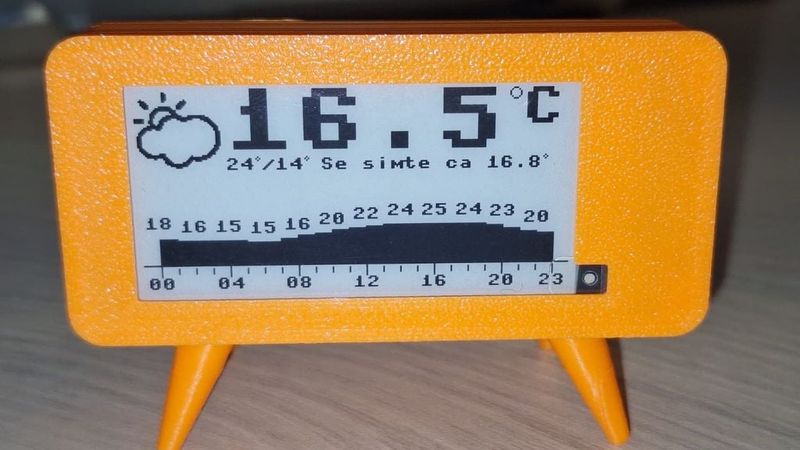
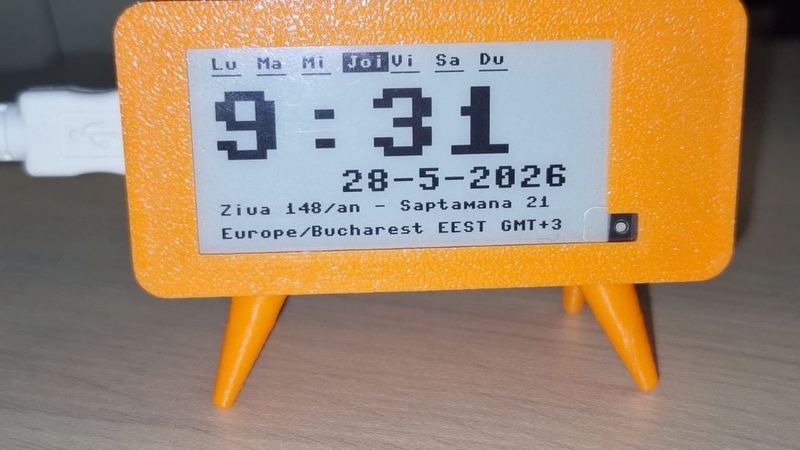
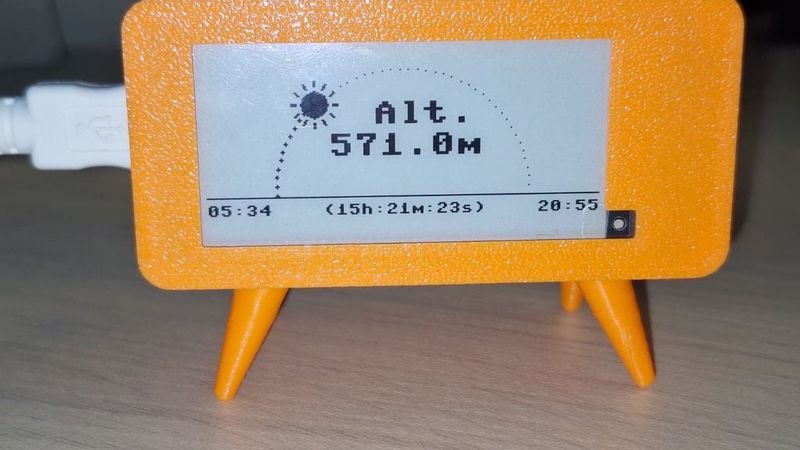
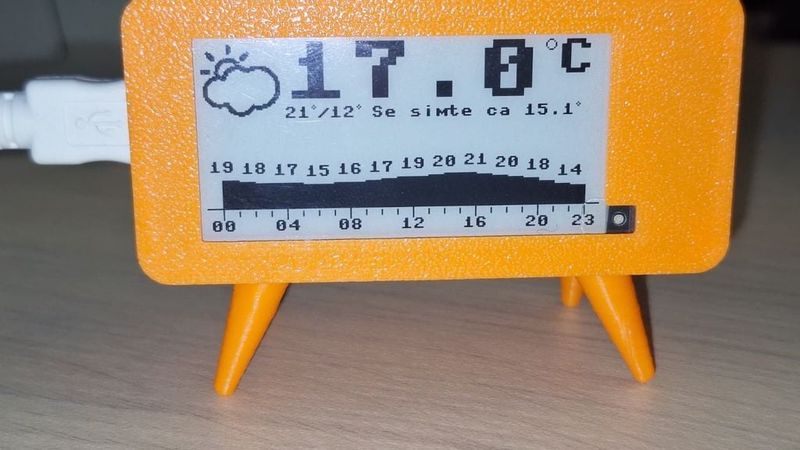
<p>This is a small digital clock and weather station</p>
<p>Compatible with Raspberry Pi Pico W | Raspberry Pi Pico 2W</p>
<p><h3><b>Materials:</b></h3>
<ul>
<li>Raspberry Pi Pico W | Raspberry Pi Pico 2W</li>
<li>Waveshare 2.13inch E-Paper E-Ink Display Module for Raspberry Pi Pico</li>
<li>4 M3 brass insert nuts</li>
<li>3 M3 x 6mm screw</li>
</ul>
</p>
<p>
<h3><b>How to buid:</b></h3>
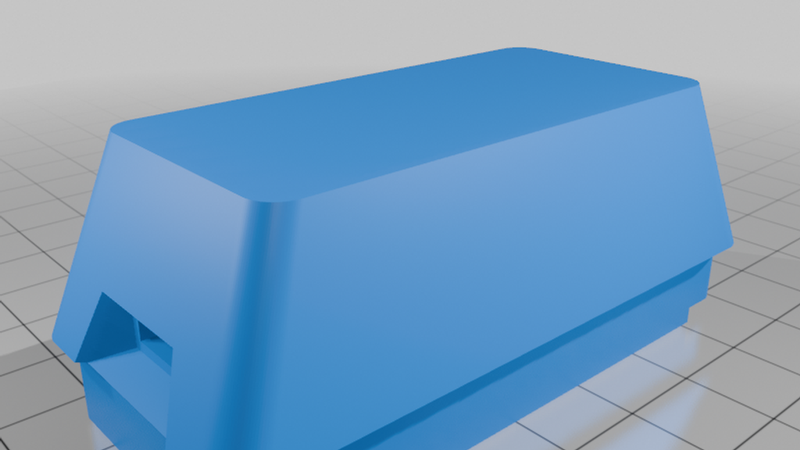
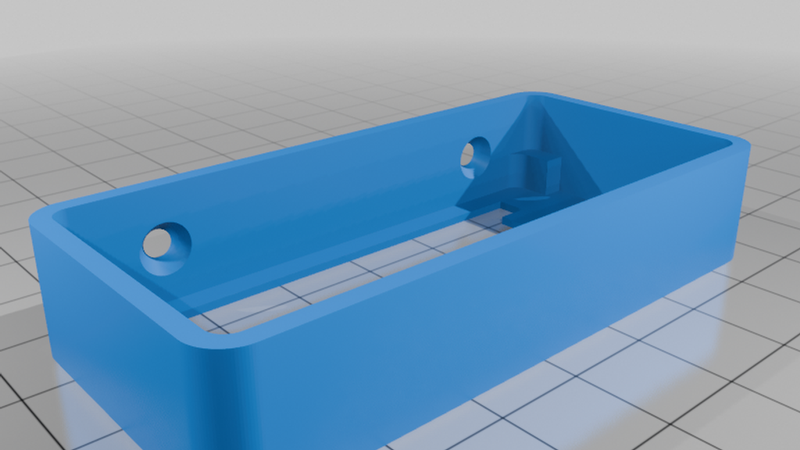
Print one piece of face.stl, one piece of back.stl and 4 pieces of leg.stl.
<br>
Insert M3 brass nuts into legs holes using a hot soldering iron.
<br>
Mount legs with M3 screws - 2 legs on face piece and the other 2 legs on back piece.
<br>
Solder pins to Pico if you do not have WH version already. Connect pico to E-Paper display.
</p>
<p>
<h3><b>Code upload:</b></h3>
Upload code using Thonny IDE.
<br>
Unzip micropython.zip. Open file main.py and edit folowing lines:
<br>
30 - fill your SSID Wifi Network name<br>
31 - fill your Wifi Password<br>
33 - latitude for your location<br>
34 - longitude for your location<br>
142 - set correct timezone eg: Europe/Bucharest<br>
162 - set correct timezone eg: Europe/Bucharest<br>
193 - set correct timezone eg: Europe/Bucharest<br>
Save this file. Upload all python files to Pico and then restart Pico.
</p>
<p>
<h3><b>To do:</b></h3>
<ul>
<li>To update icons file with different icon for each weather case</li>
<li>To make code more modular</li>
</ul>
</p>