Dillon 650 Case Feed Aligner
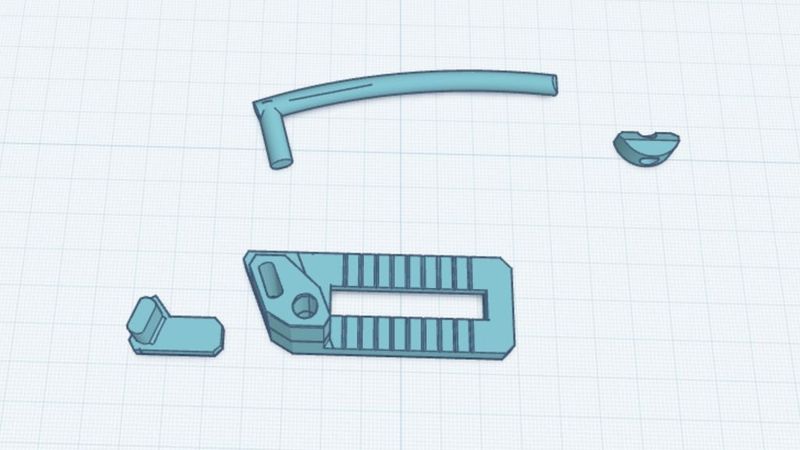
Description
A re-design of my previous model, for aesthetics. The main bracket is two pieces to allow closer adjustment of the pivot arm movement. Print the smaller bracket piece solid or with 3 walls, or it may snap when being manipulated. Ditto for the pusher on the end of the rod. The pusher rod can be used on its own, or it can have a pusher block added if desired. The pusher block also allows fine adjustments on the length of the rod, or you can easily resize the rod length in your printer.
Position the bracket on the bolt through the side of the press (you may need a longer bolt). Positioning the bracket up/down on the bolt determines when the pusher rod contacts and leaves the case. Setting this correctly will avoid jamming the end of the rod between the mouth of the die and the press.
Start with the middle of the bolt positioned about three lines down from the top of the bracket to begin, then adjust to suit.
I know that there are wonderful ways to adjust the press so that I do not need this. However, it is so easy and reliable to use with used and abused brass as well as new brass that I am not interested in other constant adjustments to achieve the same rate of success as this bracket.
Print as oriented in the image, you will only require support on the build plate under the main bracket, the rest prints fine on my Bambu Labs P2S, printing in fine quality settings, not draft.
Enjoy. Free for personal use, contact me if you want to use this as a commercial product because I reserve my rights a creator in this situation.