Compact Flash to SATA Adapter 2.5" Enclosure
Description
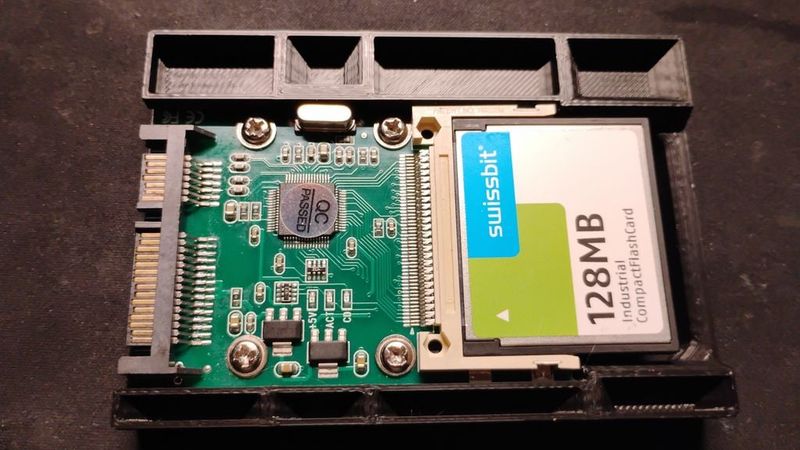
I built this enclosure model to fit my (very obscure) use-case of relying on a a TOOLFREE 2.5" HDD/SSD mobile rack bay for my retro pc test bench, which uses a SATA to IDE adapter to connect up to the motherboard. It's a lot of adapters in series but it works great to switch operating systems quickly if I need to.
Instead of using a somewhat unreliable CF to IDE passthrough adapter(CF is not always IDE-compatible!) I prefer an adapter that actually implements the CF specification so it's one less point of confusion regarding compatibility. Thus, I purchased this CF to SATA adapter which you can find on eBay. They come in green or red PCBs(mostly red) and may have two, three, or even four mounting screws. They should all be compatible with this enclosure.
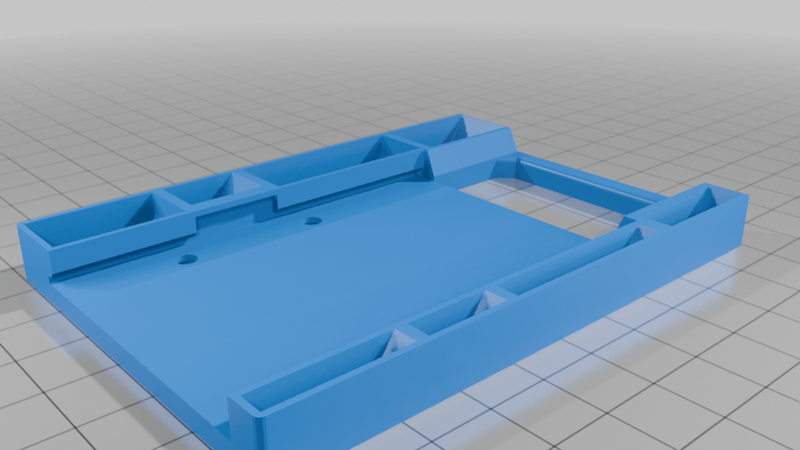
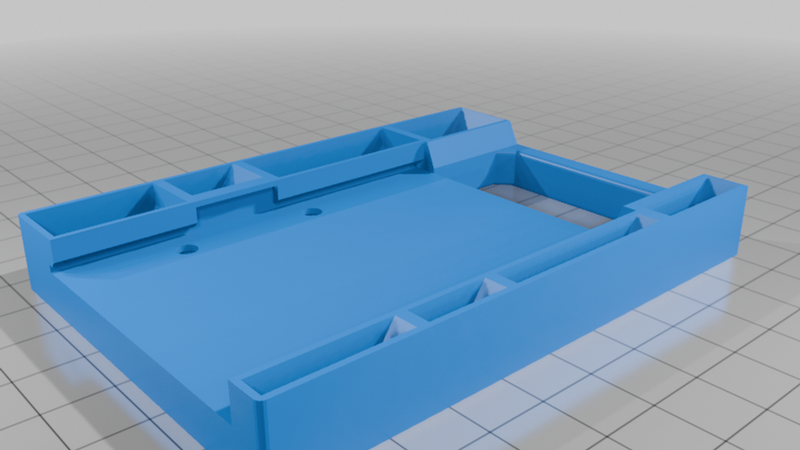
I've created a 9.5mm-thick version and a 13mm-thick version. 9.5mm is a standard thickness, and should work for most people. The 13mm version is made specifically for the TOOLFREE mobile rack bay to make use of its maximum compatible thickness to avoid any mechanical trouble(it is a simple mechanism but the door has a spring for keeping the drive pressed onto the SATA connector which causes issues with thinner versions). I am considering uploading a second version with all of the standard 2.5" drive thicknesses(7mm, 9.5mm, 15mm) to suit specific needs.
You will need up to four M3 hex nuts and four M3 screws with matching thread pitch. No soldering iron necessary; just press-fit the nuts.
To press the nuts into the holes I simply used a screwdriver with a large phillips-head to keep pressure in the center and push down with a bit of force. Depending on your material(I used regular PLA) this could be more difficult. If you cannot push it all the way in or if the nuts get pushed in at a slight angle, don't worry because you can use a screw to pull it through and straighten it out on the other side. To install the adapter into the enclosure, you need to slide it under the overhanging portion then press down on the other side, with the CF card slot toward the cutout on the enclosure. It should more or less snap into place with a snug fit to hold the board steady for screwing in. With the M3 nuts in place, you can begin screwing the board into the enclosure.