ESP8266 Roller Blinds case
Description
Case for ESP8266 controlled motorized roller blinds. Blinds can be controlled with web page or with Home Assistant via MQTT.
Video of three roller blinds controlled simultanously via Home Assistant: https://www.youtube.com/watch?v=Hl1eF2ebRR0
Purpose of this project was to build reliable, quite cheap and easy to build motorized blinds. The blinds feature a limit switch for automatic calibration, preventing glitches even during power outages. To avoid dealing with batteries, I chose a 12V input voltage since 1A and 2A switching power supplies are highly affordable and widely available. To maximize energy efficiency, the hardware and software are optimized so that three daisy-chained curtains draw less than 1W combined while idling on a single 2A power supply.
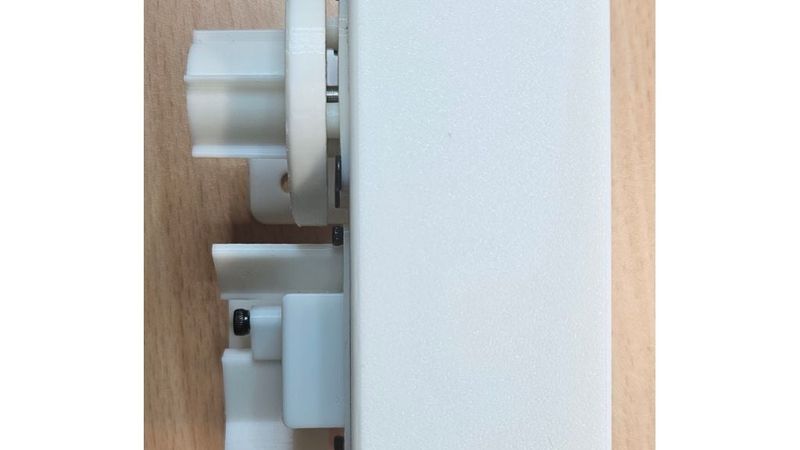
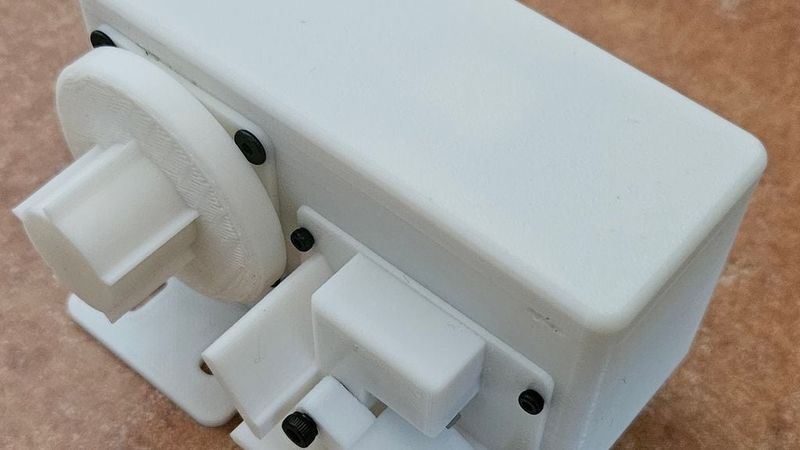
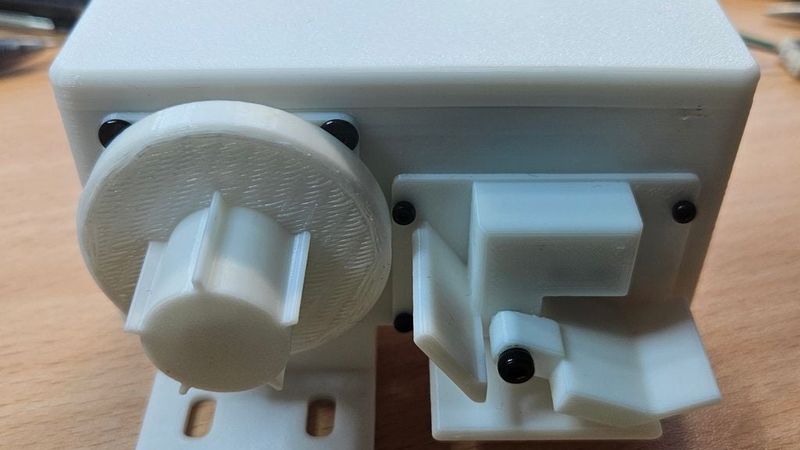
First I tried to run blinds without gearbox so that motor was attached directly to roller blinds. It was working fine, but when power was turned off, then the curtain would lower itself because there wasn't enought braking versus gravity. Motor can use brake when powered, but I wanted motor to be unpowered when system is not running so system doesn't use much electricity. After lots of trial and errors I did the gearbox inside the end cap. With gears there is enought braking so that new JYSK roller blinds doesn't creep down. New JYSK curtains have big aluminium bottom bar which is quite heavy. I originally used an optical sensor as a limit switch. However, after buying new JYSK blinds, I realized the new aluminum bottom bar would not fit through the optical sensor, so I had to switch to a microswitch.
ESP software and assembly information can be found from https://github.com/jaahaavi/esp_roller_blinds
For one unit you need to print these:
(S) means needs supports
(M) means that part needs to be mirrored if motor is placed on the left side of the blinds
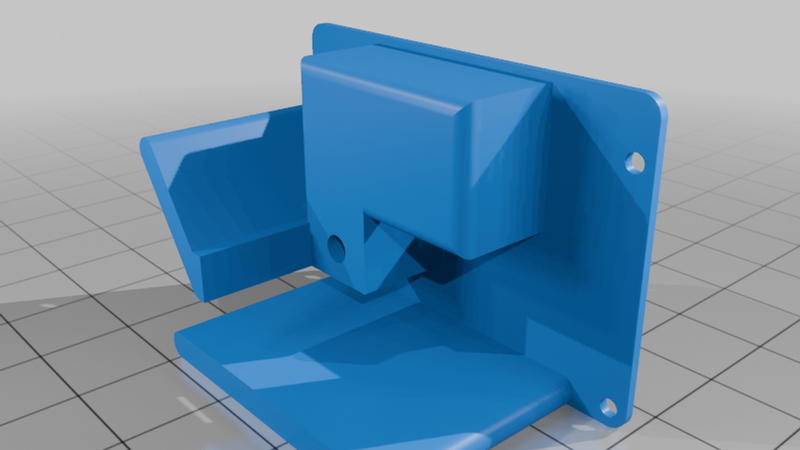
- ESP_roller_blinds-body (M)
- ESP_roller_blinds-body-lid (M)
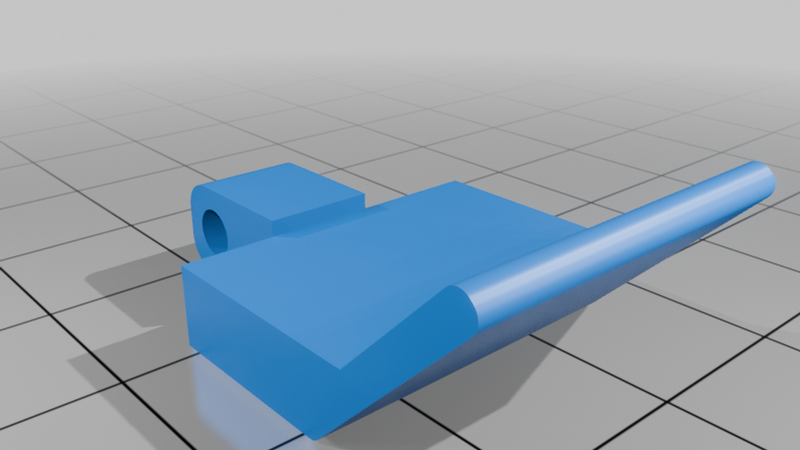
- ESP_roller_blinds-microsw-body (M) (S)
- ESP_roller_blinds-microsw-switch (M)(S)
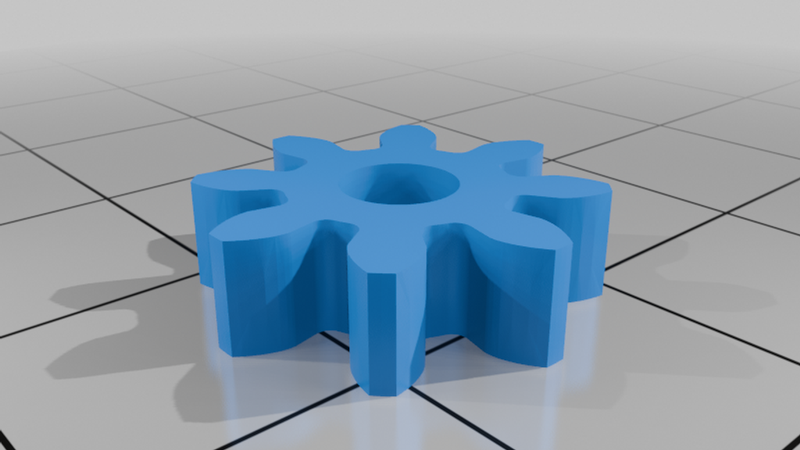
- ESP_roller_blinds-gearbox-biggear (S)
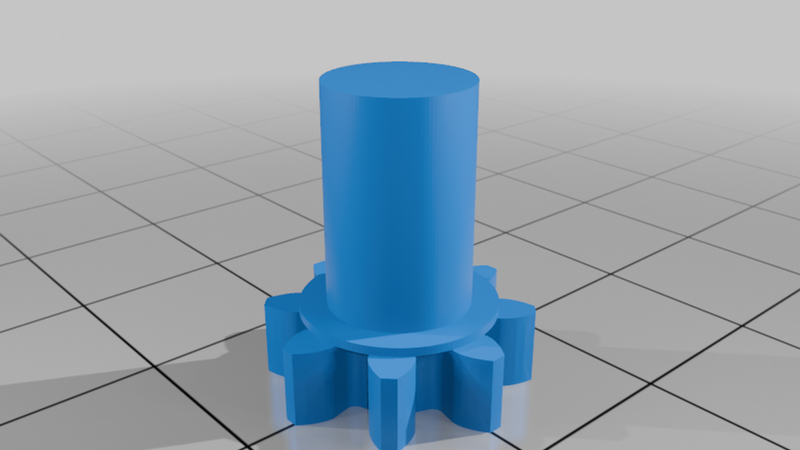
- ESP_roller_blinds-gearbox-smallgear (x3)
- ESP_roller_blinds-gearbox-centergear
- ESP_roller_blinds-gearbox
Mounting options:
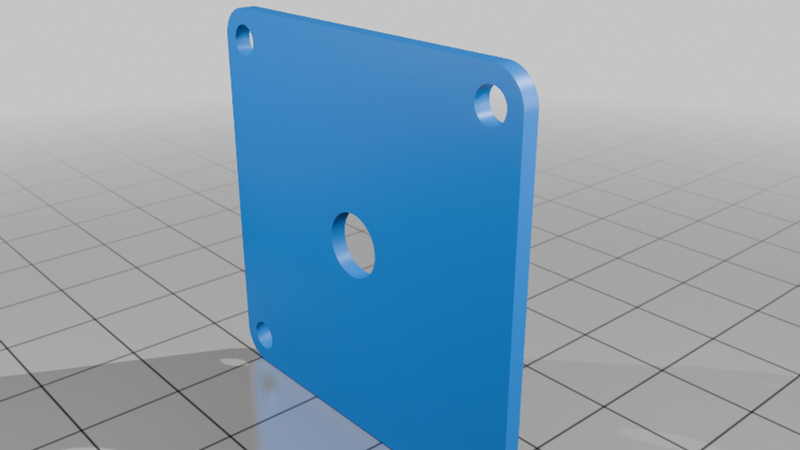
If mounting is on the same level as window then use:
- ESP_roller_blinds-body-wallmount
If mounting is lower than window frame then use:
- ESP_roller_blinds-body-wallmount-xl
- ESP_roller_blinds-otherside-xl-wallmount (for lifting the other side bracket that came with blinds)
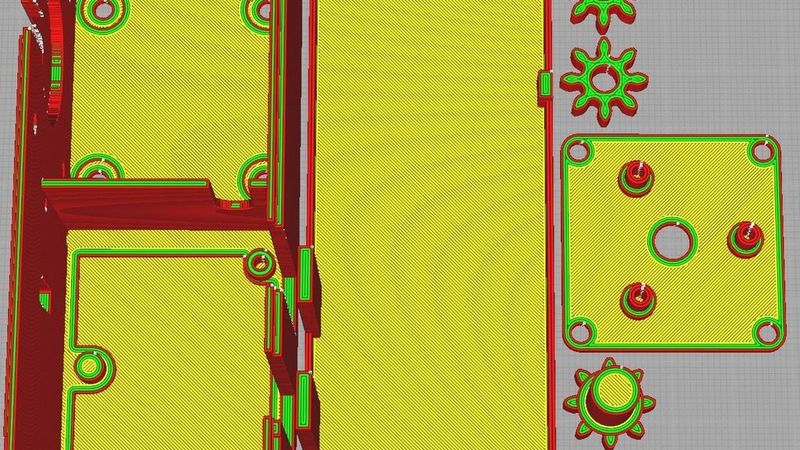
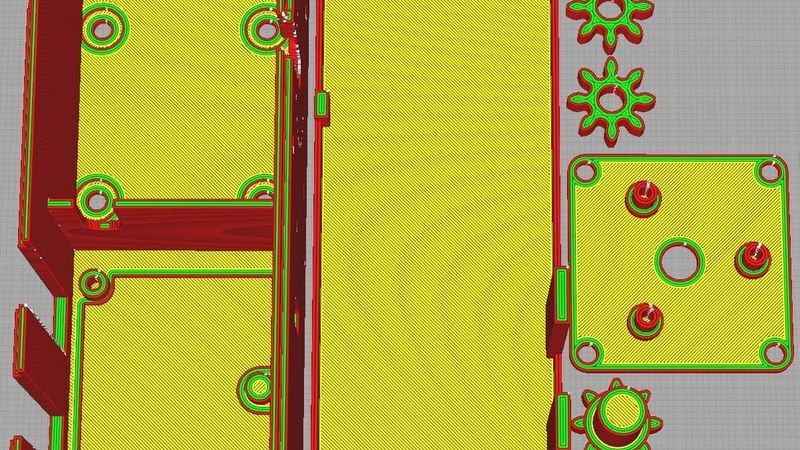
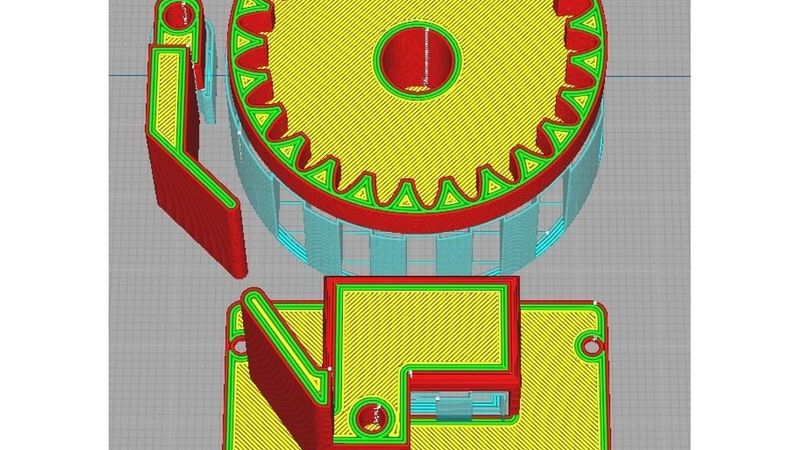
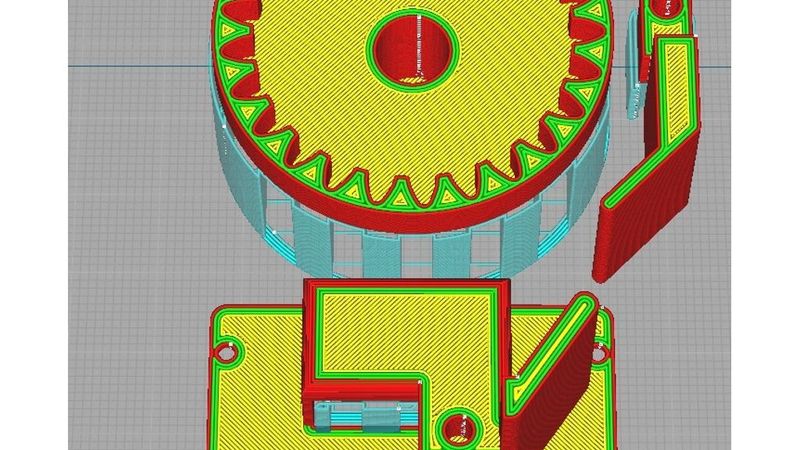
I have attached four screenshots from Ultimaker Cura showing how to print the parts (part orientation). Two screenshots are for the right-sided motor parts, and two are for the left-sided motor.
Update:
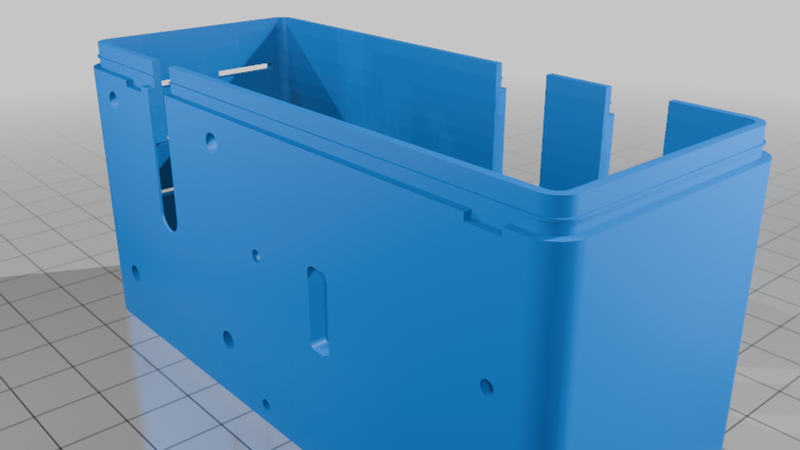
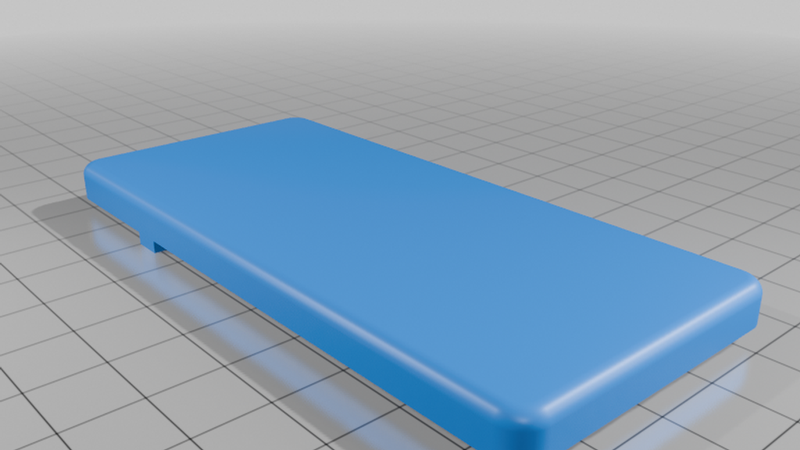
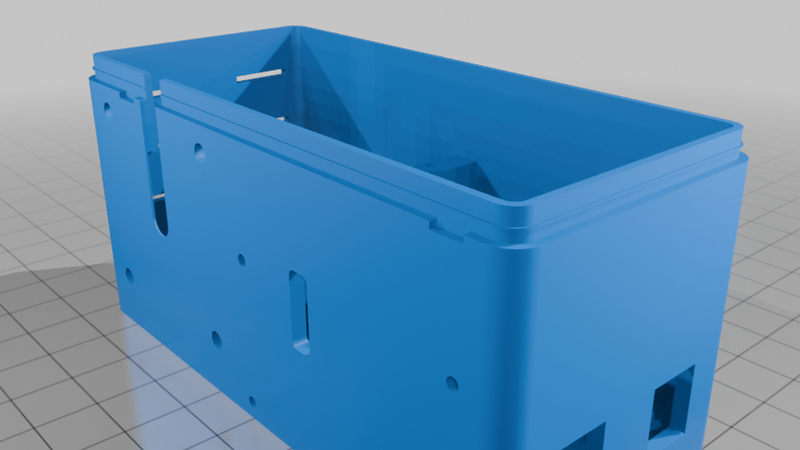
I designed a new case and lid with downward-facing power connectors. This case is a couple of millimeters wider than the original design. The new design was necessary for curtains placed on the door, where space was limited and the power cable previously got pinched.
These are the body and lid:
- ESP_roller_blinds-body-v2_power_down
- ESP_roller_blinds-body-lid-v2_power_down