Modular Raspberry Pi Case

Description
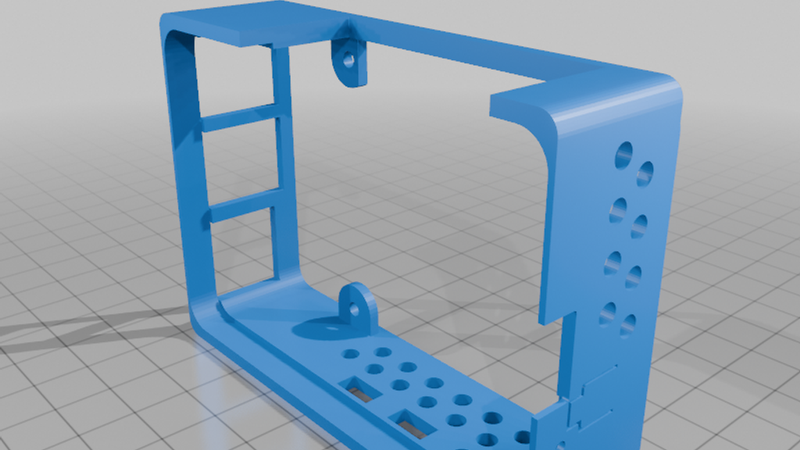
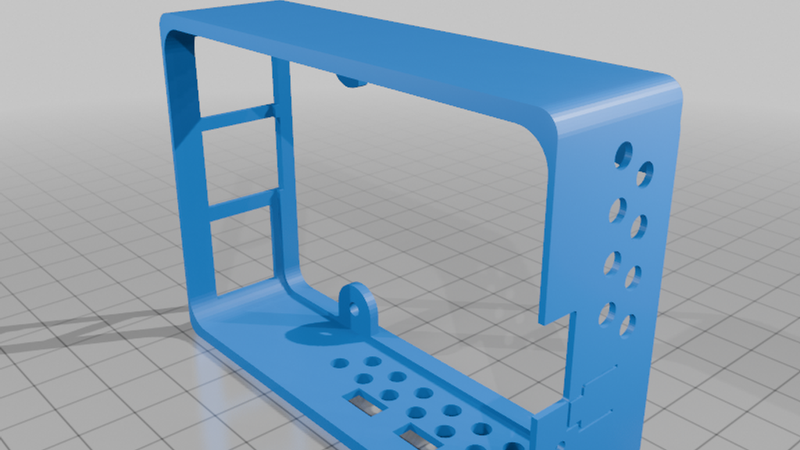
The Raspberry Pi minicomputer has as many applications as one's imagination and skill can create. However, when it comes to protecting the internals, a lot of the case designs are somewhat static and may be less than accommodating when there are Pi hats involved in the device. Some off-the-shelf cases are okay, but what if you need to do more later?
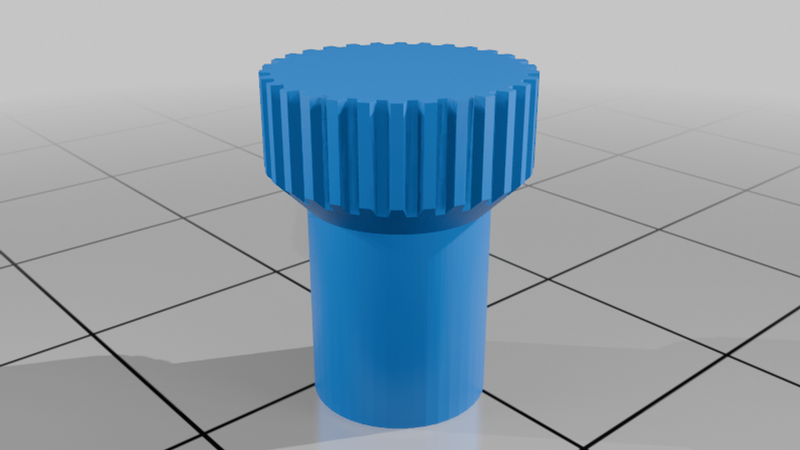
Well, I started taking a Solidworks class. For engineering, it's more efficient than AutoCAD (which, today, is more the standard for architecture), and my project needed some housing components for the RPi form factor. So, I went for a simple design that can be as complex as the user needs it. I also included some manual grips into which you can friction-set some hardware so you don't have to keep reaching for tools during assembly or with temporary installations. One holds an M2.5 nut, and 2 hold an M2.5 6mm standoff to varying lengths (one is stronger, the other leaves more metal exposed so you can get it into tighter spaces, like around the GPIO header).
Yeah, it's "yet another case," but this one makes things a la carte. On my Bambulab each piece prints out in about an hour. Your mileage may vary.
Initial assembly:
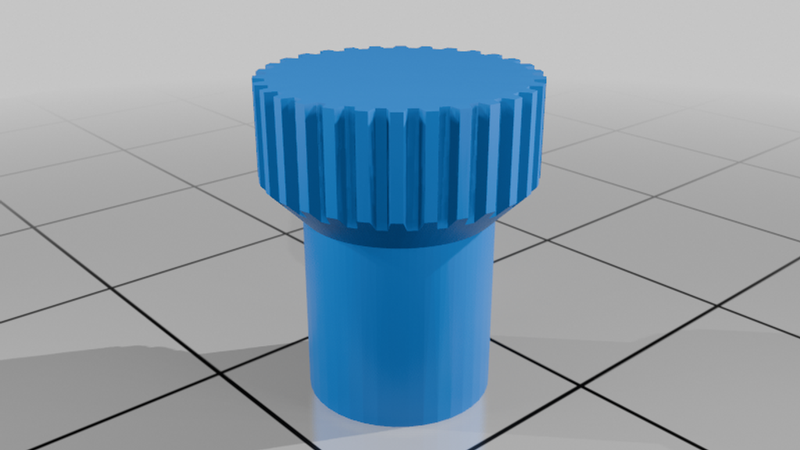
- Print a set of nut grips (no double entendre here) and force in some M2.5 nuts. I used a bench vise, but if you don't have one, try pliers, vise grips, or a hard floor and a lot of determination. It'll save some aggravation. Then you can print the shell.
- Secure some 15mm standoffs to the screw mounts on a Pi shell. I recommend using the grips you just created, but you can use pliers.
- Insert the mainboard at an angle (carefully) into the shell, starting at an angle to get the USB and ethernet ports into their holes, and then tilt the board in so that it sits against the standoffs. The fit will be snug, but it will seat properly.
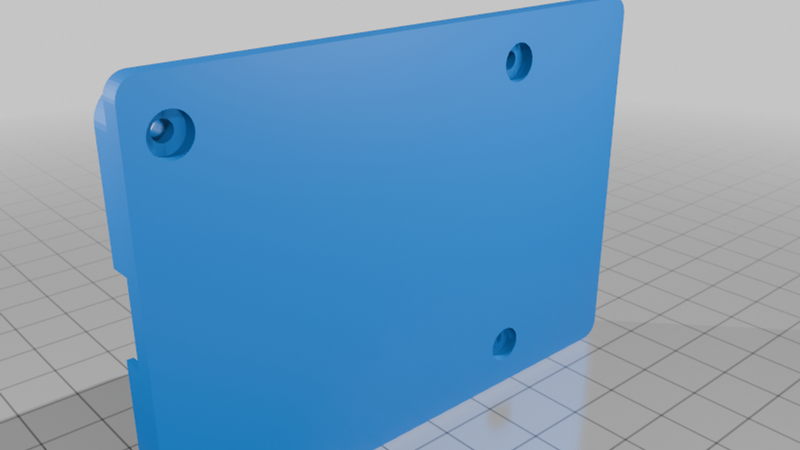
- You can put a base on, or use some temporary bolts (those standoff grips come in handy there).
After that, assemblies are easy, just remember some rules:
1) A typical screw for Pi mounting hardware, whether it's alone or part of a standoff, has a length of 6mm. A pi board, whether a mainboard or a hat, has a width of no more than 2mm. The screw mounts on the shell components are no more than 2mm thick. So, if you stack a component, stack its shell next, and leave the rest of the screw threads to hold a standoff or retaining nut.
2) The baseplate tends to break the rules here, so I recommend obtaining an M2.5 screw set of varying lengths. (I plan to fix this in a future redesign, but get the screw set anyway, it comes in handy.) This is to accommodate the microSD card slot and the studs for a Raspberry Pi cooler.
Here's the hardware to which I refer above. While you don't have to buy from Amazon, you can at least get the specifications so you know what to order from your chosen retailer.
Screw set: https://www.amazon.com/dp/B0BJ2GMG2M
Standoff set: https://www.amazon.com/dp/B0BP6LT76V
90-degree GPIO splitter: https://www.amazon.com/dp/B0888W3XN4
This is currently a work in progress. I'm currently working the bugs out of the Pi5 shell with respect to alignment and depth of the power and micro-HDMI ports. Current plans:
- Pi shells for the Pi4 and Pi3.
- Improvements to the screw mounts of the standalone bases so you can use the standard 6mm screws or hand-tightened bolts.
- Different lids for no header or exposed header use.