Mast roller bending jig for RC Sailboats


Description
This tool is intended for bending RC sailboat masts. It is specifically designed for the common 11.1 mm thin wall tempered aluminum masts seen in IOM-class sailboats.
You need to print:
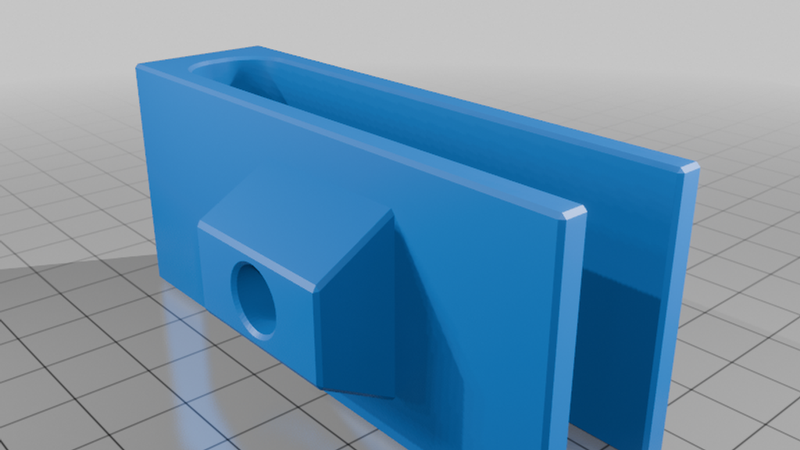
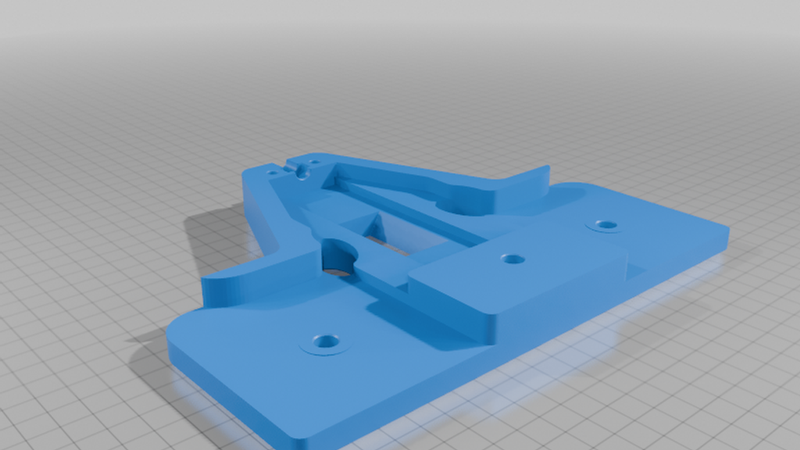
Frame sides x 2
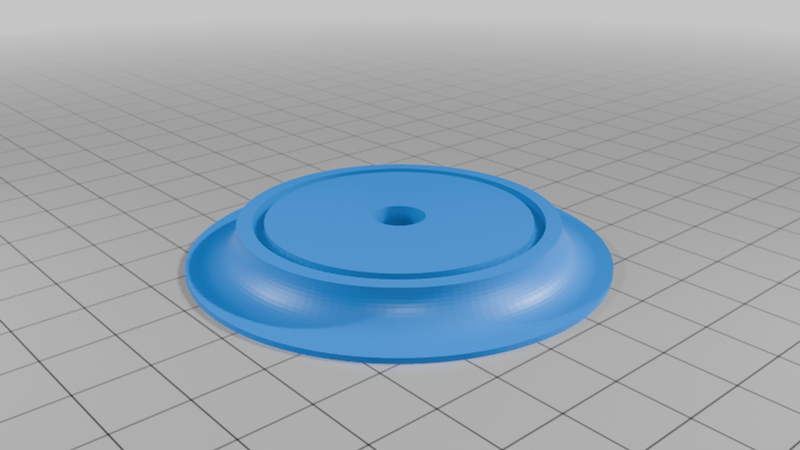
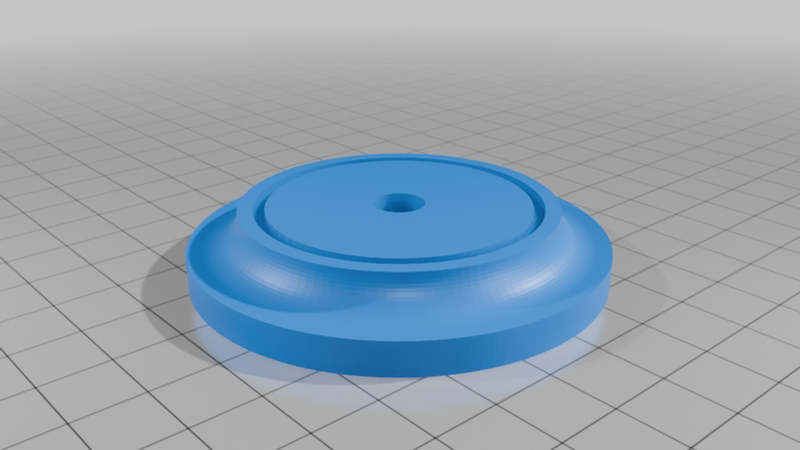
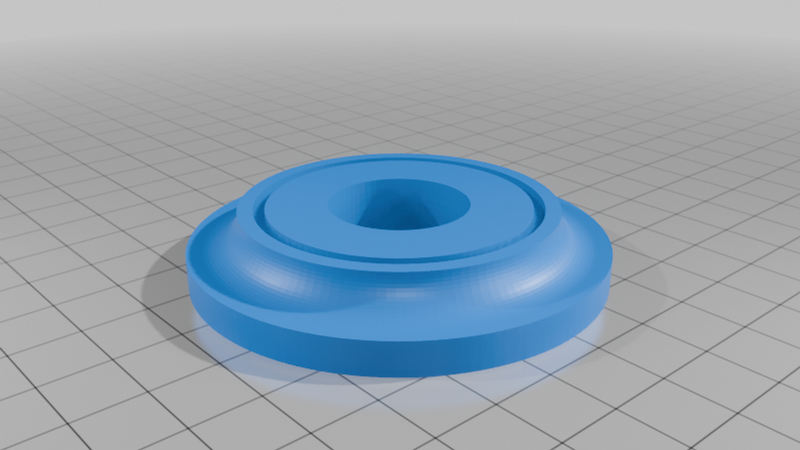
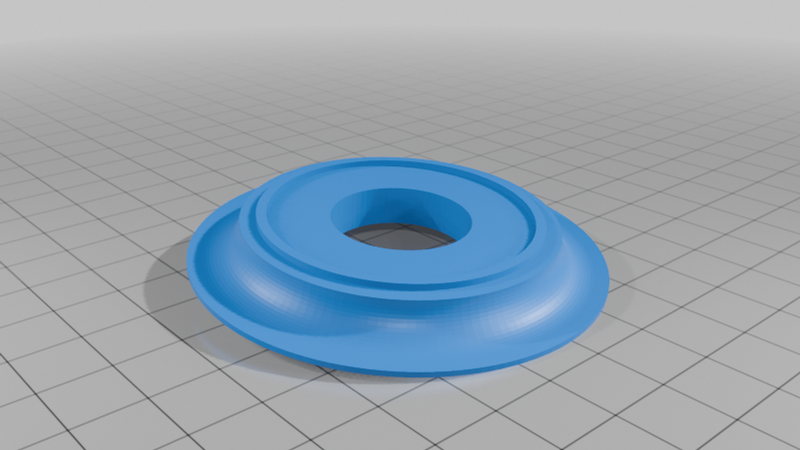
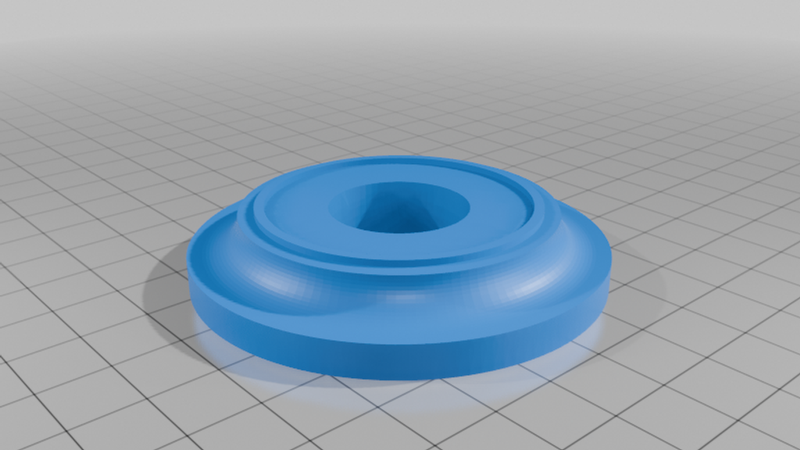
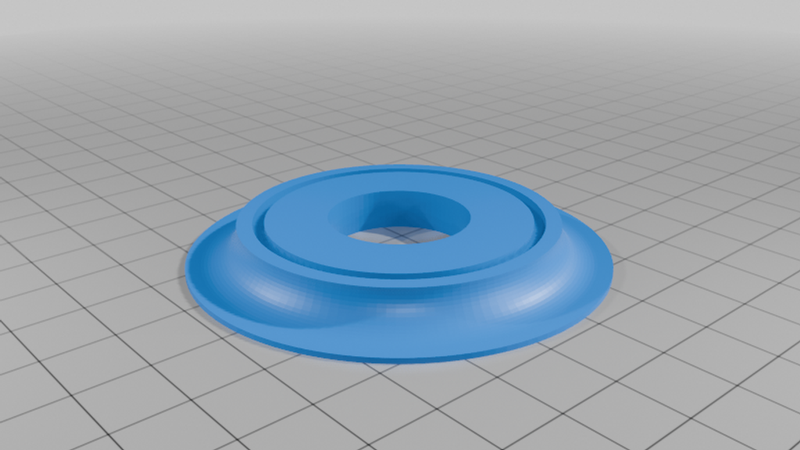
Lower roller set x 2
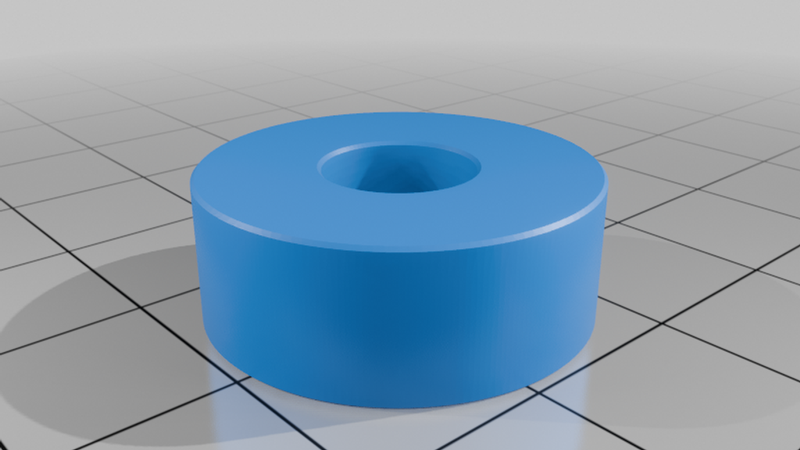
Bearing spacer x 2
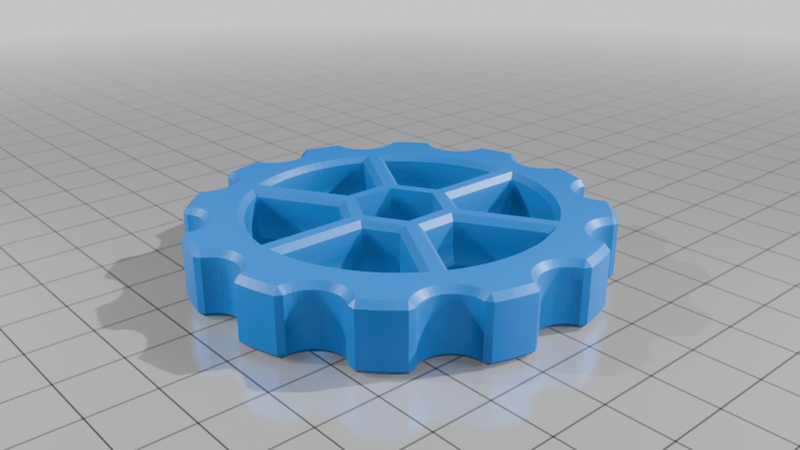
Upper roller set x 1
Knob x 1
Parts are aligned for printing with no supports needed. I recommend 6 walls and 25% grid infill for a strong print. I used 0.20mm layers. I have included a set of rollers with no bearings as well, just in case you don't have access to them or want to use a custom bearing size. You should use bearings though or the rollers may not roll as they should. I used PLA+ for the parts.
Hardware needed (Metric or Imperial):
M8 x 50 mm or 5/16" x 2" bolts - x 5
M8 or 5/16" nuts - x 5
M5 x 50 or #10 x 2" bolts - x 2
M5 or #10 nuts - x 2
22 mm (diameter) x 7 mm (thick) x 8 mm (hole) bearings - These are common skateboard bearings
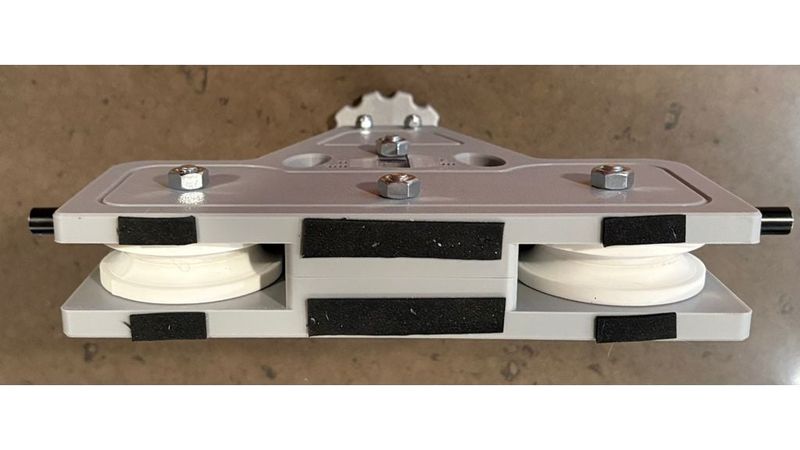
Possibly some very thin 1.5mm or 1/16" adhesive backed foam for feet to prevent slipping when clamped down (if needed)
Assembly:
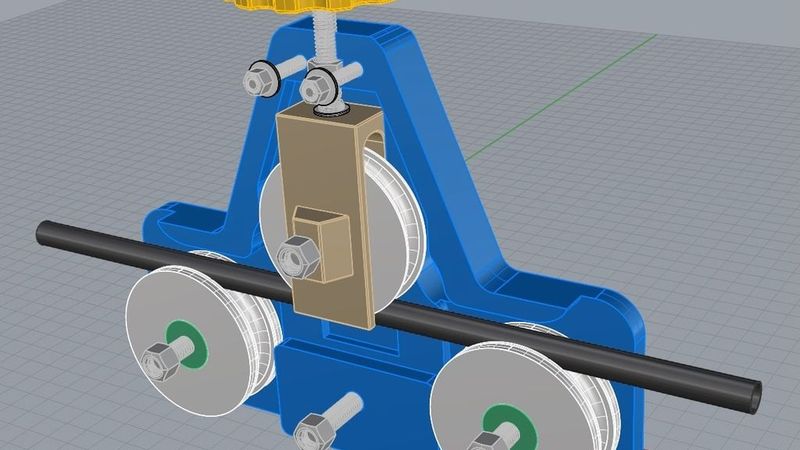
There is a picture showing the frame with one half removed so you can see how it goes together. Use super glue or epoxy to glue the roller halves together. The bearing spacers go in the lower rollers (you don't need to glue them in). You do not need lock nuts for this project. You can simply hand tighten all the hardware. If you use a wrench and crank down on the frame, it can make the bolts too tight and the rollers may not roll smoothly. All the parts have a some clearance in the fit, so it should go together easily.
In use:
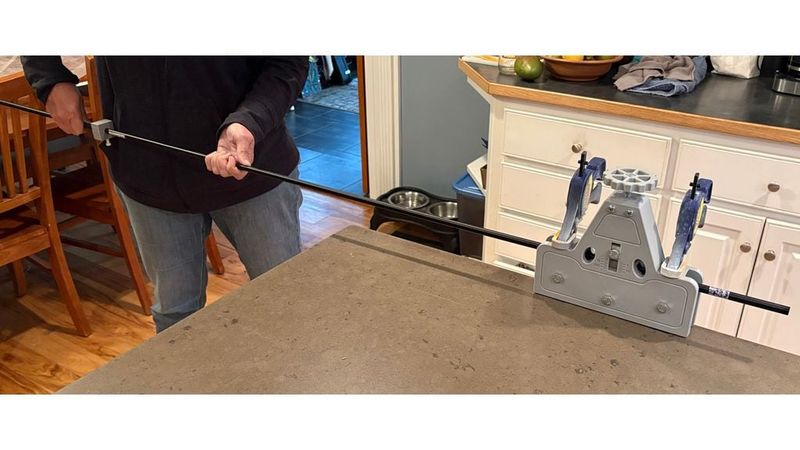
1. Clamp down the roller to your work area.
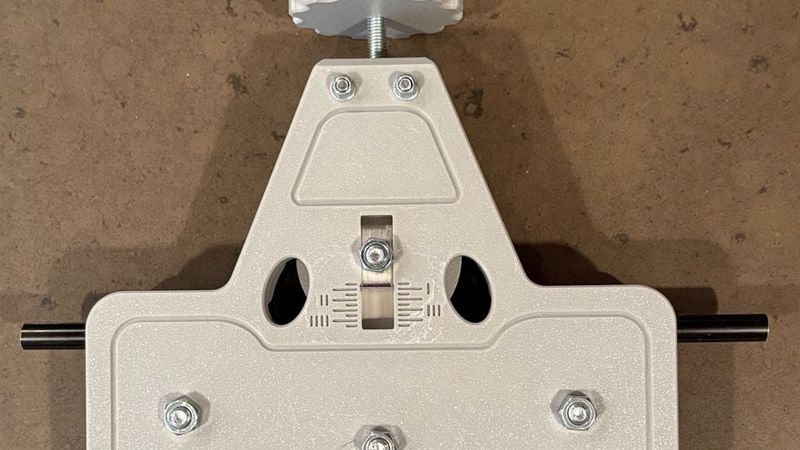
2. Insert your mast stock until it contacts both lower rollers. Gently tighten the knob until the upper roller makes contact with the mast. The center roller will touch about 75-100mm from the end of your mast tube. Take a look a the location marks on the side of the frame and note where the lower point of the bracket is.
3. The next part will depend on your mast material. Not all masts around the world will behave the same way. In my case, I didn't need to turn the knob very far, just a bit under 1.5mm.
4. Push the mast through the roller. Don't twist the mast as you insert it. Stop where you want the bend to stop and pull the mast back out. You may need multiple passes. You may bend it too far. If you do, then you can turn the mast 180º, adjust the knob, and roll it as needed to correct it.
It is very easy to use, but it will take a few tries to discover the correct pressure to apply for your setup. There is a very small difference between getting the mast to simply bend and spring back compared to getting the mast to deform permanently. You will feel some gentle resistance as the mast starts to bend when you tighten the knob, but then you will feel the tension start to stack up sharply as you reach the deformation point. At about 1.25mm I could feel this point. At just under 1.5mm, the mast would deform as needed. Proceed with 1/2 turns on the knob at most until you find the right setting. It does not take much pressure to bend these masts to the gentle curve required.
This tool is NOT intended to bend steel or solid rod. You may be able to bend other soft materials with this tool, but it is specifically designed to handle these thin-wall aluminum mast tubes.
I have a build thread for IOM rigs and sails here: https://www.rcgroups.com/forums/showthread.php?4703993-Tales-of-Wind-and-Strand-Rigging-and-Sails-in-6-998-Easy-Steps
I have several other build threads on RCgroups. https://www.rcgroups.com/forums/member.php?u=80231
Check my designs page and RC Sailboat collection on Makerworld. https://makerworld.com/en/collections/55891-rc-sailboat
Enjoy!