GEPRC MARK5 / PHISITAL MARK5 — Easy-Fit Bottom-Load GPS Mount (GE-M1025-DQ)
Description
[English]
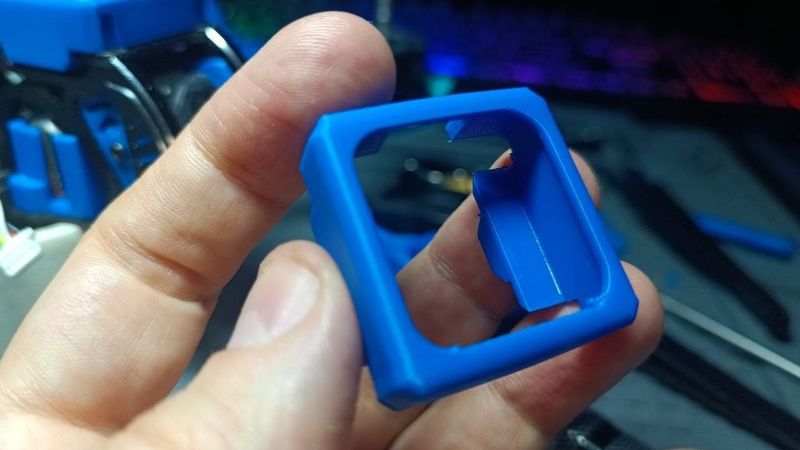
V2 Update: Bottom-Load System
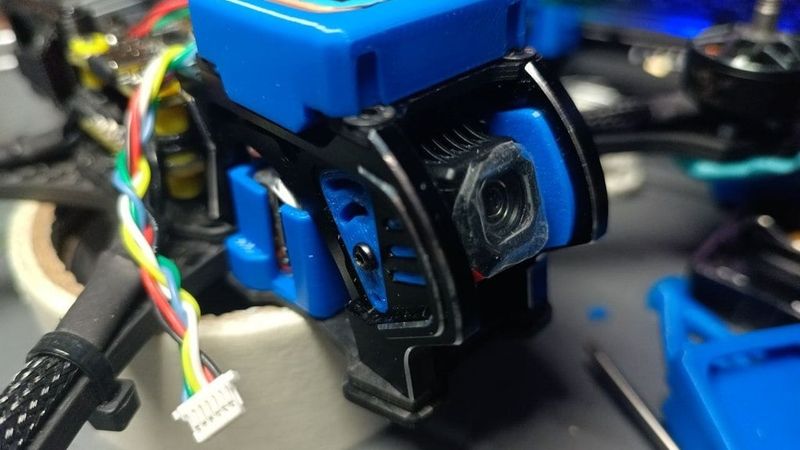
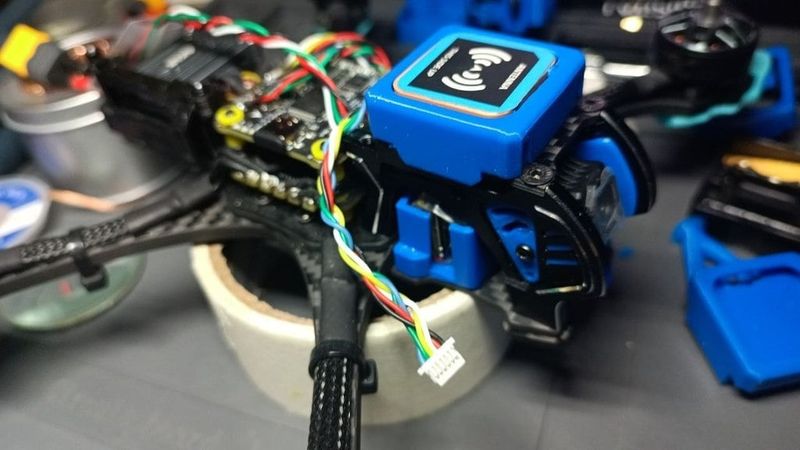
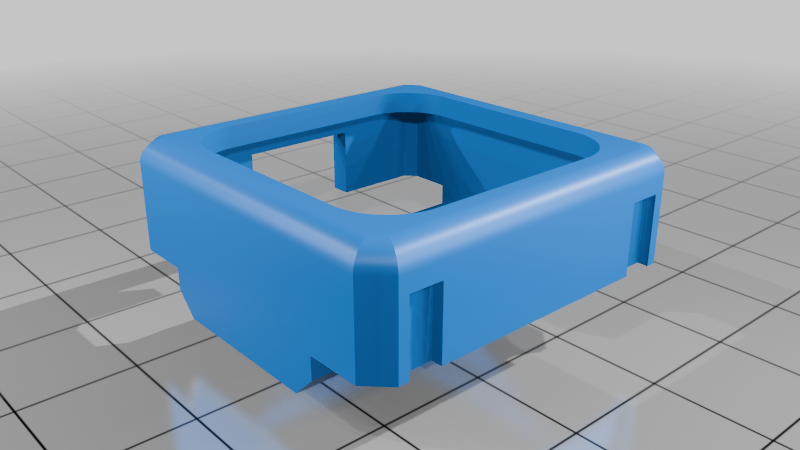
This is a redesigned version of the GPS mount for the Mark5 frame. Unlike the first version, this model features a bottom-loading design.
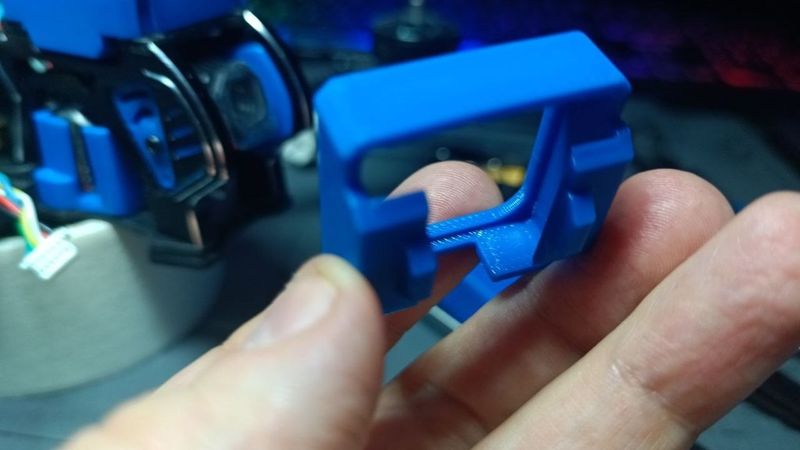
Easy Installation: No need to force or bend the TPU to fit the module. Just place the GPS inside and secure it with the bottom cover.
Secure Fit: The module is fixed by its own geometry, preventing any accidental pops during crashes.
Compatibility: Designed specifically for GE-M1025-DQ GPS modules and Mark5 frames.
[Russian]
Обновление V2: Система нижней загрузки
Это переработанная версия маунта для рамы Mark5. В отличие от первой версии, здесь реализована нижняя загрузка модуля.
Легкая установка: Больше не нужно с силой втискивать или деформировать TPU. Просто вложите модуль снизу и зафиксируйте его нижней крышкой.
Надежность: Модуль фиксируется за счет собственной геометрии, что исключает его вылет при жестких столкновениях.
Совместимость: Разработано специально для GPS-модулей GE-M1025-DQ и рам Mark5.
Technical Specs / Installation Steps
English
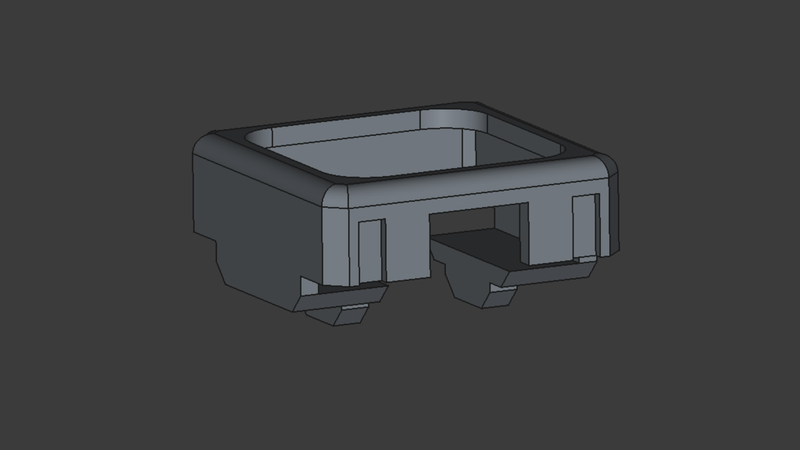
Unique "Slide-and-Lock" Sandwich System:
1. Module Assembly: Insert the GPS module into the main mount body.
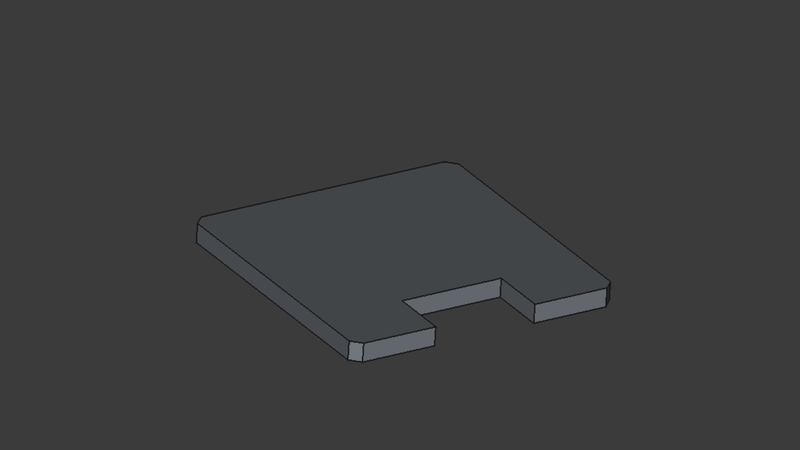
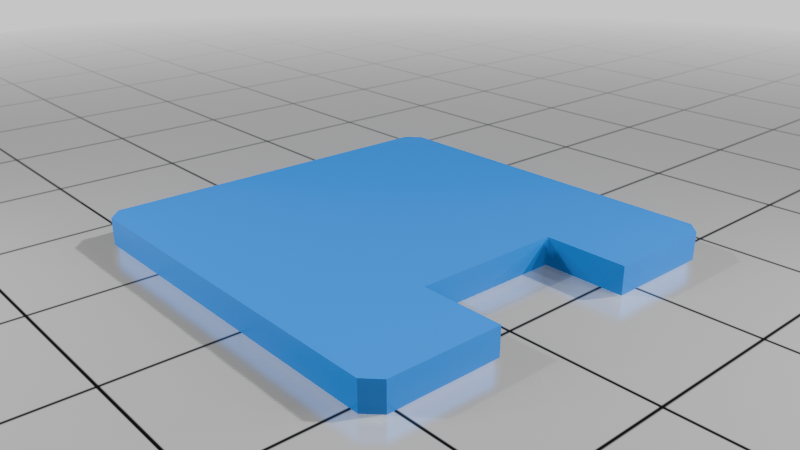
2. Bottom Plate: Install the bottom retaining plate.
3. Carbon Integration: Fit the top carbon plate into the dedicated groove on the mount.
4. Placement: Position the assembled unit onto the aluminum side parts of the frame.
5. Front Fastening: Slide the mount backward to access the front holes and tighten the screws.
6. Rear Fastening: Slide the mount forward to access the rear holes and tighten the screws.
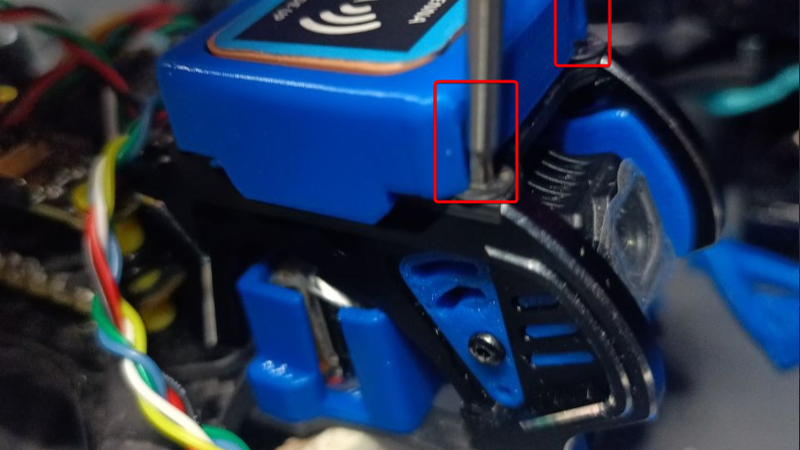
7. Service Access: Use the built-in technological slots for direct screwdriver access without sliding or deforming the TPU walls.
Русский
Уникальная система фиксации со сдвигом (сэндвич-сборка):
1. Сборка модуля: Установите GPS-модуль в основной маунт.
2. Нижняя фиксация: Установите нижнюю ответную планку.
3. Карбоновая планка: Установите верхнюю карбоновую планку в специальный паз маунта.
4. Установка на раму: Установите маунт в сборе на алюминиевые боковые элементы "морды".
5. Передние винты: Сдвиньте маунт назад, чтобы открыть доступ к передним отверстиям, и закрутите винты.
6. Задние винты: Сдвиньте маунт вперед, чтобы открыть доступ к задним отверстиям, и закрутите винты.
7. Технологические пазы: Также в корпусе предусмотрены пазы, которые позволяют добраться до винтов без сдвига и деформации стенок маунта.
Links & Support:
🌍 Official Website: https://rarefpv.ru/ (Build logs, code & high-res photos)
📺 YouTube: https://www.youtube.com/@RareFPV (Flight footages & assembly & cinematic)
📢 Telegram: https://t.me/rarefpv (Live updates from the bench)