Antenna, Radio, Speaker mounts for a Midland MXT275 GMRS in a Mazda Miata MX5 ND


Description
This is for mounting an Midland MXT275, https://midlandusa.com/collections/mxt/products/mxt275vp4-micromobile-two-way-radio-bundle-1 , in a Mazda MX5 ND.
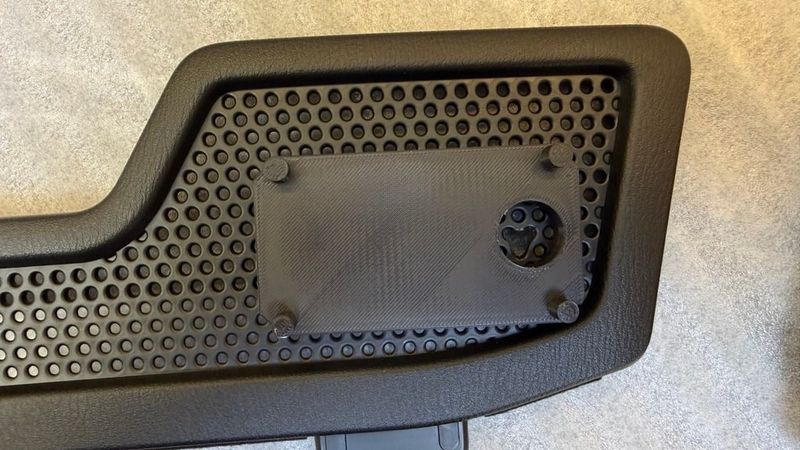
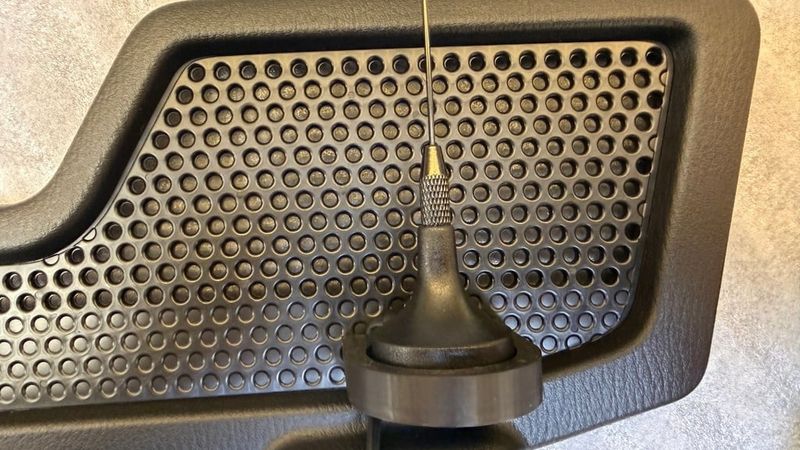
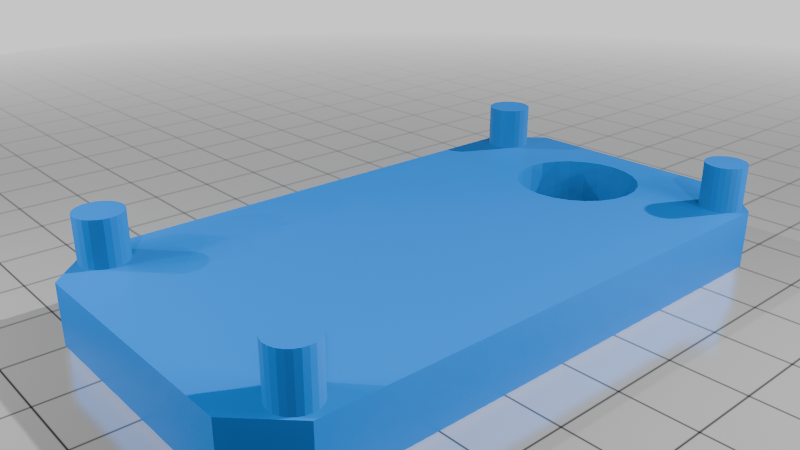
There is a mount for the magnetic base "whip" antenna. Stick the adhesive metal plate from the whip antenna to hold the whip antenna onto the bracket.
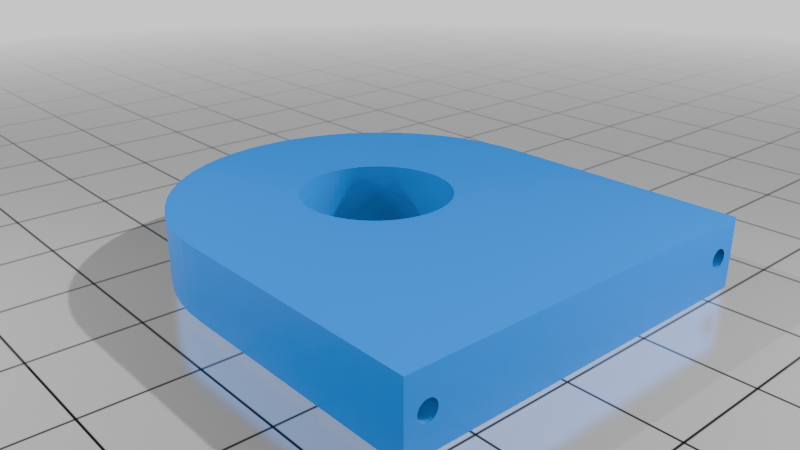
There is a base for the stubby "Ghost" antenna, use this connector, not the included. Will need a different cable too. Can order a cable close to the length you need.
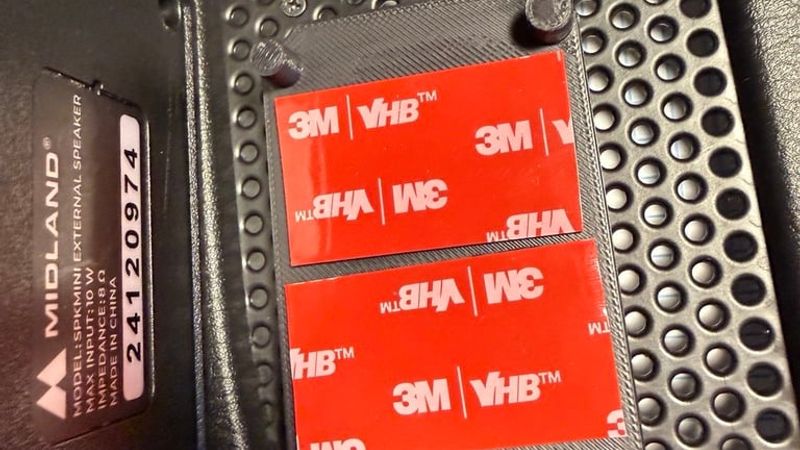
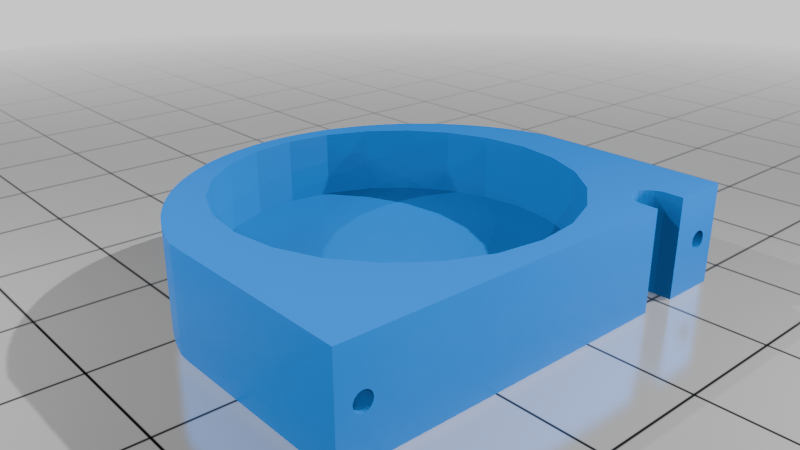
There is a mount for the SPKMINI speaker, https://midlandusa.com/collections/speakers/products/mini-external-speaker-spkmini . I used VHB tape to adhere it to the speaker. The "towers" on the speaker base fit snug in the screw recess holes of the speaker. You may not need the speaker, try it first using the handheld mic/speaker. Run the speaker cable with the antenna if you think you might want the speaker.
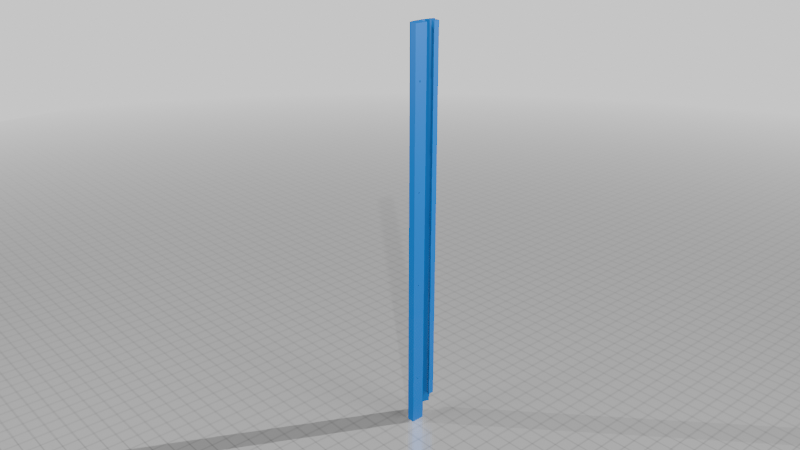
There is a trim piece to cover the cable from one side of the windblocker to the other. I was able to print this well with PLA, but, not ASA. I got it good enough and trimmed it up. Print it lying down with the pointy side to the bed, I found the point did not turn out well. Flat and the layer lines don't look nice. Fat side down doesn't look nice where there are supports.
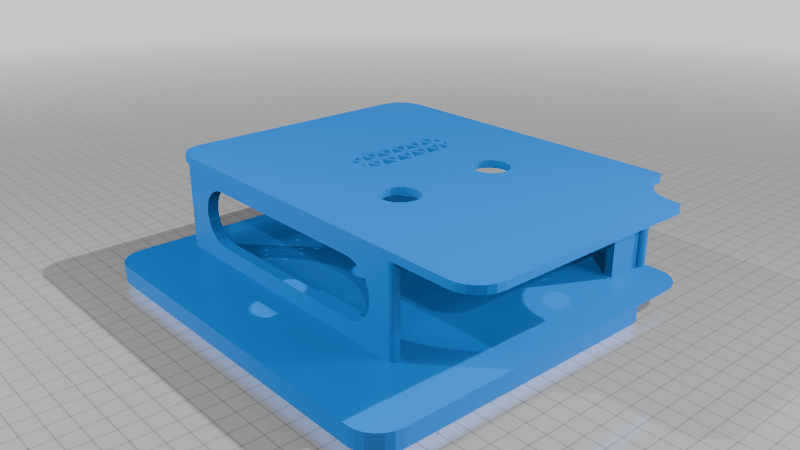
There is a mount for the radio itself that fits in the cubby behind the LH Drivers seat of the ST. I don't think the RF has this cubby and the cubby that the RF has may require a different shape/size bracket. Print it standing on the rear of the unit to minimize supports. My free design software isn't the best and this design has a lot of artifacts. My Pruse Slicer cleaned it up and it prints as expected. I used this switch, https://a.co/d/0gcT7J26 , to mount in the radio base and control power to the unit.
I think I used #2 screws, 1/2" (qty 2 for antenna, qty 4 for speaker) for the Antenna, and Speaker mounts and 3/16" (qty 4) for the Cable trim. The Radio radio used a #4 x 3/8" (QTY 2) for the Radio. Flat head countersunk. Some of the lower holes on the wind blocker needed to be drilled out to mount where I mounted them, including lower speaker holes, Cable trim holes, and the whip antenna (which could go higher into existing holes.)
I used 5' cables between the radio and the windblocker. https://a.co/d/0dOKECpY https://a.co/d/06qP2apU The cable run out the cubby velcro and under the glove box and reach to about the RH side windblocker socket. 6' would reach to the cabin side of the style hoops.
I converted the RF connectors to SMA https://a.co/d/0e68CY7W
On the ghost antenna I use this to connect between the antenna and the cable from the radio. It is easy to connect and disconnect the antenna.
I cut the speaker cable and soldered on a TRS connector using TS and leaving R open. It is the same length as the above cable for the ghost antenna.
I cut the cable on the whip antenna the same length as the speaker cable. I used this to put a female SMA on the Whip antenna cable. https://a.co/d/06BumWQA This kit is not the greatest, the crimper does not work well with the connectors. The smallest pin crimp does on crimp on the center connector of the whip antenna cable. I ended up soldering it on. The sleeve crimp is the wrong size. We need one inbetween the two smallest sleeve crimp sizes. I ended up using the smallest, it creates "ears" on the hexagon. I did rotate it 1/6th and crimped a second time which made the "ears" of the over crimp disappear. I think it is secure at least. One of the uploaded files has the strip specs i used for the connectors above.