Roland Aira Battery Cover for 3000mAh 505573 batteries
Description
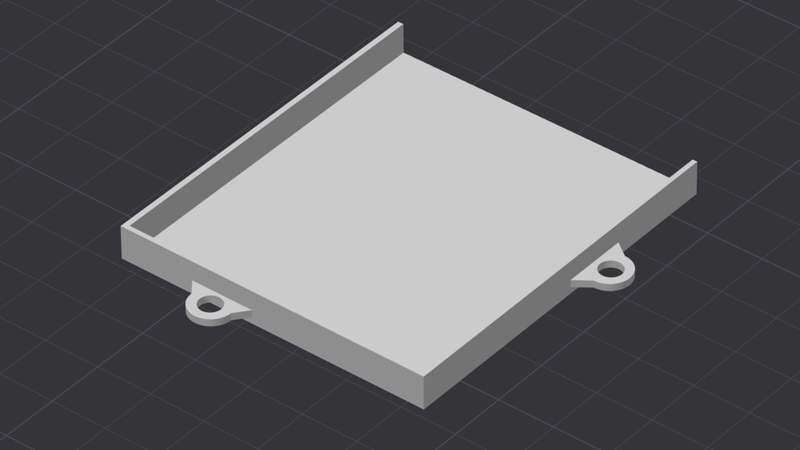
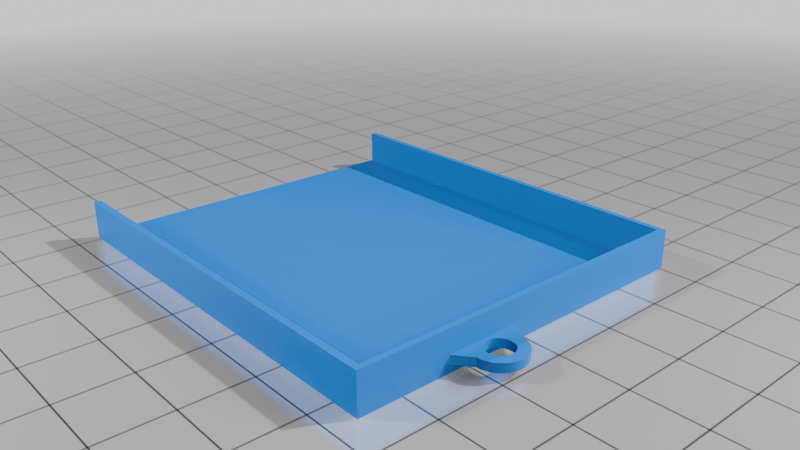
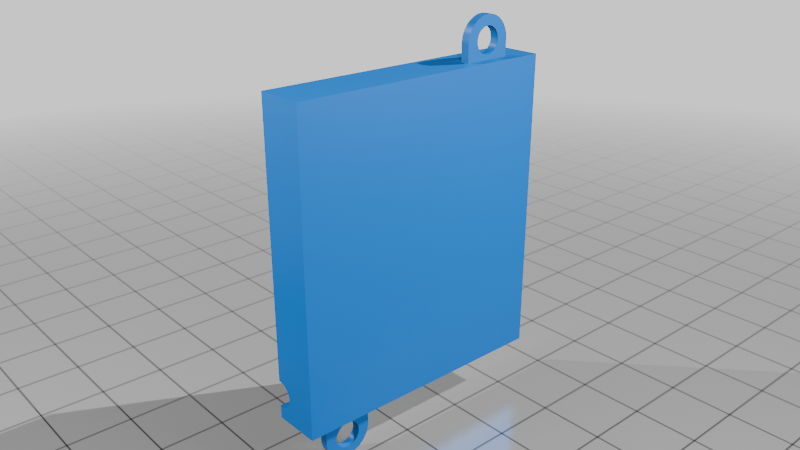
Roland Aira Battery Cover (Extended LiPo Mod)
This is a custom battery cover designed for Roland Aira devices, allowing you to install a larger internal LiPo battery cleanly and securely.
Compatible Devices (Confirmed fitment on all)
- Roland Aira S-1 Tweak Synth
- Roland Aira T-8 Beat Machine
- Roland Aira J-6 Chord Synth
- Roland Aira E-4 Voice Tweaker
- Roland Aira P-6 Creative Sampler
Background
Some time ago, I came across this Reddit thread describing a simple battery upgrade for the Aira series:
The idea is solid, but leaving the battery loose inside the device or fixing it with double-sided tape didn't feel too good. This design solves that by properly housing the battery inside the device using a purpose-built cover, and re-using the original cover mounting points. For fun, I also included a cover for the original 850mAh battery (RolandAiraBatterijCover.stl)
Compatible Battery
Designed specifically for:
- Battery type: 505573
- Capacity: 3000mAh
- Voltage: 3.7V LiPo
- Connector: 3-pin, 0.8mm pitch
- Outer dimensions: ~55x74x5mm
Make sure your battery matches these specs and connector type before installing.
Features
- Clean internal fit for upgraded battery
- No loose components inside the device
- Uses original screw holes
- Reuse the stock screws
- No permanent modifications required
Print Instructions
- File: RolandAiraBatterijCover_big.stl (the other file, RolandAiraBatterijCover.stl, is the original cover for the 850mAh battery)
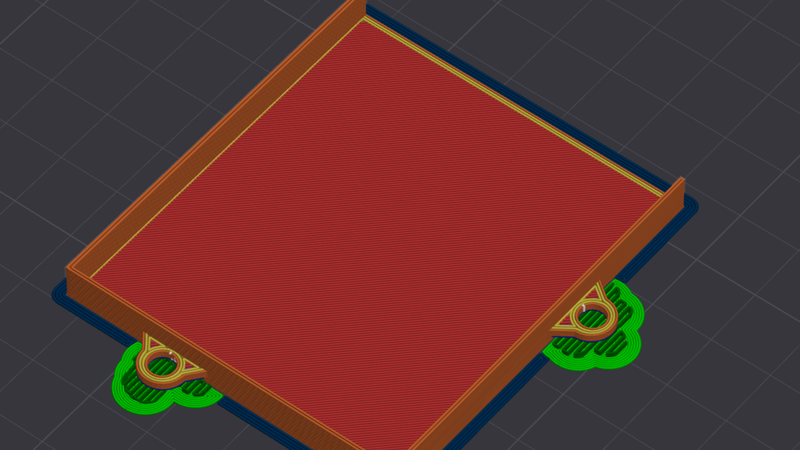
- Print orientation: flat side down (see images)
- Material: PLA
- Use: brim or mouse ears (recommended to prevent warping and maintain shape accuracy)
- Supports: Enable support, because the screwholes aren't exactly flush with the print bed.
- Strength: 20% infill, 3 wall loops.
Be careful when taking it off the print bed, because it's quite thin and light.
Installation Notes
- Turn off the Aira device.
- Unscrew the back of the Aira device (6 screws).
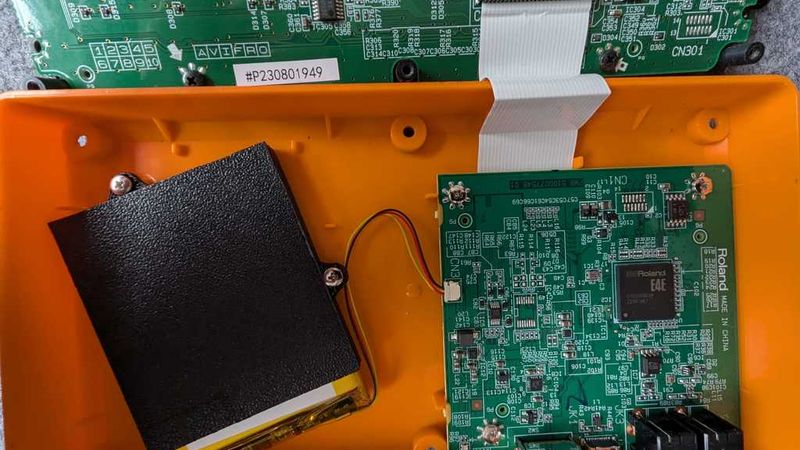
- Open up the case. Be careful, the top and bottom halves are connected with a ribbon cable.
- Unplug the tiny battery connector.
- Remove the original battery cover (2 screws). The original 850mAh battery is stuck inside the original cover.
- Place the upgraded battery inside the newly printed compartment. Don't use any force. The wires need to point in the direction of the PCB, so make sure they are on the right side (see images for reference).
- Route the cable carefully to avoid pinching.
- Plug the tiny connector into the PCB.
- Mount this cover using the 2 original screws.
- Mount the back cover. Confirm nothing is pressing up against the battery. because it's quite a tight fit.
- Charge the device.
- Enjoy hours of extended usage of your Aira device!
If you like this, feel free to buy me a coffee!

Disclaimer
Use at your own risk. Modifying your device and installing third-party batteries can damage the device if done incorrectly. Make sure to check your batteries every now and then to prevent any spicy pillows from going unnoticed.