Kayoumini 2.5 (DJI O4 unit light) mounts set and others


Description
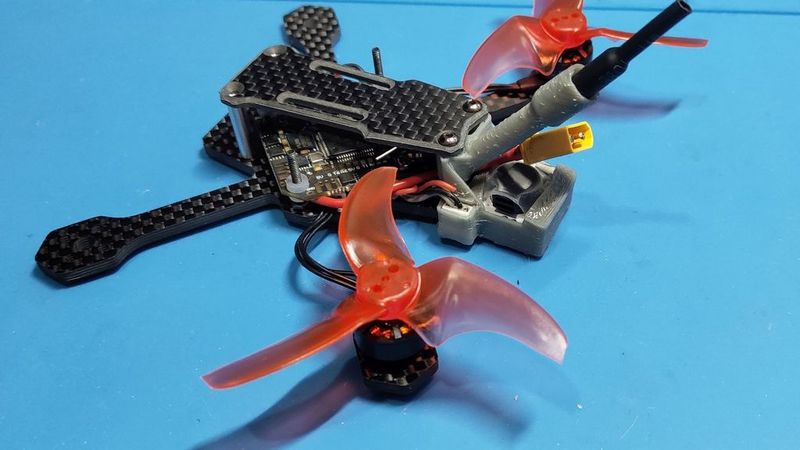
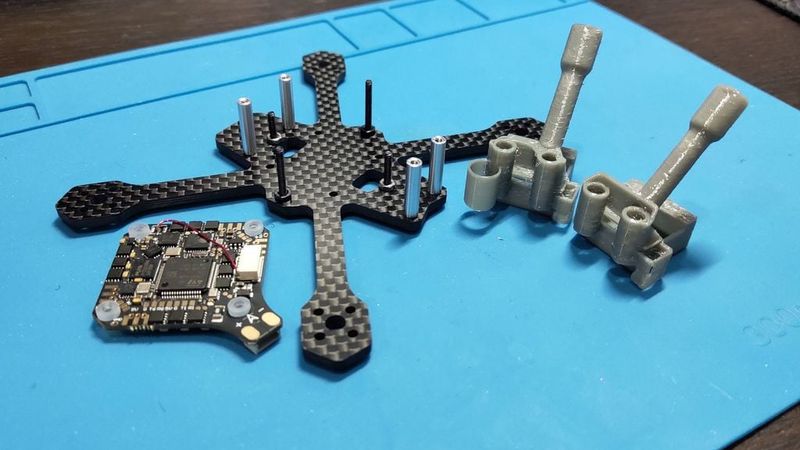
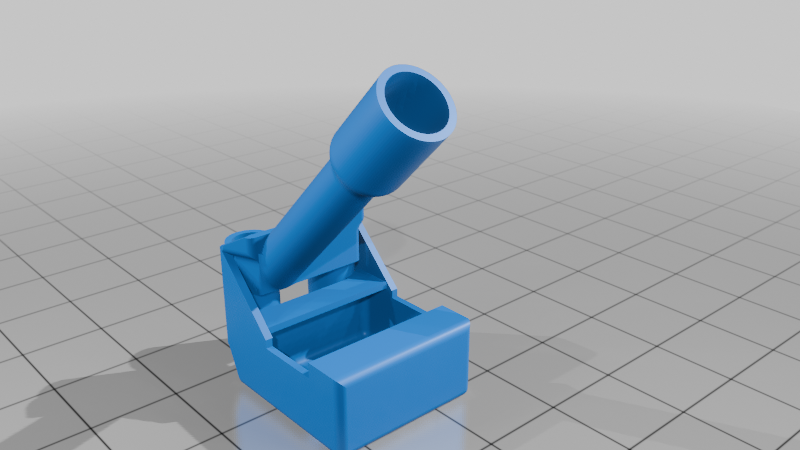
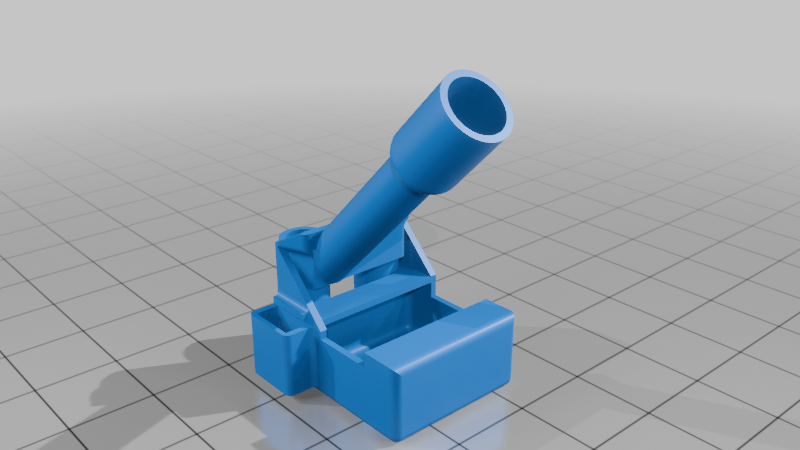
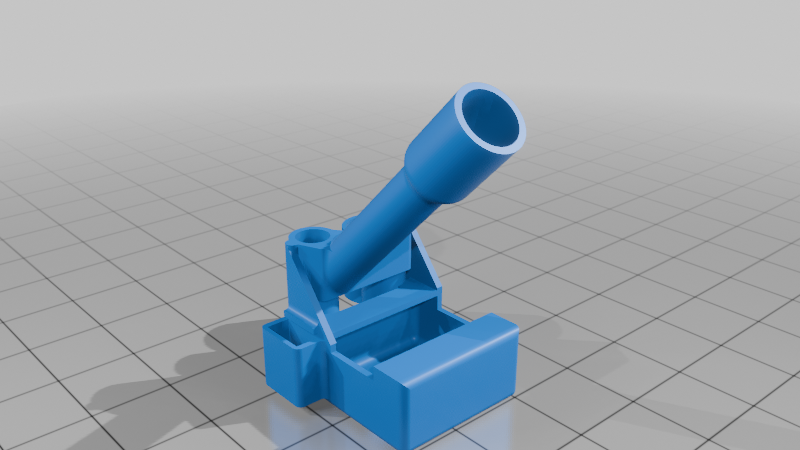
A set of different mounts for a quadcopter on a Kayoumini 2.5 frame
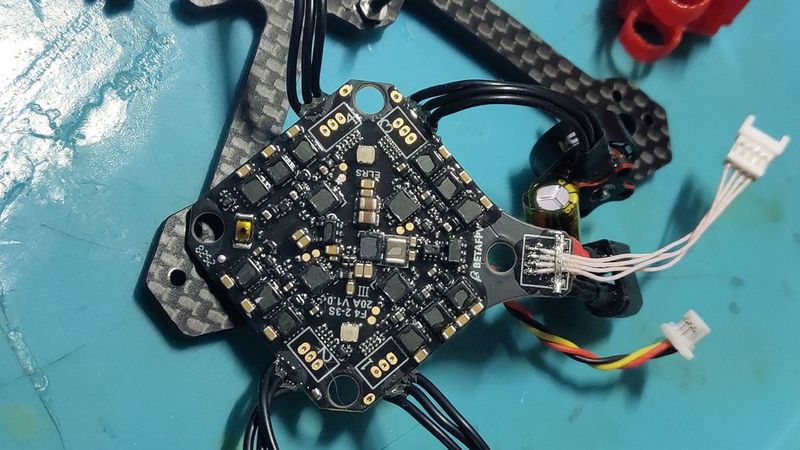
The features: the JHEMCU JHE42B-S buzzer and the BetaFPV F4 2-3S flight controller (with tail).
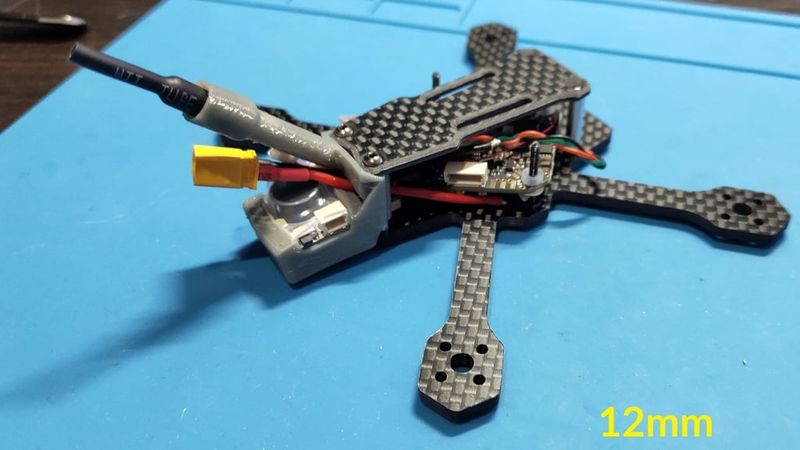
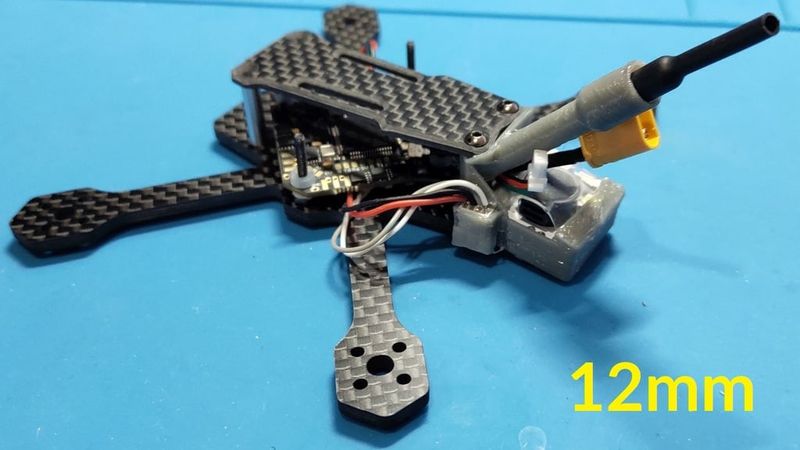
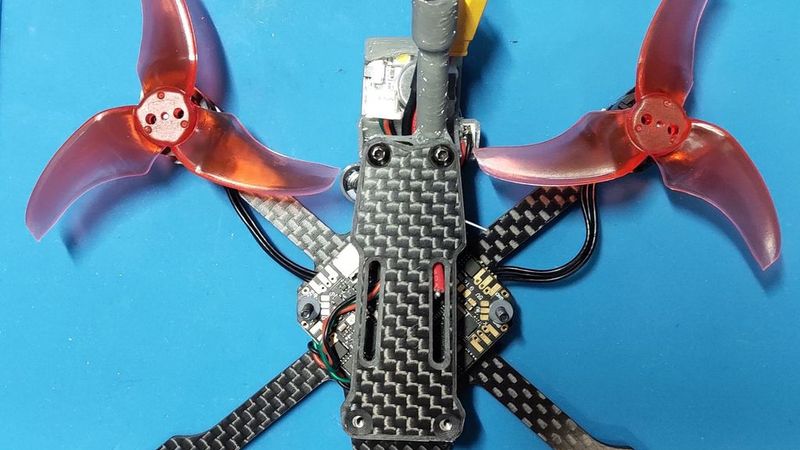
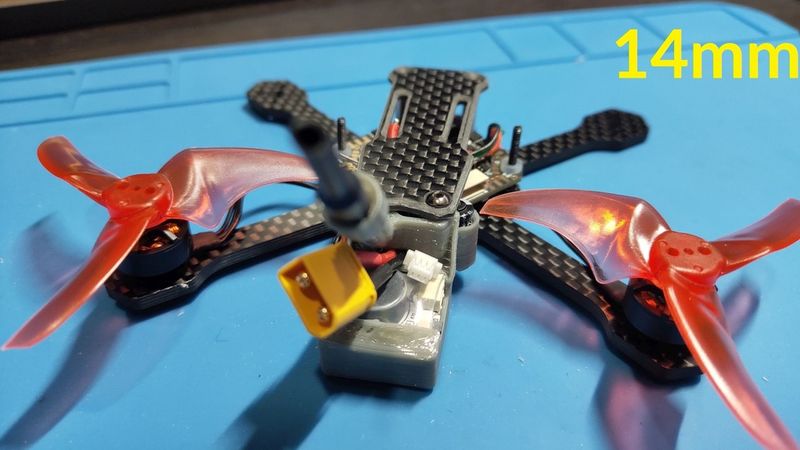
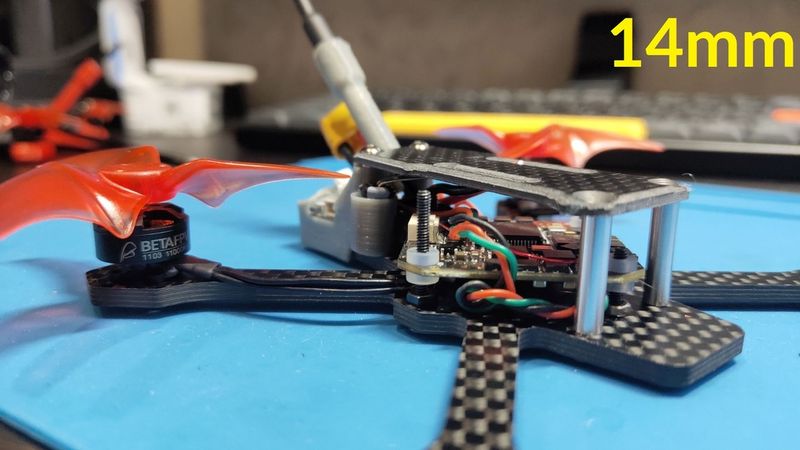
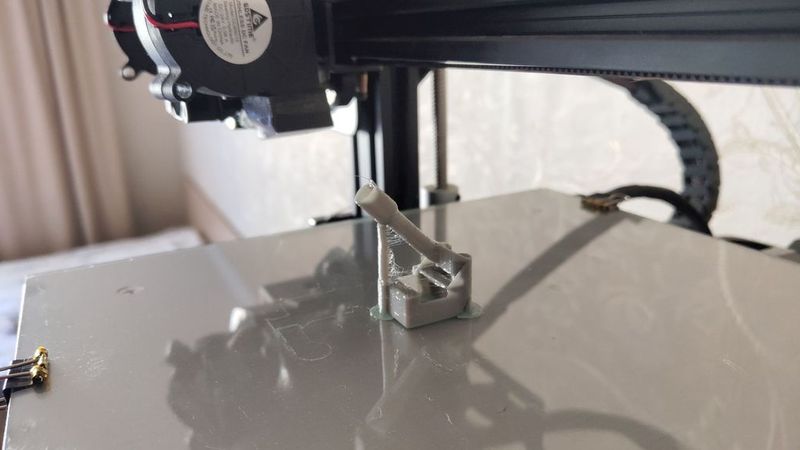
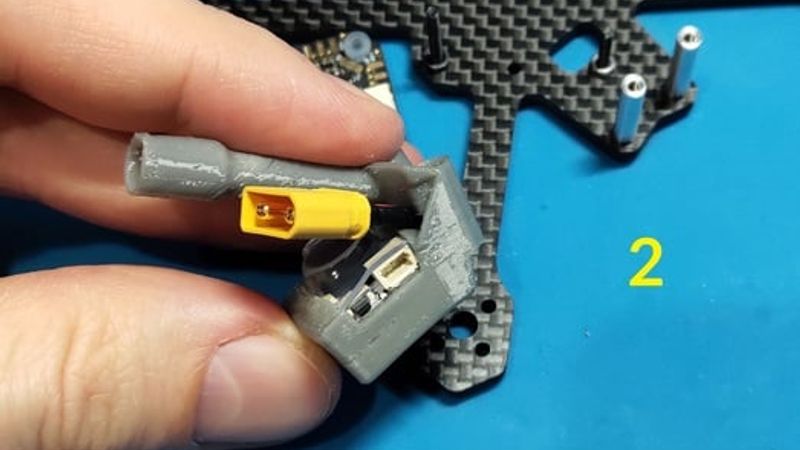
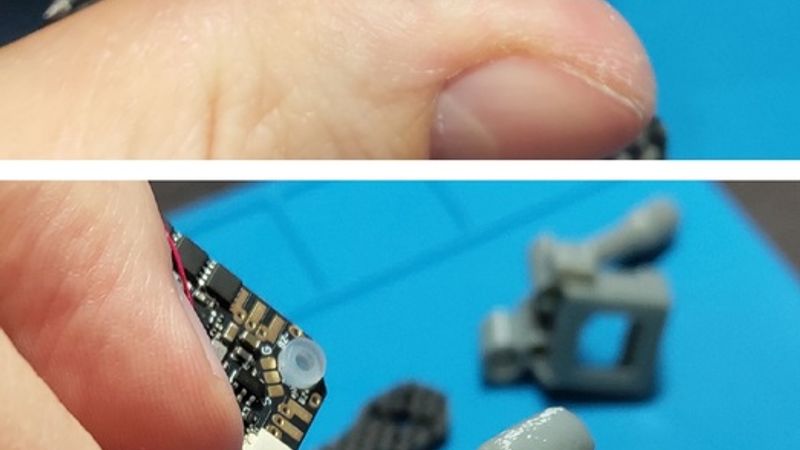
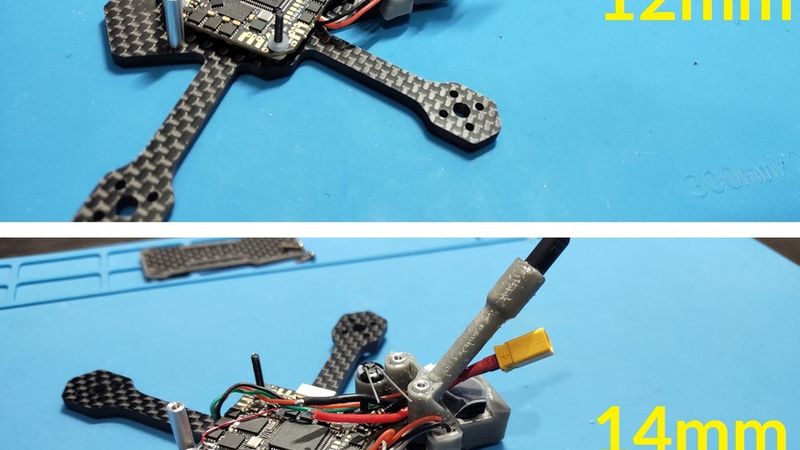
1. buzzer_back_pack - mount for JHEMCU JHE42B-S Finder buzzer. The mount is based on the original one from Pudge (https://www.thingiverse.com/thing:7320684 ) by reducing the height and simplifying the design. The original model is designed for racks with a height of 15 mm, and if your Kayou has the same height, then just take the original model - these frames are the same in the back side (https://www.youtube.com/watch?v=A5ksWCAlQ98 ). Here I changed the mount for use with 12mm racks (as recommended by the developer) and 14mm - it seems to me the most optimal for a drone with a digital VTX. And if BetaFPV FC with the "tail" being used, you need to remove the USB connector from it and solder it onto the released pins - thin wires and a jst-1.25 connector at the end (you can use any other one, but the mount is designed for this), after soldering fix the wires on the board so as not to tear them off the tracks. The usb-jst connector is inserted into the side "pocket" of the mount - it is safe - well below the level of the blades (but you need to make sure that the wires from it do not stick out and are hidden inside the frame). The length of the antenna bracket is made as long as possible and shifted sideways so as not to interfere with the installation of batteries.
v1 - is the original mount for the buzzer alarm system and antenna, nothing superfluous.
v2 - mount for buzzer, antenna and pocket for JST-USB.
v3 - for 14 mm racks: mount for a buzzer, antenna, with a pocket for jst-usb, and a 6.5 x12mm capacitor. The capacitor is positioned vertically, at the minimum distance from the tips of the blades and the flight controller (there are no problems with installation and assembly). There is no way to place the capacitor in height for 12 mm racks...
The order of assembly (it's not easy - everything is very tight):
* insert the XT30 connector into the hole between the antenna and the buzzer;
* insert the buzzer itself into the pocket;
* insert a connector with wires to connect the buzzer;
* install the standard O4 antenna, pull the ipex connector;
* insert the USB-jst connector into the "pocket";
* install the flight controller with the assembled mount in the frame (the racks and screws on which the FC is mounted and the mount must already be screwed into the frame);
* install the O4 unit.
All sources are attached, developed in COMPASS-3D v22.
Набор различных креплений для квадрокоптера на раме Kayoumini 2.5
Ключевые особенности - это крепление пищалки JHEMCU JHE42B-S и полетник BetaFPV F4 2-3S (с хвостом).
1. buzzer_back_pack - кронштейн для аварийной пищалки JHEMCU JHE42B-S Finder buzzer. Маунт сделан на основе оригинального от Pudge (https://www.thingiverse.com/thing:7320684) путем уменьшения высоты и упрощения конструкции. Исходная модель предназначена для стоек высотой 15 мм и если ваш Каю с такими-же стойками, то просто берите исходную модель -эти рамы одинаковы в задней части (https://www.youtube.com/watch?v=A5ksWCAlQ98). Здесь я изменил кронштейн для использования со стойками 12 мм (как рекомендует разработчик) и 14 мм - как мне кажется самый оптимальный вариант для дрона с цифровой связью. Кроме этого из-за используемого ПК с "хвостом" - нужно снять с него usb разъем и запаять на освободившиеся пины - тонкие провода и разъем jst-1.25 на конце (можно любой другой, но маунт рассчитан на такой), после пайки фиксируем провода на плате чтобы не оторвать их с дорожками. Разъем usb-jst вставляется в боковой "карман" маунта - он находится в безопасности - значительно ниже уровня лопастей (но нужно следить, чтобы провода от него не торчали и были спрятаны внутри рамы). Длина кронштейна антенны сделана максимально возможной и смещена вбок - чтобы не мешать установки батарей.
v1 - исходный маунт для бузера и антенны, ничего лишнего.
v2 - маунт для бузера, антенны и кармана для jst-usb.
v3 - для стоек 14 мм: маунт для бузера, антенны, с карманом для jst-usb, а также конденсатора размером 6.5x12мм. Конденсатор располагается вертикально, на минимально удаленном расстоянии от кончиков лопастей и полетного контроллера (проблем с установкой и сборкой нет). Для 12 мм стоек конденсатор разместить по высоте не получается никак...
Порядок сборки (это не просто - всё очень плотно и туго):
* провздеваем кабель с разъемом XT30 в проем между стойками, антенной и бузером;
* устанавливаем пищалку в карман;
* провздеваем кабель с разъемом пищалки там-же где и кабель питания;
* просовываем антенну O4 и вытягиваем её коннектор наружу;
* просовываем разъем usb-jst в "карман";
* устанавливаем полетный контроллер с собранным кронштейном в раму (стойки и винты на которые надевается ПК и кронштейн должны быть уже вкручены в раму);
* устанавливаем юнит O4.
Все исходники прилагаются, разработано в КОМПАСС 3D v22.