Sonoff minir4 mount
Description
My little mount for the Sonoff minir4 wifi relay switch.
Not to be confused with a minir2, or any other mini. I think they are different sizes. This project was made for a minir4.
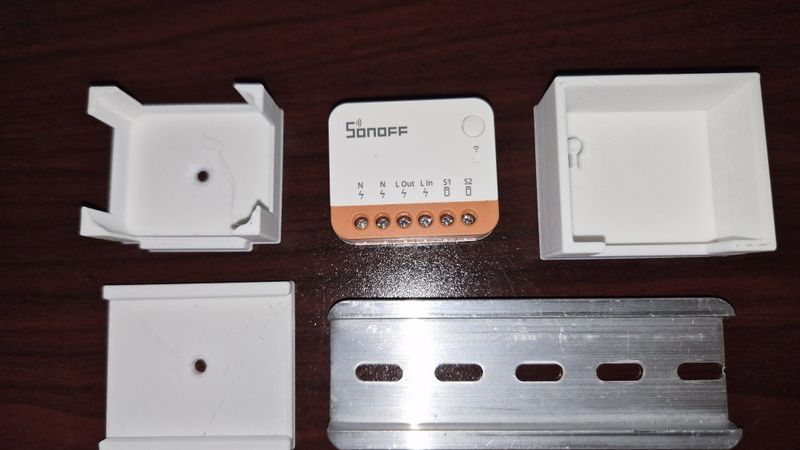
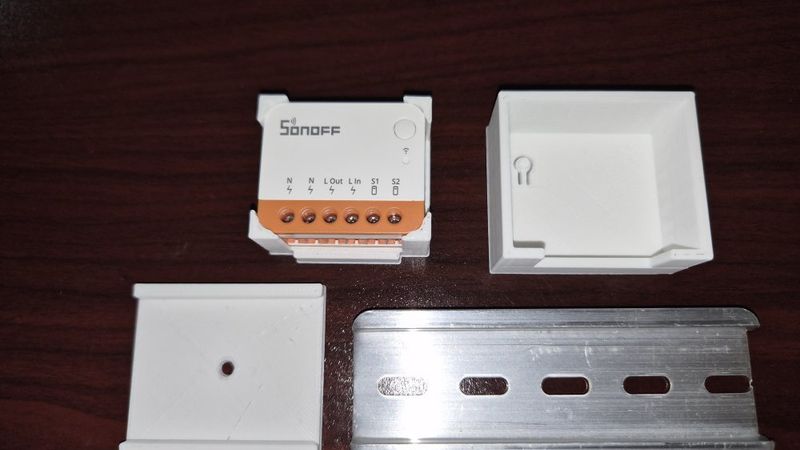
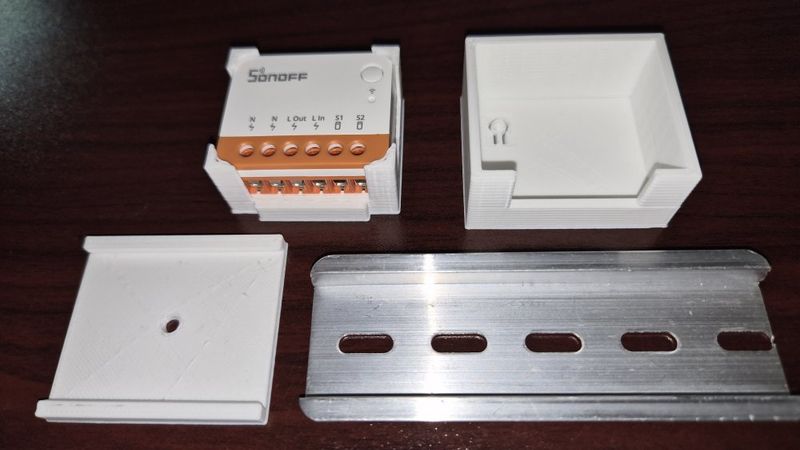
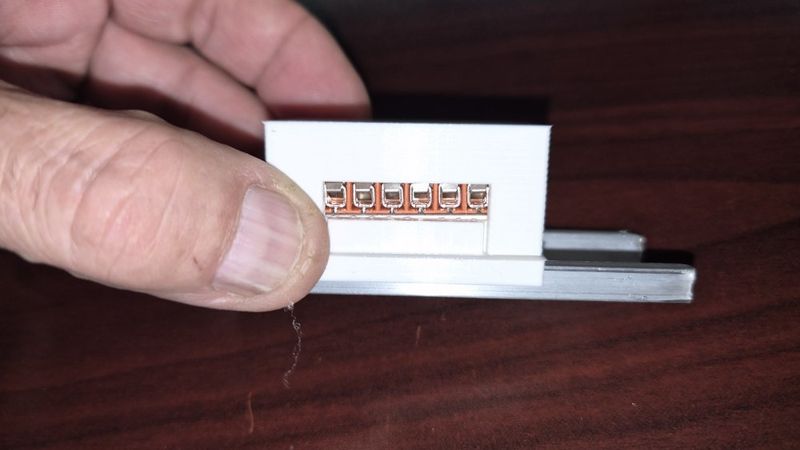
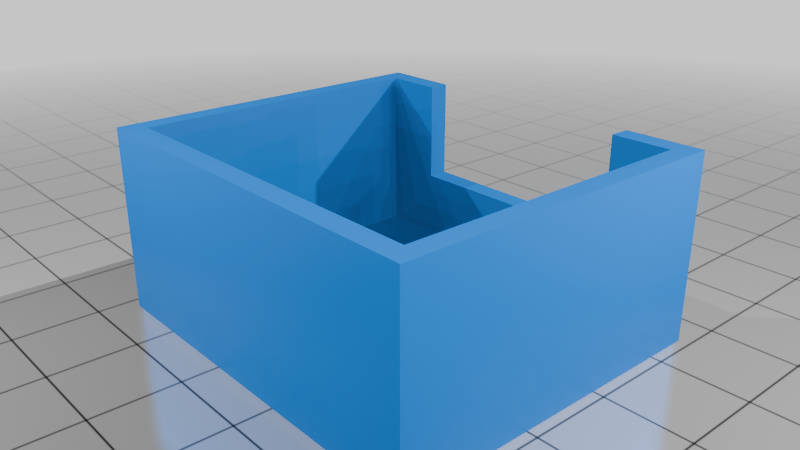
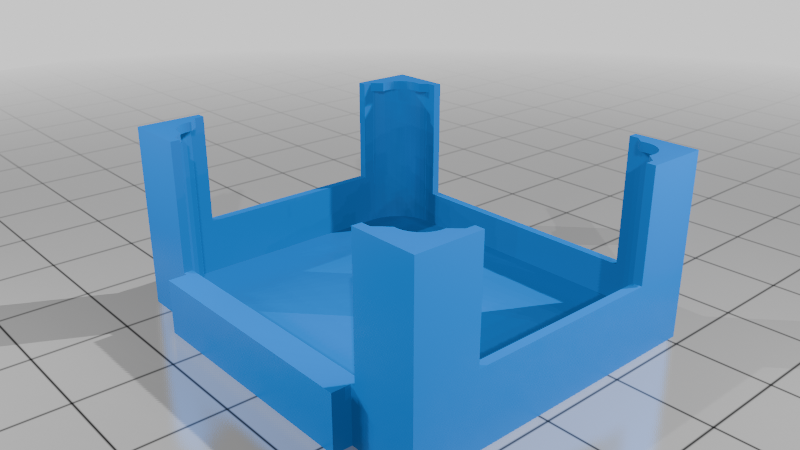
I designed a base unit for the minir4. A holder.
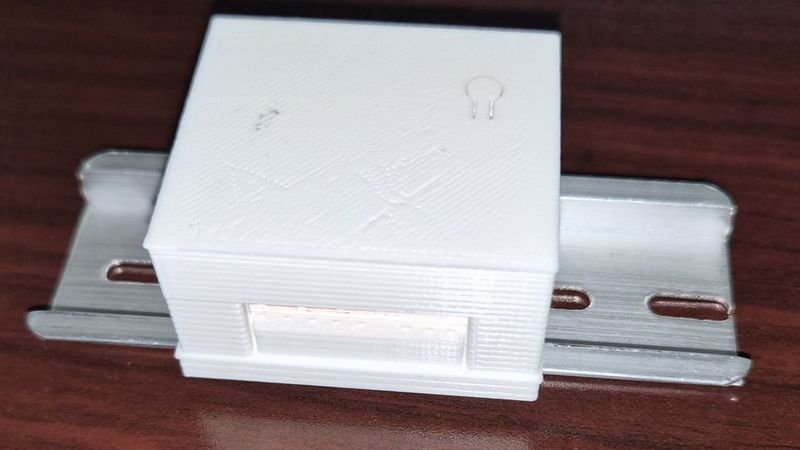
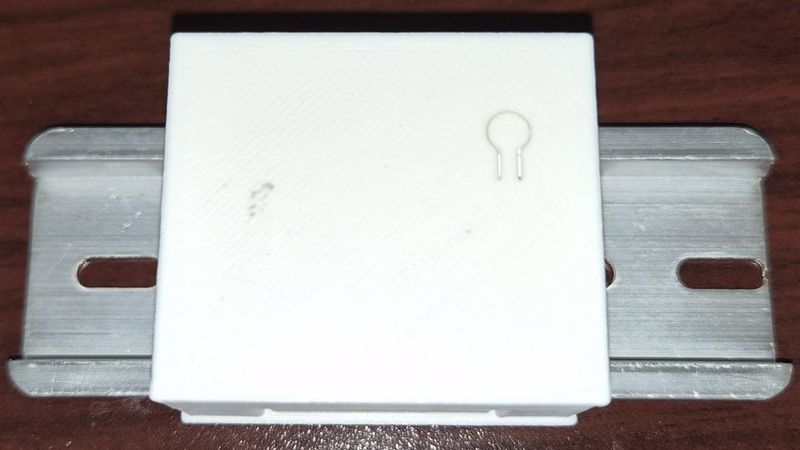
And a cover for the base unit.
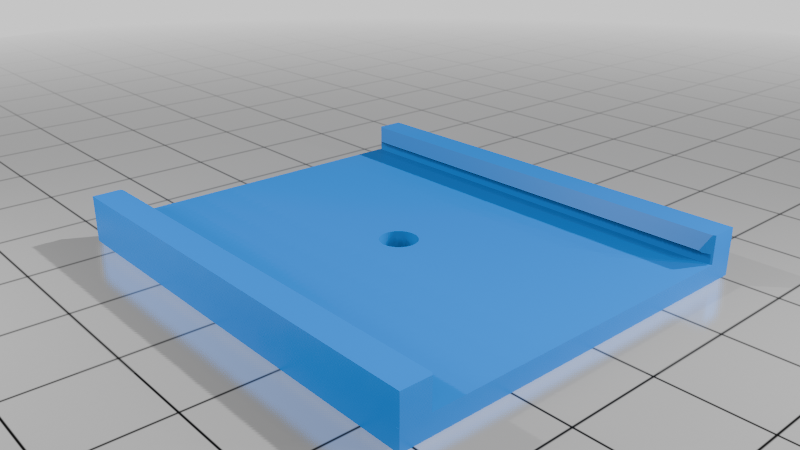
And a din rail mount.
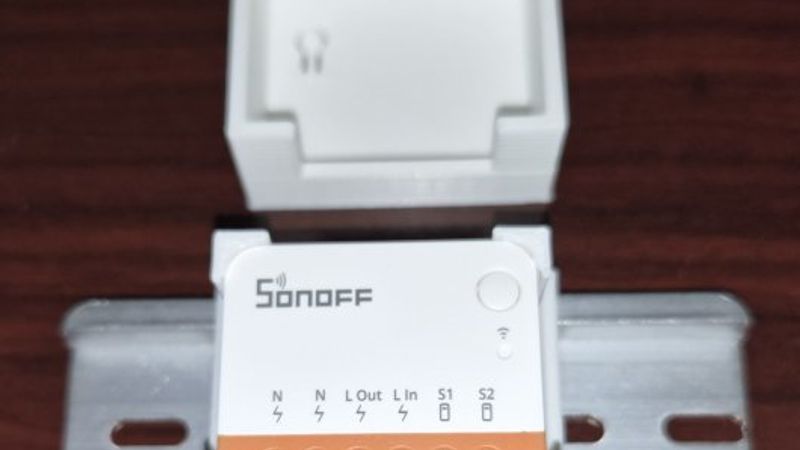
You can screw the base unit to the din rail mount to mount the minir4 on to a 35mm din rail. Use a flat head 4mm screw.
I didn’t have the right size flat head screw so I used 2 pieces of vhb double sided tape to stick the 2 parts together. You could probably glue them together also, whatever works. 2 big flat areas that need to mate together somehow. Screw or tape or glue.
The din rail mounts pretty tight to the din rail. I could not get it to snap on over the top. I had to slide it in from the side. Kind of a PITA but at least it will never come off by itself.
You can print just the mount itself to hold a minir4. If it’s going to be in a dirty environment then you can print the cover for it. If you want to mount it to a wall or something then print the din rail adapter and mount it to a din rail then secure the din rail to the wall or whatever you want.
Be careful inserting the minir4 into the holder. Try not to break the legs but you do need to force it in a little. Go slow and be gentle. Wiggle it in. I added a 1mm hollow tube to the inside of each leg to make them stronger. Instead of making a random infill pattern inside the legs the printer will make circles around the tubes making the legs stronger. A little trick I learned a long time ago.
The cover has a tiny push button tab so you can still access the button on the minir4 when it is inside the case.
I will be mounting 2 or 3 of these minir4’s side by side on a din rail in my garage so that’s why I came up with this mounting system.
Printed in PLA .2 layer 25% infill