Openbuilds workbee cnc spindle mount 43 Kress 1050 FME attachment interface for common dust shoe

Description
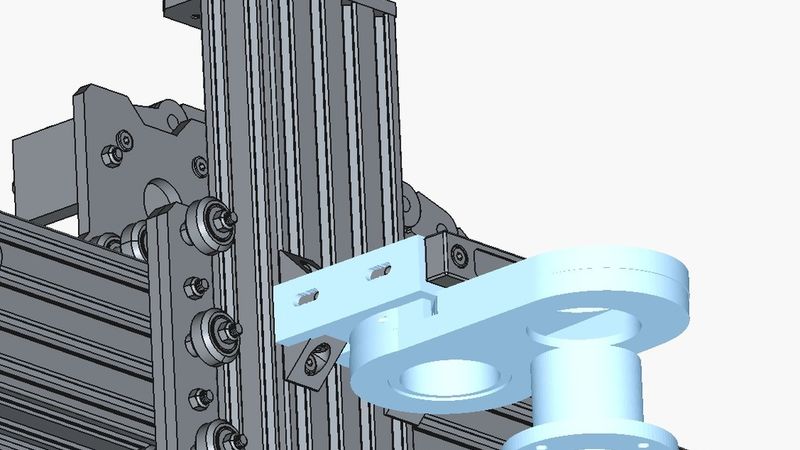
Intended for openbuilds workbee cnc and similar 43mm spindle mounts as
an attachment interface for typical openbuilds based dust shoe accessory.
Note:
If you want to customize the part, read point "N.B.3" below.
Purpose:
The 43mm spindle mount plate version of Openbuilds Workbee is
typically used with more powerful router models as for example
the KRESS 1050 FME, aka AMS, MAFELL, etc.
Unfortunately unlike other typical router models with different
mounting cylinder diameters and lengths this router model
when mounted the 43mm cylinder of that router will barely
protrude underneath the spindle mount plate a few mm.
This thus offers no realistic possibility to clamp/attach a typical
openbuilds concept based dust shoe commonly available on most
stl library sites such as most of us's worst favorite platform
like Thingiverse.
The common available alternative is a completely
differently designed mount concept all together but imho this compromises
the stability, strength and precision of the standard mounting system
and brings further downsides such as inhibiting the options for
absolutely mandatory and required spindle tramming process etc.
So I've set out to come up with a different concept all together.
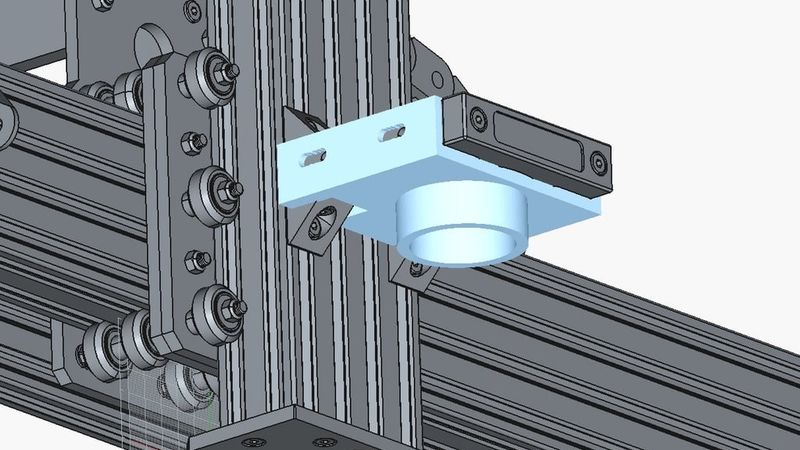
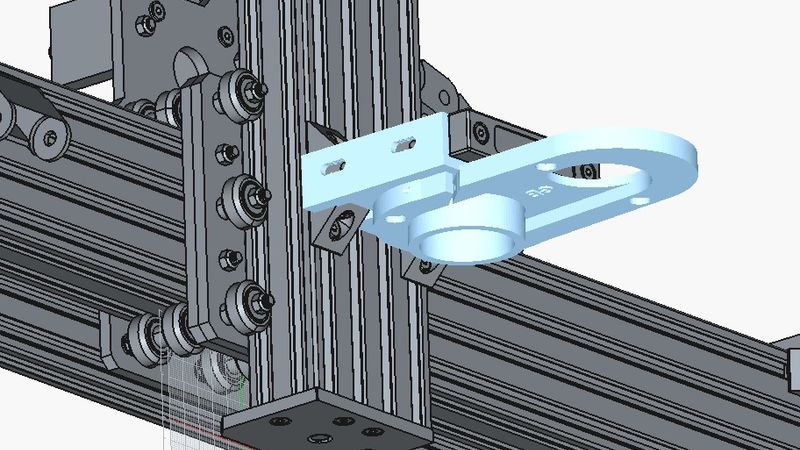
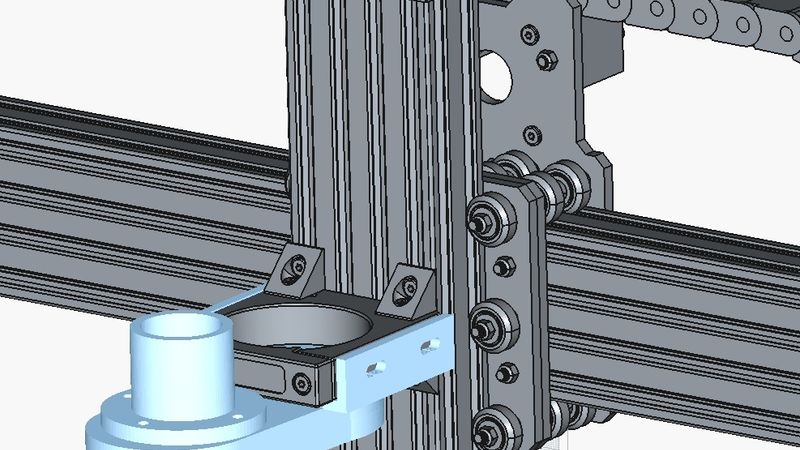
Create an attachment as transition between the unaltered stock
openbuilds 43 mm spindle mounting plate that will allow for
plug-and-play-ish interface with the typical openbuilds concept
based dust shoe used with all other typical 52, 65, 70 and 80mm
cylinder diameter router spindles which protruding cylinder provides
enough length for fixing a dust shoe.
I also included clearance for both lower angle corner connectors.
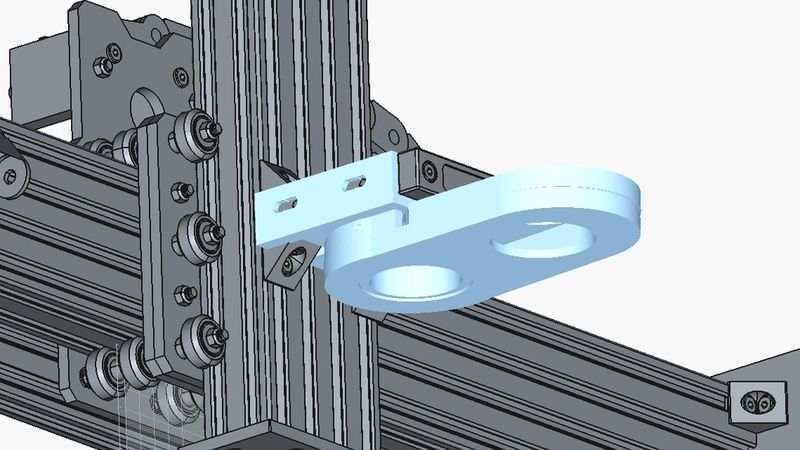
As is, the very lower part of the whole attachment which is a (~52
outer diameter cylinder) will still allow to access the KRESS's
locking nut with a wrench to swap router bits easily.
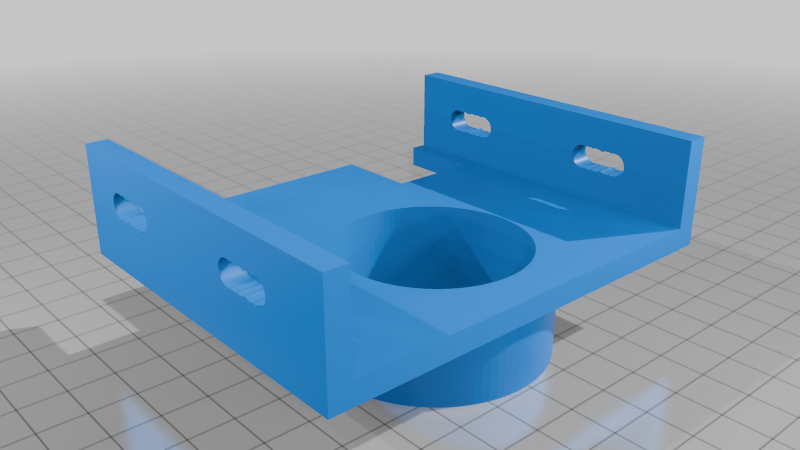
The published STL has been generated Openscad code I wrote and
which I will include in the thingiverse post.
So if need be you can just download and install free Openscad
and modify the part yourself in case you need to perform any
tweaking.
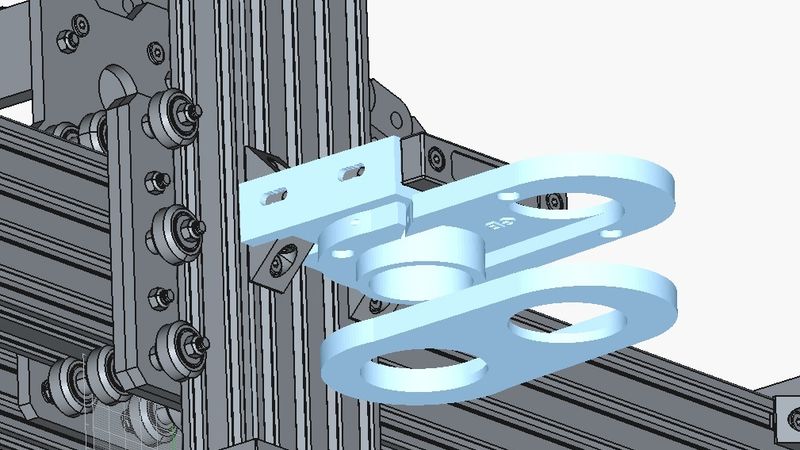
There are 3 files for the code, one is the main code and the
two other files are the codes for the 2 subparts which the main
part is composed of.
When opening the main code in Openscad you just need to make sure
the two dependency files are in the same location as the main code
as follows:
N.B.:
main code file:
"workbee_cnc_spindle_mount_43_attachment_for_dust_shoe.scad"
dependency code files:
files "wcsm43afds_subpart1.scad" and "wcsm43afds_subpart1.scad"
dependency code for subparts must be placed in same location
N.B.2:
You might want to read through the subpart code comments
first for more useful information should you want and/or need
to tweak this code and/or the resulting generated final object.
A lot can already be tweaked just by modifying some variable
values either in the main or in the subpart codes.
N.B.3:
Quick and overall basics and hints to get you started with
Openscad and tweaking this code.
Download and install free Openscad.
Open this main code file
"workbee_cnc_spindle_mount_43_attachment_for_dust_shoe.scad".
Now Openscad might not display the object properly in the first
place (showing only parts of the code based transformations),
just hit F6 to run compile and that will make things look like
they should.
To export the final generated object as 3d printable STL
go to File -> Export -> Export as STL...
Do not use the thingiverse customize function, it just takes a random one of the 3 code files and does whatever monkey business with it. Just download the 3 scad files locally into the same location, open the main file in Openscad and it will work.
N.B.4:
I 3d printed the object in standard PLA with a 50% infill at
205°C on an Ender 3 V2 using standard ZigZag support material.
I recommend using flat head M5x12 with a standard precision
shim/washer and no need to over tighten the 4 screws.
It will be plenty strong and it won't move.
N.B.5:
This is an example as suggestion, but there are many of this
type of dust shoes STL on Thingiverse that will plug and play
provided you either pick one with a 52-52.5 ish diameter input
or you modify this code in order to fit the diameter required
by the dust shoe STL file you so choose.
As an example (and the very one I used) once done you can go on
and download and print this magnetic two part dust shoe (by gbiski) :
https://www.thingiverse.com/thing:2780529
(Superglue in the 10mm magnets in the right orientation on the upper
and lower parts and test the two parts magnet snap together !first!)
It will pretty much (maybe a light sand depending on the accuracy
of your 3d printer) plug and play pretty tight already into this
attachment from below.
I dry test fitted the upper part of the magnetic dust shoe first,
then I went on and 'superglue-is-your-friend' it to the attachment
generated by this code.
Then finally you take the lower part of the magnetic dust shoe and
cut to size and hot glue your typical 70/100mm dust cover !around!
it.
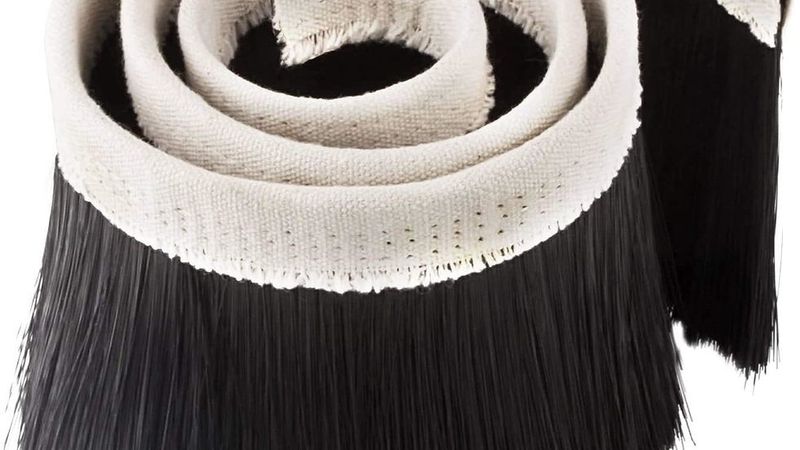
Example of the one I used below:
https://www.amazon.de/dp/B097ZVPRQ8?ref=ppx_yo2ov_dt_b_fed_asin_title&th=1
Additional tip: the dust cover I used has 3 stitching lines, I hot
glued it to the lower part so that only the lower stitching protrudes
underneath the lower part. This makes it so that when magnet
snapping the lower part to the upper part, the upper part of the
dust cover's textile wraps around the upper part of the magnetic
dust shoe without touching the lower part of the attachment above.
This allows you to spare the extra unnecessary height underneath
and increases the chance of using router bits with smaller lengths.
Also towards the same goal I went on and cut 1.5cm off the length
of the dust cover's brushes. I wouldn't advise to cut off more
than you really have to.
For jobs using a router bit that is short, just remove the lower
part of the dust shoe all together and you can still put it the dust
collector and for that small amount of dust that router bit will
generate it will still pick up most of it.
N.B.6:
Now for the dust collector side of the dust shoe...
I have created another STL (and made available the Openscad code)
for a 46.5mm to 37mm vacuum hose adapter with flange and mounting holes which
will plug-and-play fit into the 48mm hole of the magnetic dust shoe
mentioned above.
That vacuum hose adapter can also be attached to the upper part of the two part magnetic
dust shoe accessory mentioned above, your choice.
The adapter is available on Thingiverse on the following URL:
https://www.thingiverse.com/thing:7234109
I hope this will help people with the same problem I had.
If so please make sure to let me know in the comments, always good to hear.