Marker Holder for FANUC Robot

Description
“Imagine a world where art and technology blend harmoniously, where the beauty of nature meets industrial innovation.”
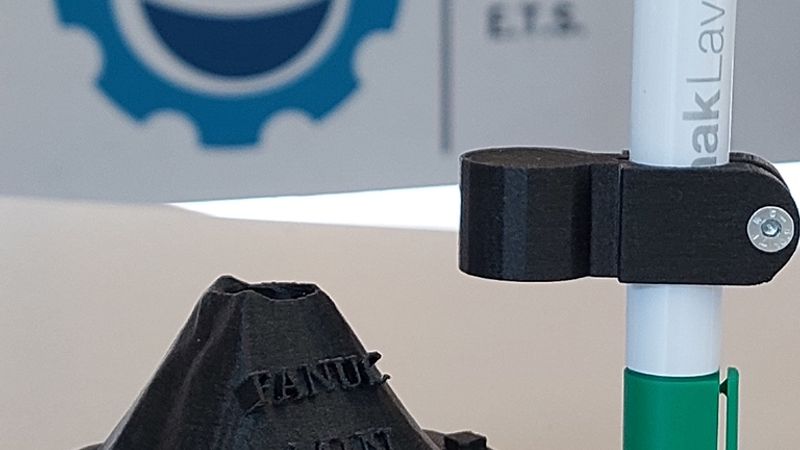
FujiMarker is much more than a simple marker holder: it is a symbol of adaptability, inspired by the majestic Mount Fuji, yet designed to meet the precision and performance requirements of the Fanuc robotic arm, which currently lacks a reliable and open-source marker holder solution.
Thanks to a unique design that echoes the iconic silhouette of Mount Fuji, FujiMarker is the ideal solution for those seeking a functional, aesthetically intriguing, and highly efficient accessory.
Designed to optimize the use of markers of various sizes, this device not only enhances the accuracy of operations but also brings a touch of elegance to every project.
Are you ready to discover how FujiMarker can transform your experience working with drawing robotics?
Supplies
To build our setup, only a few materials are needed:
69.7 grams of filament – we recommend ABS, but PLA can simplify the printing process, and fiberglass is also appreciated for improved performance.
A 3D printer
A reliable slicer software
5 hours of free time, which can be reduced if you choose to print individual components simultaneously
A FANUC robotic arm with a compatible gripper – in our lab, we use an ER-4iA arm with a Schunk 40-N-N-B gripper.
1 M4 20mm Screw whit M4 Hexagon Nut
Step 1: Download the File 📩
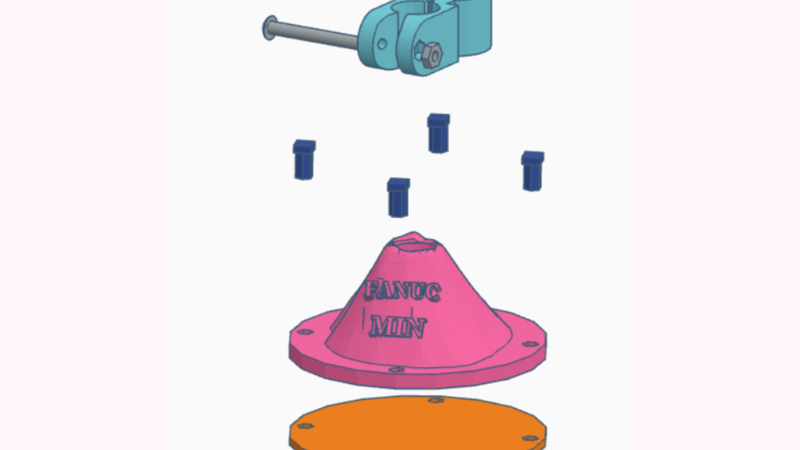
We’ve included four different STL files for this project:
The marker holder
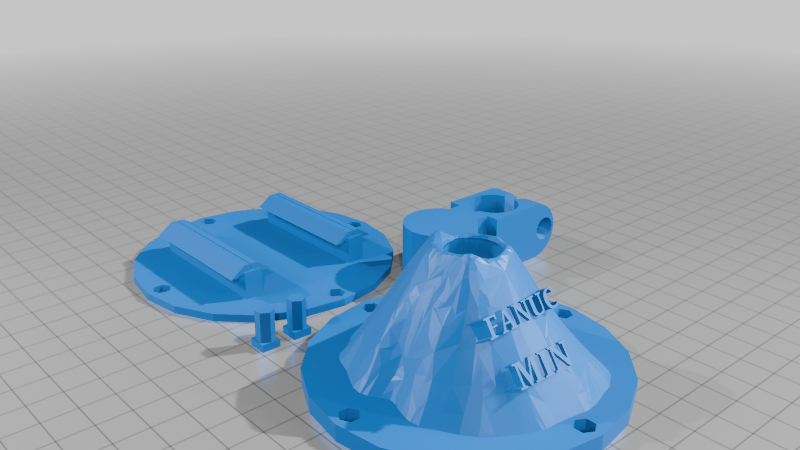
The Mount Fuji-inspired stand
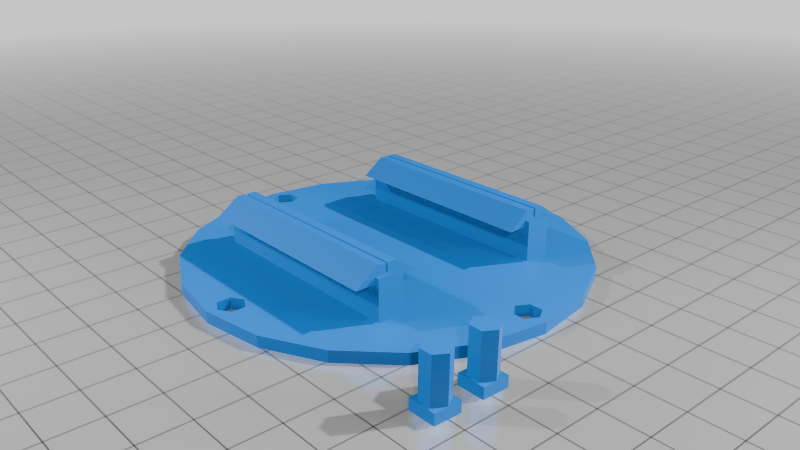
The base, along with its wedges for stabilization
All the stuff above togheder
Each component was designed in Tinkercad and exported as an STL file.
Any program capable of editing STL files will be sufficient if you need to make adjustments or customizations.
Here are some free alternatives in case you don’t want to use Tinkercad itself:
Blender, Netfabb, or Meshmixer are all excellent options.
Before starting the print, review and modify the files in the following areas to ensure they best suit your machine setup.
Step 2: Mounting
Assembly consists of just a few simple steps.
The base and pen holder are connected via a slot-in mechanism, using the pins as joints between the two parts.
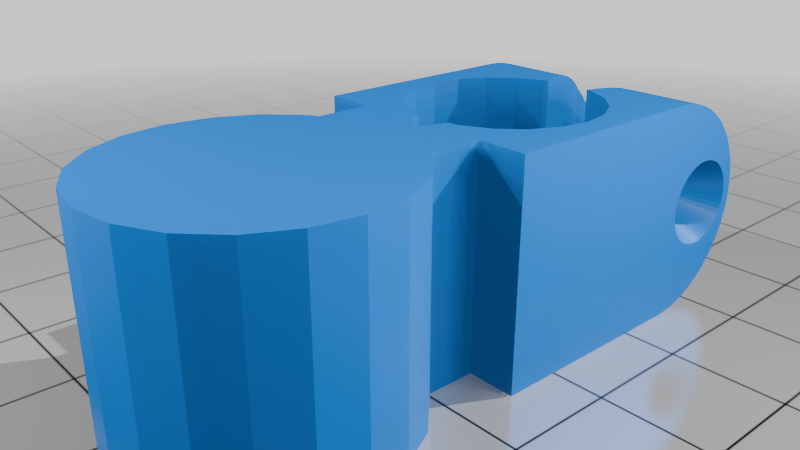
As for the pen holder itself, the assembly is even more intuitive.
The hex nut should be placed in its dedicated housing, which eliminates the need for a wrench.
You can then tighten the parts together using a screwdriver or Allen key.
If you're working with particularly small tools or wish to increase the grip, you may consider adding a foam-like material to fill any potential gaps beyond the pen holder's maximum closure range.
Step 3: Instructions and Best Practices for Use 📃
Our design is made to operate autonomously, but following a few best-use practices is important to ensure long-term performance.
Do not force the marker into its slot: Excessive pressure may damage the tip over time and push the marker down, affecting performance.
For this reason, the base is designed to help guide the marker into position even after a small drop.
If the gripping support is placed accurately, it won’t interfere with the toolpath and will rest correctly on the mount’s opening.
The base has an orientation: the "FANUC" text should face the operator. Ideally, the marker should be inserted from the left side, where the two protrusions on the mount assist in proper alignment and placement.
To ensure the base remains stable, you can use one of the provided pins as a stopper—just place it at the edge.
If you're not using dovetail guides, we recommend taping or gluing the base to the surface. Avoid using cyanoacrylate or two-part epoxy; instead, use adhesives specifically made for 3D printed materials or water-based glues.