ATX Computer Case, Fully 3D Printed NAS Frame


Description
I started a YouTube channel! Check it out: https://www.youtube.com/@Wiseprints206
Hello friends!
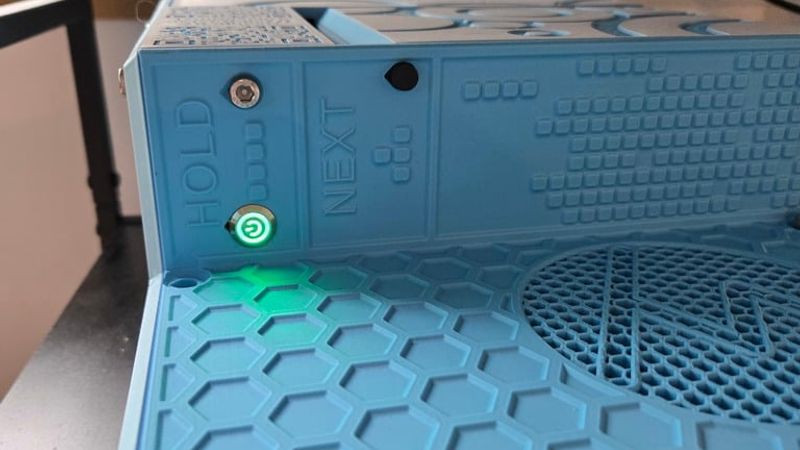
Note: this design has been updated to accept more motherboards and include a location for a power switch. I consider this design complete.
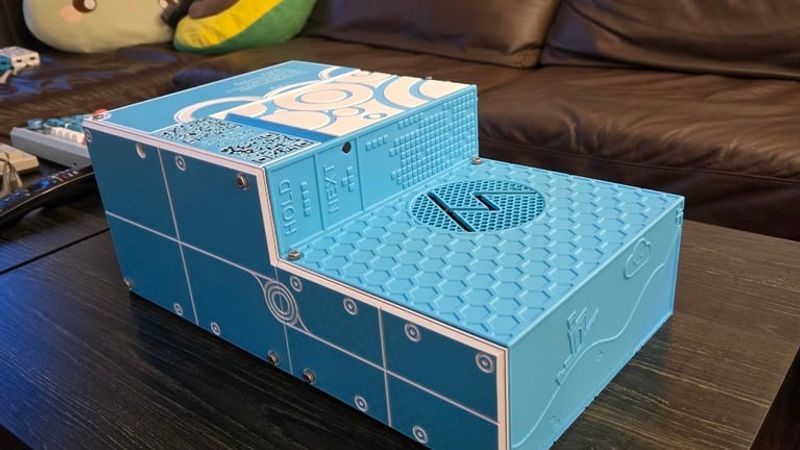
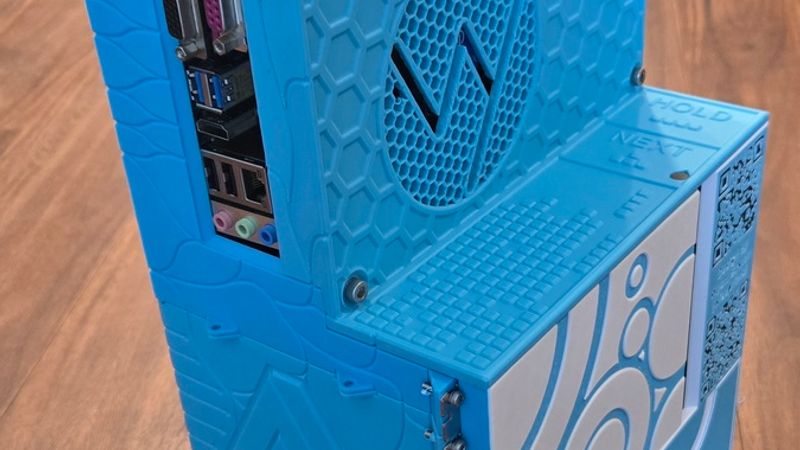
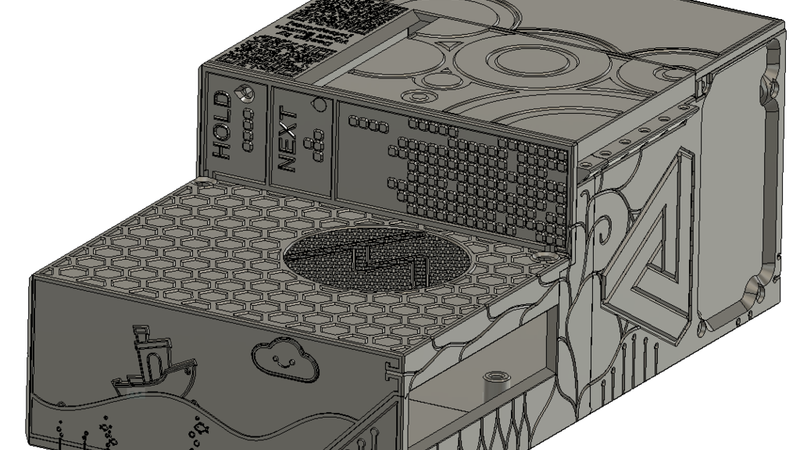
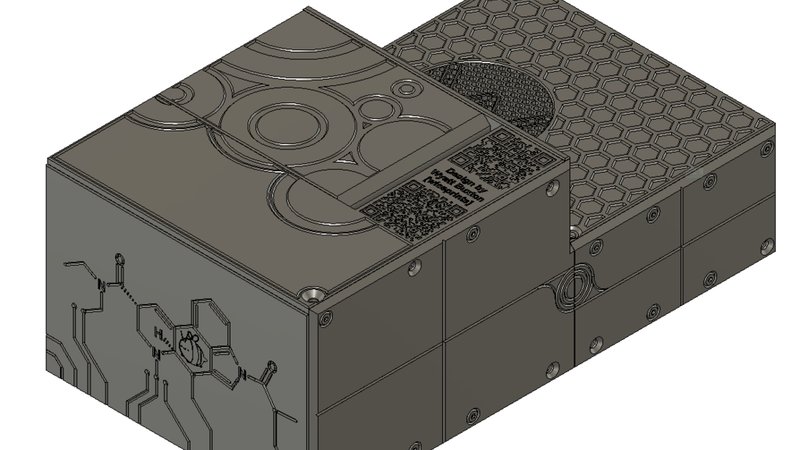
I present to you a completely 3D printable case for a computer or Network Accessible Storage (NAS)! I am very proud of this design, as it took quite a while to create. As of now, the case is completely functional and ready to use and includes:
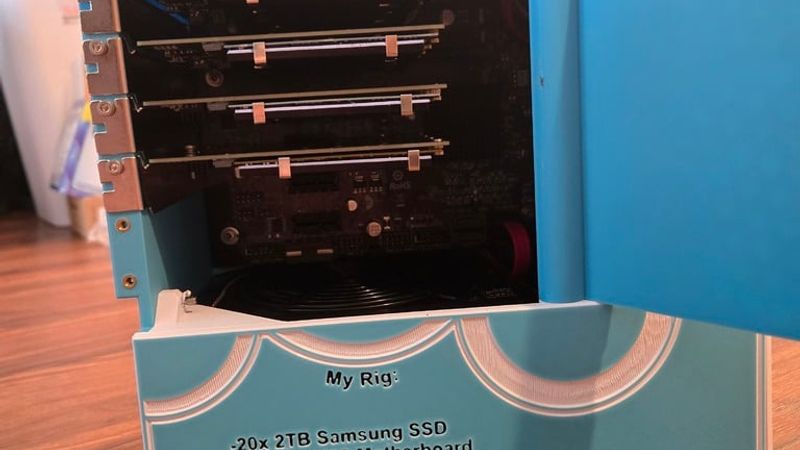
-SSD boot drive mount internally
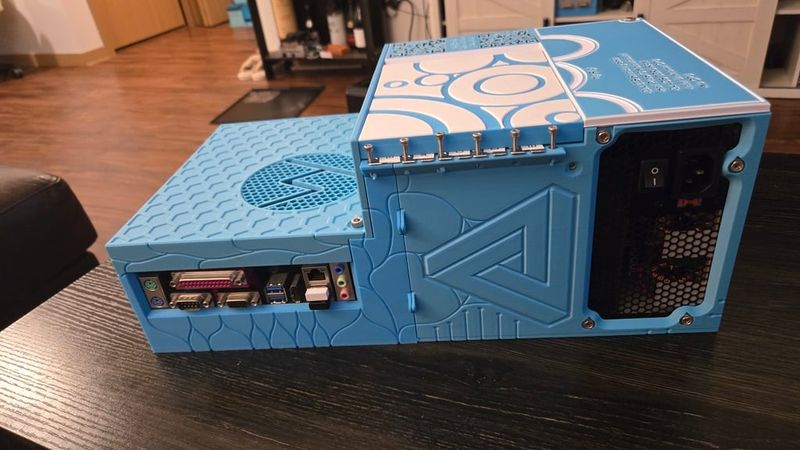
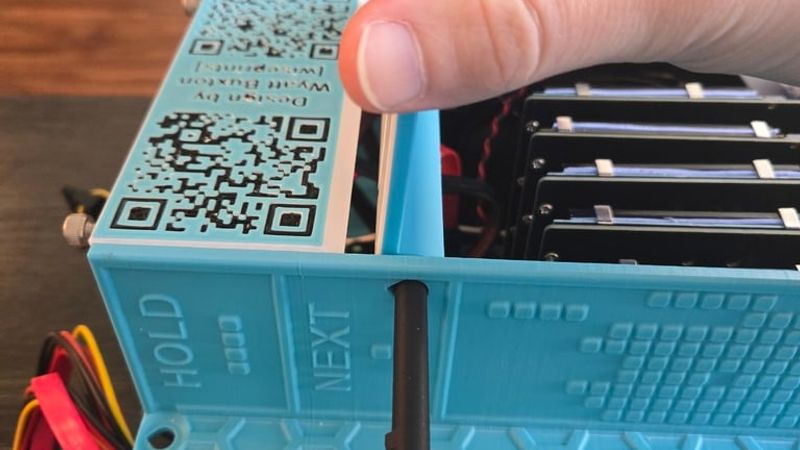
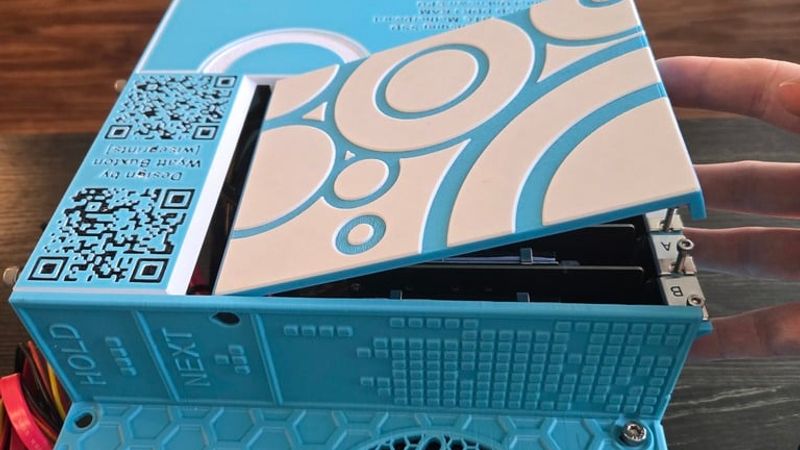
-Quick access PCIe port hatch
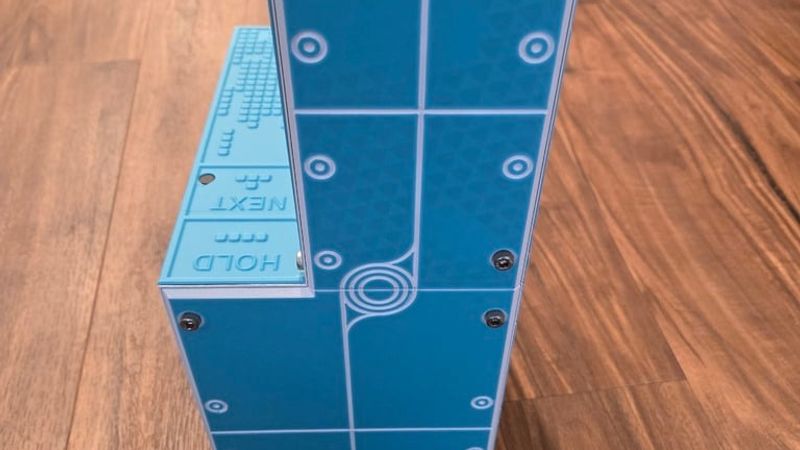
-All panels are removable independently of each other while keeping the structural integrity of the case intact.
-Various QR codes throughout design, I'll leave you to figure out what they point toward (it's not a virus, I wouldn't do that)
I created this because I had difficulty finding a good, 3D printable PC/NAS case online, as most the designs use an excess of extra hardware. I wanted a case that is entirely 3D printable, which uses very little extra hardware. I didn't want to buy anything extra, and I assume you don't want to either. That being said, you will need just a few bolts and heat-set inserts for assembly.
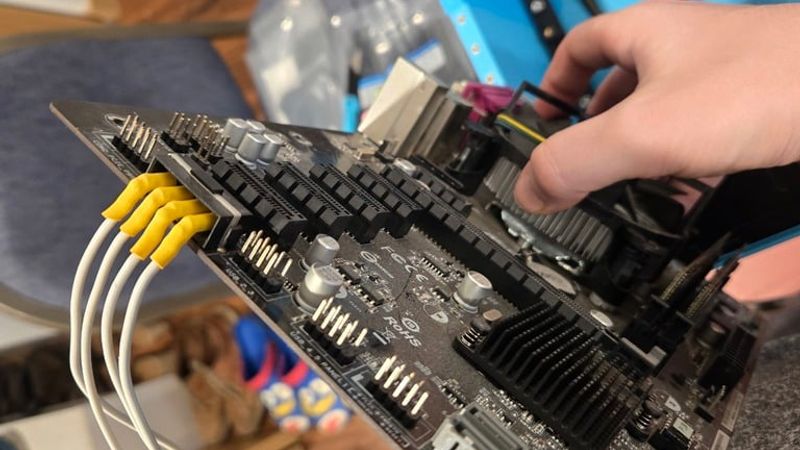
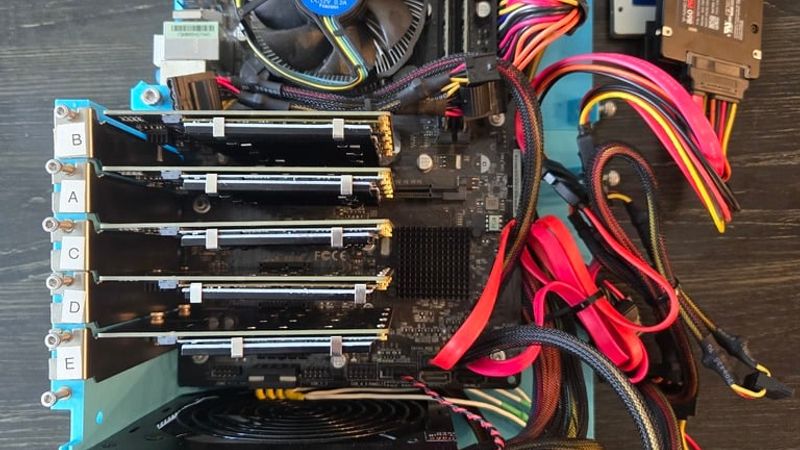
This case is designed to be printable on a Bambu Labs X1C printer and fitted to ATX-style motherboard mounts. Specifically, I am using the H81 Pro BTC and H110 motherboard, as I had them lying around from an old crypto mining rig that is no longer in use. The storage devices are all M.2 SATA drives, inserted through the PCIe slots on the motherboard. I also had the m.2 drives already available to me. Old mining rig motherboards are reasonably priced on eBay (around $50) and lend themselves well to this style of NAS, as they usually have 4+ PCIe slots available. This could probably also be used for a regular gaming PC, and I have included some alternate files that are compatible with some medium/small GPUs. Files for GPU use have "gpu" in the name.
Print Settings:
-Every part is designed with a 0.2mm tolerance for fitting together well.
-Parts are designed with printing in mind, so no supports are needed (the motherboard mounting bracket could benefit from supports and the gpu_hatch needs them. Every other part in the build does not need supports at all). To identify print orientation, look at the screw holes, and notice the chamfer at the top of the hole. This is to prevent sagging when printing the through-hole. The pointy bit of the through hole should point straight up on the printer bed.
-This prints well at 0.15mm and 0.2mm as well.
-In Bambu Studio, I painted by layer to get a multicolor effect without adding a noticeable amount of print time. On most pieces, the first layer I would paint one color, then the rest of the part I would print in a different color. I would also recommend turning off the purge tower, as it's not really necessary if you do the paint-by-layer method I am describing.
-Included here is my printer settings preset profile I used to print the beta version of this (.bbscfg file, not really necessary imo). I have just updated the files so these settings are now outdated.
-MakerWorld listing (outdated now, just added new Thingiverse files): https://makerworld.com/en/models/1435304-nas-atx-pc-computer-case-fully-3d-printed-beta#profileId-1493125
-Printed with PLA, but other materials are likely to work well, such as CF-PETG or ASA.
Notes to consider:
-H81 Pro BTC comes in two varieties, one with a secondary Molex connector on the bottom of the design and one with the Molex connector on the top. Both will technically work, but you should prioritize purchasing the version with the Molex connector on the top, as the version with the Molex on the bottom will be a really tight fit against the power supply, and may require connector modification to get the motherboard to fit properly (see relevant pictures in listing). If you do not connect this Molex, it will only allow you to use 3 or sometimes 4 of the PCIe slots in the motherboard. If you don't plan on using more than 3 PCIe slots, don't worry about connecting it.
-I have included the F3D file for the entire case, so that anyone can modify this design if they would like. Note that changing the timeline early on in the design may cause Fusion to crash, as I should have structured the design files differently.
-H110 Pro BTC, H61 Pro BTC, and other varieties of ATX motherboards will work with this design. I have tested the H110 and have adjusted the design to work with the H110 motherboard by altering the bottom mount. If your specific motherboard does not fit the mounting holes, all you need to do is modify the top_mount and bottom_mount files to align with your motherboard mounting holes, the other files can remain unchanged.
Extra parts needed for the case:
-Aside from the PC components, its literally just bolts and threaded inserts! I kept it to just two sizes for simplicity, as you will need M3 for the motherboard and M5 for the case itself (M3 was just a little too small for the case bolts).
-13x M3 bolts, at least 10mm length (for holding motherboard and PCIe cards): (https://www.amazon.com/uxcell-Phillips-Stainless-Furniture-Connection/dp/B0CYYZ9JW5?crid=3KENUGNK7A9OR&dib=eyJ2IjoiMSJ9.bzZCOw1dr4RtLwtxzcYChXpeln_O5yRQCKxudyeLKSsEXTCx49-MjlrC18c9dyo5fbnZRtp2LpDAFlr89_X_XgHRE7N3tUx-6GWxAWicW0c_OW_e3I7kYzni5BnkCV4vo16cdQrVWoVmK-vludsU7EAAQhyJPFzCqJCzMiW4pBdDODrTdvRNsADws5h9YFPcOUB4W_gCMKwe7G81o0wnLsROwaD6RlrUEypXIP3Bupk.-qN4AsfC_li2MEefBGNUZgnylveZihEqYSNH37lQZQE&dib_tag=se&keywords=20pcs%2BM3%2Bbolts10mm&qid=1747695597&sprefix=20pcs%2Bm3%2Bbolts10mm%2Caps%2C153&sr=8-4&th=1)
Alternatively, you can purchase an assortment pack of bolts and inserts with a variety of sizes from Amazon
My PC build:
(Ensure you pick the appropriate RAM and CPU for your motherboard if your build is different than mine)
Power button (12mm size): https://www.amazon.com/dp/B0CQX2N9JH?ref=ppx_yo2ov_dt_b_fed_asin_title
-20x M.2 SATA SSDs (ensure that if you get a SATA M. 2 PCIe adapter, you also get SATA M.2 drives rather than NVMe)
-5x PCIe to M.2 SATA conversion cards: (https://www.amazon.com/dp/B0C9TJC6V4?ref_=ppx_hzsearch_conn_dt_b_fed_asin_title_4&th=1)
For OS, I originally intended to use HexOS, but eventually decided on installing TrueNAS (completely free). Plenty of tutorials are available on youtube for how to install, set up, and use TrueNAS.
Please leave a comment if I missed or forgot anything!
It's ok if you plan on selling my design elsewhere, but please donate to me at least once if you do. Also, ensure to give me designer credit wherever you end up selling the print. Thank you!
Donation link: paypal.me/wiseprints206
-Wy