Sprite_Linear_Rail_Bracket_DiMA_MGN12_Carriage_Plate_Voxelab_Aquila_x2_Ender

Description
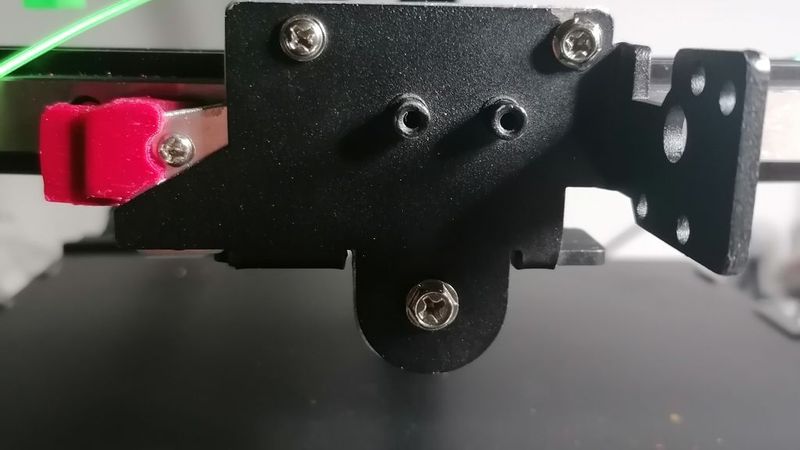
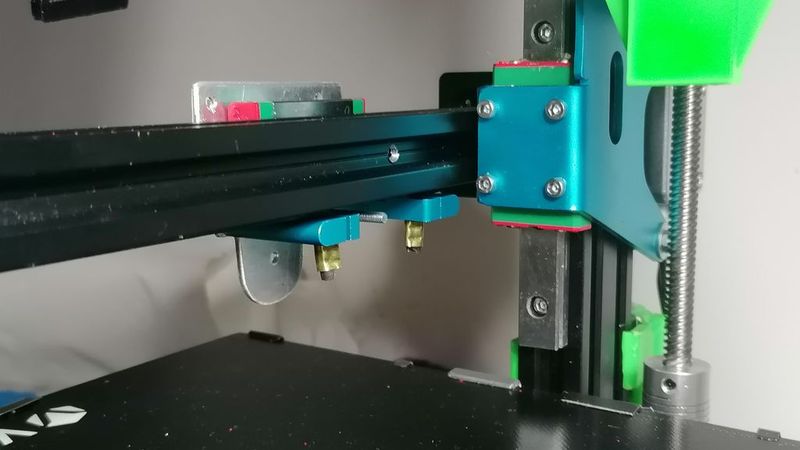
This is one of the modifications I made to the Aquila x2 n32. I changed the printing method from a simple indirect extruder to a direct one, also combining and using a BLV Ender 3 Pro - Linear Rail Upgrade.
https://www.thingiverse.com/thing:4008699/files
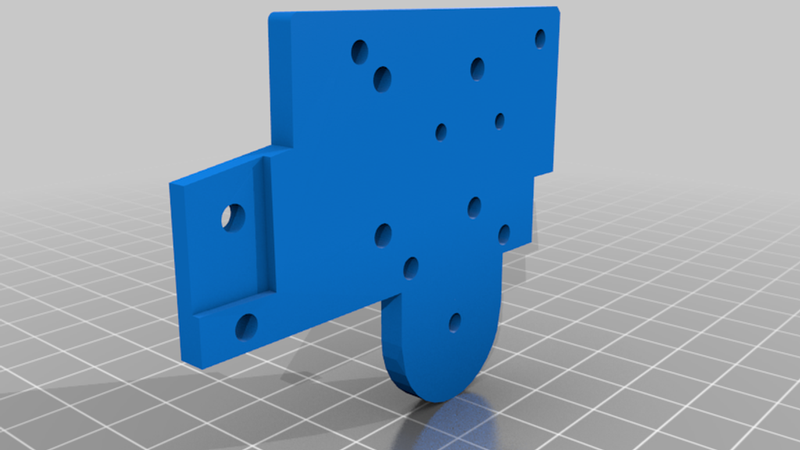
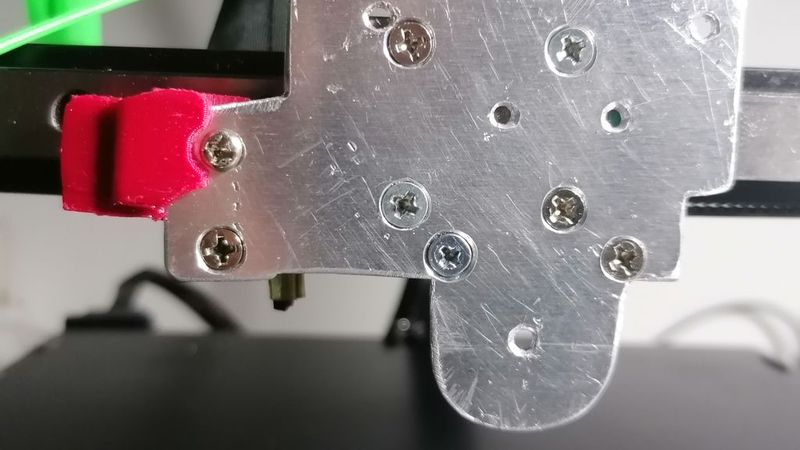
All for even greater precision and visually perfect prints. Here are some steps for explanation. I used backplate_Sprite_Pro_Extruder.stl as a jig to build the support for mounting the Creality Sprite Pro Extruder system on the original support without modifying it. To make this modification, you will need to adjust the x-y axis offsets of your machine parameters.
Method 1
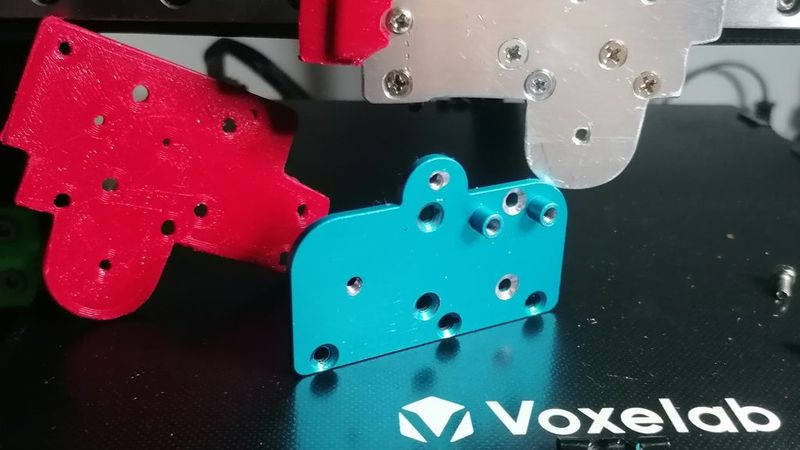
This jig can also be printed in PETG or ABS and mounted as a permanent adapter to support the original Creality bracket, the black one, using helical-type screws to grip the material. See the photos.
Method 2
If you like, you can use it as a template to create an aluminium support/adapter with the same measurements. Just be precise when cutting, marking, and drilling 2.5 mm holes for M3 threads. You'll need these to attach the aluminium template to the carriage and attach the original black Creality bracket. See the photos.
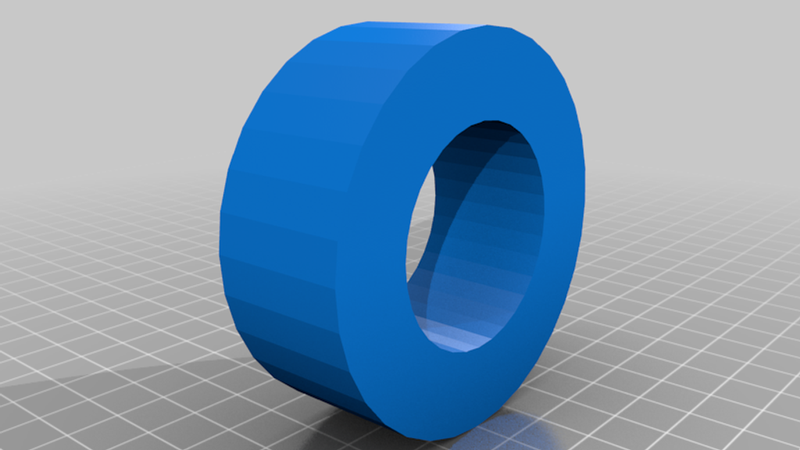
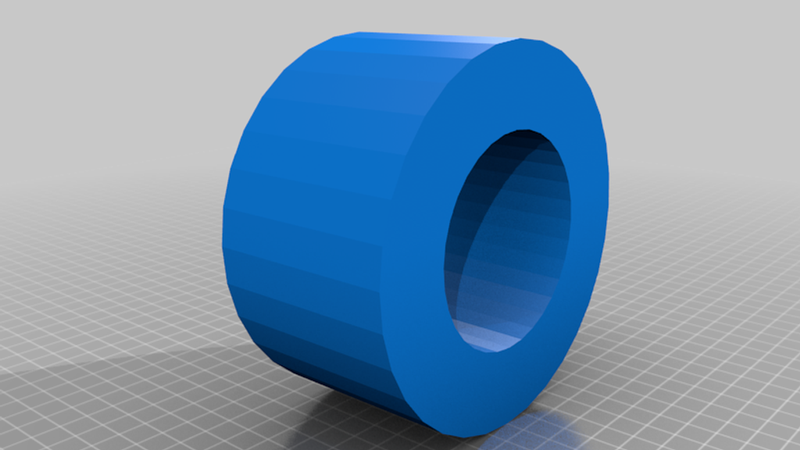
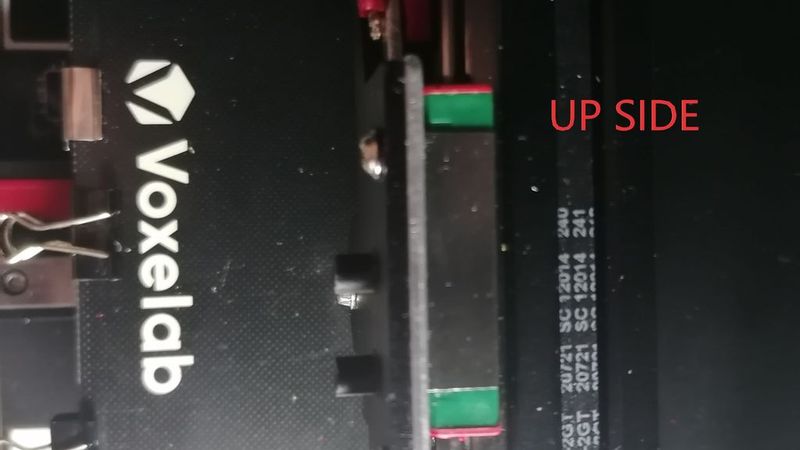
Two rings (backplate_bracket_hole_fill_thickness..)
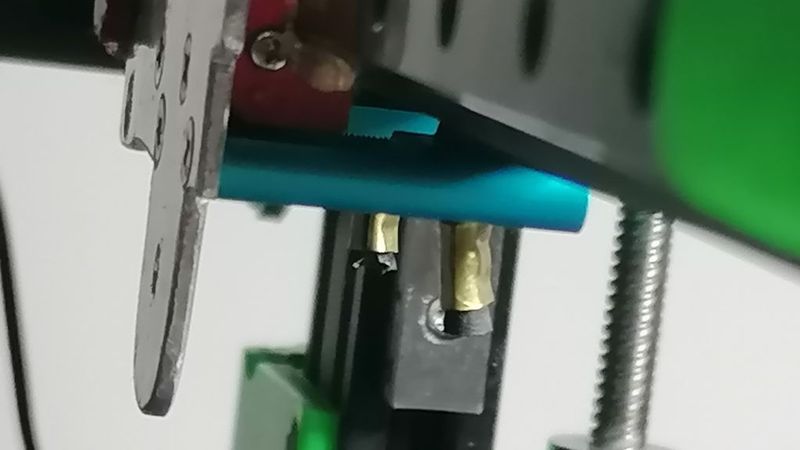
In both methods, whether you print or create the template, you'll need to use the two 5 mm rings to fit into the two upper holes of the original bracket and the single 7 mm ring for the hole below. These are used to block and fill the gaps in the original holes of the black bracket where the rubber wheels were mounted. You'll need the large-head, coarse-threaded wood-type screws to secure the printed template as mentioned above.
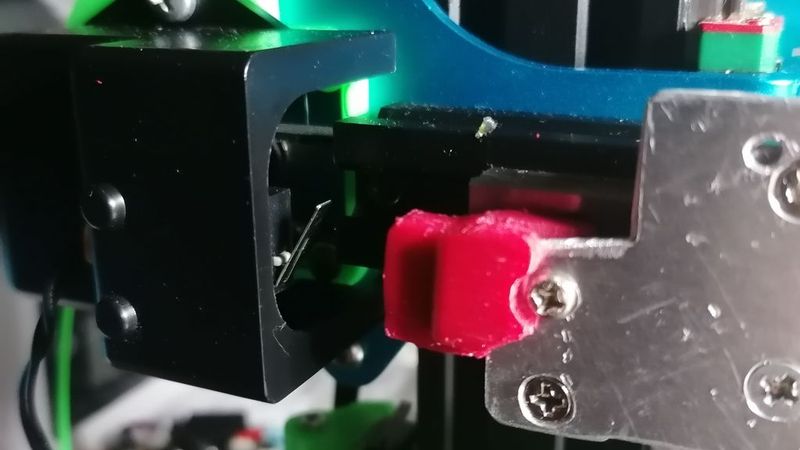
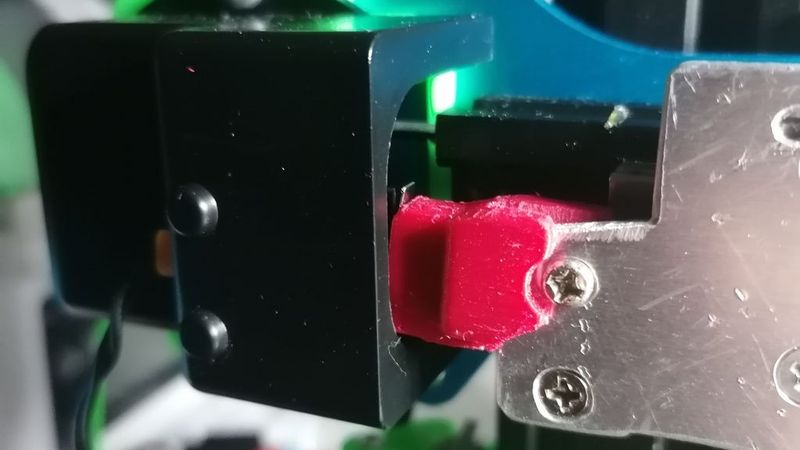
The sensor_endstop_spacer is for the X-axis home sensor, mounted on the original Aquila x2 cover and X-axis motor. To adapt this original cover as shown in the photo, you'll need to choose and use one of the supports I created to align the endstop sensor with the carriage. They come in two sizes, and you can find them here:
https://www.thingiverse.com/thing:6035254
The sensor_endstop_spacer isn't precise; I adjusted it as best I could, but I think it will need to be modified for your position.