advanced3D Printing (FDM)6-Sept-2016
Stapel for mounting rocket stabilizers

Anton Shagaev
Tomsk, RU
3 days
--
17
Since in my free time from work I sometimes enjoy constructing high-power model rockets (all those whose total impulse exceeds 1600 newton-seconds), one fine day I encountered the problem of precisely mounting rocket stabilizers to the rocket body itself (at a 90-degree angle to the tangent of the body's circumference). After a bit of 'digging' on the internet, I found a device called a 'rocket stabilizer jig'. This device allows for extremely precise installation of stabilizers, but the price of 195 US dollars was quite high, considering the materials and technologies used in the manufacture of this device. In the end, I decided to design this device myself using a tongue-and-groove fastening mechanism, and below are detailed instructions on how I did it.
So, you will need:
1. A drawing of the jig in CDR format. You can download it .
1. FC plywood 10mm thick — 1m2
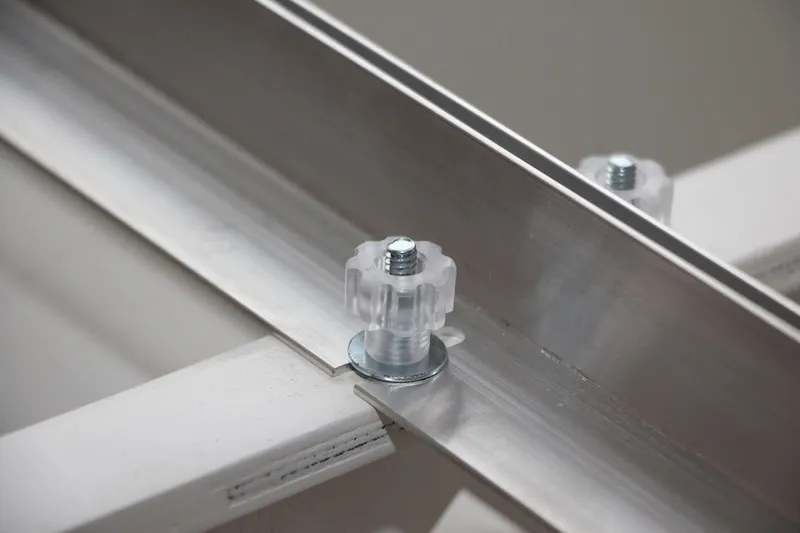
3. Aluminum angle 30x30mm, length — 1500mm. A PDF drawing for cutting the angles can be downloaded .
5. Washers (15mm outer diameter, 5mm — inner diameter, thickness 1mm) — 8 pcs.
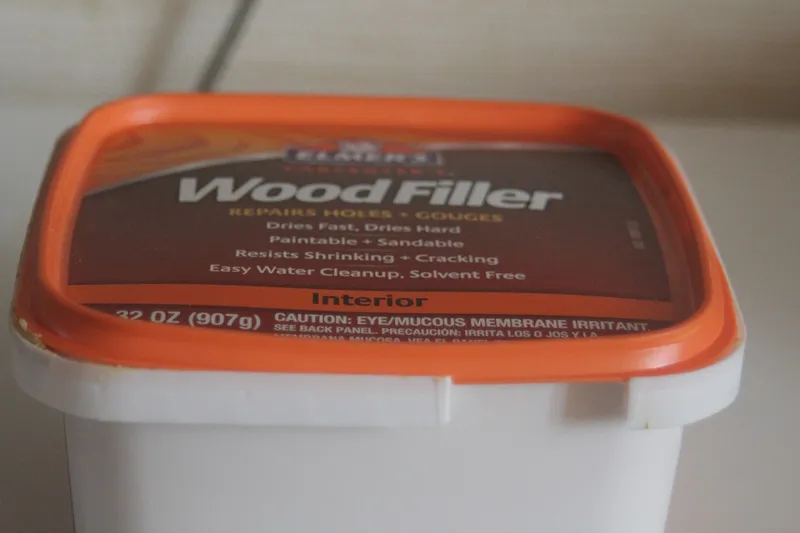
6. Wood fillerElmer’s Wood Filler— 1 can. In my case, I had to use filler because the plywood used was 2nd grade.
8. A spray gun with nitro paint
Steps
1
Cutting parts on a laser machine
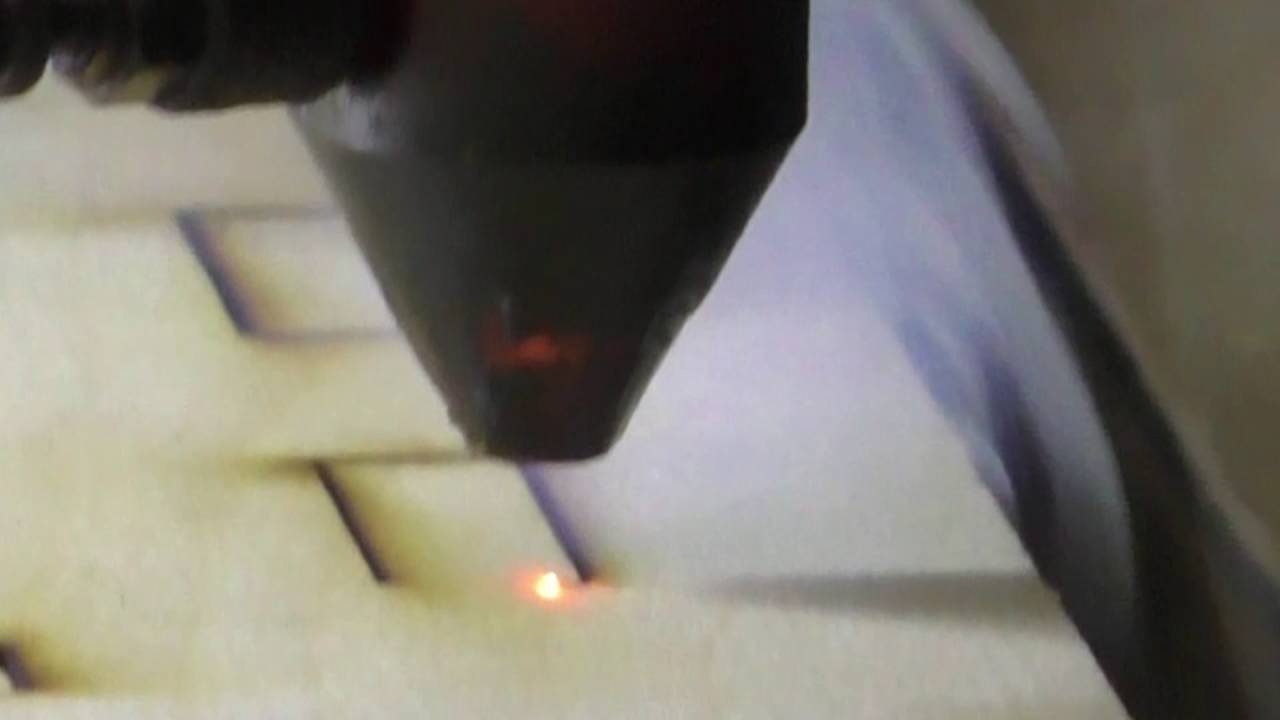
A slipway drawing in CDR format. Contact a company that specializes in laser cutting of plywood. Clarify that their machine can cut 10mm plywood. In this video, I demonstrate the actual laser cutting process.
2
Cutting of stabilizer guides
A drawing with dimensions for cutting an aluminum angle 30x30mm. You can do this yourself using a drill, a hacksaw, and a file, but if you need high quality and manufacturing precision, I recommend contacting a good lathe workshop.
3
Grinding plywood parts and applying putty
Pre-treat the plywood parts with sandpaper, but if you need high quality, use a vibration-type sander. The quality of the processed product will be simply perfect. Coat the parts with putty to hide the wood texture. In my case, this was especially relevant because the plywood used was 2nd grade. When applying the putty, be sure to use a thin metal spatula for even distribution of the putty over the surface of the parts. Let the putty dry for about 12 hours, and then sand the parts again. Now everything is ready for assembly.
4
Assembly and painting

Assemble the slipway by inserting the tenons of the parts into the corresponding grooves with PVA glue. Apply putty to the tenon/groove joints and let the structure dry for 24 hours. Perform a final sanding of the slipway one more time. Now everything is ready for painting. Clean the structure of dust and coat the body of the slipway, as well as its moving parts, using a paint sprayer. Different paints can be used, but I recommend painting with nitro paint because it dries very quickly. Let the paint dry thoroughly in a well-ventilated area. Then connect the body of the slipway with its moving parts using 4 quick-release fasteners and the same number of washers. The moving parts of the slipway themselves must be connected to the aluminum guides using the same quick-release fasteners.
Conclusion
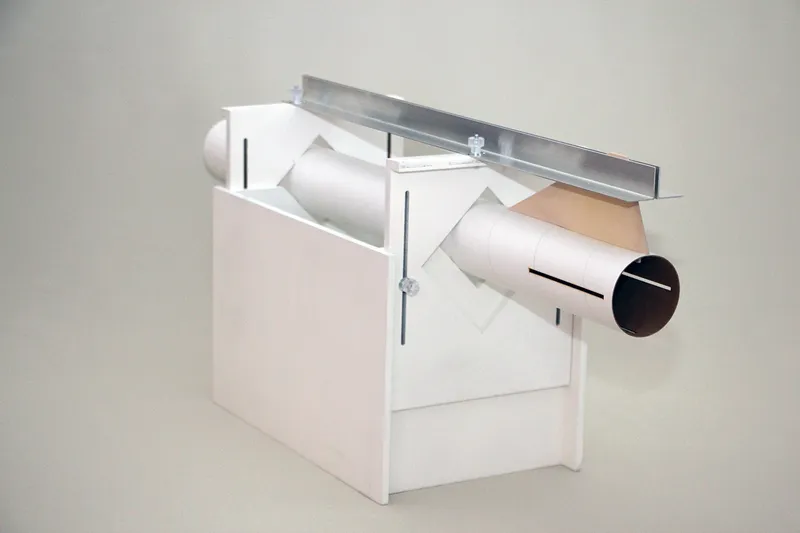
As a result, we have a device into which we place the rocket body (in our case, the jig is designed for rocket bodies no more than 100mm in diameter), and we insert the rocket stabilizer into the guides. Please note that this device does not allow marking equal angles between the stabilizers; you will have to do this yourself. For a more precise gluing angle to the rocket body, I recommend clamping the point where the stabilizer enters the guides with a clamp. It is also necessary to ensure that the guides are strictly parallel to the jig body.
I hope you liked my short instruction and you can now also make your own jig for mounting rocket stabilizers.
Jig dimensions without guides:
Length: 400mm
Height: 262mm
Width: 255mm
Rocket body diameter: up to 100mm
Discussion (0)
No comments yet. Be the first!
Maker
Anton Shagaev
Tomsk, RU
Anton is the Founding Engineer at Tinkster. He translates industrial reliability into software architecture, ensuring the platform's core is built to last. Anton studied oil and gas engineering in the United States and also holds two honors degrees from Tomsk Polytechnic University.
AI Project Assistant
Tinkster Neural Core
Hi! I am the AI assistant for this project. Ask me any questions about the assembly, code, or components.